Syncfusion® Blazor Scaffolder
11 Mar 20265 minutes to read
Syncfusion® provides Blazor UI Scaffolder in Visual Studio Code for Blazor applications, allowing you to quickly add code that interacts with data models, reducing the time required for developing data operations in your application. Scaffolding simplifies the creation of Razor pages and Controller action methods for Syncfusion® Blazor controls such as DataGrid, Tree Grid, Charts, Scheduler and Diagram.
The scaffolding UI allows you to select the type of data source binding, Syncfusion® component features and data fields for a selected control, significantly reducing the time required to develop standard operations.
NOTE
Check that at least one Entity Framework model exists, and the application has been compiled once. If no Entity Framework model exists in your application, refer to this documentation to generate the Entity Framework model. After the model file has been added, check that the required DBContext and properties are added. Now, build the application, and try scaffolding. If any changes made in the model properties, rebuild the application once before perform scaffolding.
NOTE
The Syncfusion® Blazor Scaffolder is available from
v32.2.3
Add a scaffolded item
The steps below assist you to how to add a scaffolded item to your Blazor application.
NOTE
Before use the Syncfusion® Blazor Scaffolder, check whether the Syncfusion® Blazor Scaffolder Extension installed or not in Visual Studio Extension Manager by clicking on the Extensions -> Manage Extensions -> Installed. If this extension not installed, install the extension by follow the steps from the download and installation help topic.
-
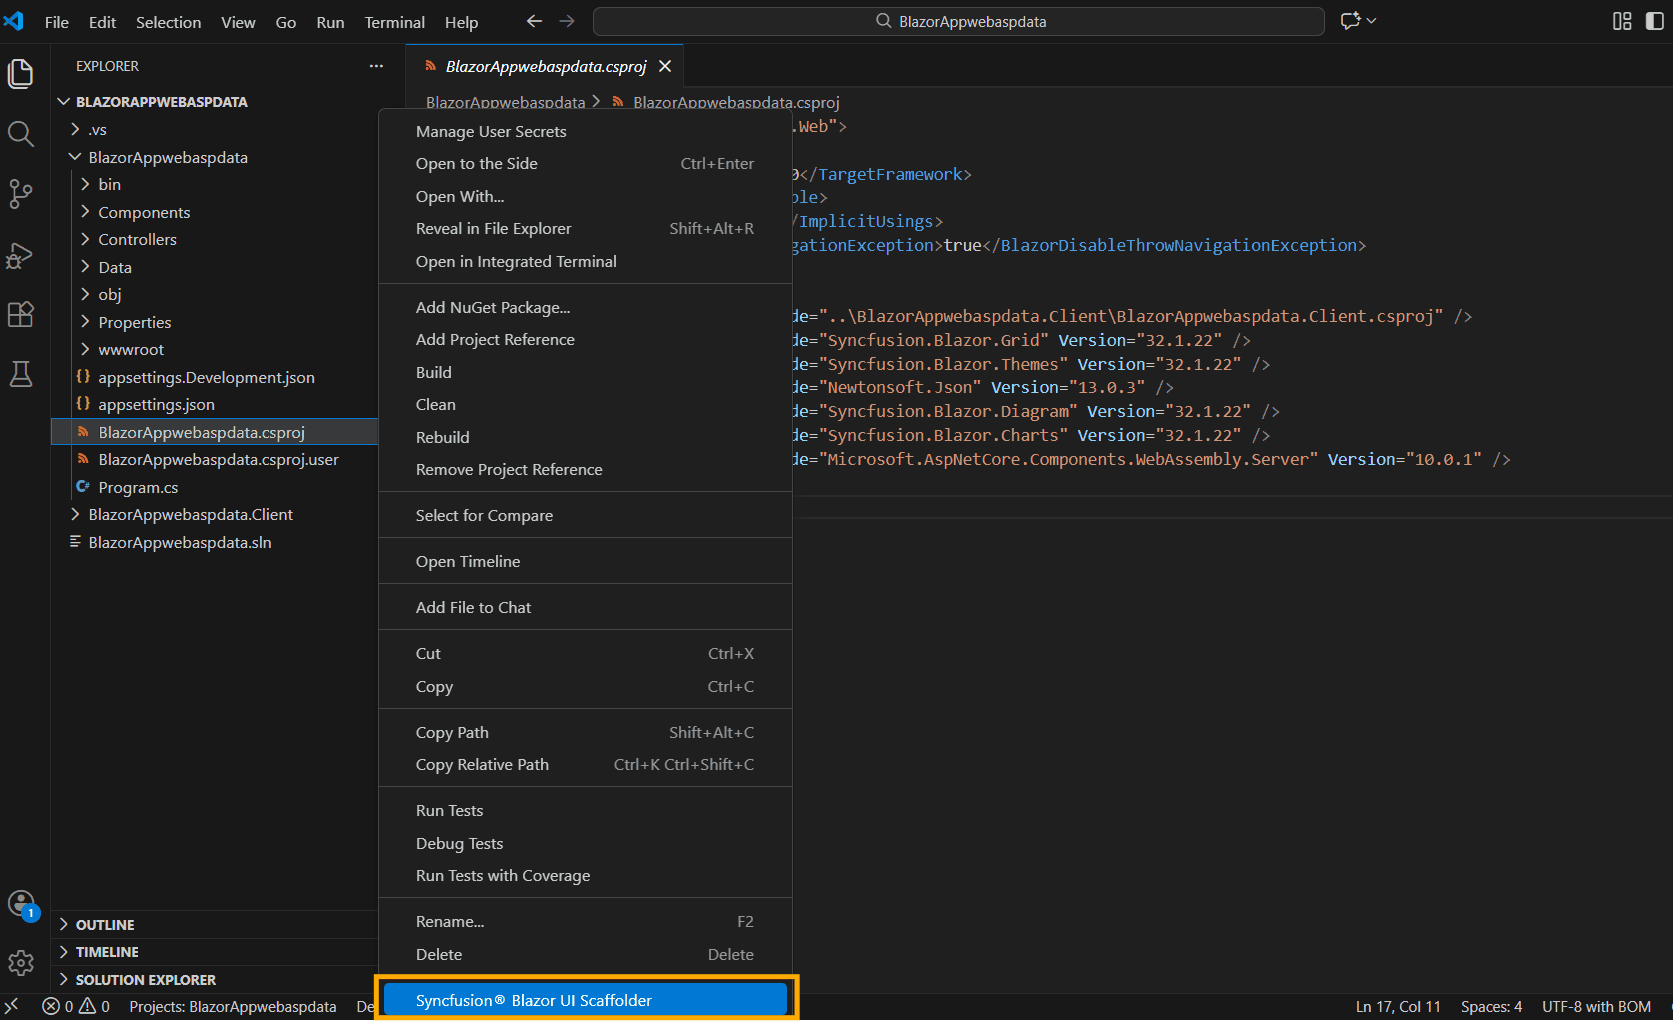
If the application type is Blazor ServerSide, In the File Explorer section right click the project’s .csproj file and then click Syncfusion® Blazor UI Scaffolder.
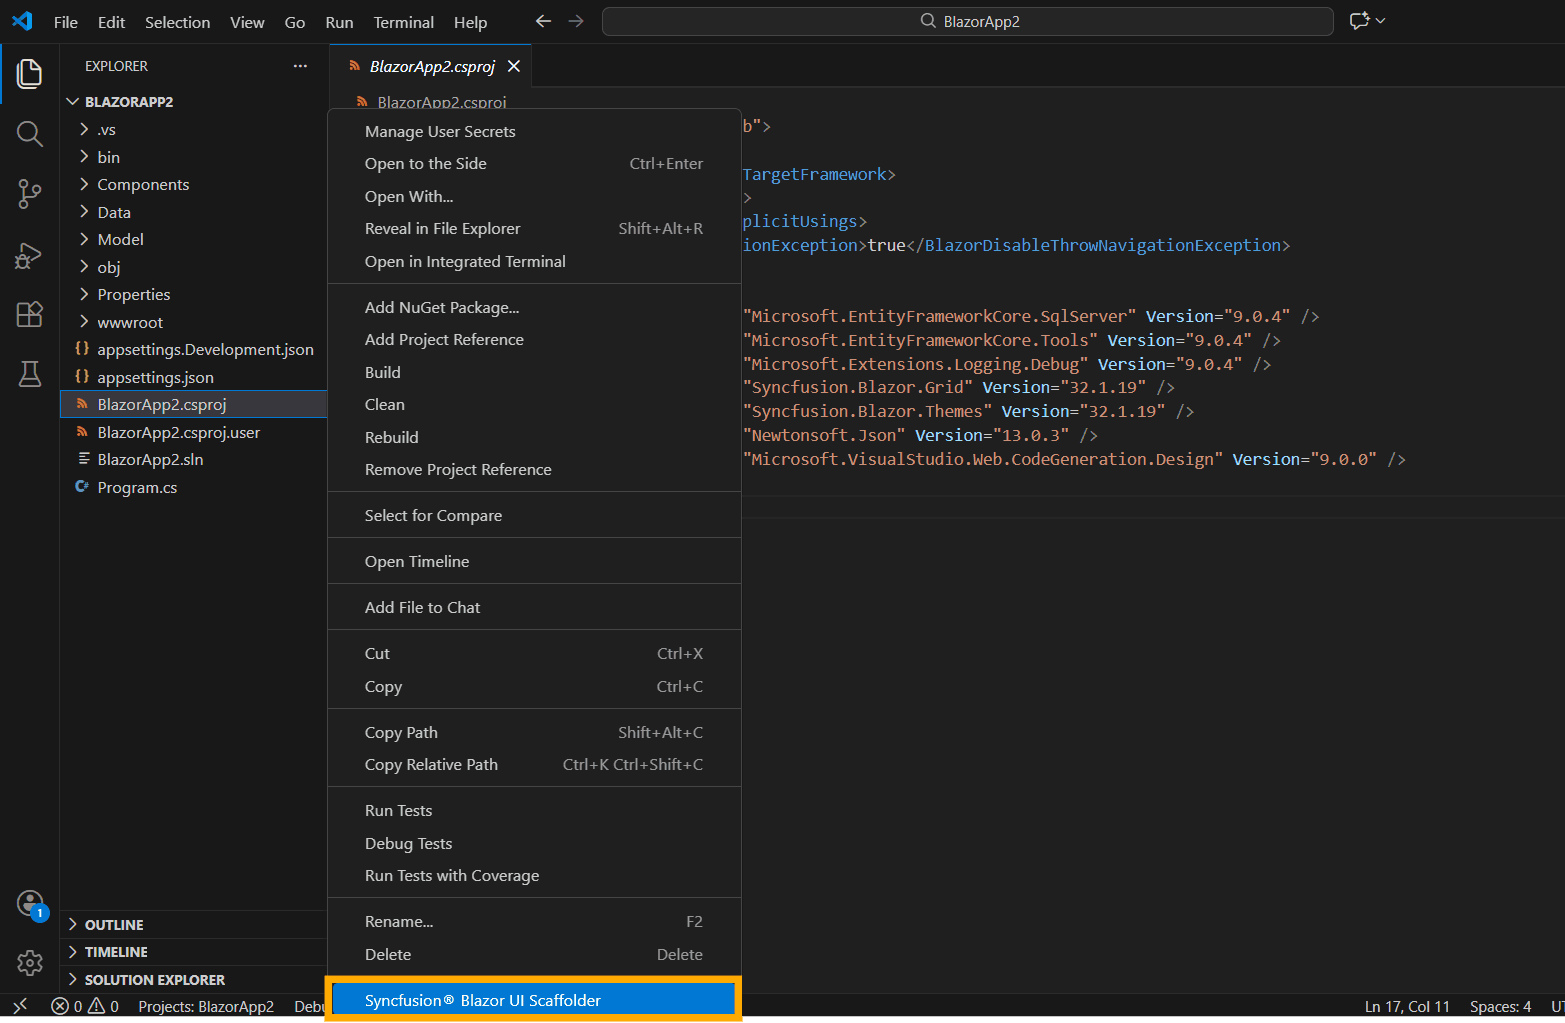
If the application type is Blazor Hosted, right-click the .csproj file from {Project Name}.Server application in the File Explorer, click Syncfusion® Blazor UI Scaffolder.
-
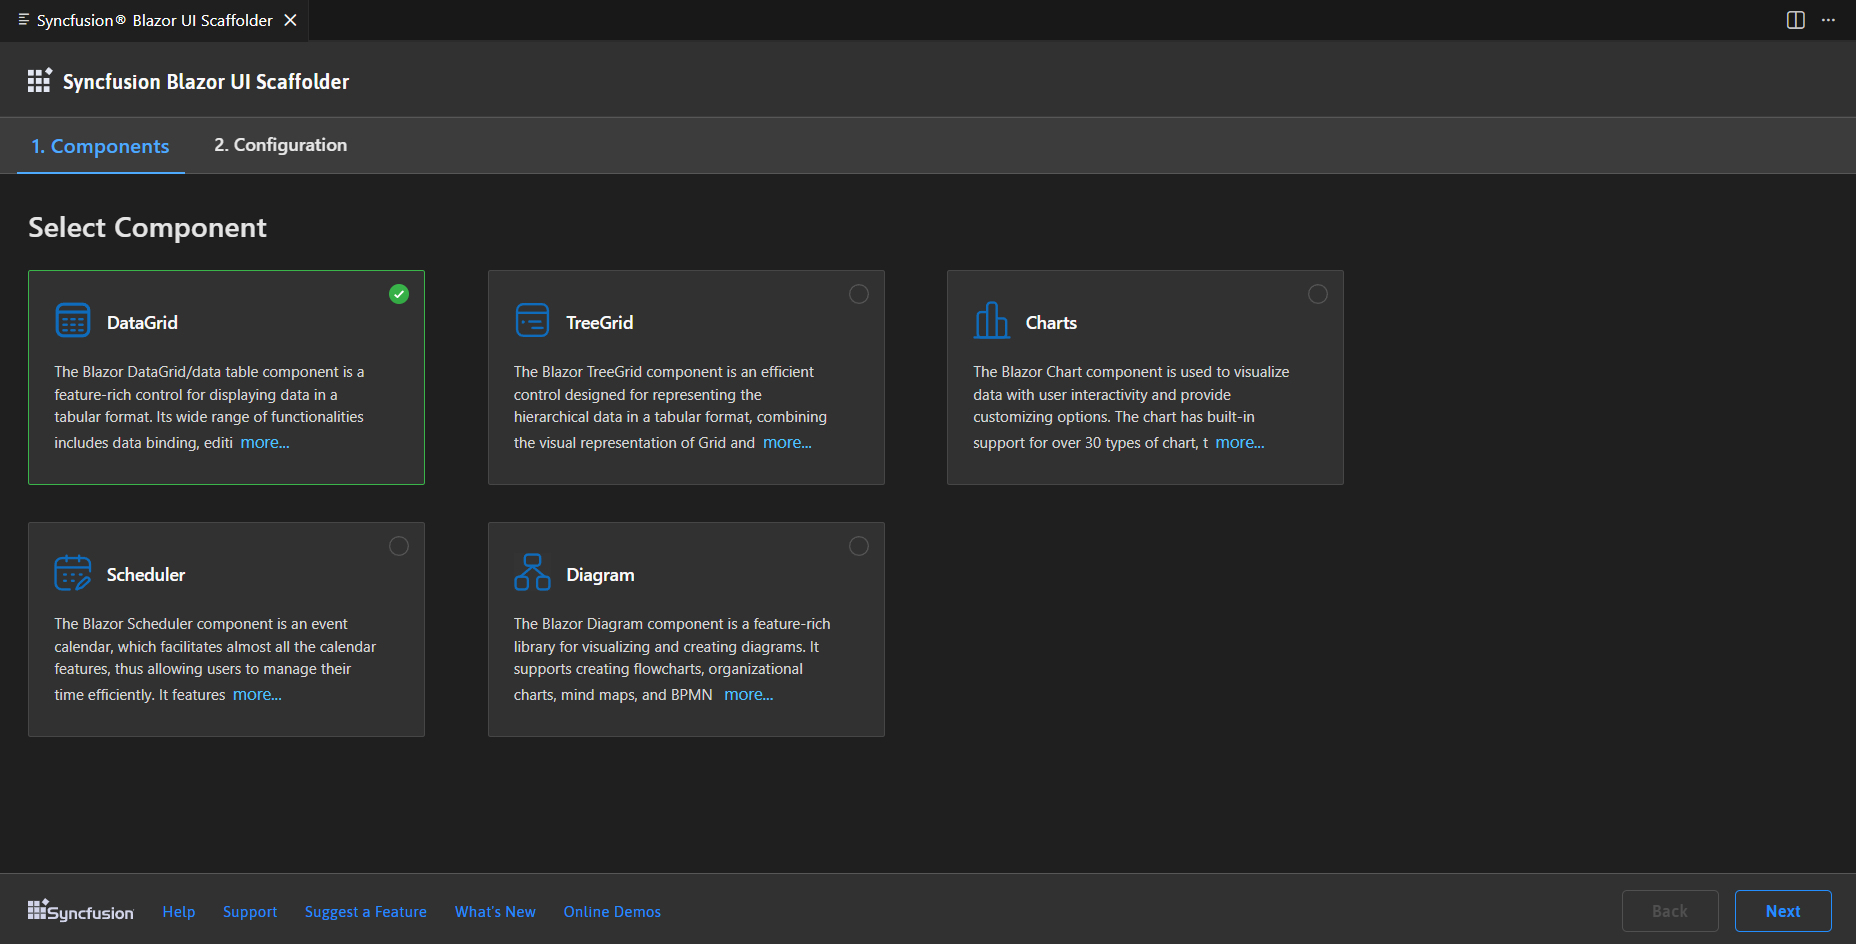
Syncfusion® Blazor Scaffolder UI will be launched, select the desired control to perform scaffolding, and then click Next.
-
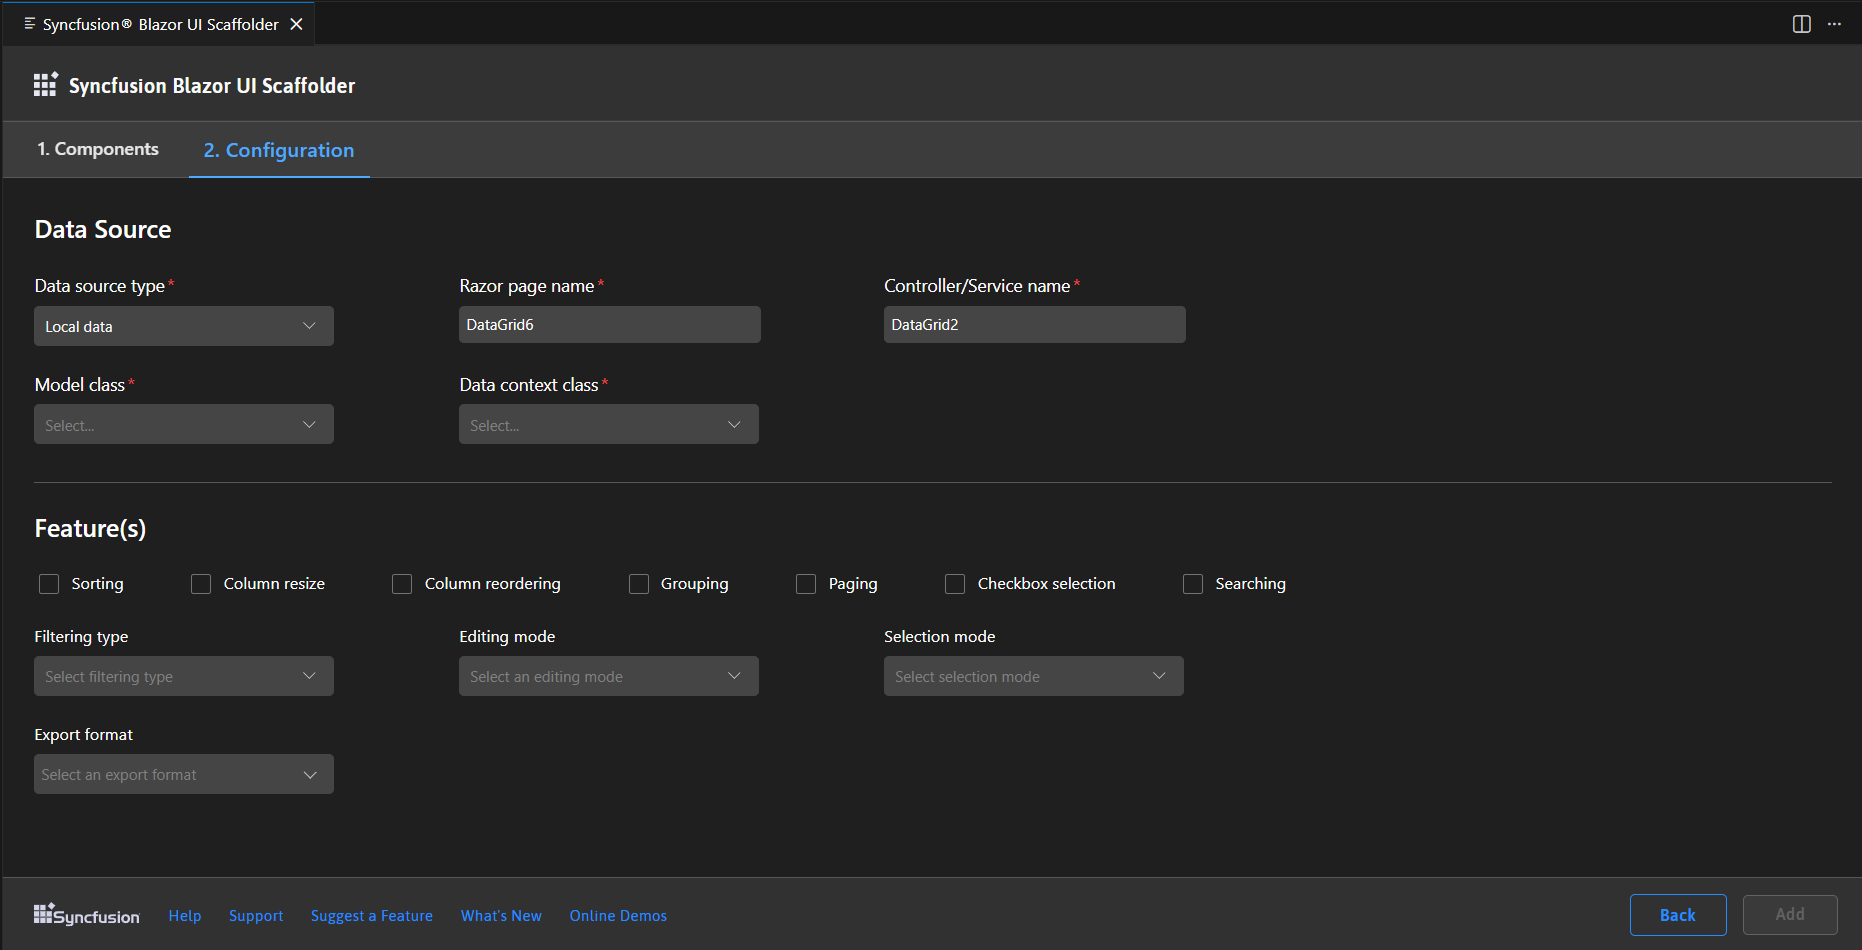
The Configurations for the selected control will be displayed in the configurations Tab. As per the application requirements, follow these steps to set up your application.
Select Data Source Type
-
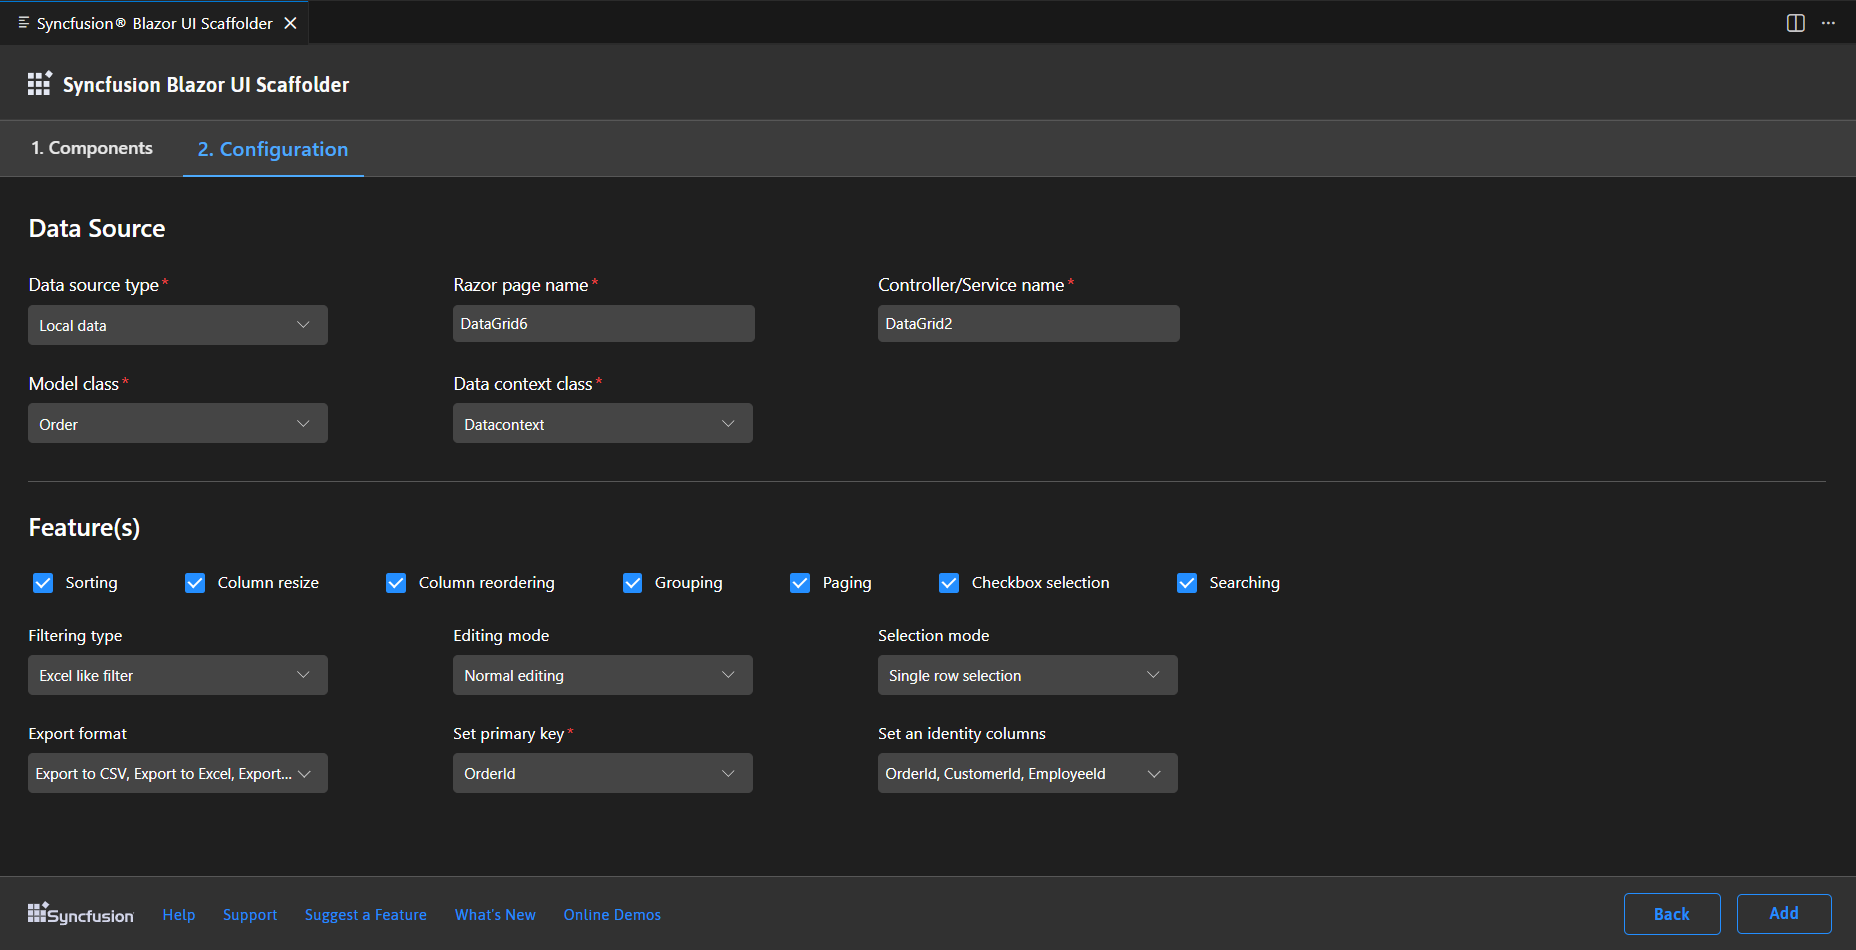
Local Data (default selection)
To set up your application with local data, first enter the Controller/Service name and then enter the Razor page name. Next, select the required Model class for the active application and choose the relevant Data context class.
-
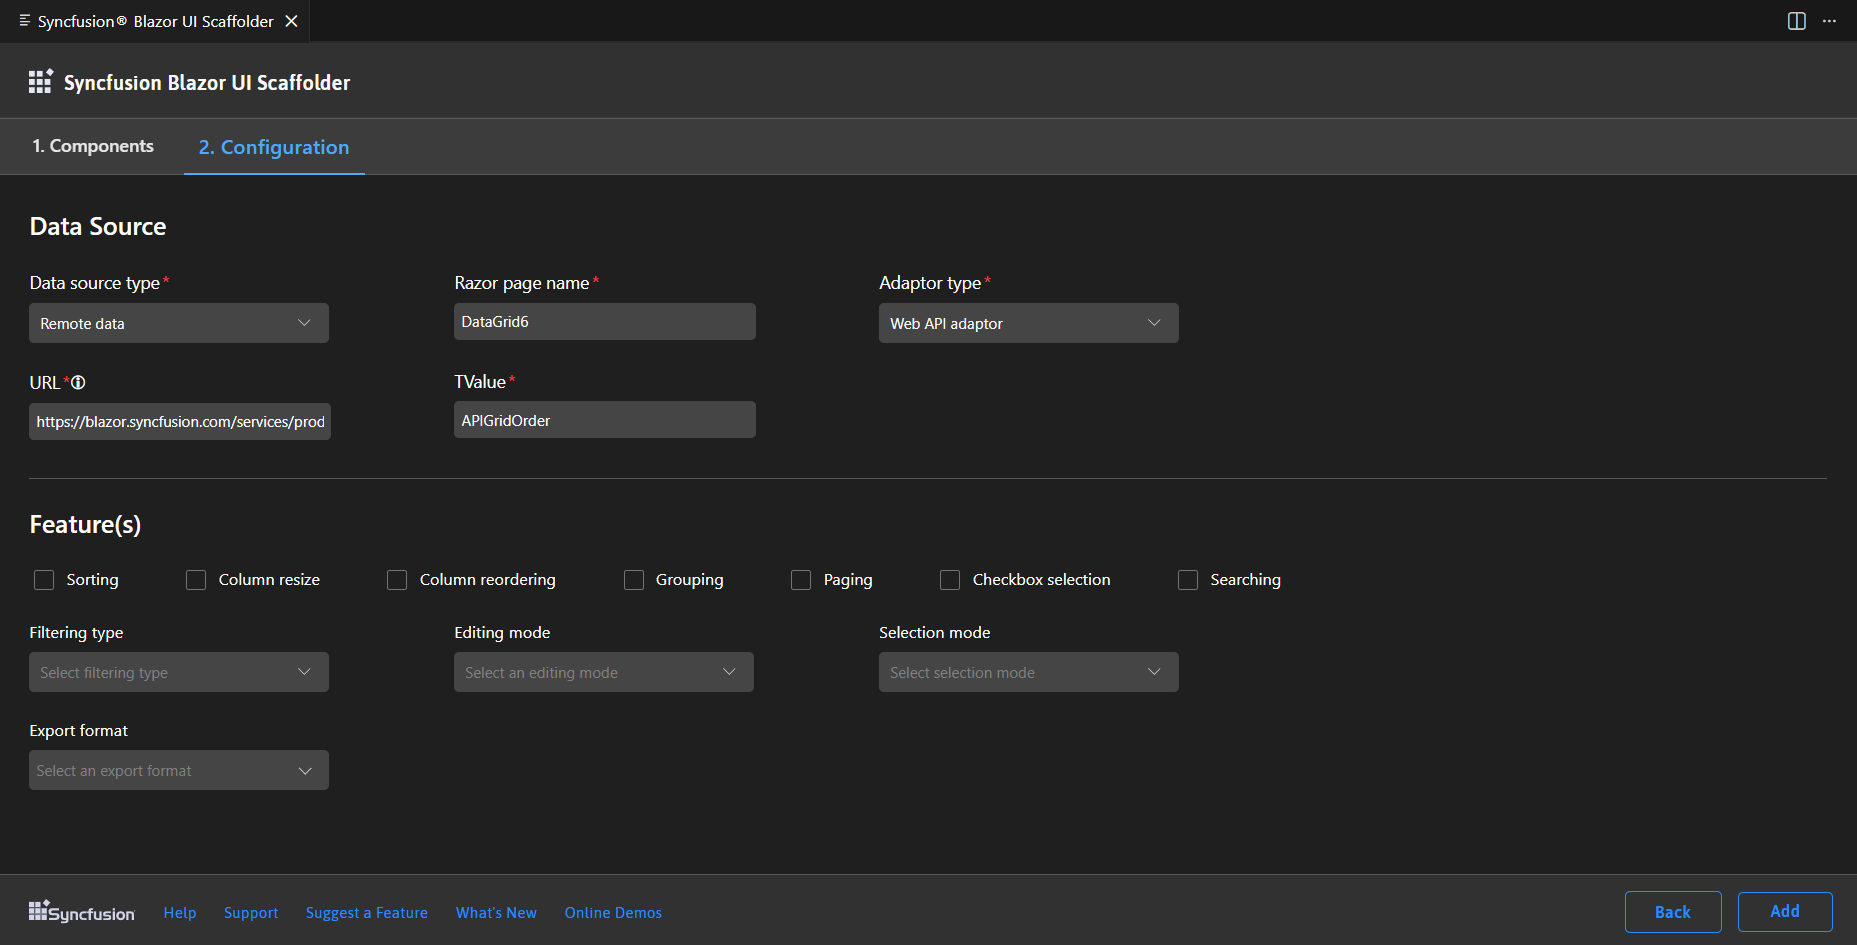
Remote Data
To set up your application with remote data, first enter the Razor page name, choose the Adaptor type, and then enter the valid URL. Next, enter the TValue.
NOTE
In the DataGrid and TreeGrid controls, when selecting the URL adaptor in the Adaptor type, an additional Remote service option will appear. You need to select either the Localhost URL or API URL. If you select the Localhost URL, enter the Controller/Service name. Then, select the required Model class for the active application and choose the relevant Data context class. If you select the API URL, enter the valid URL. Next, enter the TValue.
When using adaptor types in Blazor scaffolding, it’s important to note that we provide default adaptor links for sample purposes only. These default links are intended to help you understand how the adaptors work, but they do not perform CRUD (Add, Edit, Update, Delete) operations. Instead, these default links act as placeholders to demonstrate the integration process.
If you wish to perform CRUD operations, you need to provide a valid link that handles these operations. This link should point to an endpoint or service capable of managing the database operations required by your application. By providing this link, you ensure that your application can effectively interact with the back-end service to perform CRUD operations.
-
-
In the Syncfusion® Blazor Scaffolder, Choose the required features, update the necessary data fields, and then click Add.
-
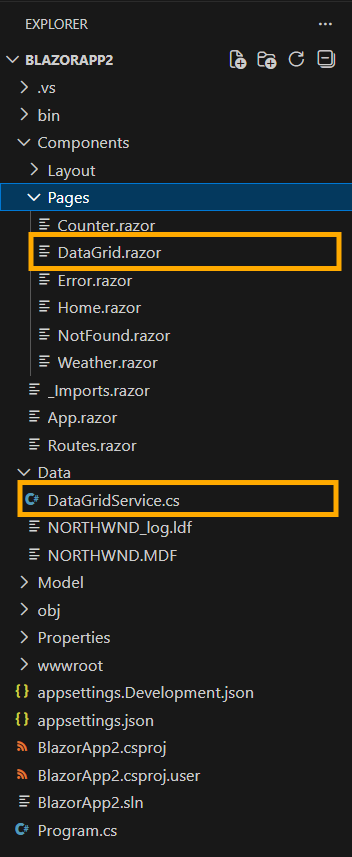
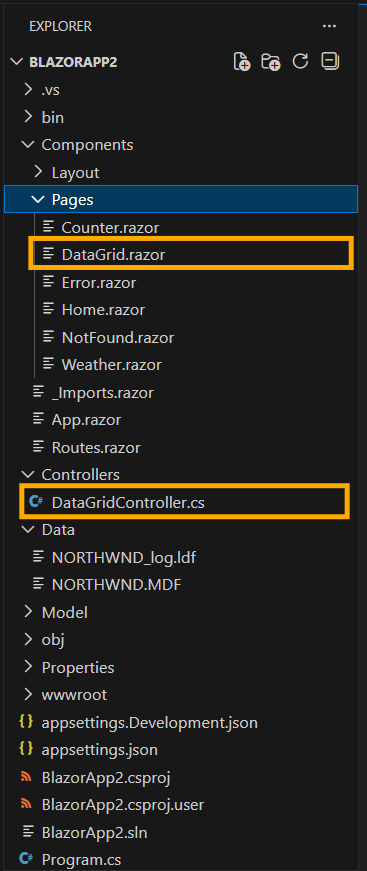
With the selected features of the Syncfusion control, the Controller/Service file and the corresponding Razor files are generated.
If you select Local Data, the service file and razor file will be added to the application.
If you select Remote Data with Localhost URL, the controller file and razor file will be added to the application.
If you choose Remote Data with Web API adaptor types, the razor file will be added to the application.
-
Then, add navigation to the created razor file based on your requirement to open on the webpage.
-
If you installed the trial setup or NuGet packages from nuget.org you must register the Syncfusion® license key to your application since Syncfusion® introduced the licensing system from 2018 Volume 2 (v16.2.0.41) Essential Studio® release. Navigate to the help topic to generate and register the Syncfusion® license key to your application. Refer to this blog post for understanding the licensing changes introduced in Essential Studio®.