Getting Started with Blazor WASM DOCX Editor
14 Aug 20265 minutes to read
Blazor DOCX Editor (Document Editor) enables you to create, edit, view, and print Word documents in web applications. This section guides you through the steps to get started and create a DOCX Editor in a Blazor WebAssembly (WASM) application.
Prerequisites
Create a Blazor WASM App in Visual Studio
You can create a Blazor WebAssembly App using Visual Studio via Microsoft Templates.
Install DOCX Editor NuGet packages
To add Syncfusion Blazor DOCX Editor component in the app, open the NuGet package manager in Visual Studio (Tools → NuGet Package Manager → Manage NuGet Packages for Solution), search and install:
Alternatively, you can utilize the following package manager command to achieve the same.
Install-Package Syncfusion.Blazor.WordProcessor
Install-Package Syncfusion.Blazor.Themes
Create a Blazor WASM App in Visual Studio Code
You can create a Blazor WebAssembly App using Visual Studio Code via Microsoft Templates.
Alternatively, create a WebAssembly application using the following terminal commands (Ctrl+`).
dotnet new blazorwasm -o BlazorApp
cd BlazorApp
Install DOCX Editor NuGet packages
- Press Ctrl+` to open the integrated terminal in Visual Studio Code.
- Navigate to the project directory created in the previous step.
- Ensure you’re in the project root directory where your
.csprojfile is located. - Run the following commands to install the required packages:
dotnet add package Syncfusion.Blazor.WordProcessor
dotnet add package Syncfusion.Blazor.Themes
dotnet restore
The DOCX Editor packages are available on nuget.org. Refer to the NuGet packages topic for available NuGet packages list with component details.
Add namespaces
After the packages are installed, open the _Imports.razor file (typically located at the project root in a Blazor WebAssembly App) and import the Syncfusion.Blazor and Syncfusion.Blazor.DocumentEditor namespaces.
@using Syncfusion.Blazor
@using Syncfusion.Blazor.DocumentEditor
Register the Syncfusion® Blazor Service
Register the Syncfusion® Blazor Service in the ~/Program.cs file of your Blazor WebAssembly App. Place the registration after the host builder is created and before await builder.Build().RunAsync();.
using Microsoft.AspNetCore.Components.Web;
using Microsoft.AspNetCore.Components.WebAssembly.Hosting;
using Syncfusion.Blazor;

var builder = WebAssemblyHostBuilder.CreateDefault(args);
builder.RootComponents.Add<App>("#app");
builder.RootComponents.Add<HeadOutlet>("head::after");

builder.Services.AddScoped(sp => new HttpClient { BaseAddress = new Uri(builder.HostEnvironment.BaseAddress) });

builder.Services.AddSyncfusionBlazor();
await builder.Build().RunAsync();
Register a Syncfusion License Key
Before initializing the Blazor DOCX Editor control, generate a Syncfusion license key and register it in your application.
Add stylesheet
The theme stylesheet can be accessed from NuGet through Static Web Assets. Include the stylesheet reference in the <head> section of the index.html file.
<head>
    <!-- Add Syncfusion theme -->
    <link href="_content/Syncfusion.Blazor.Themes/bootstrap5.css" rel="stylesheet" />
</head>
Add script resources
Include the script reference in the <head> section of the index.html file.
<head>
    <!-- Add the DOCX Editor script -->
    <script src="_content/Syncfusion.Blazor.WordProcessor/scripts/syncfusion-blazor-documenteditor.min.js" type="text/javascript"></script>
</head>
Check out the Blazor Themes topic to discover various methods (Static Web Assets, CDN, and CRG) for referencing themes in your Blazor application. Also, check out the Adding Script Reference topic to learn different approaches for adding script references in your Blazor application.
Add the DOCX Editor Component
Add the Blazor DOCX Editor component to ~/Pages/Home.razor and run the application.
@page "/"

<SfDocumentEditorContainer EnableToolbar=true Height="590px"></SfDocumentEditorContainer>
Run the application
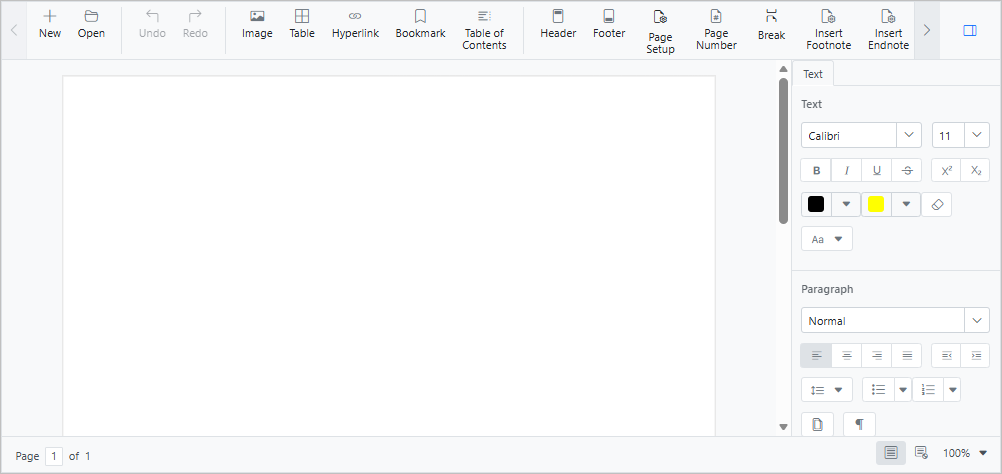
Press Ctrl+F5 (Windows) or ⌘+F5 (macOS) to launch the application. This will render the DOCX Editor component in your default web browser. The output will appear as follows:
Online Demo
Explore how to create, edit, and print Word documents using the Blazor DOCX Editor in this live demo here.
Looking for the full Blazor DOCX Editor component overview, features, pricing, and documentation? Visit the Blazor DOCX Editor page.
Troubleshooting
If the DOCX Editor control does not render as expected, use the following checklist to resolve the most common setup and configuration issues.
1. DOCX Editor not rendering
- Confirm that the script reference is included inside the
<head>section of the index.html.
2. Licensing errors at runtime
- Ensure that you have registered your Syncfusion license.