Set Up React PDF Viewer Using Syncfusion CLI
14 Aug 20262 minutes to read
This guide shows you how to set up a React PDF Viewer project using the Syncfusion CLI in minutes. The Syncfusion CLI automates project scaffolding with predefined templates, themes, and styling formats.
Prerequisites
Before you begin, ensure you have the following:
- Node.js 24+ (LTS recommended) — Download Node.js
- A command-line terminal (PowerShell, Terminal, or Command Prompt)
- Basic familiarity with npm and React
Step 1: Install the Syncfusion CLI
Install the Syncfusion CLI globally using the following command:
npm install -g @syncfusion/syncfusion-cliStep 2: Create a React PDF Viewer Project
The Syncfusion CLI provides two ways to create a project: non-interactive and interactive mode.
Option A: Non-interactive Mode
Create a project directly with a single command:
sf new my-pdf-viewer-app --framework react --template pdf-viewerThis command instantly creates a React Vite application configured with the EJ2 PDF Viewer component. Replace my-pdf-viewer-app with your desired project name.
Option B: Interactive Mode
For a guided setup, run the CLI in interactive mode:
sfThe CLI will prompt you to select your project configuration. Follow these steps:
-
Project name — Enter your project name (e.g.,
my-pdf-viewer-app) -
Framework — Select
React -
Build Tool — Select
Vite -
Language — Select
JavaScriptorTypeScript -
Template — Select
PDF Viewer -
Theme — Choose your preferred theme (e.g.,
Material3) -
Style Format — Select
CSS,SCSS, orTailwind CSS -
Syncfusion MCP Server — Choose
yesorno(for AI-powered development) -
Component Skills — Choose
yesorno(for AI-powered features) -
Install dependencies and start app? — Select
yesto run immediately, ornoto set up manually
Example output:
✓ Project name? ... my-pdf-viewer-app
✓ Choose Framework: » React
✓ Choose Build Tool: » Vite
✓ Choose Language: » JavaScript
✓ Choose Template: » PDF Viewer
✓ Choose Theme: » Material3
✓ Choose Style Format: » CSS
✓ Would you like to integrate the Syncfusion MCP Server? ... no
✓ Would you like to install Component Skills? ... no
✓ Install dependencies and start app now? ... yes
Step 3: Run Your Project
If you selected no for automatic setup, navigate to your project and start the development server:
cd my-pdf-viewer-app
npm install
npm run dev
Your React PDF Viewer application will start on http://localhost:5173 (or the next available port). The browser will automatically open with your project.
After the application starts, you will see the React PDF Viewer in the browser with the sample PDF loaded and all toolbar controls ready to use. The output will appear as follows:
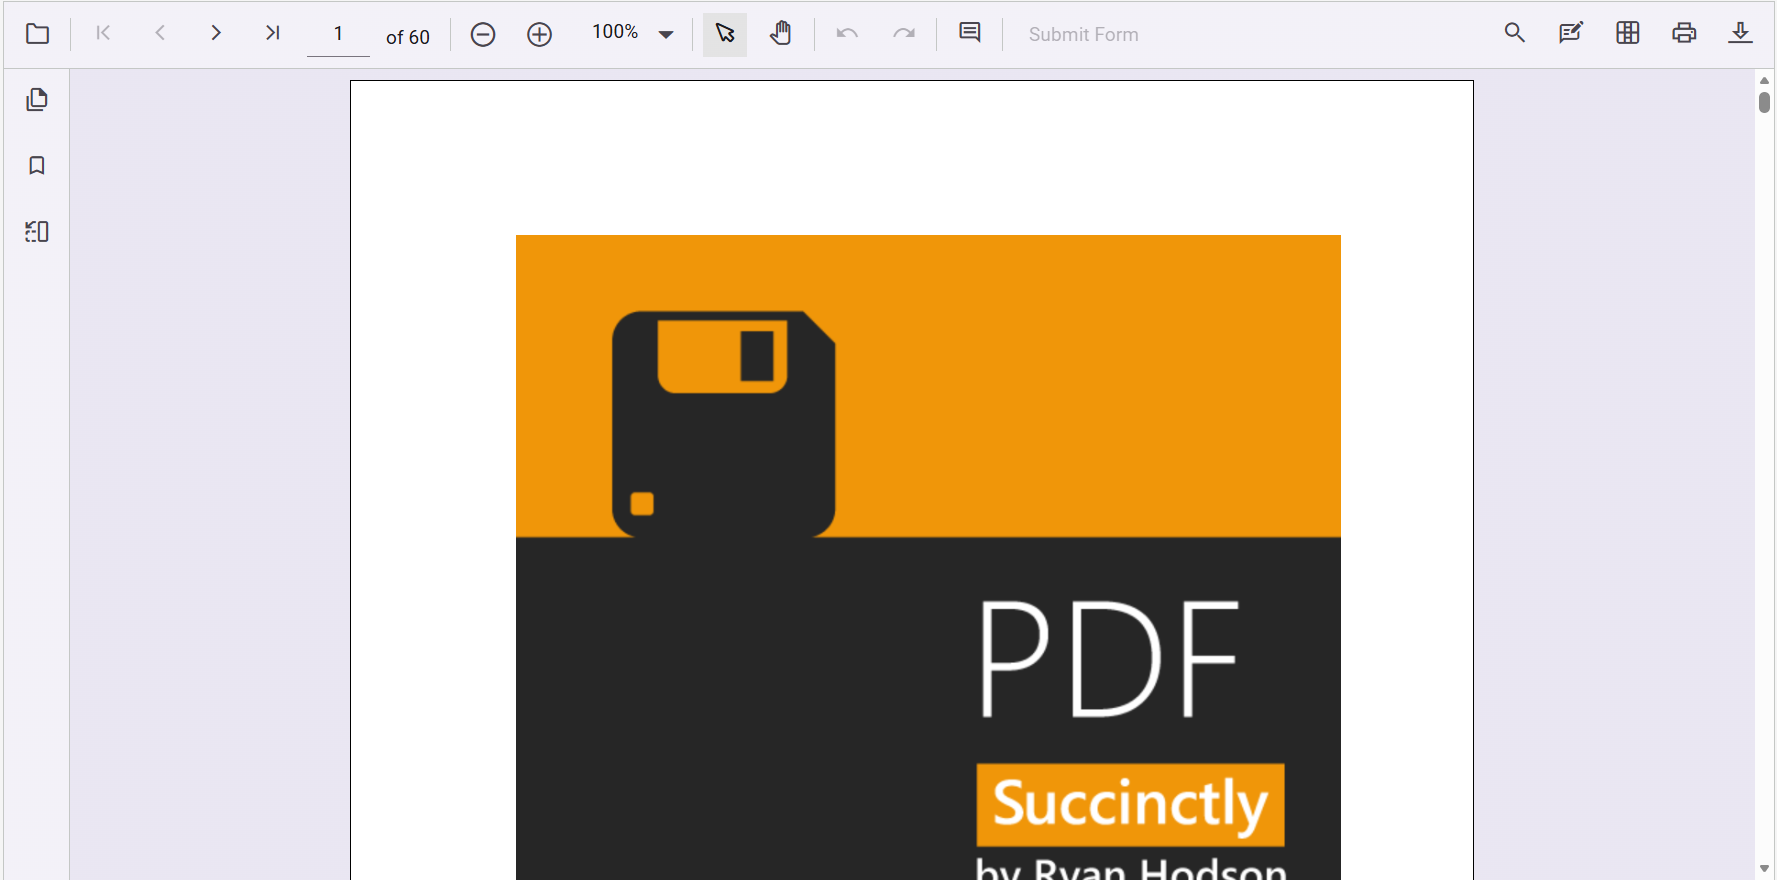
The Syncfusion CLI creates a fully configured project with a predefined PDF Viewer template. The App.jsx file contains a basic PDF Viewer component initialized with all essential services (toolbar, annotations, search, form fields, etc.) and ready to use.
Next Steps
After completing this guide, you will have a working React PDF Viewer project. You can now:
- Customize the PDF Viewer — See Customize Toolbar to modify toolbars and controls
- Handle Events — Learn about PDF Viewer events in Event Handling
- Add Annotations — Explore annotation features in Annotations
- Open PDF Files — See Open PDF Files for file handling
- Deploy Your App — Refer to Deployment Integration for production setup
For more information, visit the Getting Started with React PDF Viewer guide or the PDF Viewer Overview.