Getting Started with the Diagram Component in the Blazor MAUI App
18 Nov 201812 minutes to read
This guide walks through the step-by-step process of integrating the Blazor Diagram component in a Blazor MAUI App using both Visual Studio and Visual Studio Code.
Ready to streamline your Blazor development?
Discover the full potential of Blazor components with AI Coding Assistants. Effortlessly integrate, configure, and enhance your projects with intelligent, context-aware code suggestions, streamlined setups, and real-time insights—all seamlessly integrated into your preferred AI-powered IDEs like VS Code, Cursor, CodeStudio and more. Explore AI Coding Assistants
Prerequisites
To use the MAUI project templates, install the Mobile development with the .NET extension for Visual Studio. For more details, refer to here or the Syncfusion® Blazor Extension.
Create a new Blazor MAUI App in Visual Studio
Create a Blazor MAUI App using Visual Studio via Microsoft Templates. For detailed instructions, refer to the Blazor MAUI App Getting Started documentation.
Prerequisites
To use the MAUI project templates, install the Mobile development with the .NET extension for Visual Studio Code. For more details, refer to here or the Syncfusion® Blazor Extension.
Create a new Blazor MAUI App in Visual Studio Code
Create a Blazor MAUI App using Visual Studio Code via Microsoft Templates or the Syncfusion® Blazor Extension. For detailed instructions, refer to the Blazor MAUI App Getting Started documentation.
Install required Blazor packages
Install Syncfusion.Blazor.Diagram and Syncfusion.Blazor.Themes NuGet packages in your project using the NuGet Package Manager in Visual Studio (Tools → NuGet Package Manager → Manage NuGet Packages for Solution → Select the package -> Install).
Alternatively, run the following commands in the Package Manager Console(Tools → NuGet Package Manager → Package Manager Console) to achieve the same.
Install-Package Syncfusion.Blazor.Diagram -Version 34.1.29
Install-Package Syncfusion.Blazor.Themes -Version 34.1.29
Install Syncfusion.Blazor.Diagram and Syncfusion.Blazor.Themes NuGet packages in your project using the C# package management(Right click the “.csproj” file, -> C# package management -> Add nuget package -> Select nuget package and version)
NOTE
All Syncfusion Blazor packages are available on nuget.org. See the NuGet packages topic for details.
Add import namespaces
After the packages are installed, open the ~/_Imports.razor file and import the Syncfusion.Blazor and Syncfusion.Blazor.Diagram namespaces.
@using Syncfusion.Blazor
@using Syncfusion.Blazor.Diagram
Register Blazor service
Register the Blazor service in the ~/MauiProgram.cs file.
....
using Syncfusion.Blazor;

....

public static class MauiProgram
{
    public static MauiApp CreateMauiApp()
    {
        ....
        builder.Services.AddSyncfusionBlazor();
        ....
    }
}
Add stylesheet and script resources
The theme stylesheet and script can be accessed from NuGet through Static Web Assets. Include the stylesheet and script references in the ~/index.html file.
<head>
    ...
    <link href="_content/Syncfusion.Blazor.Themes/fluent2.css" rel="stylesheet" />
</head>
<body>
    ....
    <script src="_content/Syncfusion.Blazor.Diagram/scripts/sf-diagramcomponent.min.js" type="text/javascript"></script>
</body>
NOTE
Check out the Blazor Themes topic to discover various methods (Static Web Assets, CDN, and CRG) for referencing themes in your Blazor application. Also, check out the Adding Script Reference topic to learn different approaches for adding script references in your Blazor application.
Add Blazor Diagram component
Add the Diagram component in the ~/Pages/Home.razor file.
@using Syncfusion.Blazor.Diagram

<SfDiagramComponent @ref="@diagram" Connectors="@connectors" Height="700px" Nodes="@nodes" />

@code
{
    SfDiagramComponent diagram;
    int connectorCount = 0;
    //Defines Diagram's nodes collection.
    DiagramObjectCollection<Node> nodes = new DiagramObjectCollection<Node>();
    //Defines Diagram's connectors collection.
    DiagramObjectCollection<Connector> connectors = new DiagramObjectCollection<Connector>();

    protected override void OnInitialized()
    {
        InitDiagramModel();
    }

    private void InitDiagramModel()
    {
        CreateNode("Start", 300, 50, NodeFlowShapes.Terminator, "Start");
        CreateNode("Init", 300, 140, NodeFlowShapes.Process, "var i = 0");
        CreateNode("Condition", 300, 230, NodeFlowShapes.Decision, "i < 10?");
        CreateNode("Print", 300, 320, NodeFlowShapes.PreDefinedProcess, "print(\'Hello!!\');");
        CreateNode("Increment", 300, 410, NodeFlowShapes.Process, "i++;");
        CreateNode("End", 300, 500, NodeFlowShapes.Terminator, "End");
        // Creates orthogonal connector.
        OrthogonalSegment segment1 = new OrthogonalSegment()
        {
            Type = ConnectorSegmentType.Orthogonal,
            Direction = Direction.Right,
            Length = 30,
        };
        OrthogonalSegment segment2 = new OrthogonalSegment()
        {
            Type = ConnectorSegmentType.Orthogonal,
            Length = 300,
            Direction = Direction.Bottom,
        };
        OrthogonalSegment segment3 = new OrthogonalSegment()
        {
            Type = ConnectorSegmentType.Orthogonal,
            Length = 30,
            Direction = Direction.Left,
        };
        OrthogonalSegment segment4 = new OrthogonalSegment()
        {
            Type = ConnectorSegmentType.Orthogonal,
            Length = 200,
            Direction = Direction.Top,
        };
        CreateConnector("Start", "Init");
        CreateConnector("Init", "Condition");
        CreateConnector("Condition", "Print");
        CreateConnector("Condition", "End", "Yes", segment1, segment2);
        CreateConnector("Print", "Increment", "No");
        CreateConnector("Increment", "Condition", null, segment3, segment4);
    }

    // Method to create connector.
    private void CreateConnector(string sourceId, string targetId, string label = default(string), OrthogonalSegment segment1 = null, OrthogonalSegment segment2 = null)
    {
        Connector diagramConnector = new Connector()
        {
            // Represents the unique id of the connector.
            ID = string.Format("connector{0}", ++connectorCount),
            SourceID = sourceId,
            TargetID = targetId,
        };
        if (label != default(string))
        {
            // Represents the annotation of the connector.
            PathAnnotation annotation = new PathAnnotation()
            {
                Content = label,
                Style = new TextStyle() { Fill = "white" }
            };
            diagramConnector.Annotations = new DiagramObjectCollection<PathAnnotation>() { annotation };
        }
        if (segment1 != null)
        {
            // Represents the segment type of the connector.
            diagramConnector.Type = ConnectorSegmentType.Orthogonal;
            diagramConnector.Segments = new DiagramObjectCollection<ConnectorSegment> { segment1, segment2 };
        }
        connectors.Add(diagramConnector);
    }

    // Method to create node.
    private void CreateNode(string id, double x, double y, NodeFlowShapes shape, string label)
    {
        Node diagramNode = new Node()
        {
            //Represents the unique id of the node.
            ID = id,
            // Defines the position of the node.
            OffsetX = x,
            OffsetY = y,
            // Defines the size of the node.
            Width = 145,
            Height = 60,
            // Defines the style of the node.
            Style = new ShapeStyle { Fill = "#357BD2", StrokeColor = "White" },
            // Defines the shape of the node.
            Shape = new FlowShape() { Type = NodeShapes.Flow, Shape = shape },
            // Defines the annotation collection of the node.
            Annotations = new DiagramObjectCollection<ShapeAnnotation>
            {
                new ShapeAnnotation
                {
                    Content = label,
                    Style = new TextStyle()
                    {
                        Color="White",
                        Fill = "transparent"
                    }
                }
            }
        };
        nodes.Add(diagramNode);
    }
}
NOTE
How to run the sample on windows
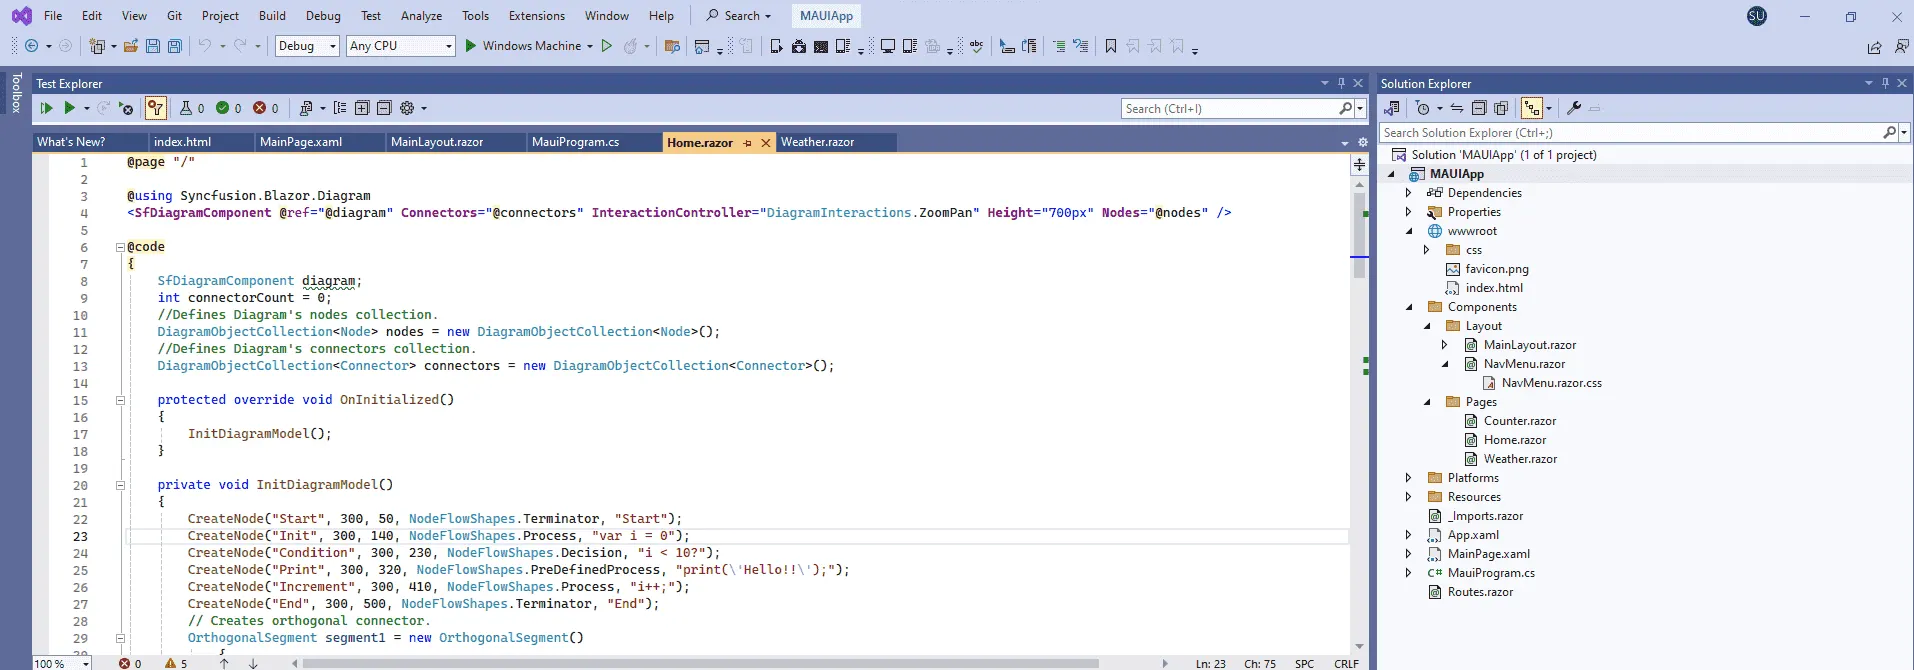
Run the sample in Windows Machine mode, and it will run Blazor MAUI in Windows.
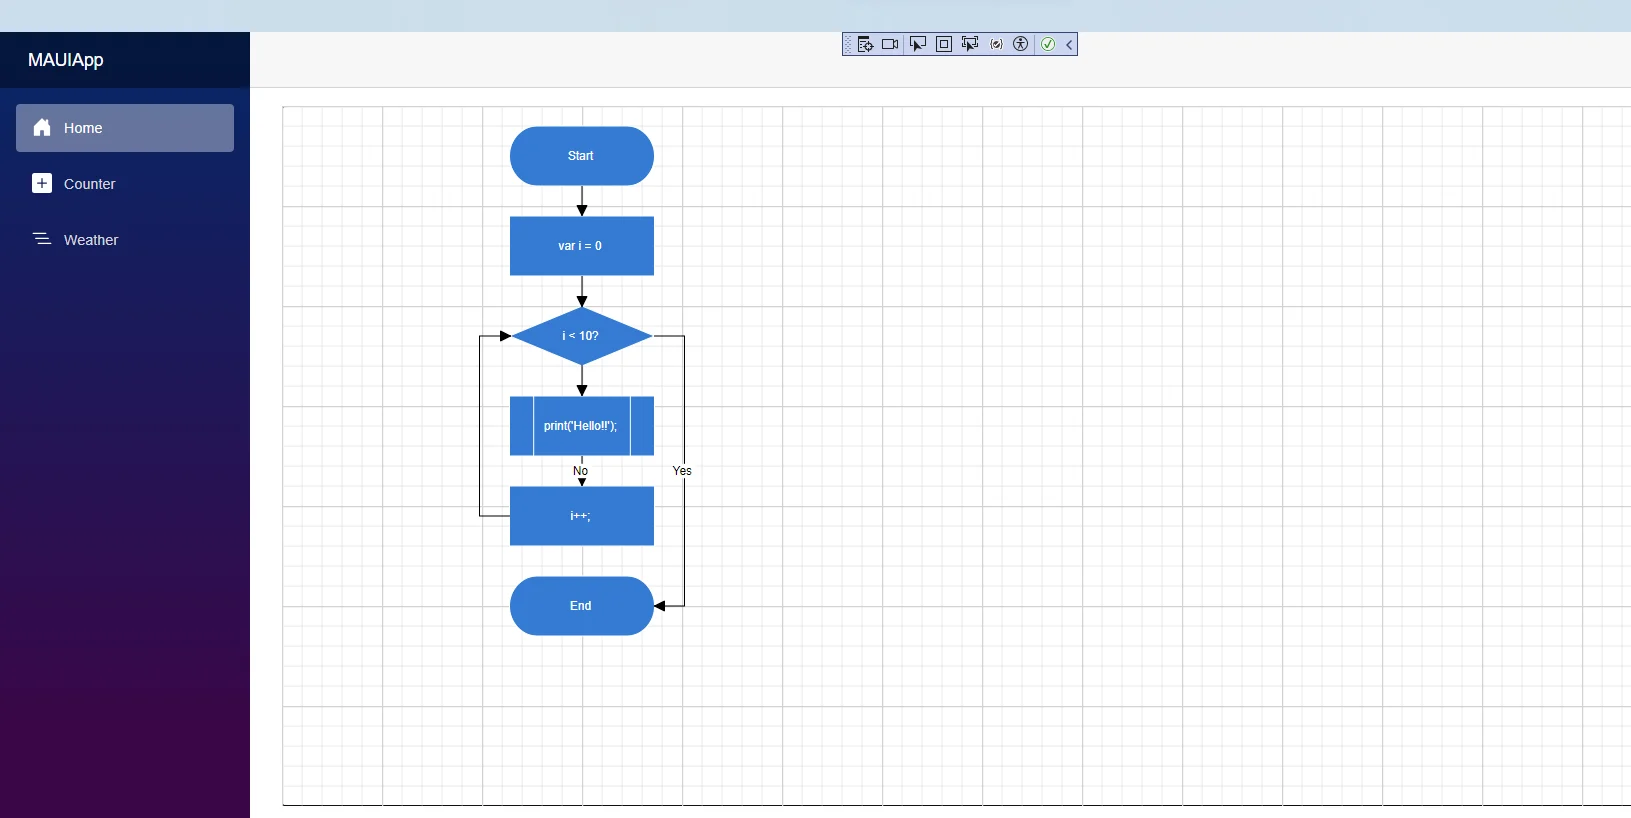
When the application is successfully launched, the Diagram component will seamlessly render the specified diagram page.
How to run the sample on Android
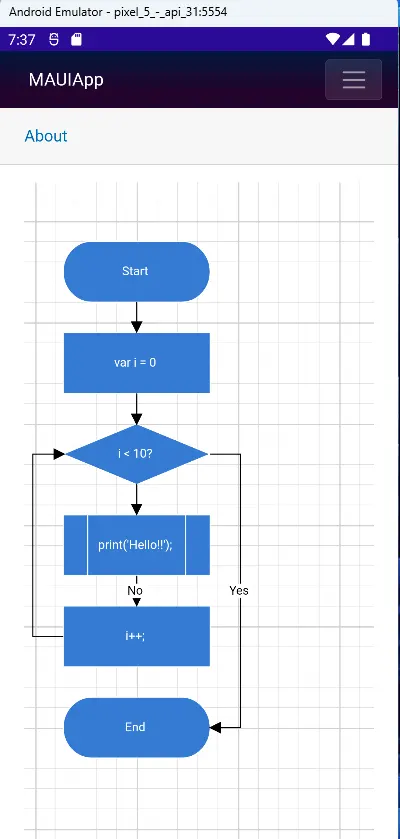
To run the Blazor Diagram component in a Blazor Android MAUI application using the Android emulator, follow these steps:
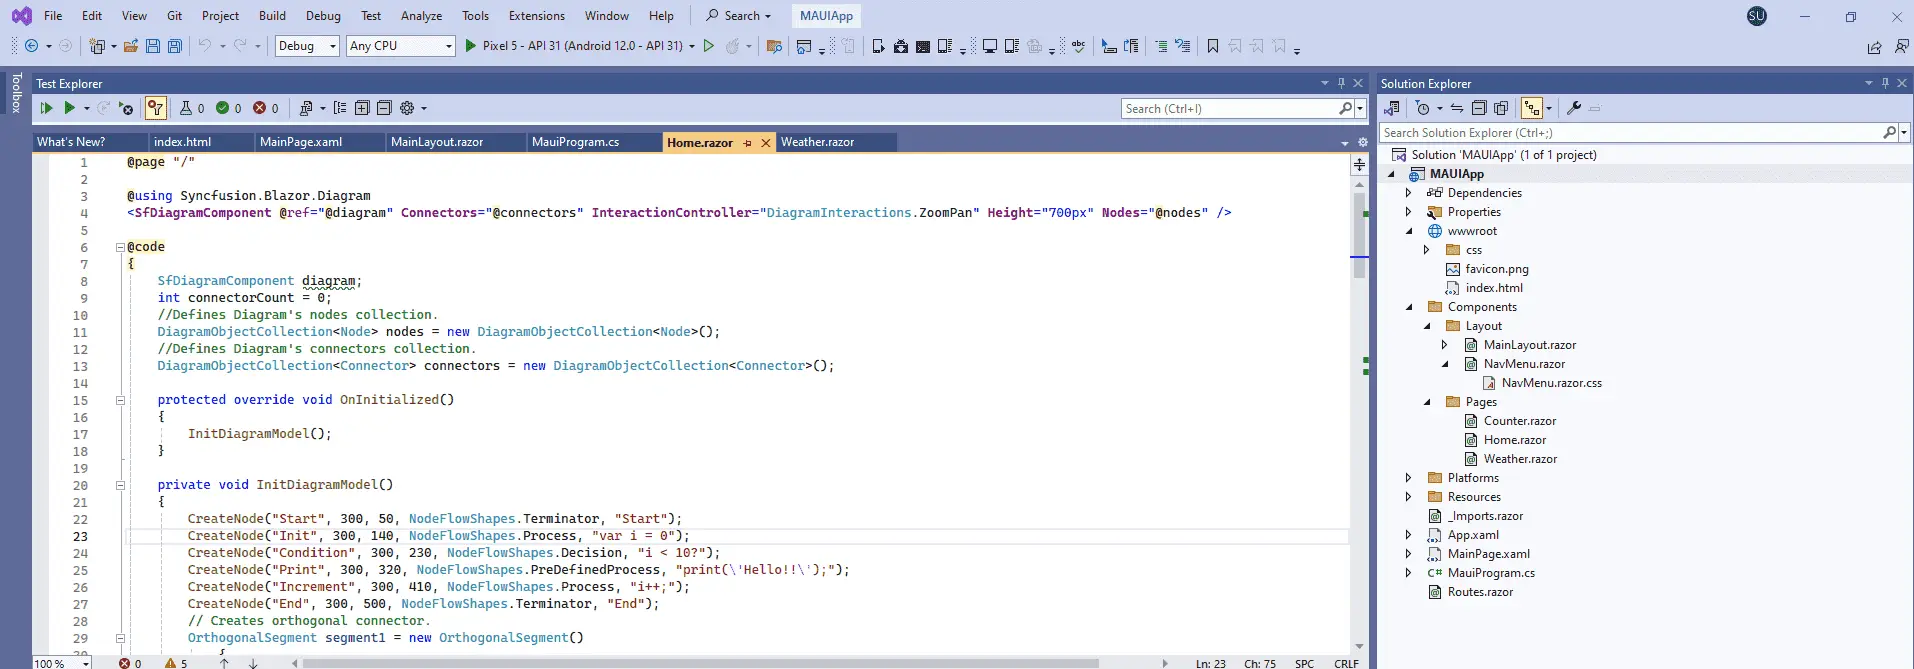
Refer here to install and launch Android emulator.
NOTE
If encounter any errors while using the Android Emulator, refer to the following link for troubleshooting guidanceTroubleshooting Android Emulator.