Rules
18 Nov 20182 minutes to read
Rules in Code Studio allow you to provide specific instructions that guide how the AI assistant behaves when working with your code. Instead of the AI making assumptions about your coding standards, architecture patterns, or project-specific requirements, you can explicitly define guidelines that ensure consistent, contextually appropriate responses.
Purpose
- Set Standards: Ensure the AI follows your coding styles, guidelines, and project needs.
- Keep Responses Consistent: Ensure all answers align with your team’s requirements every time.
- Easily Update Guidance: Modify rules as your project evolves to maintain relevant suggestions.
- Support Team Alignment: Help everyone on the project receive guidance that matches shared practices.
How Rules Work in Syncfusion Code Studio
To form the system message, rules are joined with new lines, in the order they appear in the toolbar.
How to Use Rules
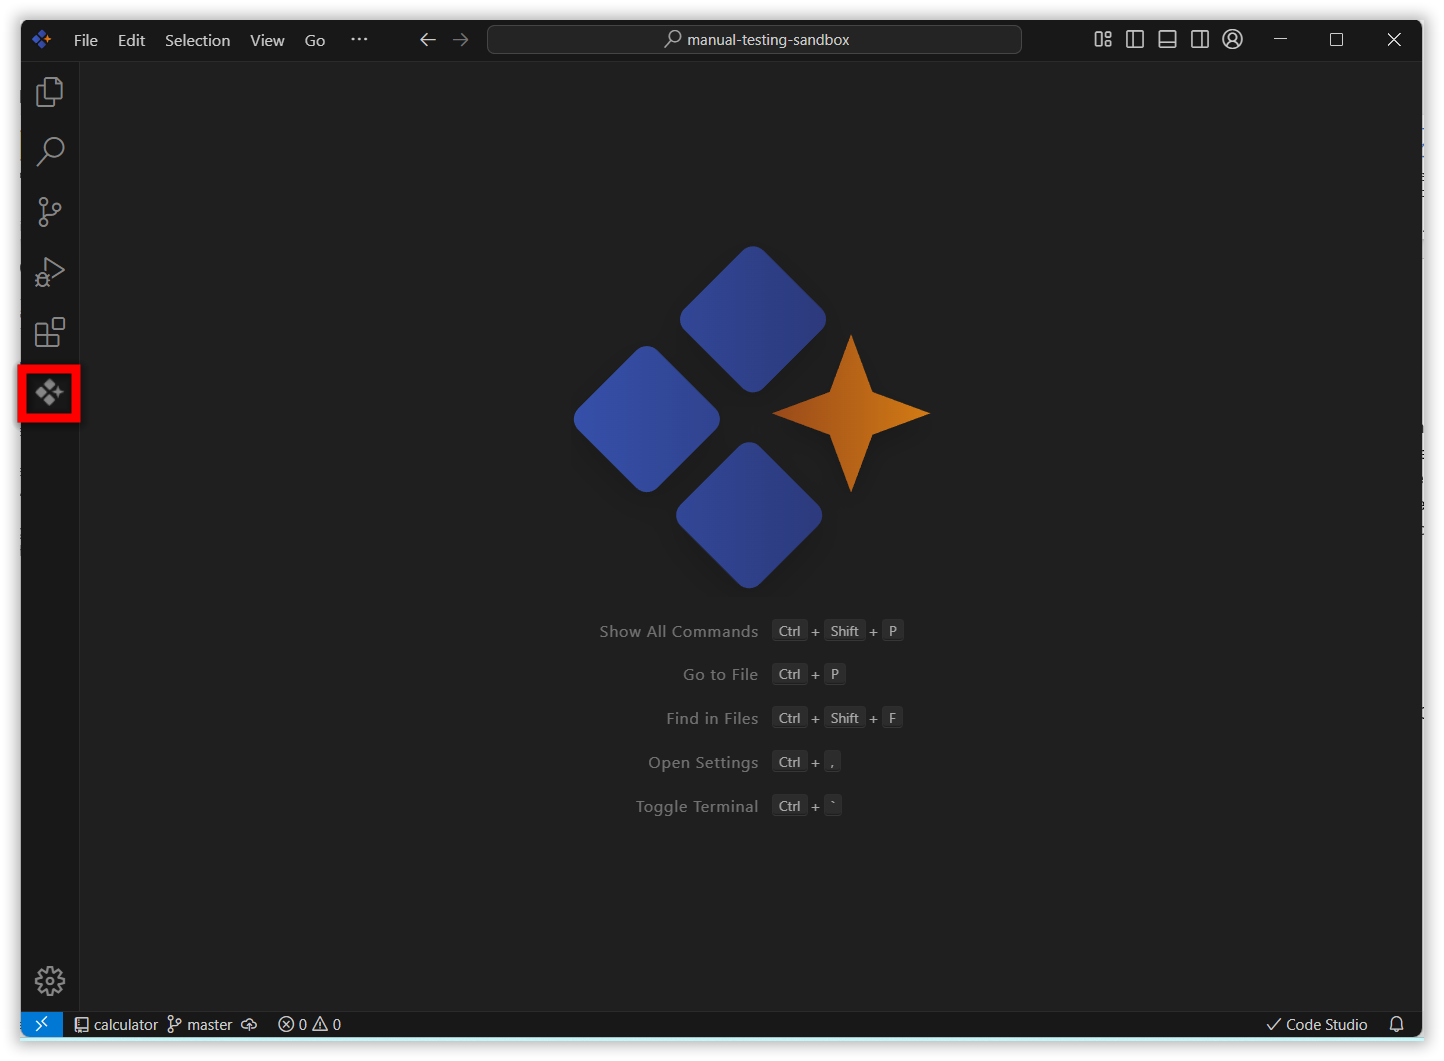
1. Open Code Studio Extension
Click the Syncfusion Code Studio icon on the left toolbar to open the Syncfusion Code Studio chat window.
2. Add Rules
You can add rules in three different ways. Regardless of the method you choose, Code Studio will automatically apply the changes once the file is saved.
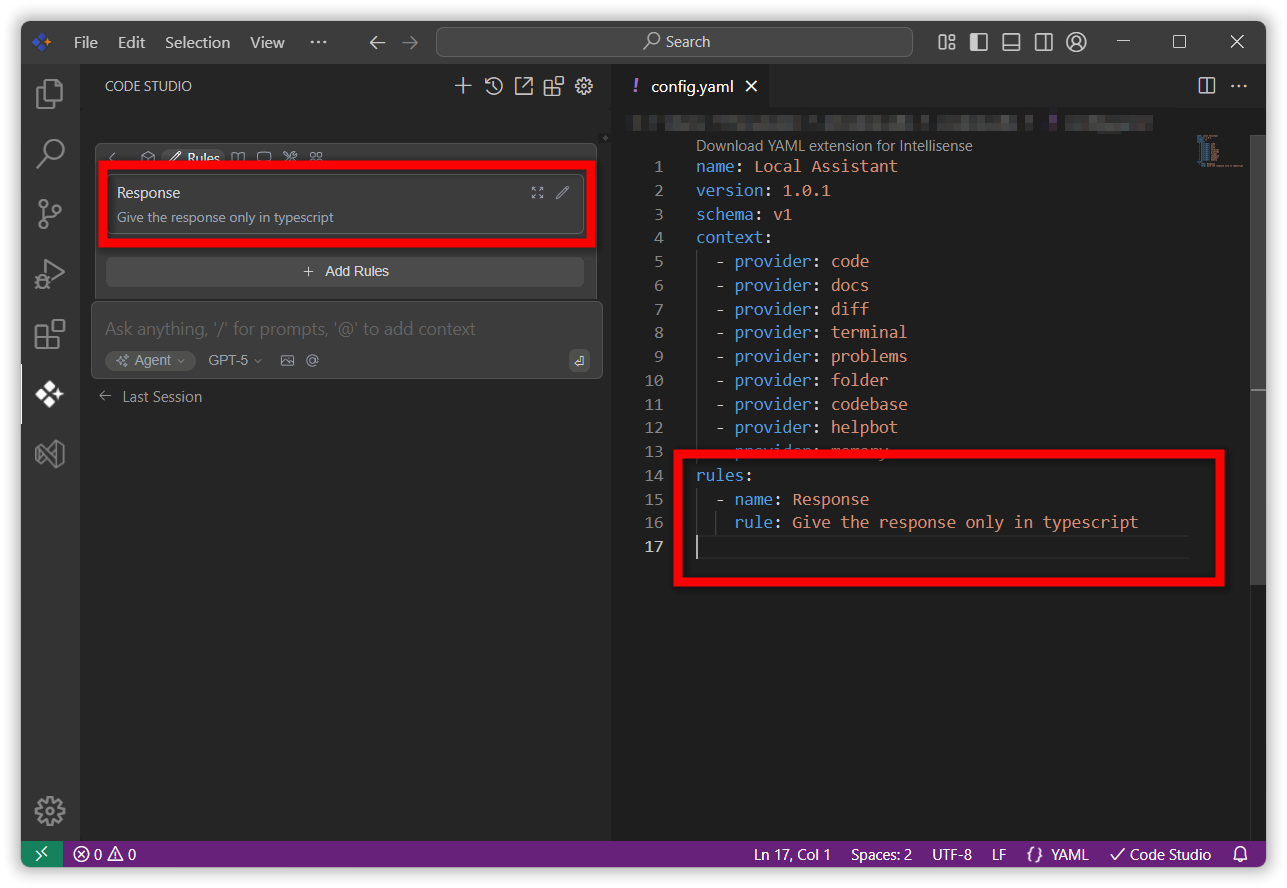
1. Using add Rules block
- Go to the Rules section and click Add Rules.
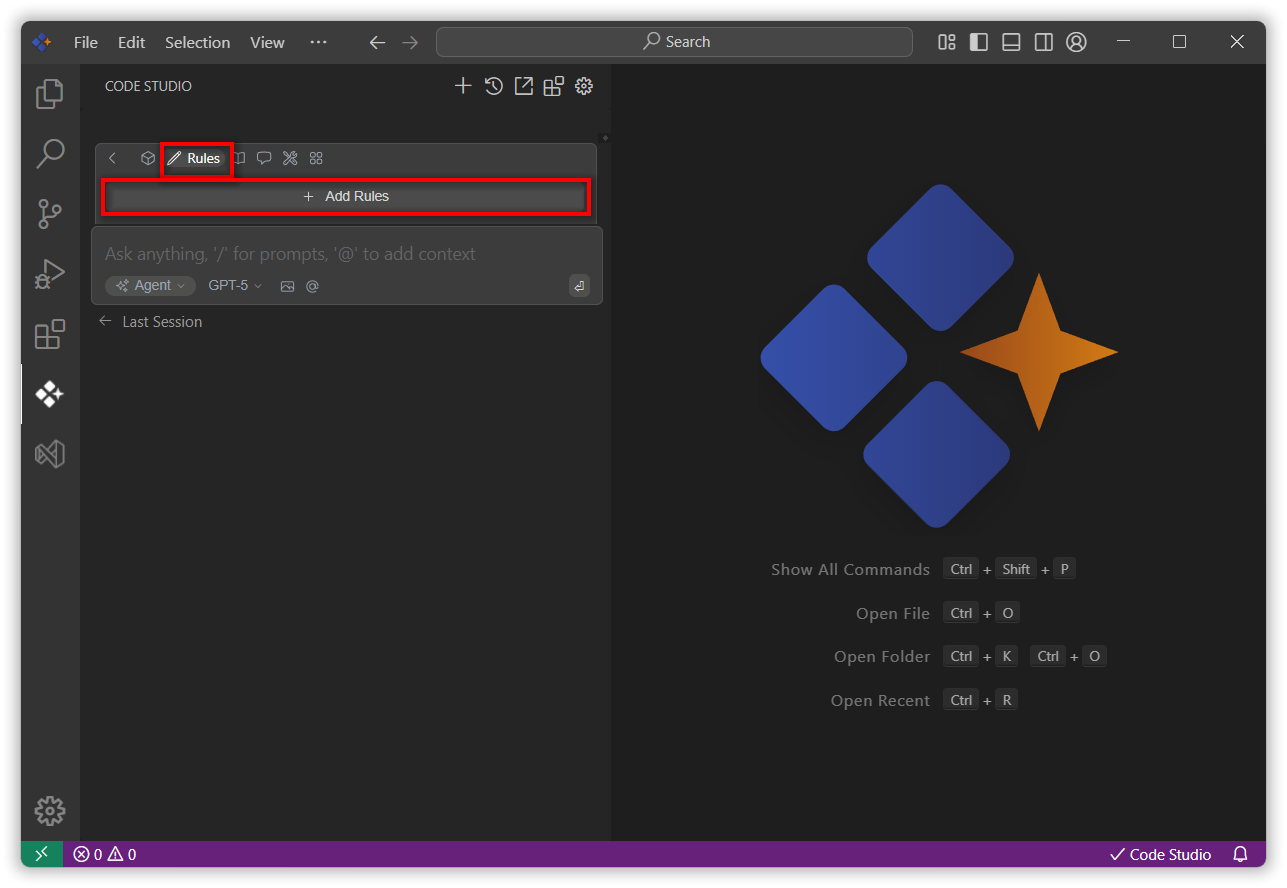
- Enter the rule name and description, then click the Add button.
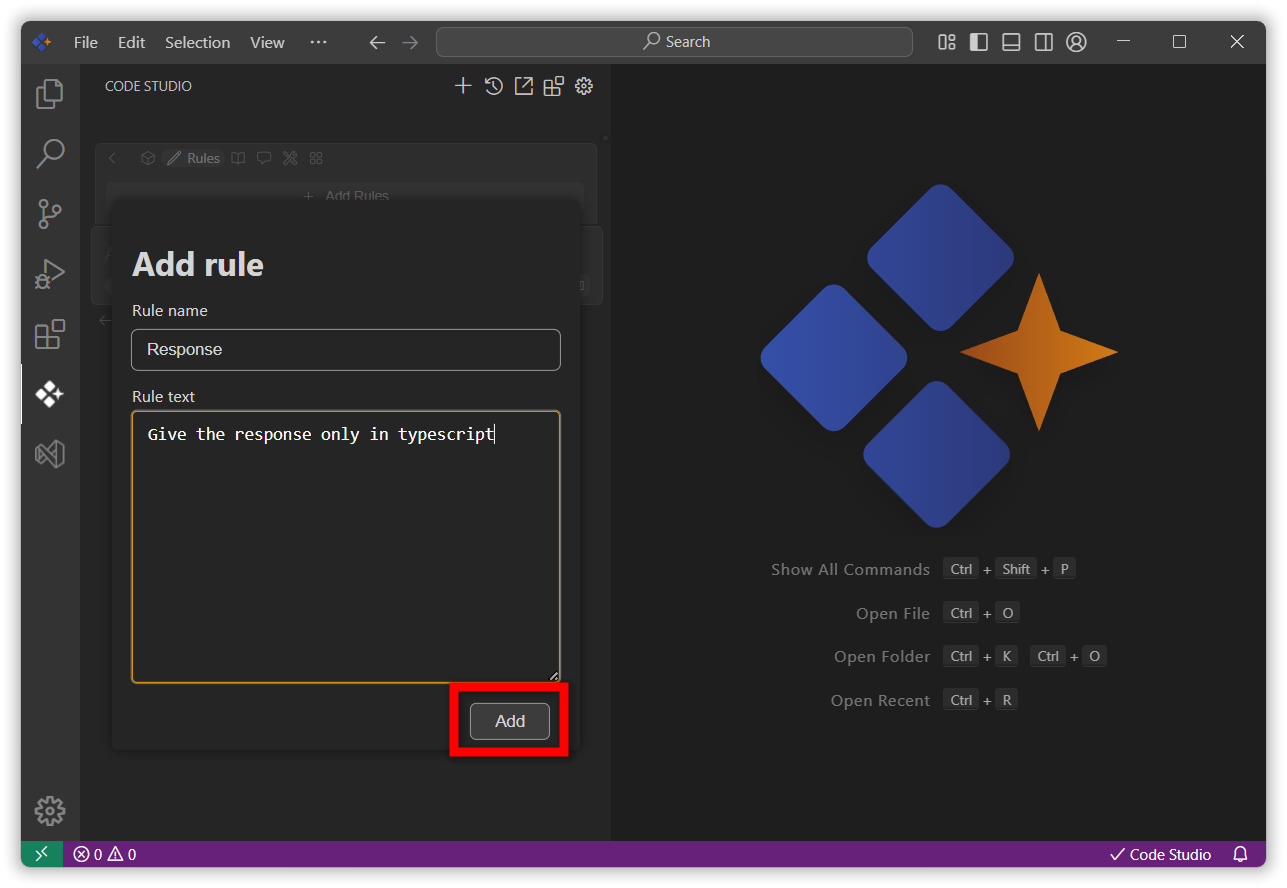
- Once added, the rule will appear as a block in the interface and will be automatically included in the configuration file.
2. Using a .sfcoderules file
- At the root of your workspace, create a file named
.sfcoderules. - Add your rules to this file, one per line.
- Save the file. Code Studio will automatically apply these rules.
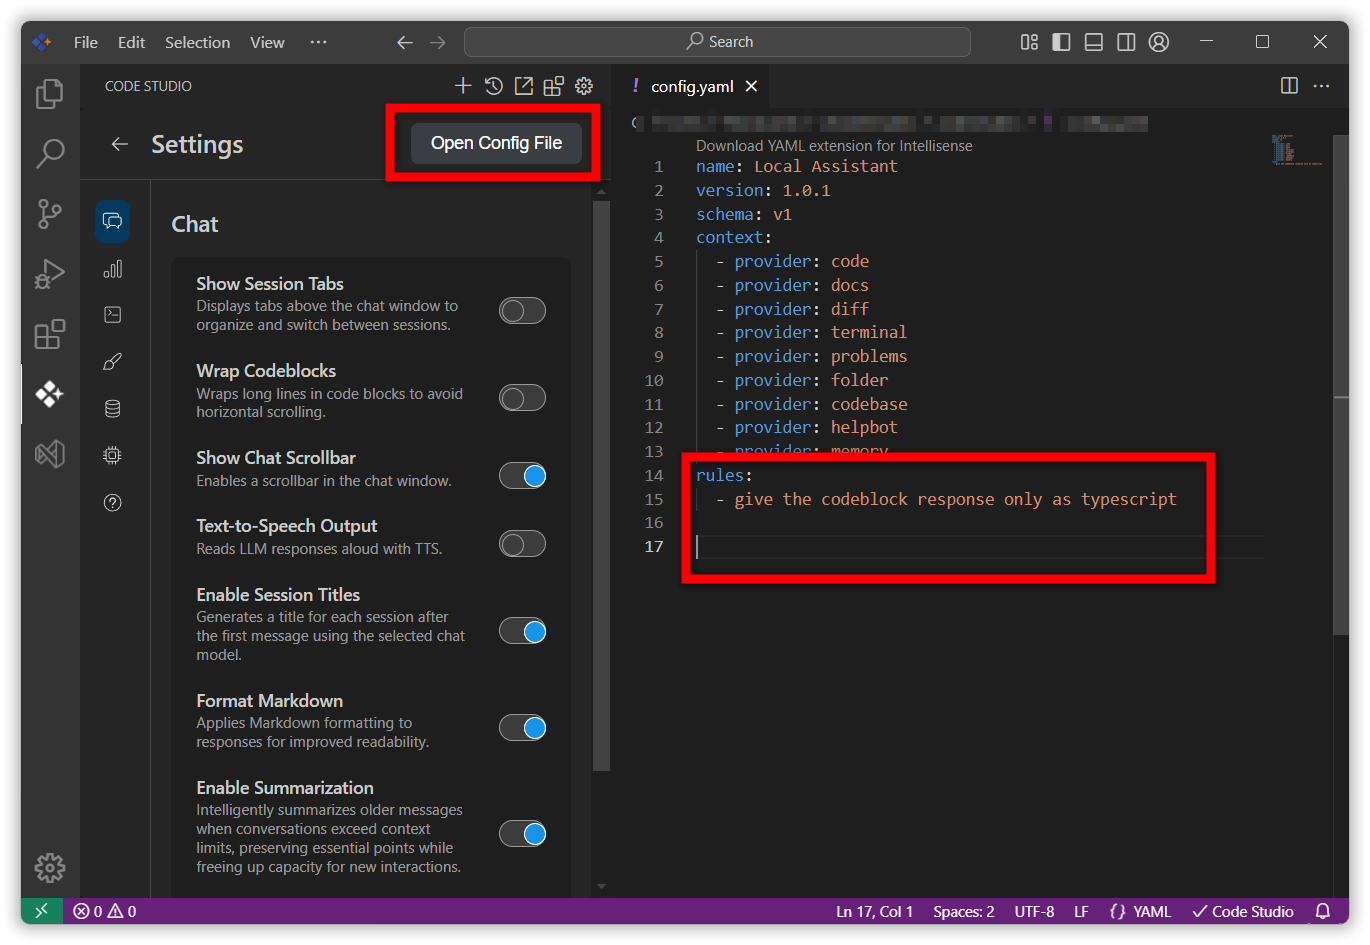
3. Using the config.yaml file
- Open
config.yamlpage by clicking the settings icon and click onopen config filethe config page will be opened. - In the file, create a
rulessection and list the instructions you want the Code Studio to follow. - Save the file. The Code Studio will respond according to these rules.
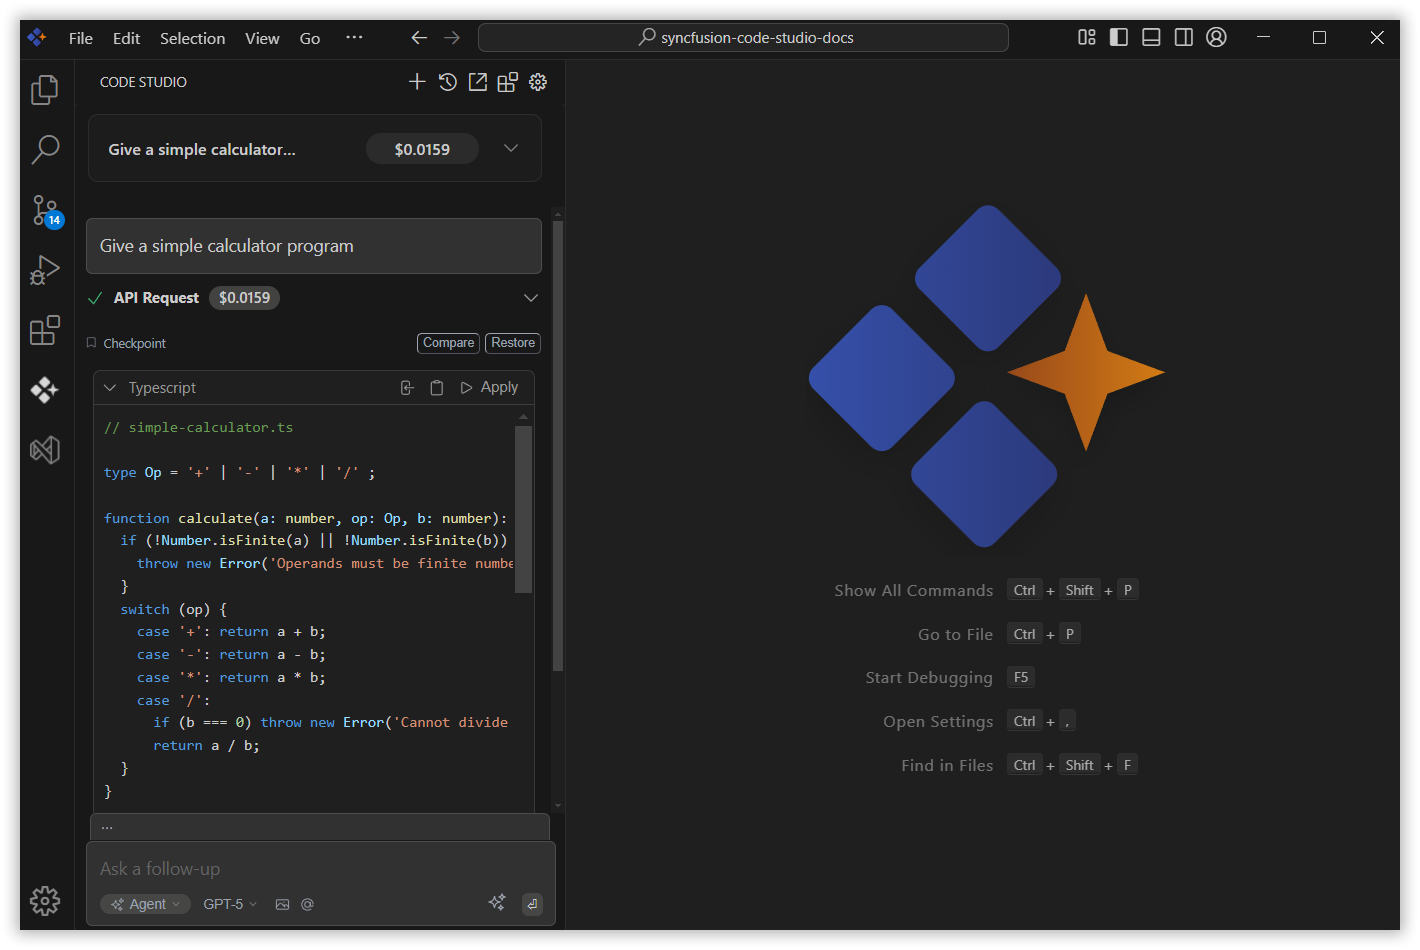
3. Verify the Response
After adding the rules, give a query to the model. The response will be based on the rules you provided.
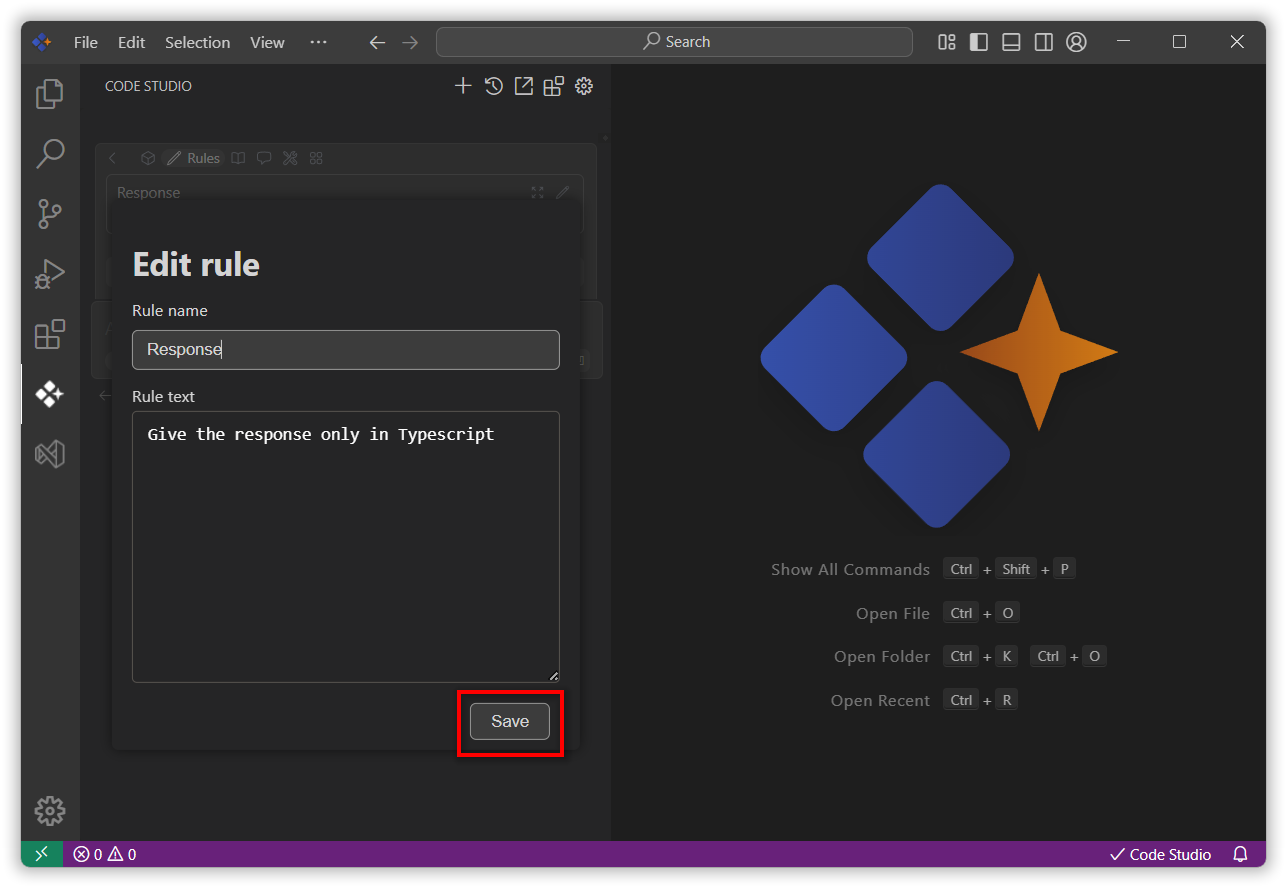
4. Edit the Rules
- Navigate to the Rules section and click the pencil icon next to the rule you want to edit.
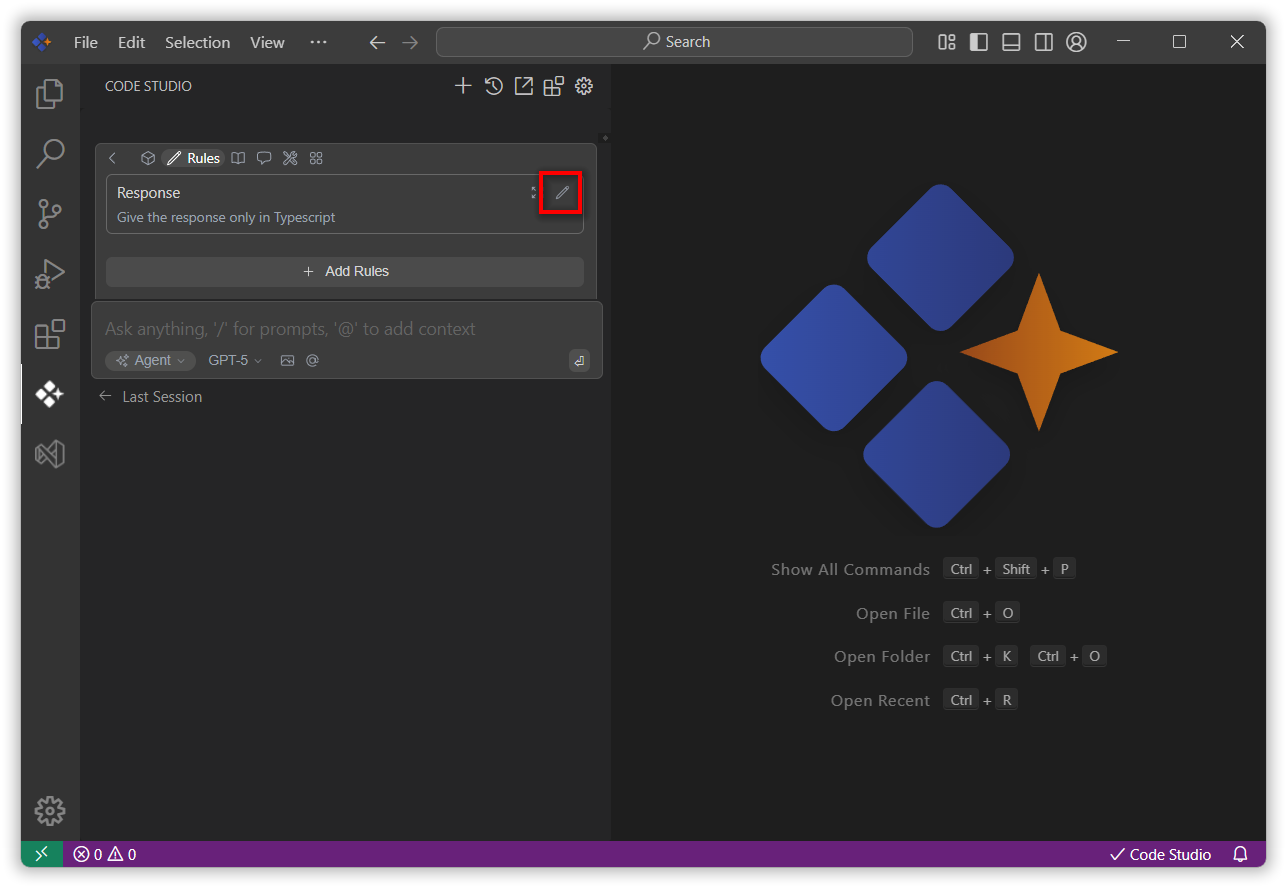
- The Edit Rules interface will open, allowing you to update the rule name or description.
- After making your changes, click Save to apply the updates.