Getting Started
15 Dec 20187 minutes to read
This section helps you to understand the getting started of the Navigation Drawer component with the step-by-step instructions.
Create a Navigation Drawer
To create Aurelia Navigation Drawer component, please refer the common getting started documentation.
Create navigationdrawer folder inside src/samples location.
Create navigationdrawer.html file inside src/samples/navigationdrawer folder and use the below code for rendering Navigation Drawer component.
<div>
        <ej-navigation-drawer id="navpane" e-type="overlay" e-enable-list-view="true" e-list-view-settings.bind="listViewSettings" e-position="normal">
            <ul>
               <li data-ej-text="Home"></li>
               <li data-ej-text="People"></li>
               <li data-ej-text="Profile"></li>
            </ul>
        </ej-navigation-drawer>
    </div>
Create navigationdrawer.js file inside src/samples/navigationdrawer folder with below code snippet.
export class BasicUse {
          constructor() {
                this.listViewSettings = { width: 300, selectedItemIndex: 0 };
          }

      }
Create the target element as follows to display the list items by clicking target icon.
<div id="targetPane">
        <div class="e-lv">
            <div class="e-header">
                <div id="butdrawer" class="drawerIcon e-icon">
                </div>
            </div>
        </div>
    </div>
To set the target icon image and with the correct position as using the below mentioned styles .
<style>
      .drawerIcon {
            background-position: center center;
            background-repeat: no-repeat;
            height: 45px;
            width: 32px;
            background-size: 100% 100%;
            padding-right: 10px;
        }

        .drawerIcon:before {
            content: "\e76b";
            font-size: 24px;
            height: 26px;
            line-height: 24px;
        }

        #targetPane {
            height: 220px;
            position: relative;
            padding: 0px;
            overflow: hidden;
            margin: 0px;
        }
    </style>
You can open the list items by clicking on target element using the e-target-id property.
<div>
        <ej-navigation-drawer id="navpane" e-target-id="butdrawer" e-type="overlay" e-enable-list-view="true" e-list-view-settings.bind="listViewSettings" e-position="normal">
            <ul>
               <li data-ej-text="Home"></li>
               <li data-ej-text="People"></li>
               <li data-ej-text="Profile"></li>
               <li data-ej-text="Photos"></li>
               <li data-ej-text="Communities"></li>
               <li data-ej-text="Location"></li>
            </ul>
        </ej-navigation-drawer>

    </div>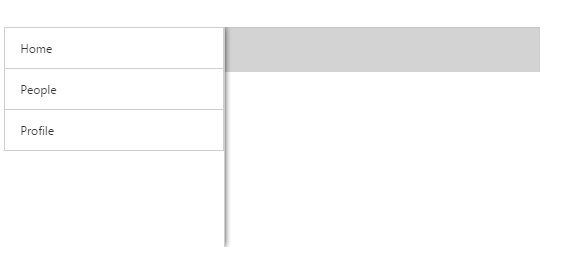
To set the images for list items of the Navigation Drawer by using the [data-ej-imageurl] property as follows.
<ej-navigation-drawer id="navpane" e-target-id="butdrawer" e-type="overlay" e-direction="left" e-enable-list-view="true" e-list-view-settings.bind="listViewSettings" e-position="normal">
         <ul>
             <li data-ej-imageurl="http://js.syncfusion.com/demos/web/content/images/navigationdrawer/home.png" data-ej-text="Home"></li>
             <li data-ej-imageurl="http://js.syncfusion.com/demos/web/content/images/navigationdrawer/profile.png" data-ej-text="Profile"></li>
             <li data-ej-imageurl="http://js.syncfusion.com/demos/web/content/images/navigationdrawer/photo.png" data-ej-text="Photos"></li>
         </ul>
   </ej-navigation-drawer>
Customize Direction
By using this property, to change the list view open direction. The possible directions are Right, Left and the Left is default value.
<ej-navigation-drawer id="navpane" e-target-id="butdrawer" e-type="overlay" e-direction="right" e-enable-list-view="true" e-list-view-settings.bind="listViewSettings" e-position="normal">
         <ul>
             <li data-ej-imageurl="http://js.syncfusion.com/demos/web/content/images/navigationdrawer/home.png" data-ej-text="Home"></li>
             <li data-ej-imageurl="http://js.syncfusion.com/demos/web/content/images/navigationdrawer/profile.png" data-ej-text="Profile"></li>
             <li data-ej-imageurl="http://js.syncfusion.com/demos/web/content/images/navigationdrawer/photo.png" data-ej-text="Photos"></li>
         </ul>
    </ej-navigation-drawer>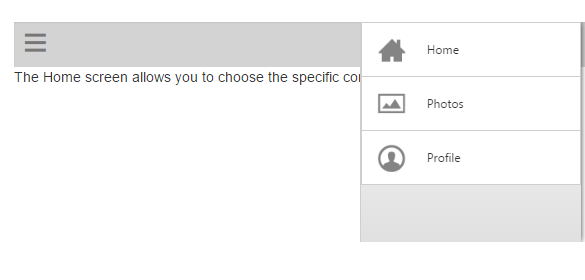
NOTE
Note: You can find the Navigation Drawer properties from the API reference document