How can I help you?
Data Population with Xamarin.Android TreeView (SfTreeView)
8 Oct 202015 minutes to read
TreeView can be populated either with the data source by using a ItemsSource property or by creating and adding the TreeViewNode in hierarchical structure to Nodes property.
Populating Nodes by data binding - Bound Mode
Nodes can be populated in bound mode includes following steps.
To update the collection changes in UI, it is necessary to define theNotificationSubscriptionMode to treeview as the CollectionChanged/PropertyChanged.
NotificationSubscriptionMode enum has the following members:
- CollectionChange: Updates its tree structure when the child items collection gets changed.
- PropertyChange: Updates its ChildItems when the associated collection property gets changed.
- None: It is a default mode and it does not reflect the collection/property changes in UI.
To decide how to populate the nodes, it is necessary to set this NodePopulationMode API to treeview.
The NodePopulationMode API has the following enum values:
- OnDemand: Populate the child nodes only when the parent nodes are expanded. It is the default value.
- Instant: Populates all the child nodes when the Treeview control is initially loaded.
Create Data Model for treeview
Create a simple data source as shown in the following code example in a new class file, and save it as FileManager.cs file:
public class FileManager : INotifyPropertyChanged
{
   private string fileName;
   private int imageIcon;
   private ObservableCollection<FileManager> subFiles;

   public ObservableCollection<FileManager> SubFiles
   {
       get
       {
            return subFiles;
       }

        set
       {
            subFiles = value;
            RaisedOnPropertyChanged("SubFiles");
       }
    }

    public string FileName
    {
        get
        {
            return fileName;
        }

        set
        {
            fileName = value;
            RaisedOnPropertyChanged("FileName");
        }
    }

    public int ImageIcon
    {
        get
        {
            return imageIcon;
        }

        set
        {
            imageIcon = value;
            RaisedOnPropertyChanged("ImageIcon");
        }
    }

    public FileManager()
    {
    }

    public event PropertyChangedEventHandler PropertyChanged;

    public void RaisedOnPropertyChanged(string propertyName)
    {
        if (PropertyChanged != null)
        {
            PropertyChanged(this, new PropertyChangedEventArgs(propertyName));
        }
    }
}
NOTE
If you want your data model to respond to property changes, then implement
INotifyPropertyChangedinterface in your model class.
Create a model repository class with ImageNodeInfo collection property initialized with required number of data objects in a new class file as shown in the following code example, and save it as FileManagerViewModel.cs file:
public class FileManagerViewModel
{
    public ObservableCollection<FileManager> Folders { get; set; }

    public FileManagerViewModel()
    {
        GenerateFiles();
    }

    private void GenerateFiles()
    {
        var doc = new FileManager() { FileName = "Documents", ImageIcon = Resource.Drawable.treeview_folder };
        var download = new FileManager() { FileName = "Downloads", ImageIcon = Resource.Drawable.treeview_folder };
        var mp3 = new FileManager() { FileName = "Music", ImageIcon = Resource.Drawable.treeview_folder };
        var pictures = new FileManager() { FileName = "Pictures", ImageIcon = Resource.Drawable.treeview_folder };
        var video = new FileManager() { FileName = "Videos", ImageIcon = Resource.Drawable.treeview_folder };

        var pollution = new FileManager() { FileName = "Environmental Pollution.docx", ImageIcon = Resource.Drawable.treeview_word };
        var globalWarming = new FileManager() { FileName = "Global Warming.ppt", ImageIcon = Resource.Drawable.treeview_ppt };
        var sanitation = new FileManager() { FileName = "Sanitation.docx", ImageIcon = Resource.Drawable.treeview_word };
        var socialNetwork = new FileManager() { FileName = "Social Network.pdf", ImageIcon = Resource.Drawable.treeview_pdf };
        var youthEmpower = new FileManager() { FileName = "Youth Empowerment.pdf", ImageIcon = Resource.Drawable.treeview_pdf };

        var game = new FileManager() { FileName = "Game.exe", ImageIcon = Resource.Drawable.treeview_exe };
        var tutorials = new FileManager() { FileName = "Tutorials.zip", ImageIcon = Resource.Drawable.treeview_zip };
        var typescript = new FileManager() { FileName = "TypeScript.7z", ImageIcon = Resource.Drawable.treeview_zip };
        var uiGuide = new FileManager() { FileName = "UI-Guide.pdf", ImageIcon = Resource.Drawable.treeview_pdf };

        var song = new FileManager() { FileName = "Goutiest", ImageIcon = Resource.Drawable.treeview_mp3 };

        var camera = new FileManager() { FileName = "Camera Roll", ImageIcon = Resource.Drawable.treeview_folder };
        var stone = new FileManager() { FileName = "Stone.jpg", ImageIcon = Resource.Drawable.treeview_png };
        var wind = new FileManager() { FileName = "Wind.jpg", ImageIcon = Resource.Drawable.treeview_png };

        var img0 = new FileManager() { FileName = "WIN_20160726_094117.JPG", ImageIcon = Resource.Drawable.treeview_img0 };
        var img1 = new FileManager() { FileName = "WIN_20160726_094118.JPG", ImageIcon = Resource.Drawable.treeview_img1 };

        var video0 = new FileManager() { FileName = "Naturals.mp4", ImageIcon = Resource.Drawable.treeview_video };
        var video1 = new FileManager() { FileName = "Wild.mpg", ImageIcon = Resource.Drawable.treeview_video };

      doc.SubFiles = new ObservableCollection<FileManager>
      {
         pollution,
         globalWarming,
         sanitation,
         socialNetwork,
         youthEmpower
      };

      download.SubFiles = new ObservableCollection<FileManager>
      {
         game,
         tutorials,
         typescript,
         uiGuide
      };

      mp3.SubFiles = new ObservableCollection<FileManager>
      {
         song
      };

      pictures.SubFiles = new ObservableCollection<FileManager>
      {
         camera,
         stone,
         wind
      };

      camera.SubFiles = new ObservableCollection<FileManager>
      {
         img0,
         img1
      };

      video.SubFiles = new ObservableCollection<FileManager>
      {
         video0,
         video1
      };

      nodeImageInfo.Add(doc);
      nodeImageInfo.Add(download);
      nodeImageInfo.Add(mp3);
      nodeImageInfo.Add(pictures);
      nodeImageInfo.Add(video);
      imageNodeInfo = nodeImageInfo;
  }
}
Bind to hierarchical datasource
To create a tree view using data binding, set a hierarchical data collection to the ItemsSource. And set the child object name to the ChildPropertyName property.
using Syncfusion.Android.TreeView;
using Syncfusion.TreeView.Engine;

protected override void OnCreate(Bundle savedInstanceState)
{
    base.OnCreate(savedInstanceState);
    // Set our view from the "main" layout resource
    SetContentView(Resource.Layout.activity_main);
    SfTreeView treeView = FindViewById<SfTreeView>(Resource.Id.sfTreeView1);
    FileManagerViewModel viewModel = new FileManagerViewModel();
    treeView.ChildPropertyName = "SubFiles";
    treeView.ItemsSource = viewModel.Folders;
    treeView.Adapter = new NodeImageAdapter();
}
NOTE
By defining the Adapter, a custom user interface(UI) can be achieved to display the data items for both expander and content view.
You can also download the entire source code of this demo from here.

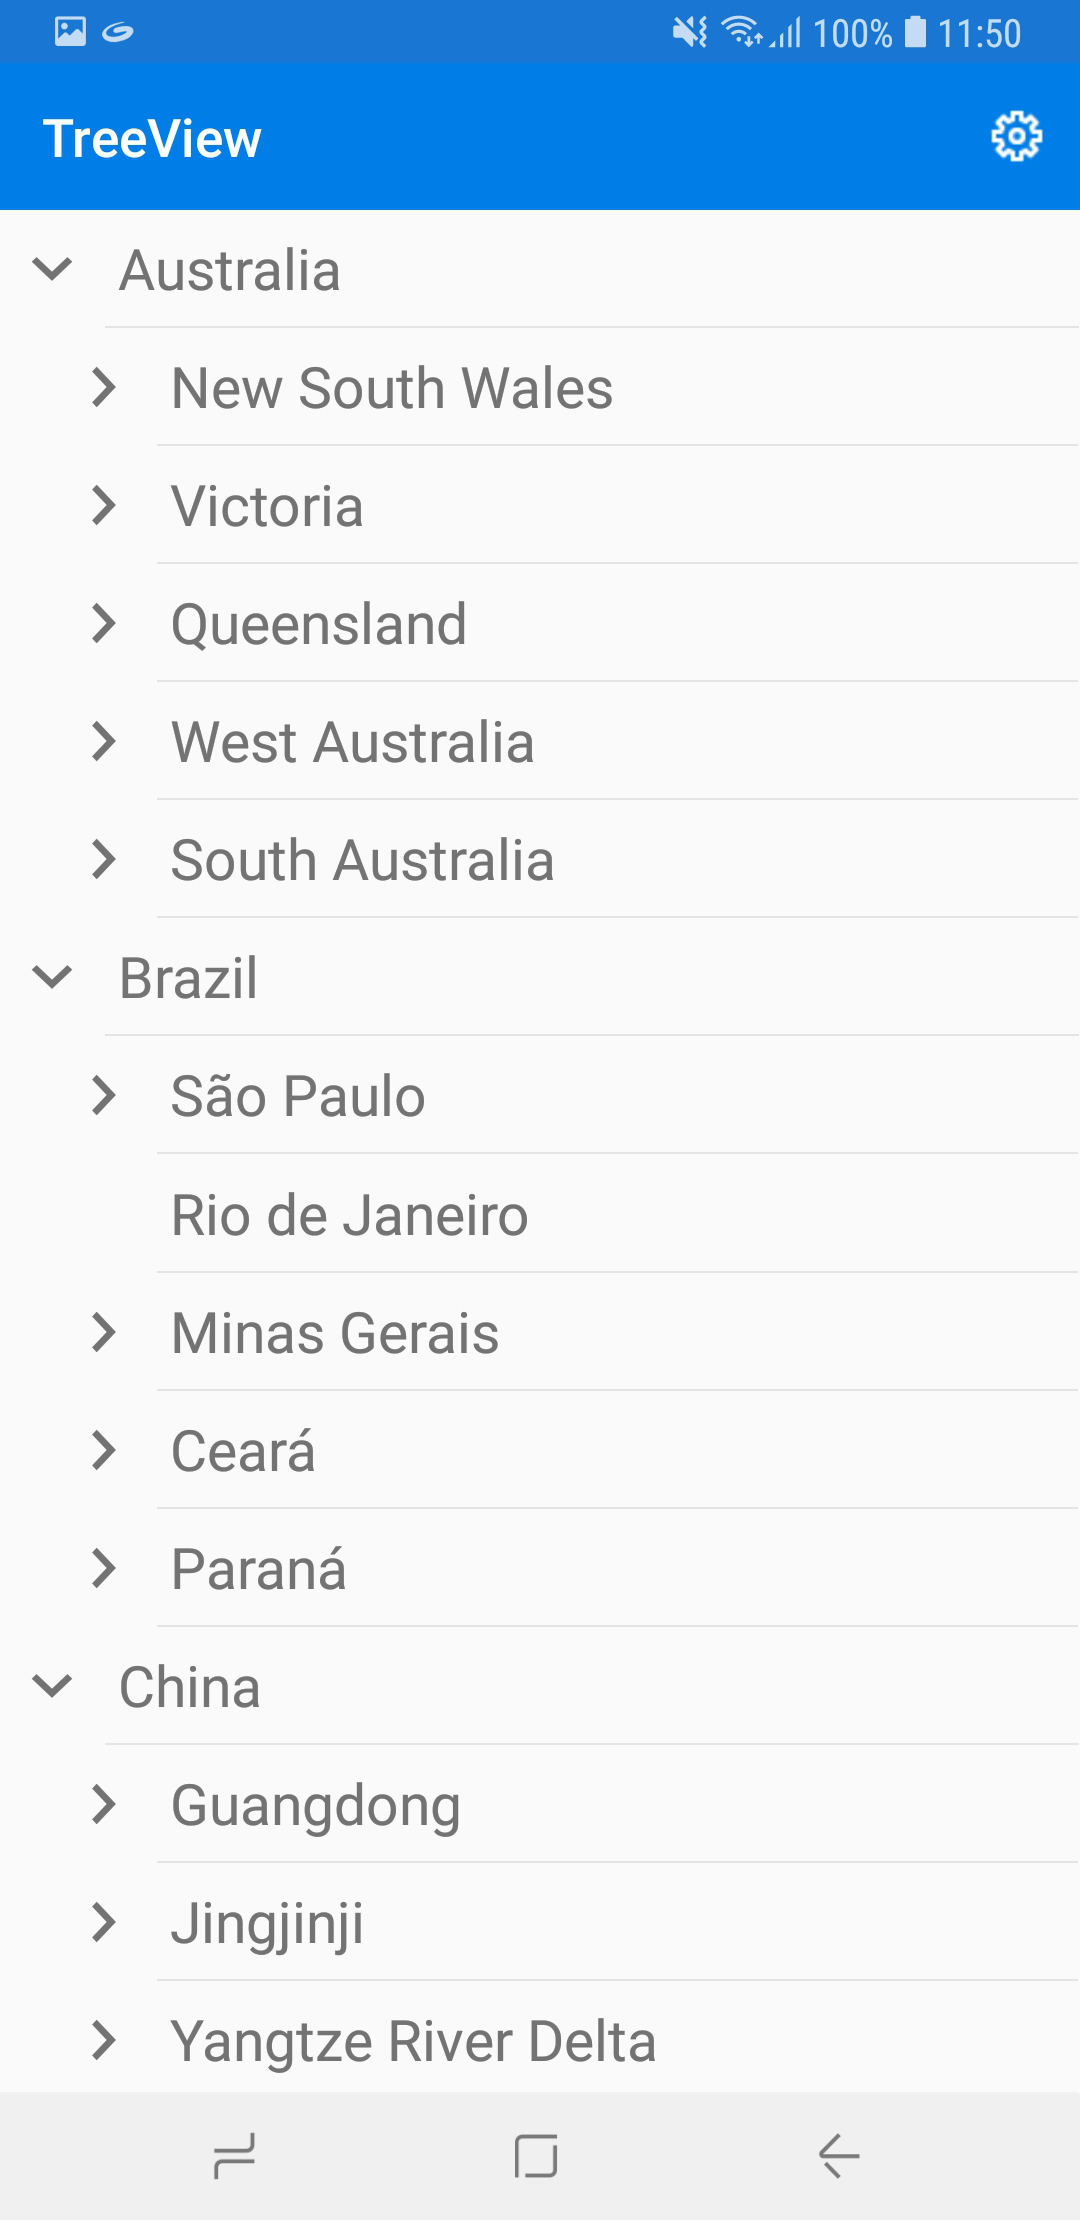
Populating Nodes without data binding - Unbound Mode
You can create and manage the TreeViewNode objects by yourself to display the data in a hierarchical view. Create the node hierarchy by adding one or more root nodes to the Nodes collection. Each TreeViewNode can then have more nodes added to its Children collection. You can nest tree view nodes to whatever depth you require.
Using the Content property you can get the data object associated with tree view node. For Bound Mode you can binding the data object using Content property by setting the ItemTemplateContextType to Node. For Unbound Mode you can directly set the Content value.
You can get the parent node of the treeview nodes by using the ParentNode property of the TreeViewNode.
Using the Level property in TreeViewNode, you can get the zero-based depth of the tree node in the TreeView control. For the Level property, the root node is considered the first level of nesting and returns 0.
<?xml version="1.0" encoding="utf-8"?>
<LinearLayout xmlns:android="http://schemas.android.com/apk/res/android"
    xmlns:app="http://schemas.android.com/apk/res-auto"
    xmlns:tools="http://schemas.android.com/tools"
    android:layout_width="match_parent"
    android:layout_height="match_parent"
	android:id="@+id/linearLayout1" >
	<Syncfusion.Android.TreeView.SfTreeView
		android:minWidth="25px"
		android:minHeight="25px"
		android:layout_width="wrap_content"
		android:layout_height="wrap_content"
		android:id="@+id/sfTreeView1" />
</LinearLayout>using Syncfusion.Android.TreeView;
using Syncfusion.TreeView.Engine;
protected override void OnCreate(Bundle savedInstanceState)
{
base.OnCreate(savedInstanceState);
// Set our view from the "main" layout resource
SetContentView(Resource.Layout.activity_main);
var treeView = FindViewById<SfTreeView>(Resource.Id.sfTreeView1);
var australia = new TreeViewNode() { Content = "Australia", IsExpanded = true };
var _NSW = new TreeViewNode() { Content = "New South Wales" };
_NSW.ChildNodes.Add(new TreeViewNode() { Content = "Sydney" });
australia.ChildNodes.Add(_NSW);
var usa = new TreeViewNode() { Content = "United States of America", IsExpanded = true };
var newYork = new TreeViewNode() { Content = "New York" };
var california = new TreeViewNode() { Content = "California" };
california.ChildNodes.Add(new TreeViewNode() { Content = "San Francisco" });
usa.ChildNodes.Add(newYork);
usa.ChildNodes.Add(california);
treeView.Nodes.Add(australia);
treeView.Nodes.Add(usa);
}Now, run the application to render the below output:
You can also download the entire source code of this demo from here.