Getting Started with WPF Schedule
This section gives you an overview of how to work with SfSchedule and also includes a walk-through to configure real-time SfSchedule command.
Assembly deployment
Refer to the section on control dependencies for a list of assemblies or NuGet Packages to be used as a guide for using control in any application. Further information on installing the NuGet package can be found in the following link in a WPF application: How to install nuget packages. You can also use Syncfusion Reference Manager to refer the scheduler’s dependent assemblies.
Create a project
In Visual Studio, create a new WPF project to show the features of the scheduler control and add the following namespace to the added assemblies.
Assembly: Syncfusion.SfSchedule.WPF
Namespace: Syncfusion.UI.Xaml.Schedule
Add control manually in XAML
To add the control manually in XAML page, follow the given steps:
- Add the
Syncfusion.SfSchedule.WPFassembly reference to the project. - Import WPF schema
http://schemas.syncfusion.com/wpfin the XAML page. - Declare the
SfSchedulecontrol in XAML page.
<Window x:Class="SfScheduleSample.MainWindow"
        xmlns="http://schemas.microsoft.com/winfx/2006/xaml/presentation"
        xmlns:x="http://schemas.microsoft.com/winfx/2006/xaml"
        xmlns:schedule="http://schemas.syncfusion.com/wpf"
        WindowStartupLocation="CenterScreen" WindowStyle="None"
        Width="950" Height="600">
        <Grid x:Name="LayoutRoot">
            <schedule:SfSchedule/>
        </Grid>
</Window>
Add control manually in C#
To manually attach control to C #, follow the following steps:
- Add the
Syncfusion.SfSchedule.WPFassembly reference to the project. - Import the
SfSchedulenamespaceusing Syncfusion.UI.Xaml.Schedule. - Create an
SfScheduleinstance, and add it to the window.
using Syncfusion.UI.Xaml.Schedule;
namespace GettingStarted
{
    public partial class MainWindow : Window
    {
       SfSchedule schedule = new SfSchedule();
       this.Content = schedule;
    }
}
Run the code above and now you can see the empty scheduler as follows, but without appointments. To view the scheduler appointments, whether local or remote information must be passed on to the scheduler.
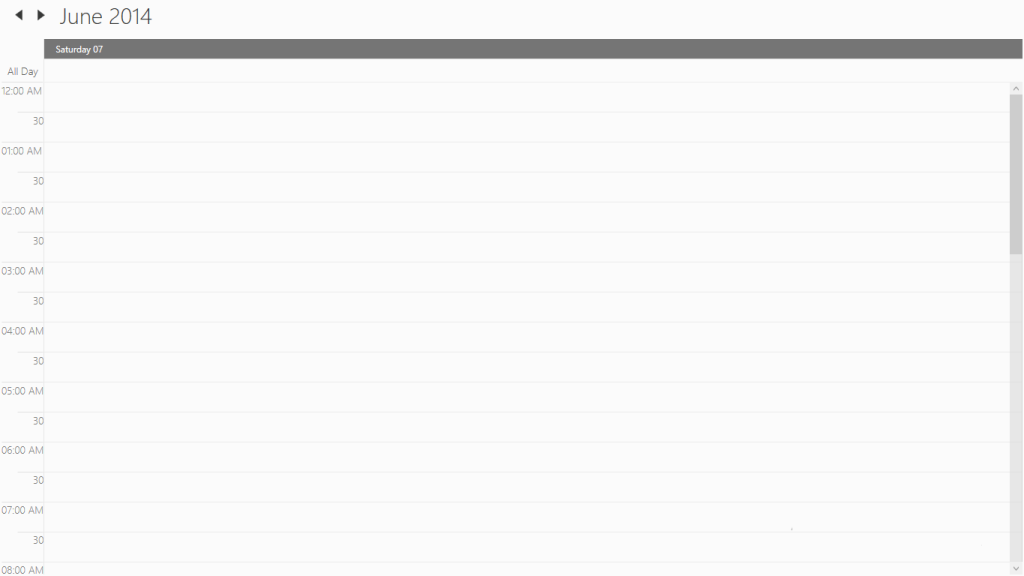
Scheduler Views-(Day, Week, WorkWeek, TimeLine and Month)
Scheduler control provides five different views for showing appointments which can be changed by setting ScheduleType property. By default, the control loads Day view.
- Day
- Week
- WorkWeek
- Month
- TimeLine
Day View
Day view is used to view a single day, and by default the current day is shown. Appointments on a specific day will be scheduled on the basis of their duration in the respective time slots.
<schedule:SfSchedule ScheduleType="Day"/>schedule.ScheduleType = ScheduleType.Day;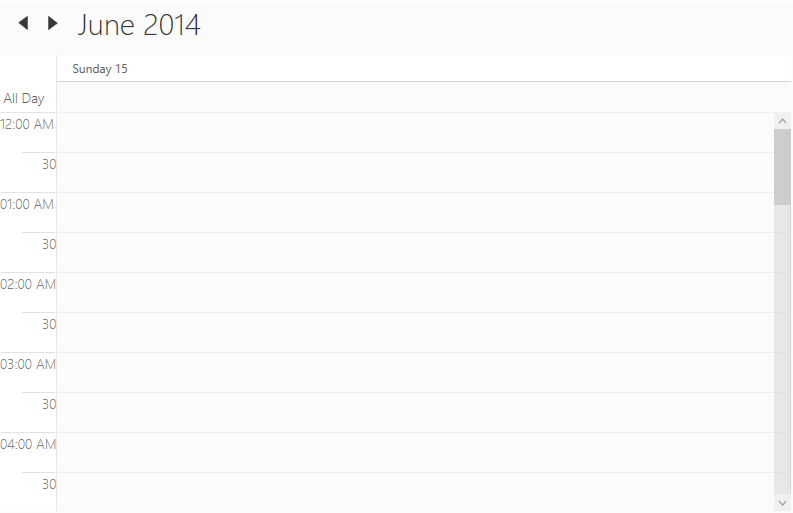
Week View
Week view is to view all week days of a particular week. Appointments will be scheduled in the corresponding timeslots on the basis of the week dates.
<schedule:SfSchedule x:Name="schedule" ScheduleType="Week"/>this.schedule.ScheduleType = ScheduleType.Week;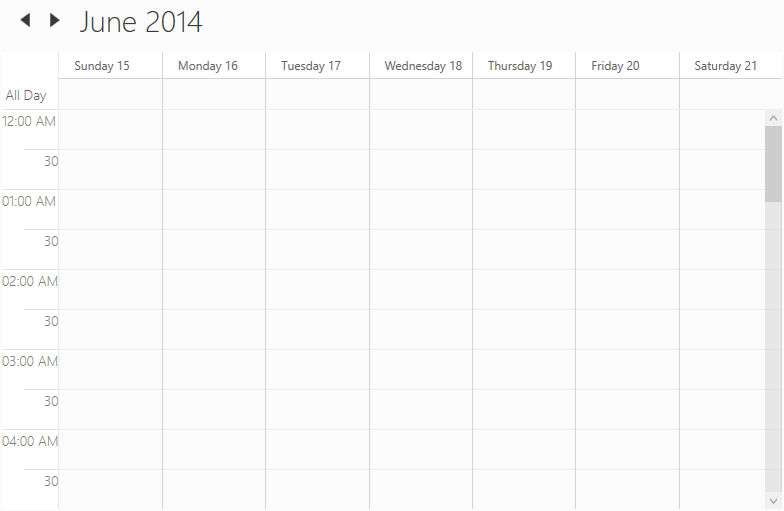
Work Week View
WorkWeek view is to view only working days of a particular week. By default, Saturday and Sunday are the non-working days. and you can change non-working days of a week using non-working days property. Appointments displayed in timeslots with the corresponding day of the week depending on their duration.
<schedule:SfSchedule x:Name="schedule" ScheduleType="WorkWeek"/>this.schedule.ScheduleType = ScheduleType.WorkWeek;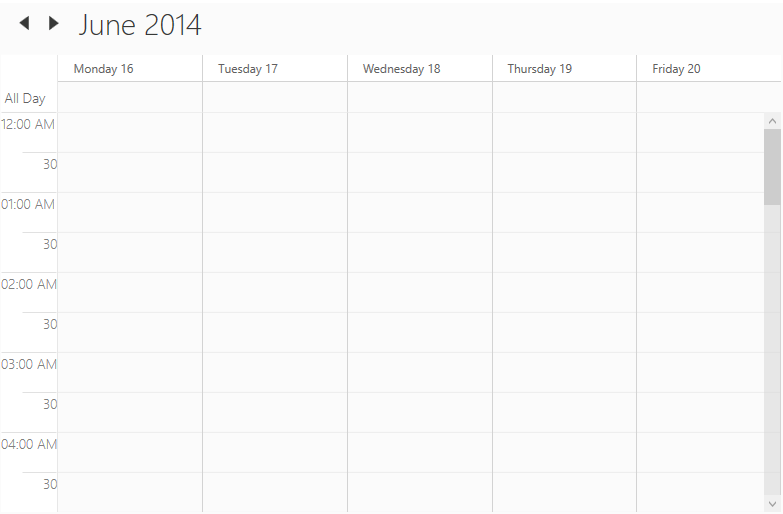
Month View
In schedule, Month view displays the month of dates similar to calendar and displays appointments for each day in a cell similar to outlook.
<schedule:SfSchedule x:Name="schedule" ScheduleType="Month"/>this.schedule.ScheduleType = ScheduleType.Month;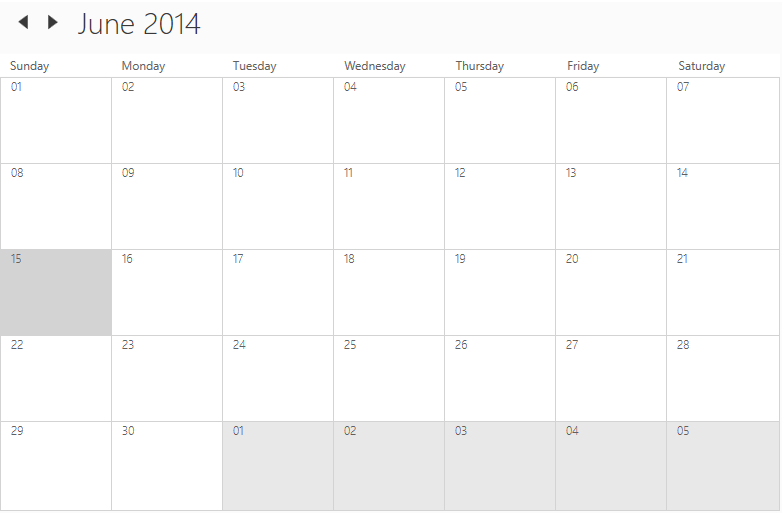
TimeLine View
Timeline view displays the dates with the appropriate day count in the horizontal time axis. When moving right or left, you can see the past or future events. With an intuitive drag-and-drop feature, each view shows events accurately through time slots.
<schedule:SfSchedule x:Name="schedule" ScheduleType="TimeLine"/>this.schedule.ScheduleType = ScheduleType.TimeLine;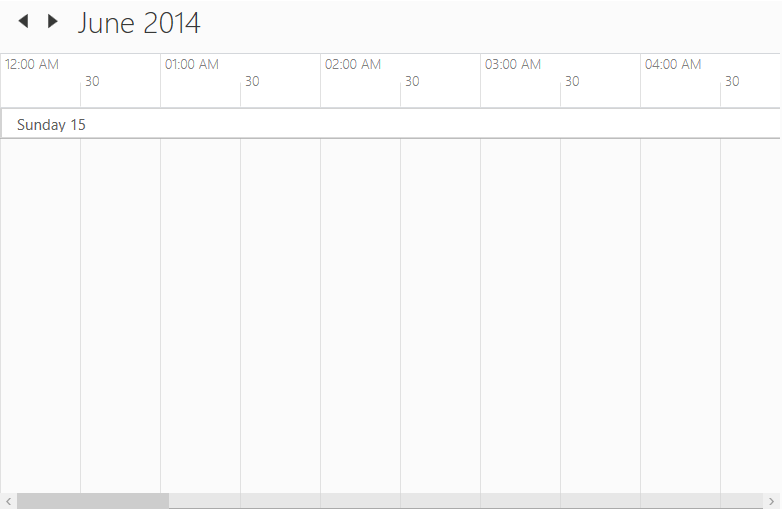
Appointments
Scheduler has a built-in capability to handle the appointment arrangement internally based on the ScheduleAppointment collections. You need to allocate the collection generated to Appointments property.
Adding Appointments
ScheduleAppointment is a class that includes the specific of scheduled appointment. It has some basic properties such as StartTime, EndTime, Subject and some additional information about the appointment can be added with Notes, Location, AllDay, IsRecursive properties.
<schedule:SfSchedule x:Name="schedule" ScheduleType="Month"/>ScheduleAppointmentCollection appointmentCollection = new ScheduleAppointmentCollection();
//Creating new event
ScheduleAppointment clientMeeting = new ScheduleAppointment();
DateTime currentDate = DateTime.Now;
DateTime startTime = new DateTime (currentDate.Year,currentDate.Month,currentDate.Day, 10, 0, 0);
DateTime endTime = new DateTime (currentDate.Year, currentDate.Month,currentDate.Day, 12, 0, 0);
clientMeeting.StartTime = startTime;
clientMeeting.EndTime = endTime;
clientMeeting.Color = Color.Blue;
clientMeeting.Subject = "ClientMeeting";
appointmentCollection.Add(clientMeeting);
schedule.Appointments = appointmentCollection;Download demo from GitHub
Adding Custom data object
You can also map custom appointments data to our scheduler.
Here steps to render meetings using scheduler control with respective custom data properties created in a class Meeting.
- Creating custom class to map that objects with
ScheduleAppointment - Populating the data objects
- Mapping the data object to
ScheduleAppointment - Binding data source for Scheduler control.
Creating custom class to map that object with appointment
You can create a custom class Meeting with mandatory fields From, To and EventName.
/// <summary>
/// Represents custom data properties.
/// </summary>
public class Meeting
{
	public string EventName { get; set; }
	public string Organizer { get; set; }
	public string ContactID { get; set; }
	public int Capacity { get; set; }
	public DateTime From { get; set; }
	public DateTime To { get; set; }
	public Color color { get; set; }
	public bool AllDay { get; set; }
}
NOTE
You can inherit this class from
INotifyPropertyChangedfor dynamic changes in custom data.
Populating the data objects
By setting From and To of Meeting class, you can schedule meetings for a specific day. You can also change the subject and color of appointment using EventName and Color property. You may define the list of custom appointments in a separate class of ViewModel.
/// <summary>
/// Represents collection of appointments.
/// </summary>
public class ViewModel
{
    public ObservableCollection<Meeting> Meetings { get; set; }
    List<string> eventNameCollection;
    List<Brush> colorCollection;
    public ViewModel()
    {
        Meetings = new ObservableCollection<Meeting>();
        CreateEventNameCollection();
        CreateColorCollection();
        CreateAppointments();
    }

    /// <summary>
    /// Creates meetings and stores in a collection.
    /// </summary>
    private void CreateAppointments()
    {
        Random randomTime = new Random();
        List<Point> randomTimeCollection = GettingTimeRanges();
        DateTime date;
        DateTime DateFrom = DateTime.Now.AddDays(-10);
        DateTime DateTo = DateTime.Now.AddDays(10);
        DateTime dataRangeStart = DateTime.Now.AddDays(-3);
        DateTime dataRangeEnd = DateTime.Now.AddDays(3);

        for (date = DateFrom; date < DateTo; date = date.AddDays(1))
        {
            if ((DateTime.Compare(date, dataRangeStart) > 0) && (DateTime.Compare(date, dataRangeEnd) < 0))
            {
                for (int AdditionalAppointmentIndex = 0; AdditionalAppointmentIndex < 3; AdditionalAppointmentIndex++)
                {
                    Meeting meeting = new Meeting();
                    int hour = (randomTime.Next((int)randomTimeCollection[AdditionalAppointmentIndex].X, (int)randomTimeCollection[AdditionalAppointmentIndex].Y));
                    meeting.From = new DateTime(date.Year, date.Month, date.Day, hour, 0, 0);
                    meeting.To = (meeting.From.AddHours(1));
                    meeting.EventName = eventNameCollection[randomTime.Next(9)];
                    meeting.Color = colorCollection[randomTime.Next(9)];
                    if (AdditionalAppointmentIndex % 3 == 0)
                        meeting.AllDay = true;
                    Meetings.Add(meeting);
                }
            }
            else
            {
                Meeting meeting = new Meeting();
                meeting.From = new DateTime(date.Year, date.Month, date.Day, randomTime.Next(9, 11), 0, 0);
                meeting.To = (meeting.From.AddHours(1));
                meeting.EventName = eventNameCollection[randomTime.Next(9)];
                meeting.Color = colorCollection[randomTime.Next(9)];
                Meetings.Add(meeting);
            }
        }
    }

    /// <summary>
    /// Creates event names collection.
    /// </summary>
    private void CreateEventNameCollection()
    {
        eventNameCollection = new List<string>();
        eventNameCollection.Add("General Meeting");
        eventNameCollection.Add("Plan Execution");
        eventNameCollection.Add("Project Plan");
        eventNameCollection.Add("Consulting");
        eventNameCollection.Add("Performance Check");
        eventNameCollection.Add("Yoga Therapy");
        eventNameCollection.Add("Plan Execution");
        eventNameCollection.Add("Project Plan");
        eventNameCollection.Add("Consulting");
        eventNameCollection.Add("Performance Check");
    }

    /// <summary>
    /// Creates color collection.
    /// </summary>
    private void CreateColorCollection()
    {
        colorCollection = new List<Brush>();
        colorCollection.Add(new SolidColorBrush((Color)ColorConverter.ConvertFromString("#FF339933")));
        colorCollection.Add(new SolidColorBrush((Color)ColorConverter.ConvertFromString("#FF00ABA9")));
        colorCollection.Add(new SolidColorBrush((Color)ColorConverter.ConvertFromString("#FFE671B8")));
        colorCollection.Add(new SolidColorBrush((Color)ColorConverter.ConvertFromString("#FF1BA1E2")));
        colorCollection.Add(new SolidColorBrush((Color)ColorConverter.ConvertFromString("#FFD80073")));
        colorCollection.Add(new SolidColorBrush((Color)ColorConverter.ConvertFromString("#FFA2C139")));
        colorCollection.Add(new SolidColorBrush((Color)ColorConverter.ConvertFromString("#FFA2C139")));
        colorCollection.Add(new SolidColorBrush((Color)ColorConverter.ConvertFromString("#FFD80073")));
        colorCollection.Add(new SolidColorBrush((Color)ColorConverter.ConvertFromString("#FF339933")));
        colorCollection.Add(new SolidColorBrush((Color)ColorConverter.ConvertFromString("#FFE671B8")));
        colorCollection.Add(new SolidColorBrush((Color)ColorConverter.ConvertFromString("#FF00ABA9")));
    }

    /// <summary>
    /// Gets the time ranges.
    /// </summary>
    private List<Point> GettingTimeRanges()
    {
        List<Point> randomTimeCollection = new List<Point>();
        randomTimeCollection.Add(new Point(9, 11));
        randomTimeCollection.Add(new Point(12, 14));
        randomTimeCollection.Add(new Point(15, 17));
        return randomTimeCollection;
    }
}
Mapping the data object to schedule appointment
You can map those properties of Meeting class with our scheduler control by using ScheduleAppointmentMapping property.
<syncfusion:SfSchedule x:Name="schedule">
	<syncfusion:SfSchedule.AppointmentMapping>
		<syncfusion:ScheduleAppointmentMapping
			AppointmentBackgroundMapping="color"
			EndTimeMapping="To"
			StartTimeMapping="From"
			SubjectMapping="EventName"
			AllDayMapping="AllDay"/>
	</syncfusion:SfSchedule.AppointmentMapping>
</syncfusion:SfSchedule>
ScheduleAppointmentMapping dataMapping = new ScheduleAppointmentMapping();
dataMapping.AppointmentBackgroundMapping = "color";
dataMapping.EndTimeMapping = "To";
dataMapping.StartTimeMapping = "From";
dataMapping.SubjectMapping = "EventName";
dataMapping.AllDayMapping = "AllDay";
schedule.AppointmentMapping = dataMapping;Binding data source for Scheduler
Create meetings of type ObservableCollection<Meeting> and assign those appointments collection Meetings to the ItemsSource property of Scheduler.
<syncfusion:SfSchedule x:Name="schedule"
	ItemsSource = "{Binding Meetings}"
	ScheduleType = "Month" >
	<syncfusion:SfSchedule.DataContext>
		<local:ViewModel/>
	</syncfusion:SfSchedule.DataContext>
</syncfusion:SfSchedule>
ViewModel viewModel = new ViewModel();
schedule.ItemsSource = viewModel.Meetings;Download demo from GitHub.