Draw TextBox Report Item
2 Jun 20212 minutes to read
You can insert TextBox in the Report Designer and drag report items to the TextBox using the following steps.
-
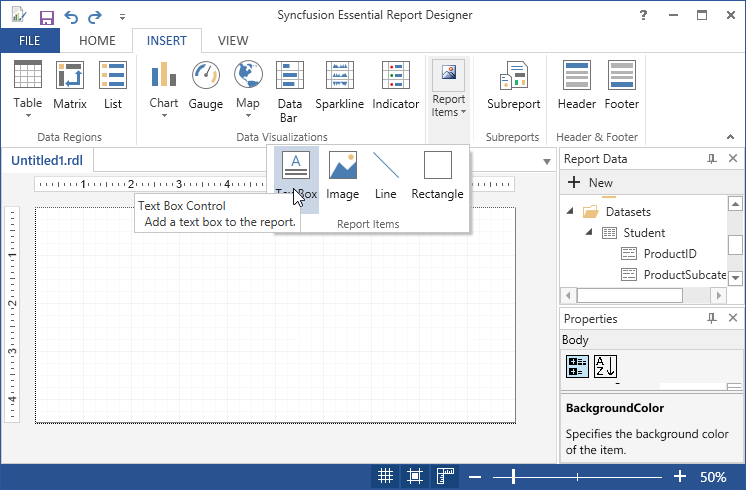
Click Insert Tab, select TextBox from Report Items.
-
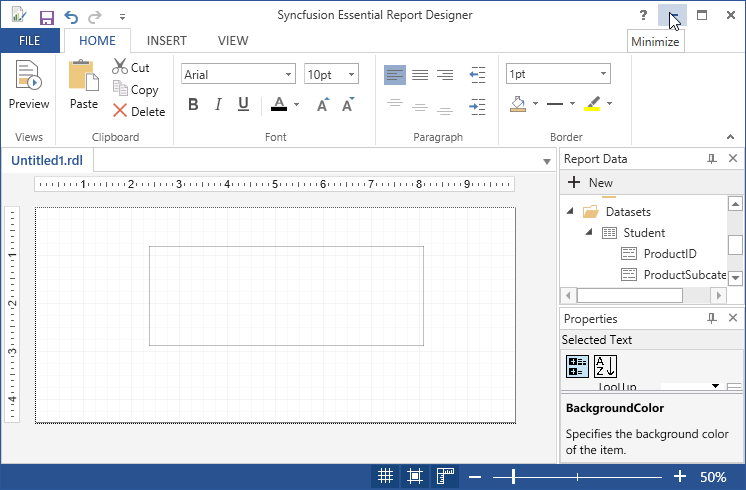
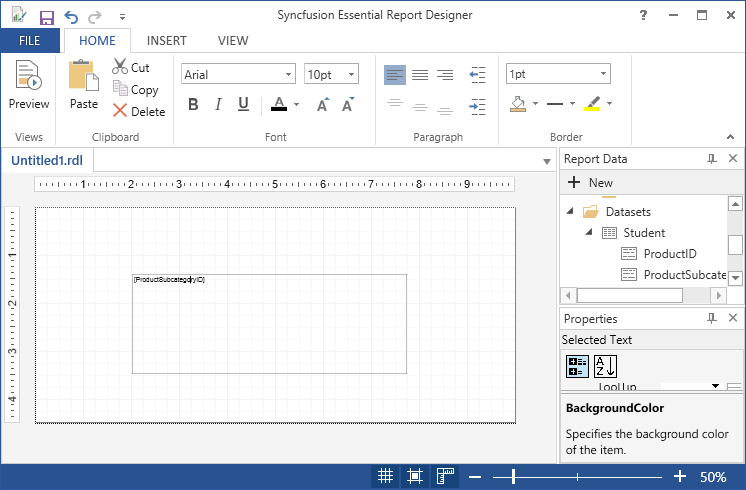
To add value to the TextBox, drag the data field from the DataSets in the Report Data.
-
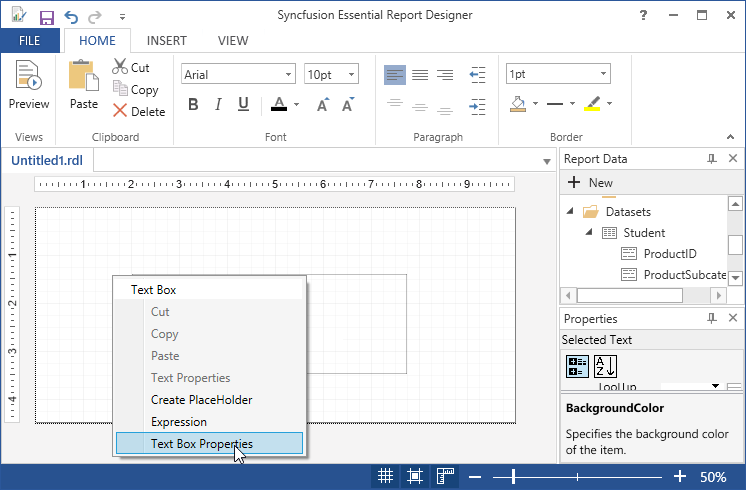
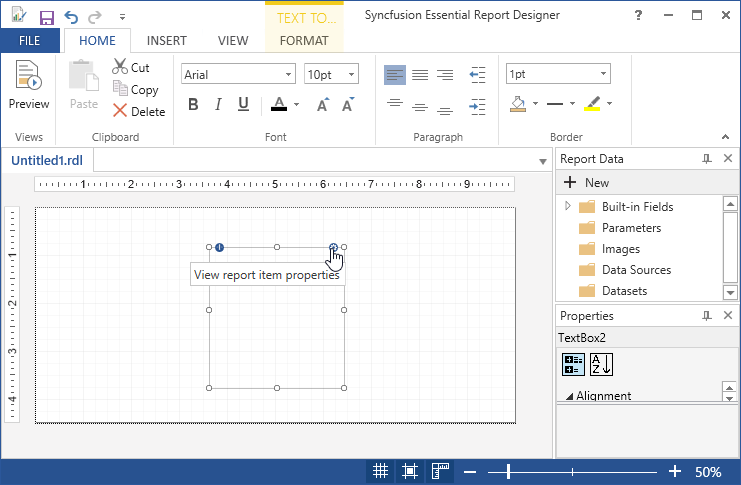
Click on the View report item properties or Right click on the TextBox. Then TextBox Properties wizard opens.
-
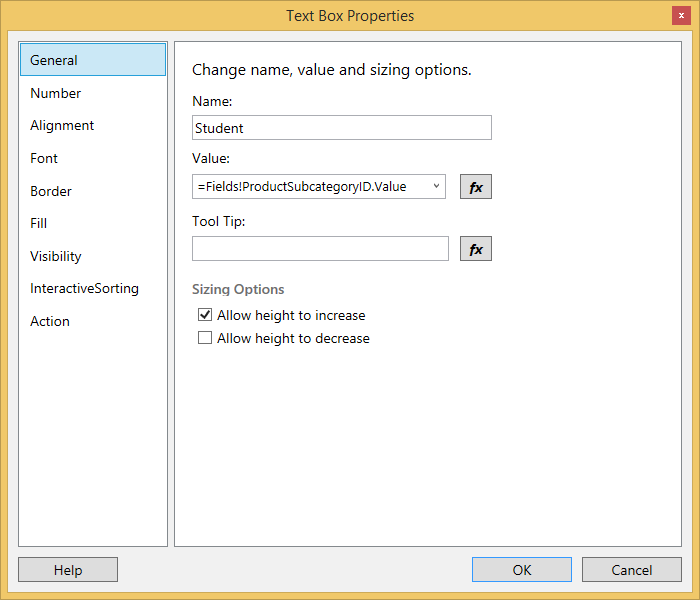
In the TextBox properties dialog, select any of the following:
-
General - To change the name,value and sizing of the TextBox.
-
Number - To set the numbers,date formats and expressions.
-
Alignment - To set the horizontal alignment, vertical alignment, and padding of the TextBox.
-
Font - To set the font family, font size, font color, font style, font effects, and line spacing of the TextBox.
-
Border - To set the TextBox border, border width and background color.
-
Fill - To set the background color of the TextBox.
-
Visibility - To set the visibility of the TextBox when the report is initially run.
-
Interactive Sorting - To change the options of the TextBox using sorting.
-
Actions - To change the hyperlink options.
-
-
Set the desired values, and then click OK to update the values in the TextBox.
-
To change the properties by using the Properties Grid, click the TextBox.And change the values in Properties Panel.
-
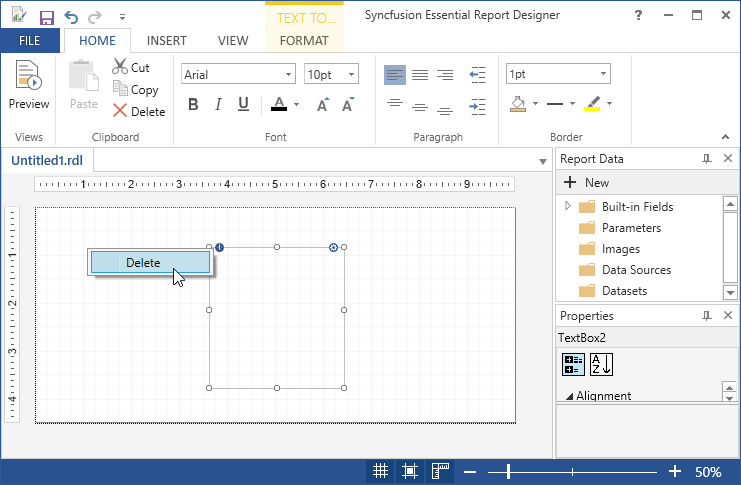
Select TextBox, Right click and select Delete to delete the textbox.