Applying the Patches
14 Feb 20221 minute to read
Syncfusion provides a patch installer for major versions or service pack versions, either to add new features or to fix issues. You must install the patches in the order that they were delivered to you.
Installing the patch installer
The following steps show how to install a patch.
IMPORTANT
Before installing the patch, ensure that the corresponding Essential Studio version platform has been installed on your machine.
-
Double-click the Syncfusion Essential Studio patch installer. The Syncfusion Essential Studio Service Pack opens.
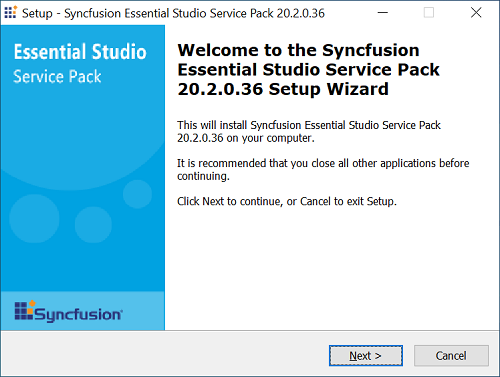
-
Click Next. The Assembly Manager screen opens.
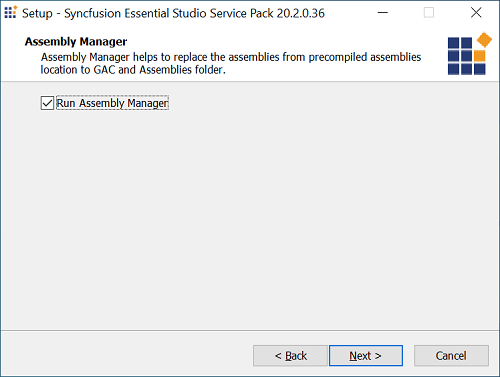
-
Select the Run Assembly Manager check box to install the assemblies in GAC.
-
Click Next. The Ready To Install screen opens.
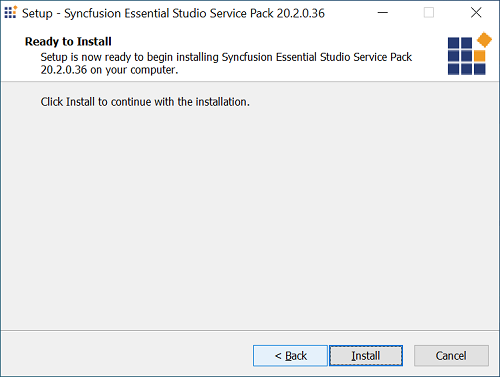
-
Click Install to continue installing.
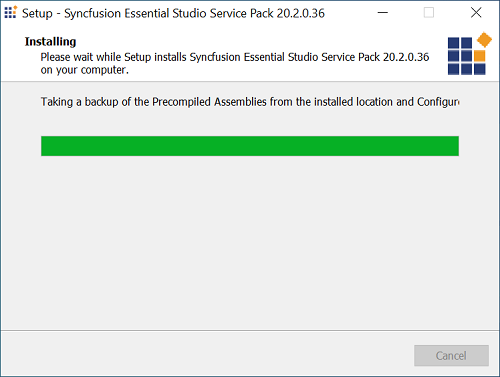
NOTE
The patch is installed on your computer, and a dialog box appears when the installation is completed.
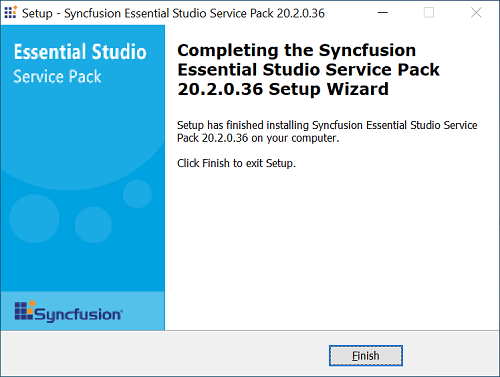
-
Click Finish. The new assemblies are placed in the Pre-Compiled Assemblies folder. These new assemblies can be referenced in your project.
Patch Assembly Version Format
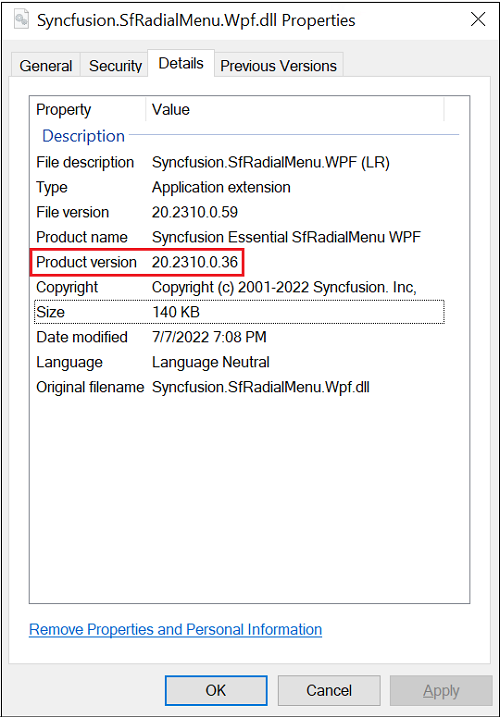
In the patch assembly, the File Version and Product Version will be different. Product version will be the release version, and file version will be the increment of the release version revision number. For each patch, the file version will be a different one. You can differentiate between the build and patch assemblies by file version.
File Version of the assembly shipped in build:
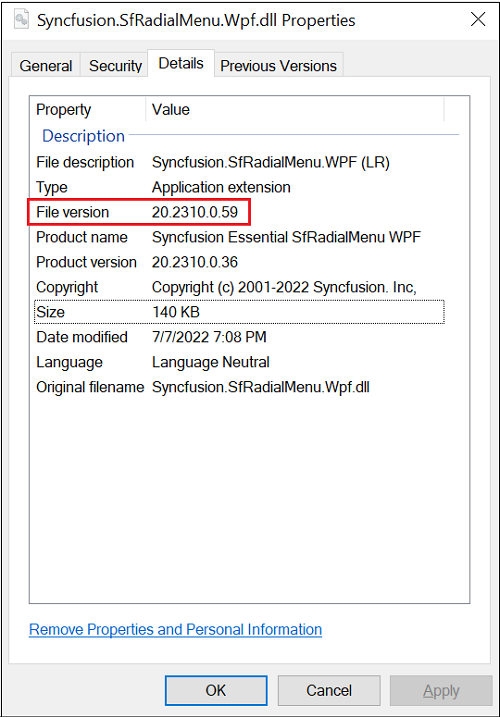
Product Version of the assembly shipped in patch: