Getting Started with Windows Forms ButtonAdv(Classic)
15 Dec 20216 minutes to read
This section explains how to create a new Windows Forms project in Visual Studio and add ButtonAdv” with it’s basic functionalities.
Assembly deployment
Refer to the control dependencies section to get the list of assemblies or NuGet package details which needs to be added as reference to use the control in any application.
Check here to find more details about on how to install nuget packages in Windows Forms application.
Adding a ButtonAdv control through designer
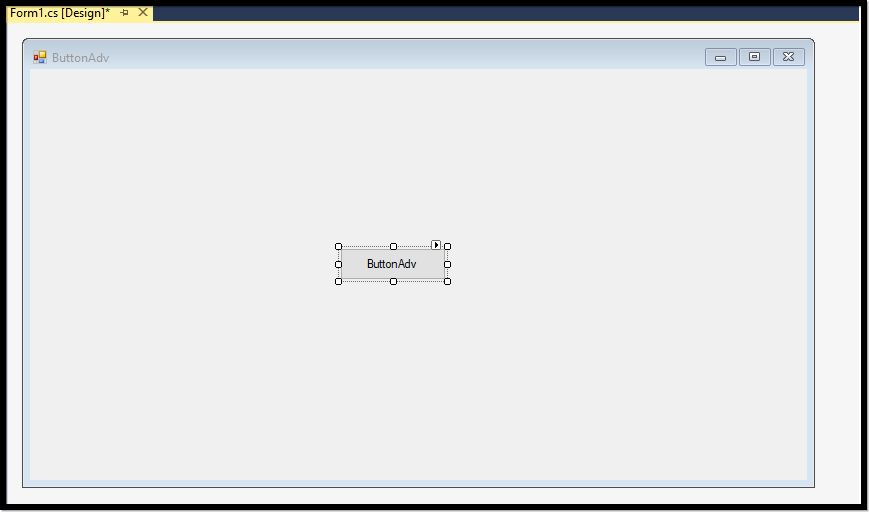
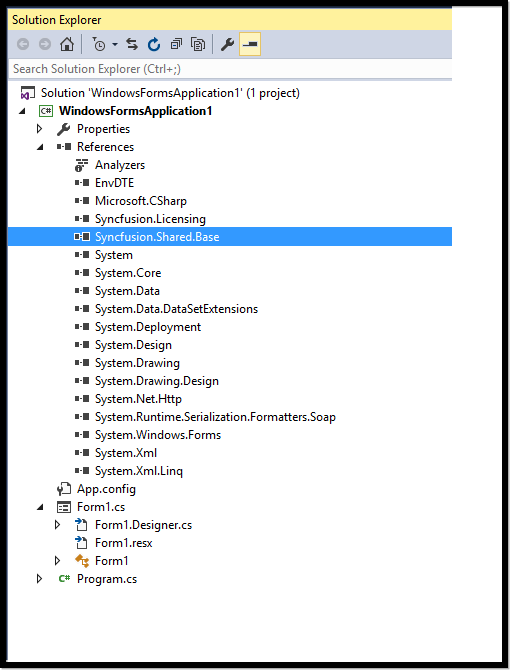
Step 1: Create a new Windows Forms application in Visual Studio. Drag and drop the ButtonAdv from toolbox into form design view. The following dependent assemblies will be added automatically.
- Syncfusion.Shared.Base
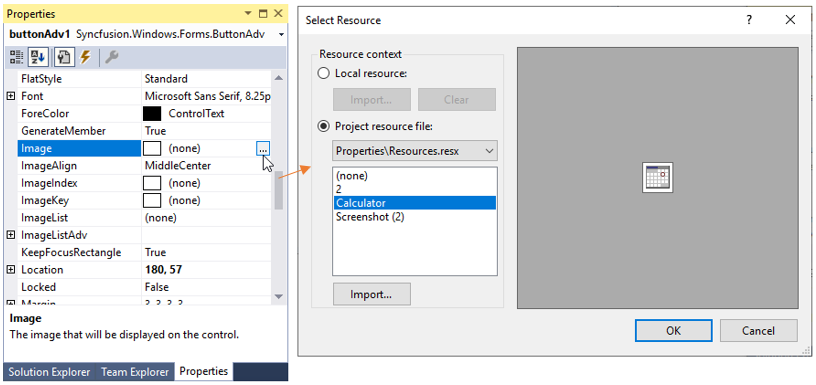
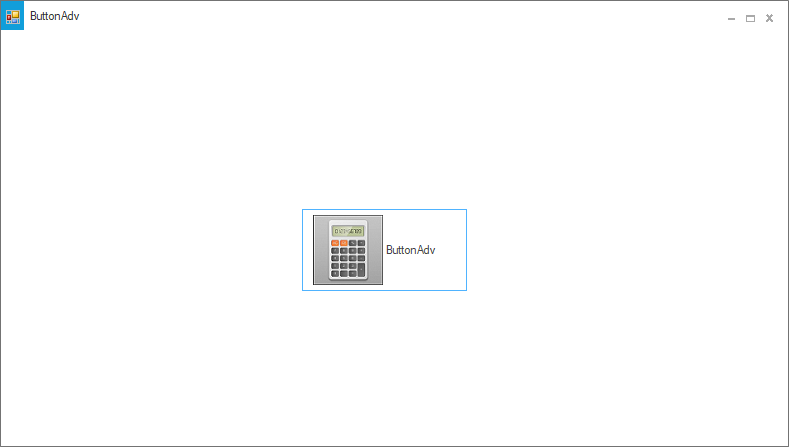
Step 2: Set the desired properties for “ButtonAdv” control through the “Properties” dialog window. Here we have illustrated an example of how to add image and customize its properties.
Step 3: Run the application and the following output will be shown:
Adding a ButtonAdv control through code
Step 1: Create a new Windows Forms application in Visual Studio. Add the following required assembly references and namespace to the project.
- Syncfusion.Shared.Base
using Syncfusion.Windows.Forms.Tools;Imports Syncfusion.Windows.Forms.Tools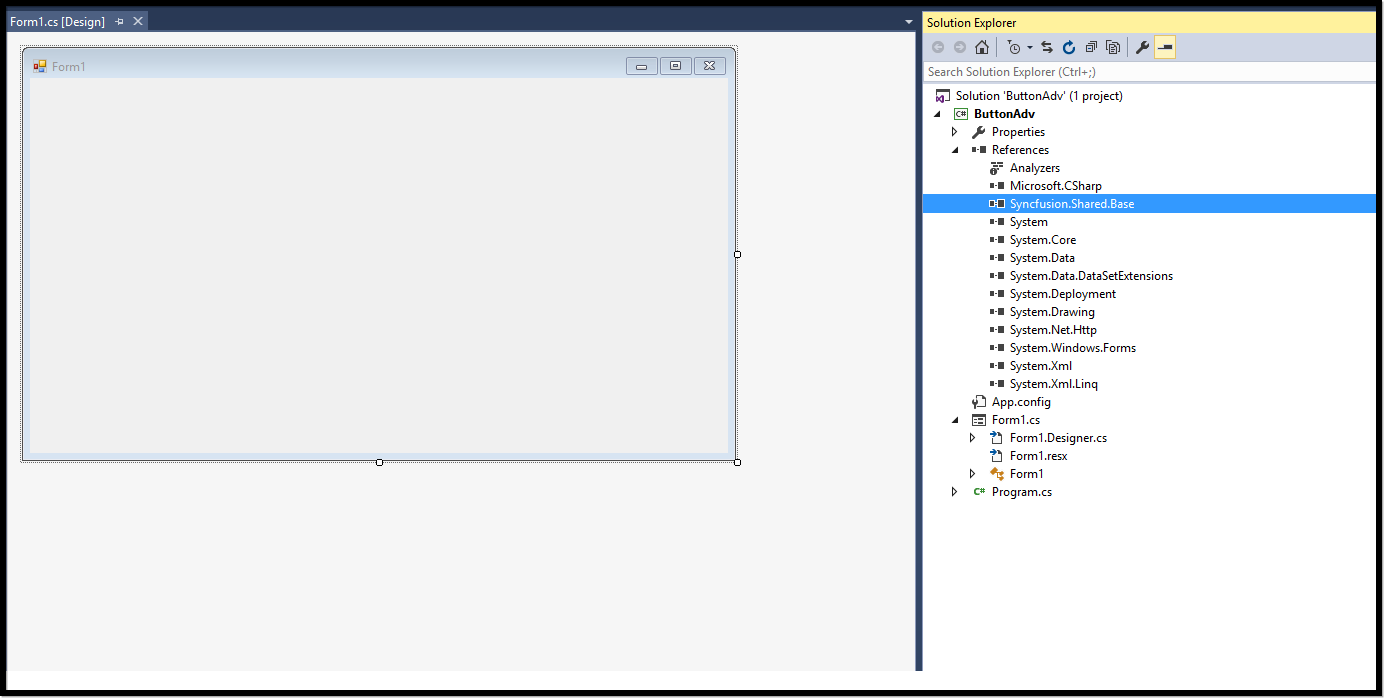
Step 2: In Form1.cs, create an instance of “ButtonAdv” control and add in to the form. Also you can customize the ButtonAdv properties using the following code.
public Form1()
 {

            InitializeComponent();
            ButtonAdv button = new ButtonAdv();
            button.UseVisualStyle = true;
            button.Location = new System.Drawing.Point(296, 179);
            button.Name = "buttonAdv1";
            button.Size = new System.Drawing.Size(165, 82);
            button.Text = "ButtonAdv";
            button.ThemeName = "Office2019Colorful";
            this.Controls.Add(button);
}
Public Sub New()
InitializeComponent()
Dim button As ButtonAdv = New ButtonAdv()
button.UseVisualStyle = True
button.Location = New System.Drawing.Point(296, 179)
button.Name = "buttonAdv1"
button.Size = New System.Drawing.Size(165, 82)
button.Text = "ButtonAdv"
button.ThemeName = "Office2019Colorful"
Me.Controls.Add(button)
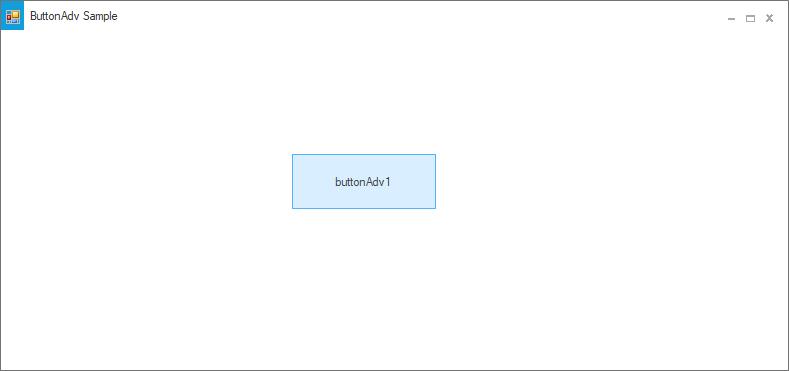
End SubStep 3: Run the application and the following output will be shown.
Adding an image and relation location for the image with ButtonAdv’s Text
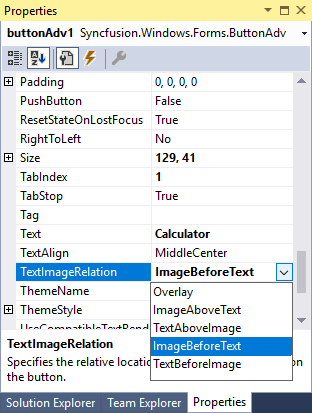
In ButtonAdv control, we can embed image using the Image property. Meanwhile in-order to set the image along with custom text, we can use the Text property and define relation between image and text using TextImageRelation property.
public Form1()
 {

            InitializeComponent();
            ButtonAdv button = new ButtonAdv();
            //Adding the image to ButtonAdv control
            button.Image = global::WindowsFormsApplication1.Properties.Resources.Calculatorimage;
            button.Location = new System.Drawing.Point(296, 179);
            button.Name = "buttonAdv1";
            button.Size = new System.Drawing.Size(165, 82);
            button.Text = "ButtonAdv";
            //Setting the TextImageRelation property to the button
            button.TextImageRelation = TextImageRelation.ImageBeforeText;
            button.ThemeName = "Office2019Colorful";
            this.Controls.Add(button);
}
Public Sub New()
InitializeComponent()
Dim button As ButtonAdv = New ButtonAdv()
'Adding the image to ButtonAdv control
button.Image = [global].WindowsFormsApplication1.Properties.Resources.Calculatorimage
button.Location = New System.Drawing.Point(296, 179)
button.Name = "buttonAdv1"
button.Size = New System.Drawing.Size(165, 82)
button.Text = "ButtonAdv"
'Setting the TextImageRelation property to the button
button.TextImageRelation = TextImageRelation.ImageBeforeText
button.ThemeName = "Office2019Colorful"
Me.Controls.Add(button)
End Sub