TreeMap Layout in UWP TreeMap (SfTreeMap)
15 Jul 20265 minutes to read
The ItemsLayoutMode for SfTreeMap specifies the layout mode of the treemap items. This layout is applied for all the tree map levels. There are four different treemap layouts such as,
Squarified layout
In this layout the data is visualized in the form of square-like rectangles with best aspect ratio.
The following code illustrates how to set a squarified in Treemap.
Code Sample:
<Grid Background="{StaticResource ApplicationPageBackgroundThemeBrush}">

    <Grid.DataContext>
        <local:PopulationViewModel/>
    </Grid.DataContext>

    <syncfusion:SfTreeMap ItemsSource="{Binding PopulationDetails}"
                        ItemsLayoutMode="Squarified"
                        WeightValuePath="Population"
                        ColorValuePath="Growth">

        <syncfusion:SfTreeMap.LeafItemSettings>
            <syncfusion:LeafItemSettings>
                <syncfusion:LeafItemSettings.LabelTemplate>
                    <DataTemplate>
                        <TextBlock Text="{Binding Data.Country}" TextWrapping="Wrap" Foreground="White" FontSize="16" FontWeight="Normal" HorizontalAlignment="Left" VerticalAlignment="Top" Margin="5,5,0,0"/>
                    </DataTemplate>
                </syncfusion:LeafItemSettings.LabelTemplate>
            </syncfusion:LeafItemSettings>
        </syncfusion:SfTreeMap.LeafItemSettings>

        <syncfusion:SfTreeMap.Levels>
            <syncfusion:TreeMapFlatLevel GroupPath="Continent" HeaderHeight="25" GroupGap="5" GroupPadding="5" GroupBackground="Transparent" GroupBorderBrush="#009900" GroupBorderThickness="1">
                <syncfusion:TreeMapFlatLevel.HeaderTemplate>
                    <DataTemplate>
                            <TextBlock Text="{Binding Header}" Margin="5,0,0,0" Foreground="black" FontSize="18" FontWeight="Light" HorizontalAlignment="Left" VerticalAlignment="Center" />
                    </DataTemplate>
                </syncfusion:TreeMapFlatLevel.HeaderTemplate>
            </syncfusion:TreeMapFlatLevel>
        </syncfusion:SfTreeMap.Levels>

    </syncfusion:SfTreeMap>

</Grid>
The following screen shot illustrates a squarified layout.
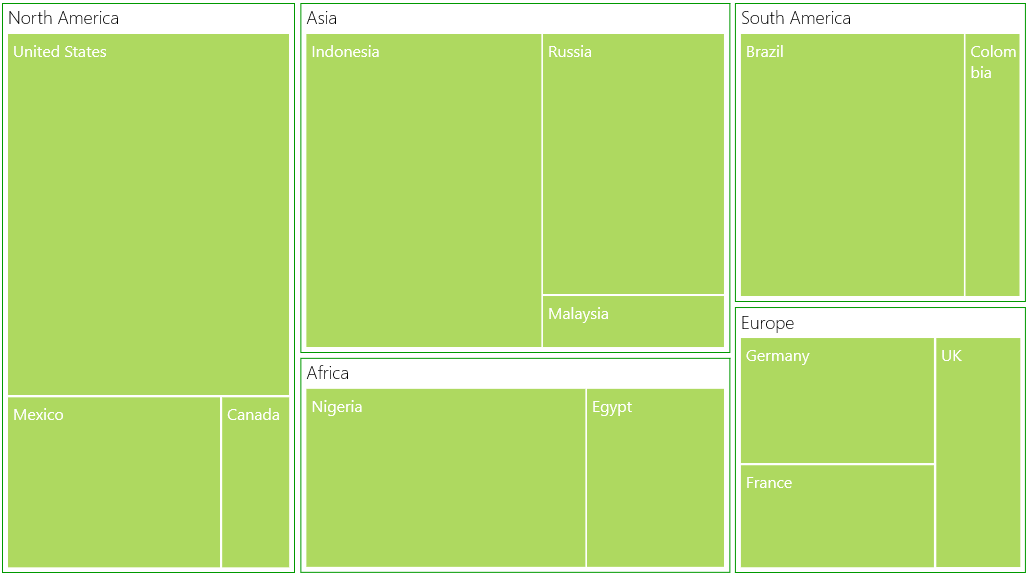
squarified layout
SliceAndDiceAuto layout
In this layout the data is visualized in the form of long-thin rectangles with high aspect ratio, which can be displayed either vertically or horizontally.
The following code illustrates how to set a slice and dice layout in Treemap.
Code Sample:
<Grid Background="{StaticResource ApplicationPageBackgroundThemeBrush}">

    <Grid.DataContext>
        <local:PopulationViewModel/>
    </Grid.DataContext>

    <syncfusion:SfTreeMap ItemsSource="{Binding PopulationDetails}"
                        ItemsLayoutMode="SliceAndDiceAuto"
                        WeightValuePath="Population"
                        ColorValuePath="Growth">
    // Code omitted for brevity
    </syncfusion:SfTreeMap>

</Grid>
The following screen shot illustrates a slice-and-dice layout.
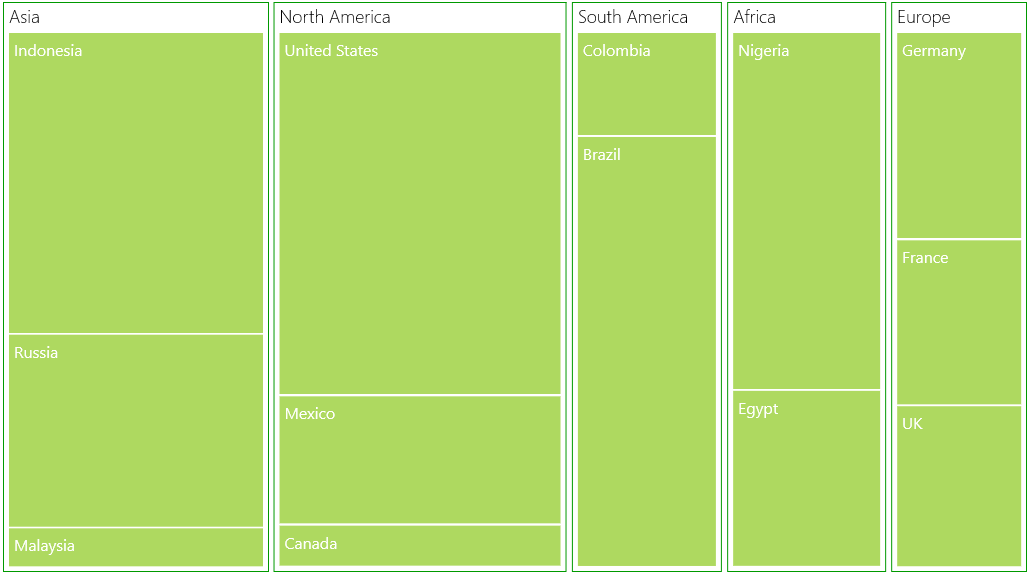
slice-and-dice layout
SliceAndDiceHorizontal layout
The following code illustrates how to set a slice and dice layout horizontally in Treemap.
Code Sample:
<Grid Background="{StaticResource ApplicationPageBackgroundThemeBrush}">

    <Grid.DataContext>
        <local:PopulationViewModel/>
    </Grid.DataContext>

    <syncfusion:SfTreeMap ItemsSource="{Binding PopulationDetails}"
                        ItemsLayoutMode="SliceAndDiceHorizontal"
                        WeightValuePath="Population"
                        ColorValuePath="Growth">
    // Code omitted for brevity
    </syncfusion:SfTreeMap>

</Grid>
The following screen shot shows a Slice-and-dice treemap in horizontal layout.
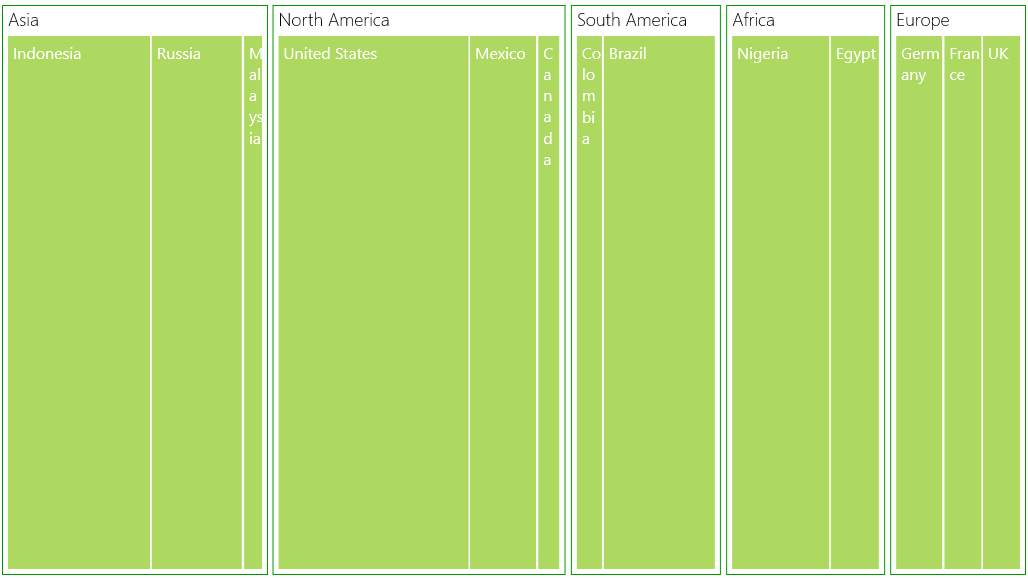
Slice-and-dice treemap in horizontal layout
SliceAndDiceVertical layout
The following code illustrates how to set a slice and dice layout vertically in Treemap.
Code Sample:
<Grid Background="{StaticResource ApplicationPageBackgroundThemeBrush}">

    <Grid.DataContext>
        <local:PopulationViewModel/>
    </Grid.DataContext>

    <syncfusion:SfTreeMap ItemsSource="{Binding PopulationDetails}"
                        ItemsLayoutMode="SliceAndDiceVertical"
                        WeightValuePath="Population"
                        ColorValuePath="Growth">
    // Code omitted for brevity
    </syncfusion:SfTreeMap>

</Grid>
The following screen shot shows a Slice-and-dice treemap in vertical layout.
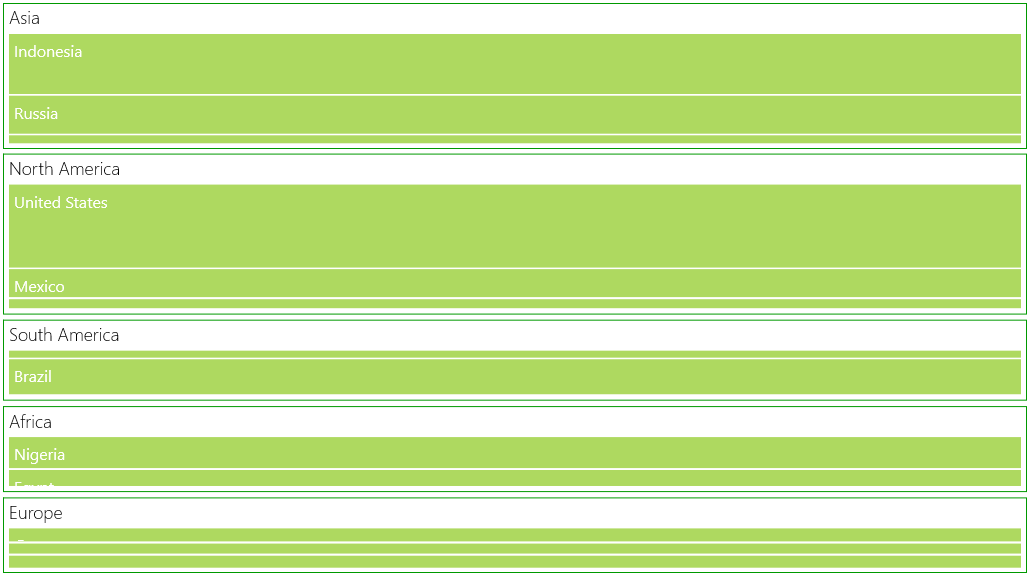
Slice-and-dice treemap in vertical layout