How can I help you?
Localization in UWP Pivot Client (SfPivotClient)
10 May 20213 minutes to read
Localization is the key feature to provide software solutions that are targeted at global users. The SfPivotClient allows users to localize the control to a specific locale and supports “resx” based localization.
You can use the following steps to localize the control:
- Translation.
- Resource file and file name conventions.
- Culture specification.
Translation
The first step in localization is translating the strings that can be localized to the destination locale.
NOTE
Localization key field should be same for all locales. Do not translate the key fields.
Resource file and file name conventions
After translating the strings, perform the following steps in the application:
-
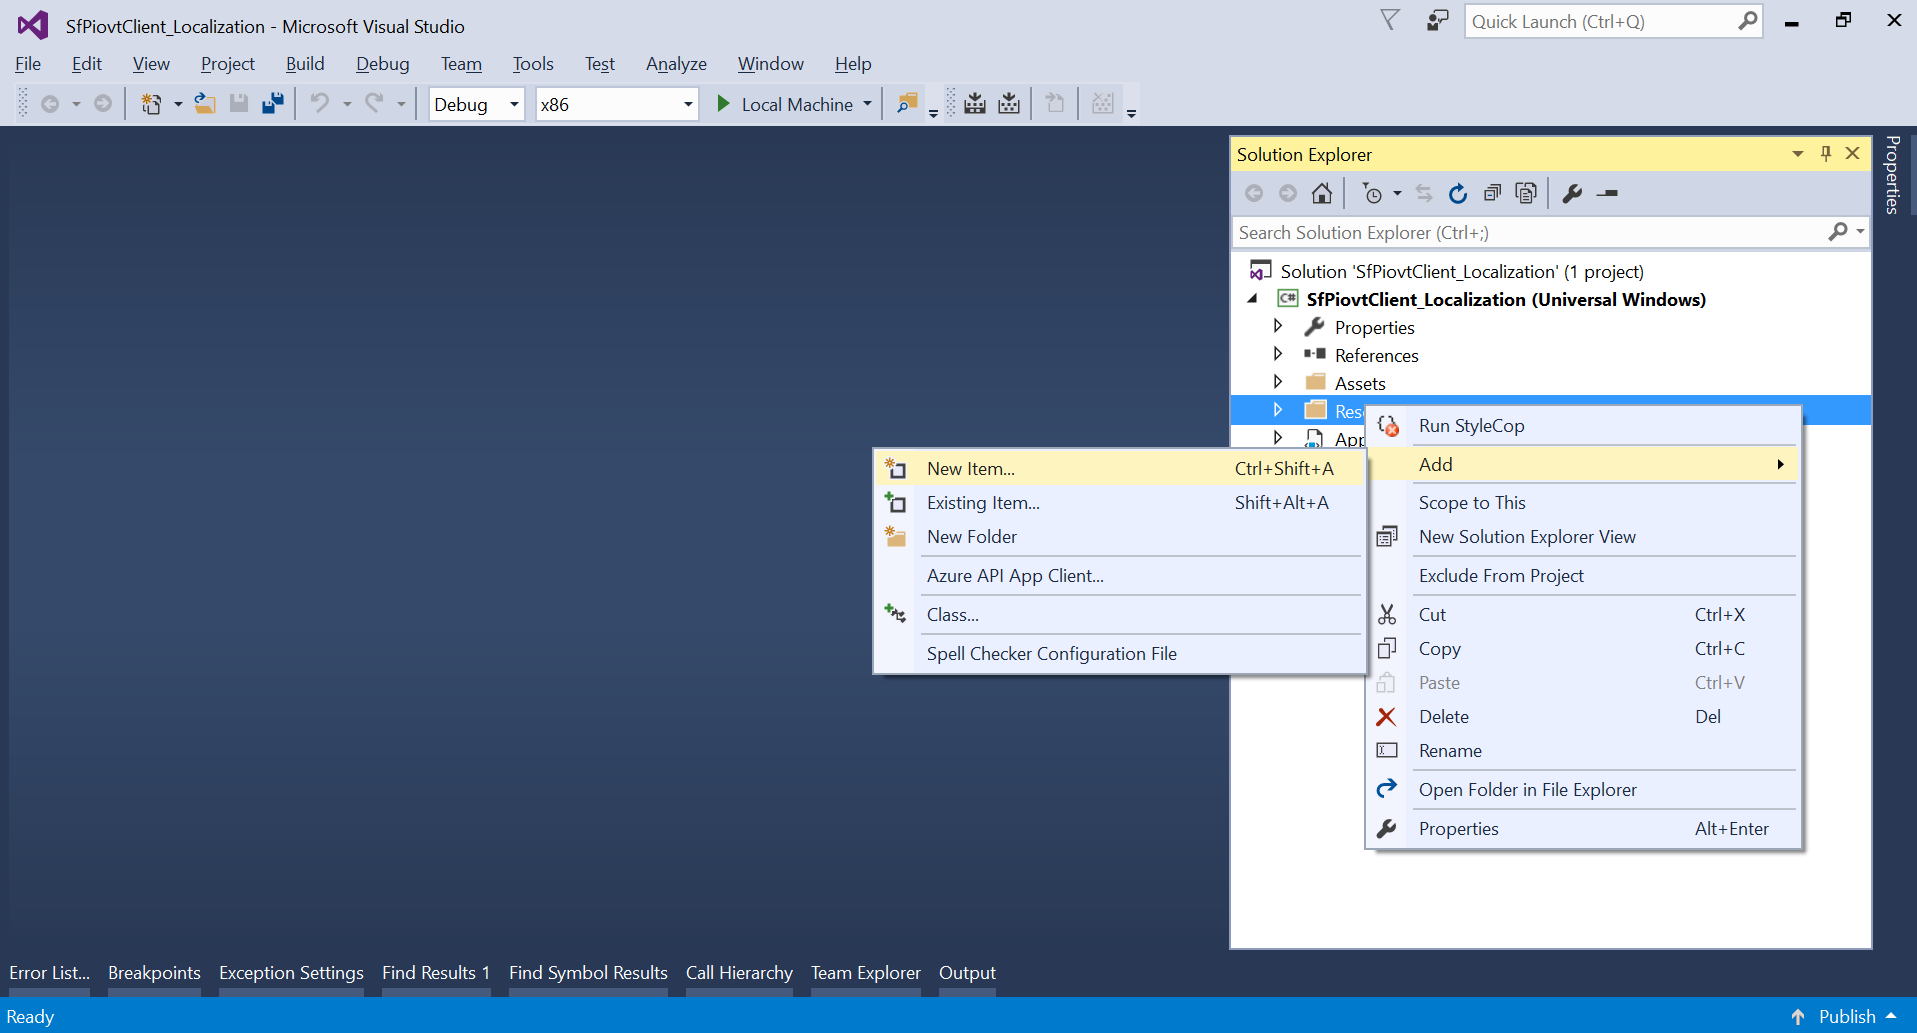
Right-click the project file to create a new folder in the project by selecting Add > New Folder and renaming the folder as “Resources”.
-
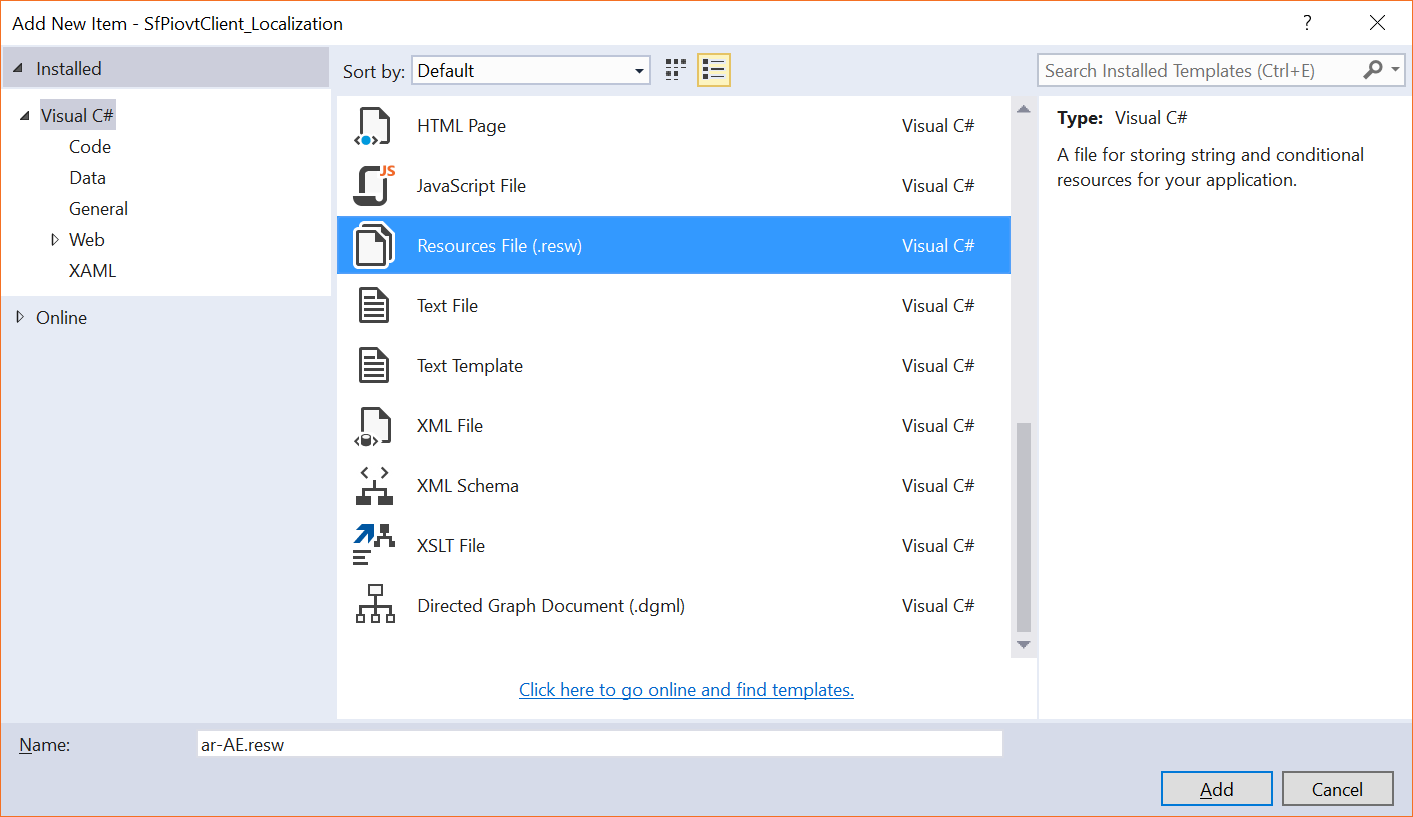
Then, right-click the Resources folder to create a new resource file by selecting Add > New Item.
NOTE
The resource file name should be in the format “<Culture Code>.resx”.
- Copy and paste the translated locale to the created resource file.
Culture specification
You should specify the CurrentUICulture in the Application_Startup method of the App.xaml.cs file or in the constructor of the MainPage.xaml.cs file.
NOTE
If you are specifying the current culture in the constructor of the mainPage, then ensure that the culture is specified before calling the InitializeComponent() method.
public sealed partial class MainPage : Page
{
    public MainPage()
    {
        ApplicationLanguages.PrimaryLanguageOverride = "ar-AE";
        this.InitializeComponent();
    }
}
Public NotInheritable Partial Class MainPage
Inherits Page
Public Sub New()
ApplicationLanguages.PrimaryLanguageOverride = "ar-AE"
Me.InitializeComponent()
End Sub
End ClassRTL
The SfPivotClient provides RTL support to display the content from right to left direction by setting the FlowDirection property to RightToLeft.
<pivotclient:SfPivotClient x:Name="PivotClient1" FlowDirection="RightToLeft"
                           ItemsSource="{Binding ProductSalesData}" PivotColumns="{Binding PivotColumns}"
PivotRows="{Binding PivotRows}" PivotCalculations="{Binding PivotCalculations}"/>PivotClient1.FlowDirection = FlowDirection.RightToLeft;PivotClient1.FlowDirection = FlowDirection.RightToLeft
A demo sample is available in the following location.
{system drive}:\Users\<User Name>\AppData\Local\Syncfusion\EssentialStudio\<Version Number>\Samples\UWP\SampleBrowser\PivotClient\PivotClient\View\Localization.xaml