TextBox
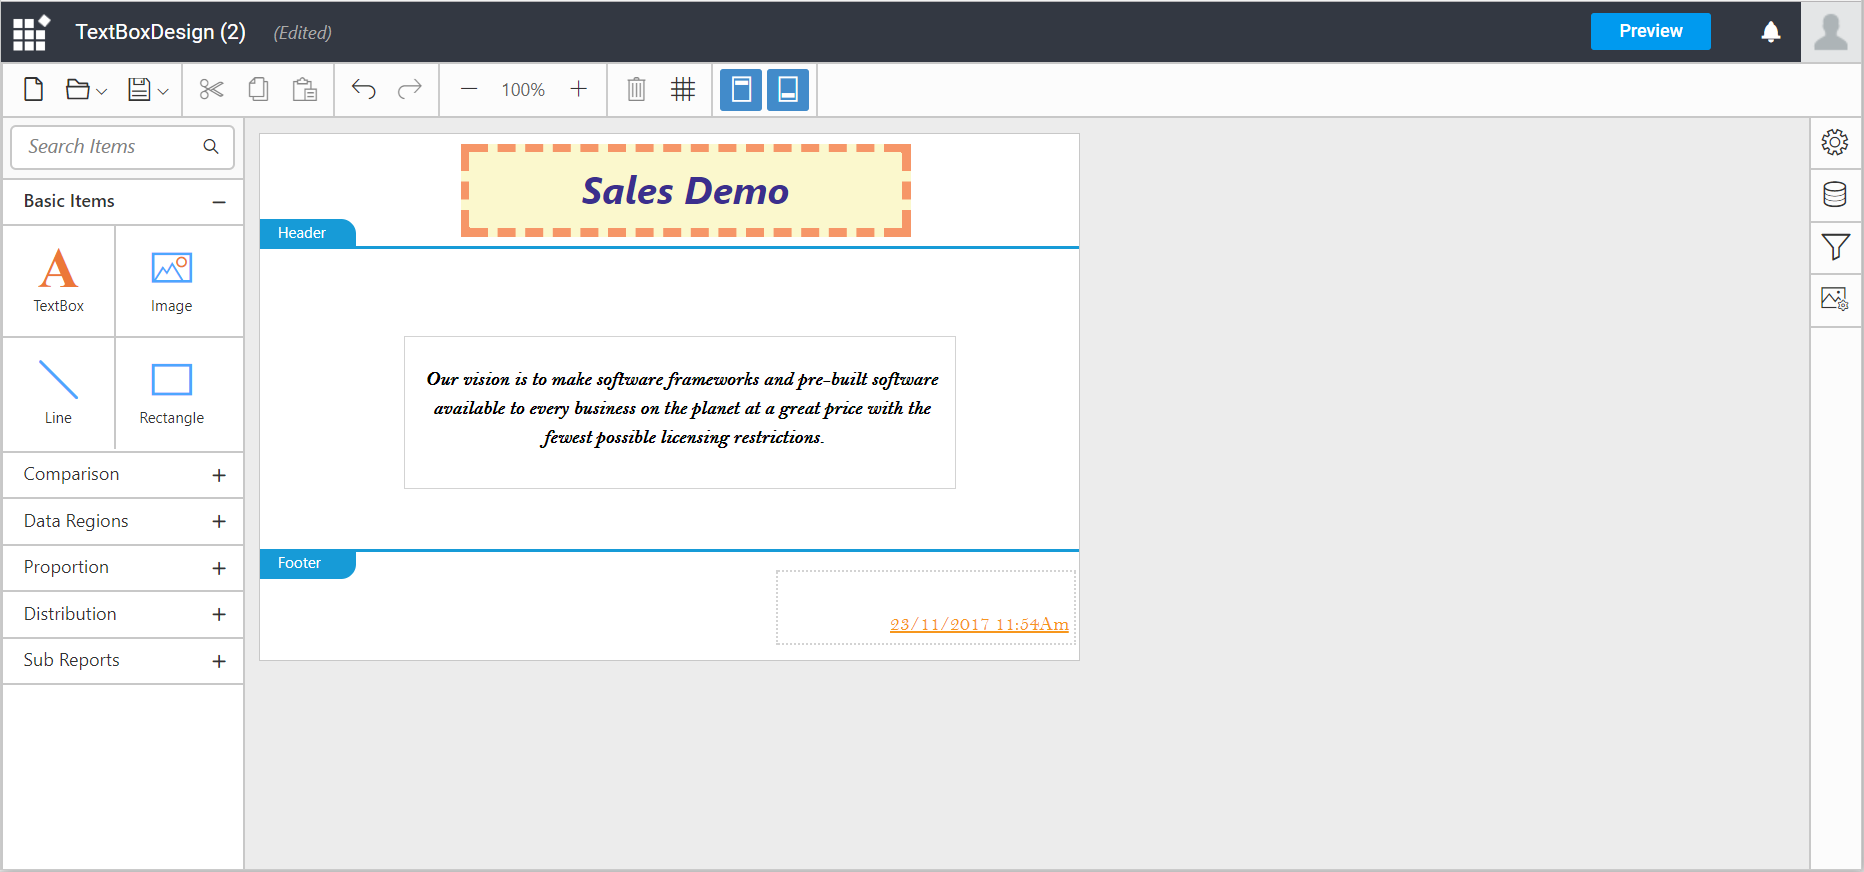
TextBox can be used to display static text for titles, highlighting key information, descriptions and labels or dynamic text set based on expressions.
To add textbox
Drag and drop the Textbox from the item panel.
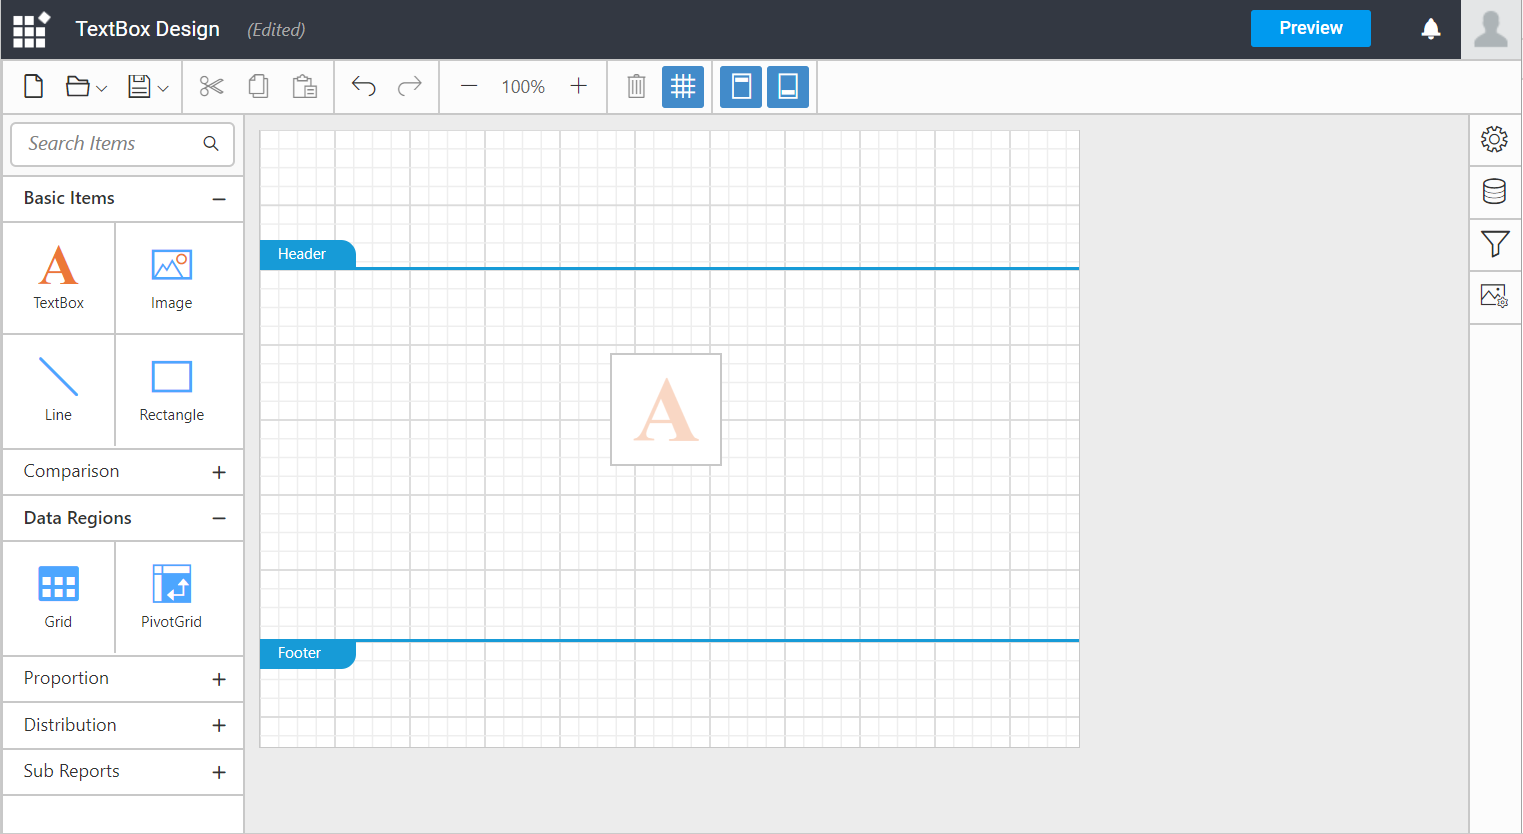
You can add textbox in header, footer, and body area.
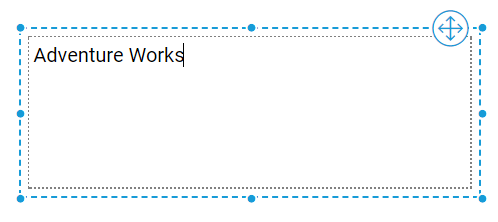
Edit textbox
To edit the textbox, place the cursor inside the textbox.
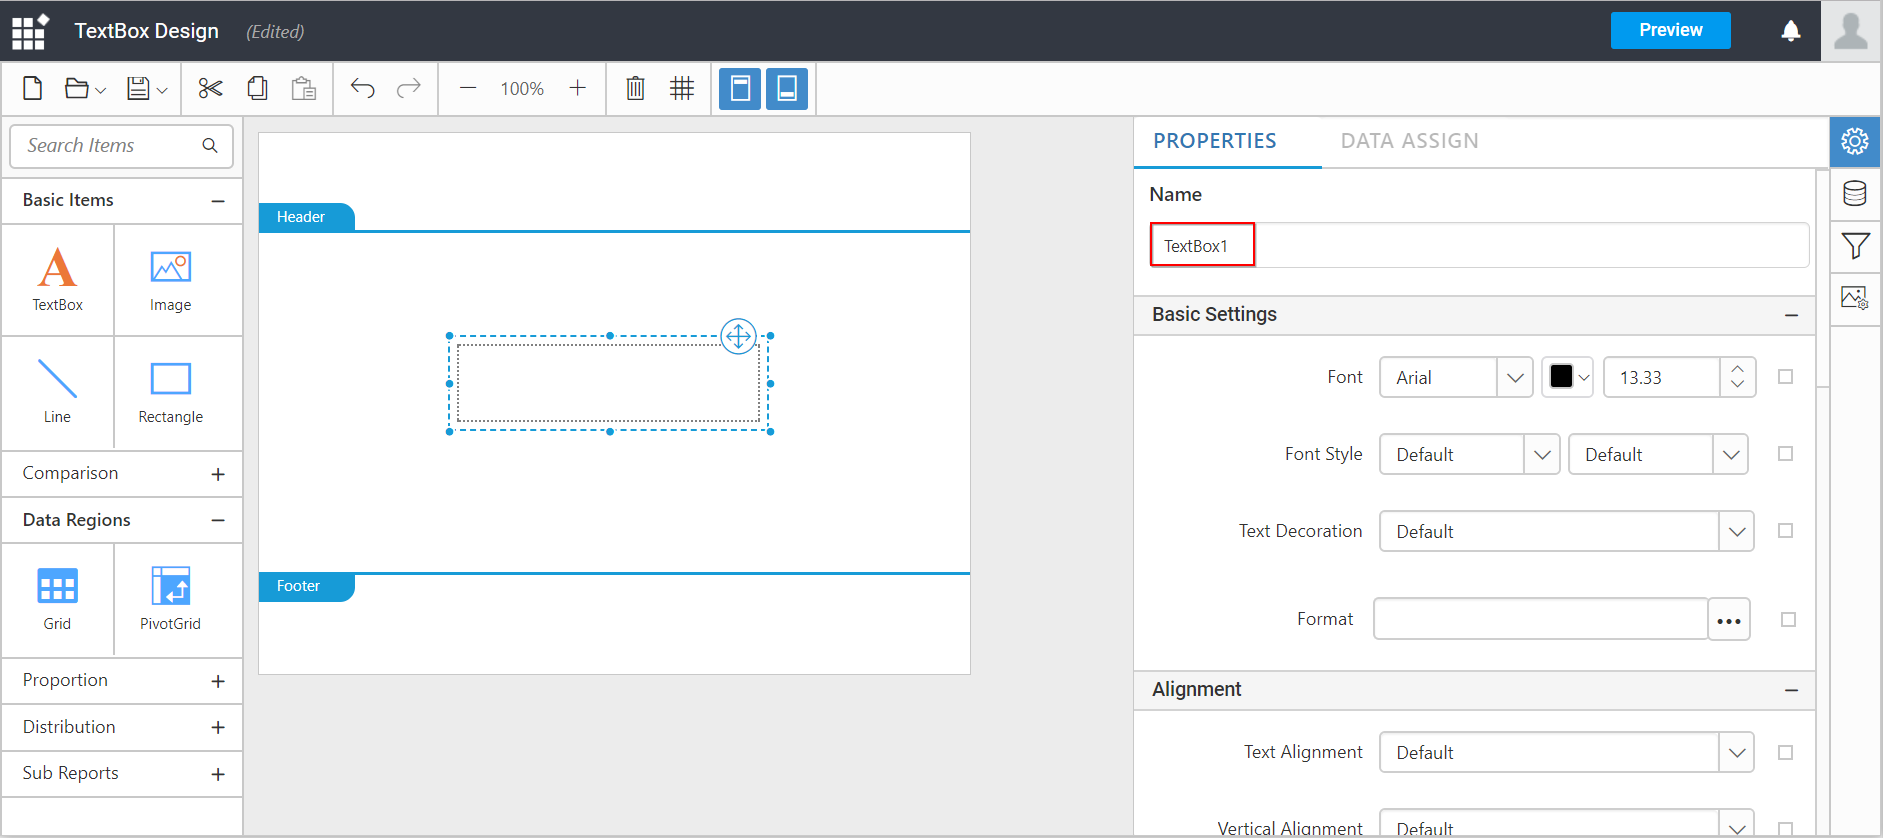
Configure and Format textbox content
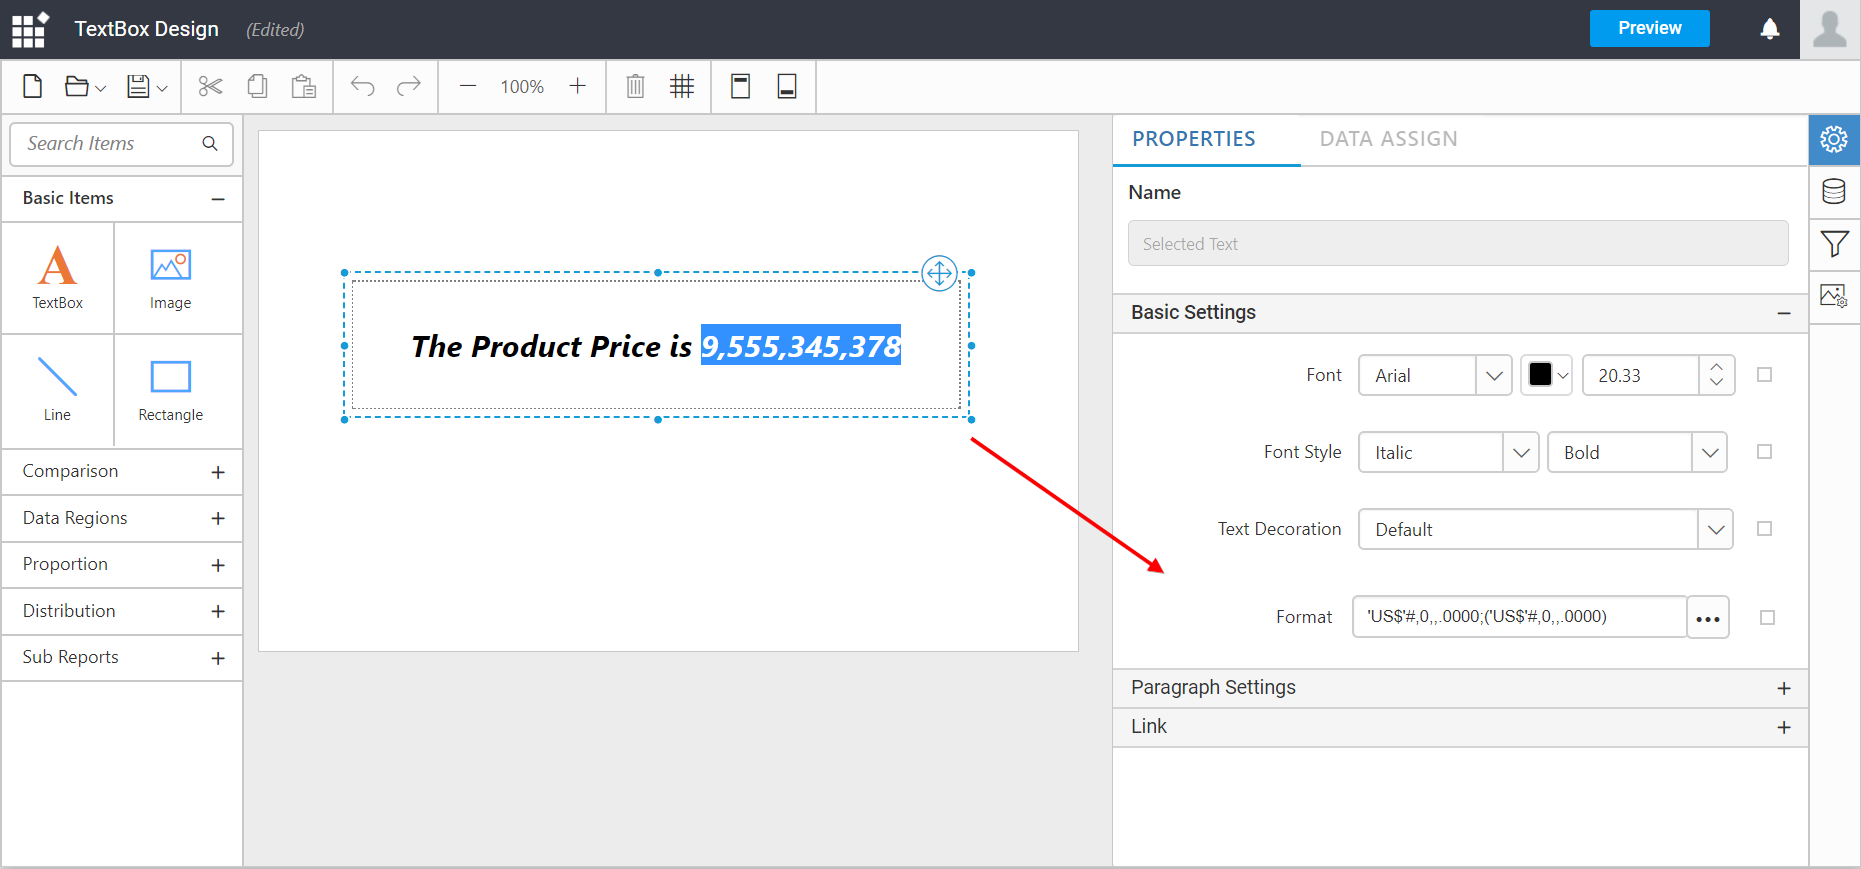
Click the Properties icon in the configuration panel.
![]()
You can configure the textbox in below ways
-
Focus the overall textbox element to configure properties for whole textbox content.
-
Select the specific text to configure properties for selected text.
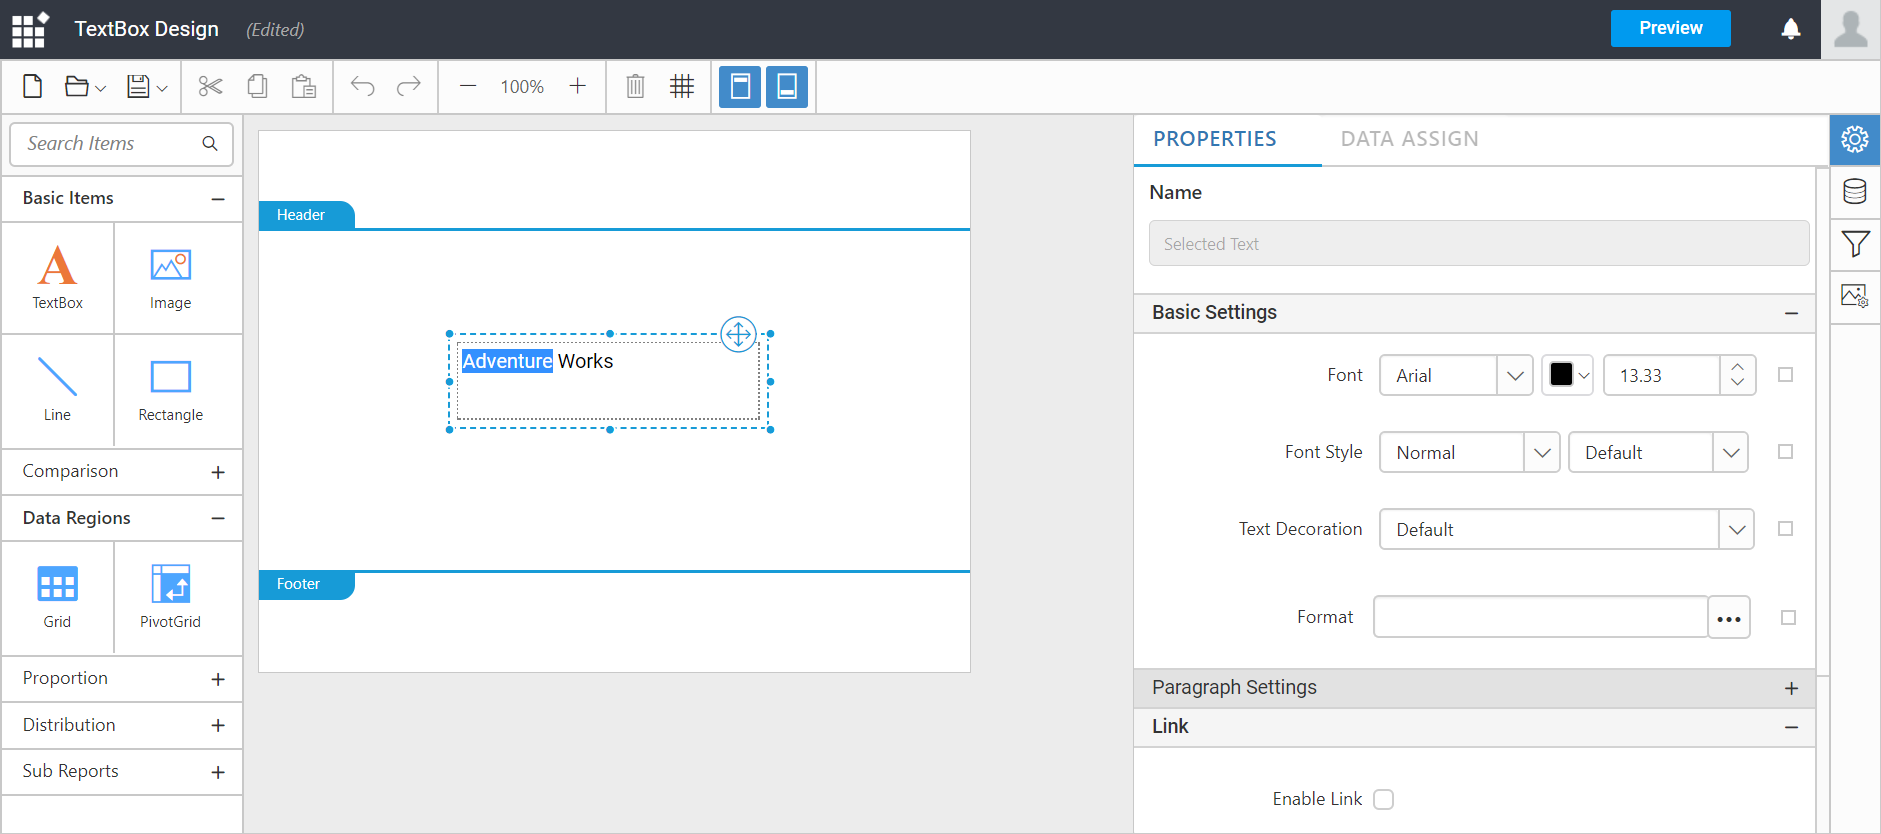
To switchover from selected text properties to textbox properties, click the
Moveicon.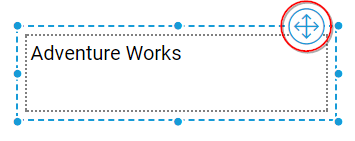
Properties
Textbox provides various properties for configuring and formatting the textbox content.
Please find the list of properties and its use grouped under each category.
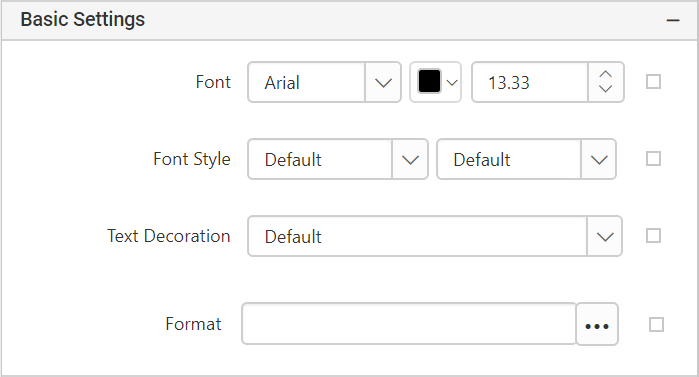
Basic settings
-
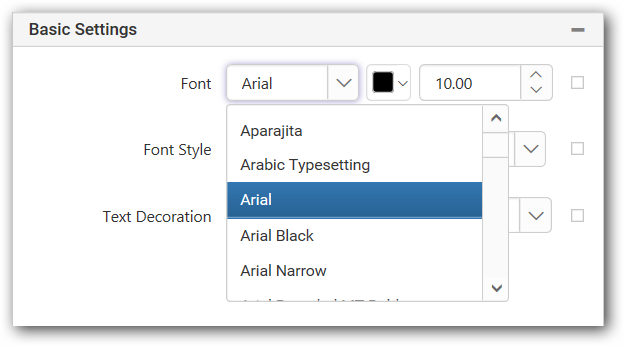
Font family:
This allows you to select the font family of the text.
Note: RDL standard windows fonts are not supported in cross platforms. So, you need to load the unsupported fonts in application level for cross platforms.
-
Font color:
This allows you to select the font color of the text. Click the color palette icon to open the
Color Palettefor setting font color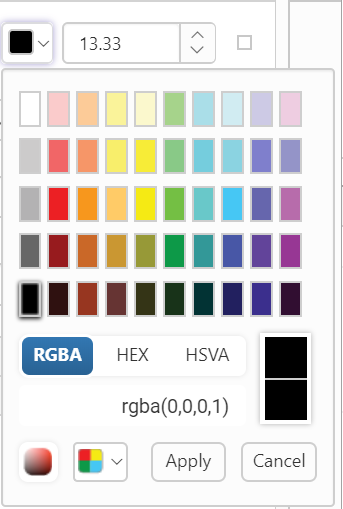
-
Font size:
This allows you to set the font size for text content. Click the up/down arrow to increase/decrease the font size.

-
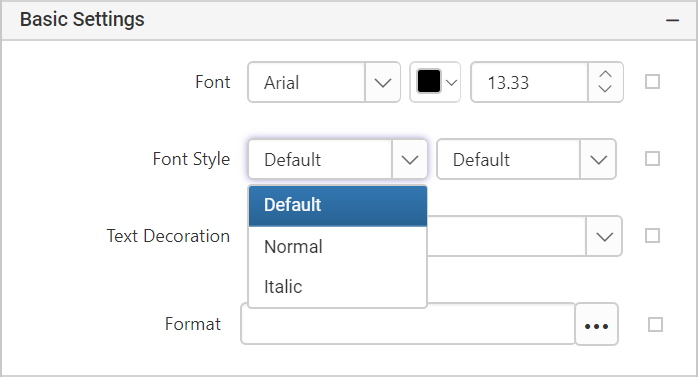
Font style:
This allows you to choose the font style for text content. Click the drop-down list to set the font style of the text.
- Default
- Normal
- Italic
-
Text decoration:
This allows you to modify the text decoration for text content.
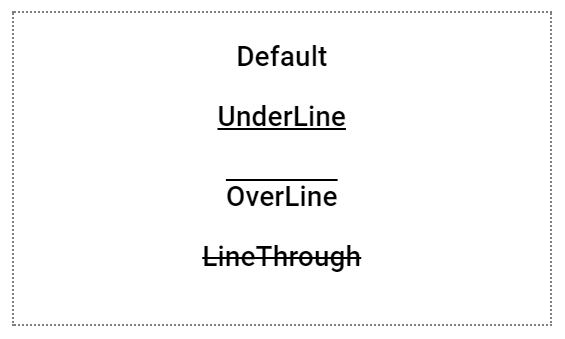
Note: To remove text decoration, select
Nonefrom the drop-down list.
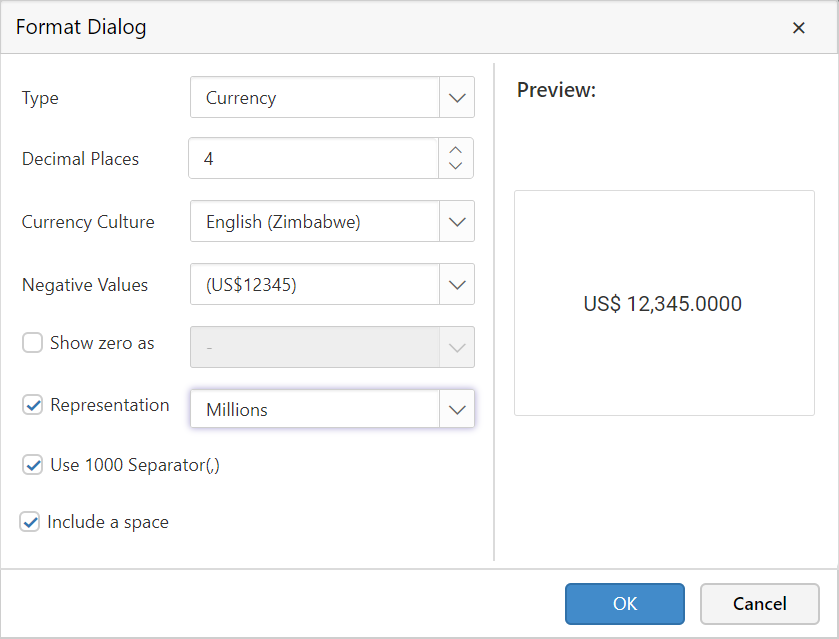
Format
This allows you to set format to the text using the Format property.

-
Click the highlighted button in the above image to open
Formatdialog.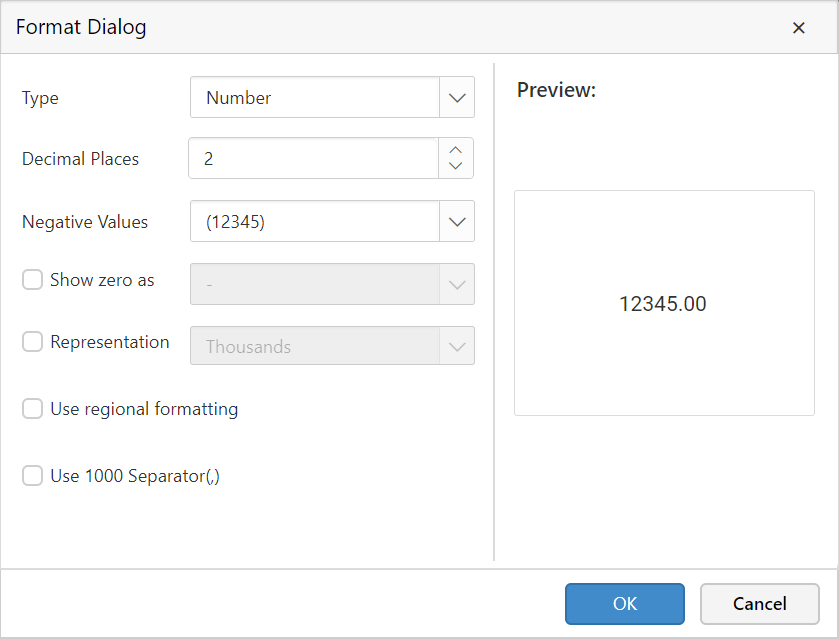
-
You can also set custom format by entering the format in the text field.
Alignment
The properties under this category allows you to align the text.
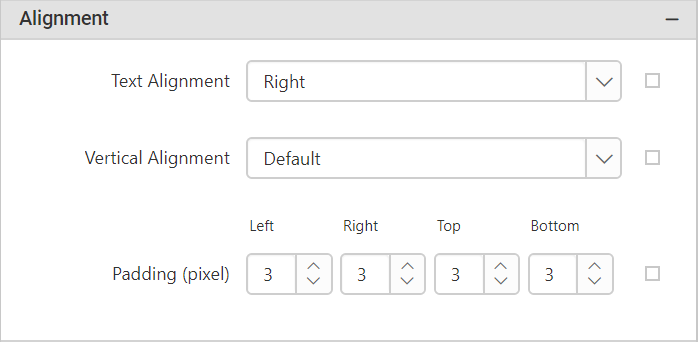
-
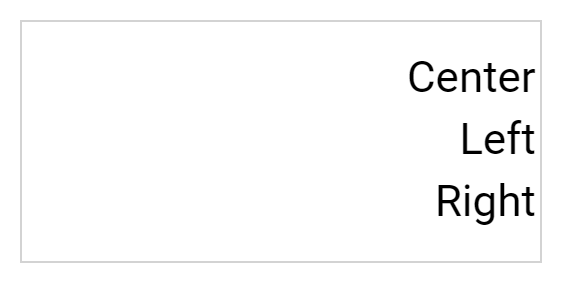
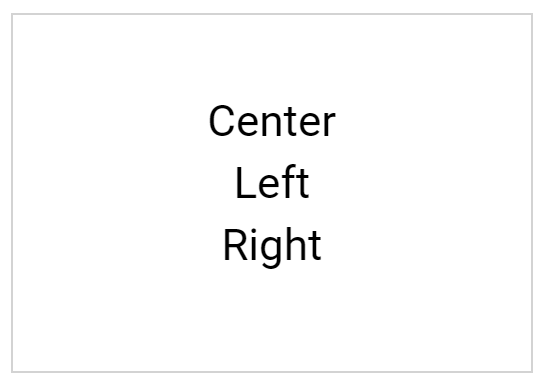
Text alignment:
This allows you to align the text at center, left and right positions.
Center
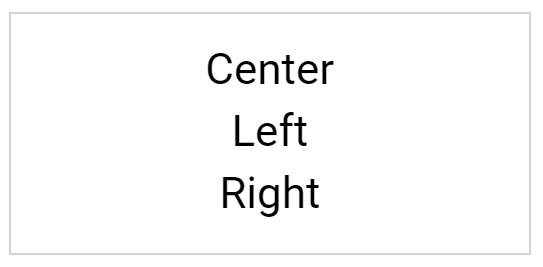
Left
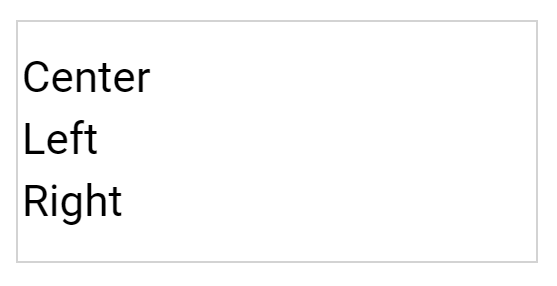
Right
Note: To remove alignment, set text alignment as Default.
-
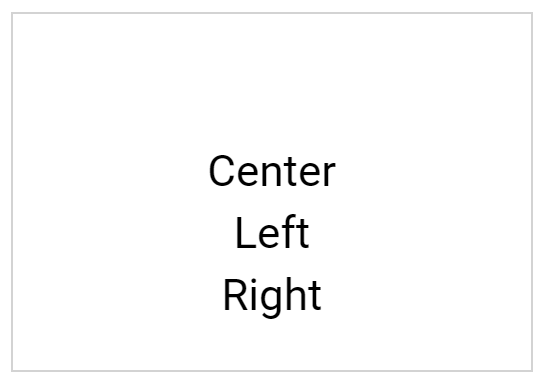
Vertical alignment:
This allows you to position the text at top, middle and bottom positions.
Top
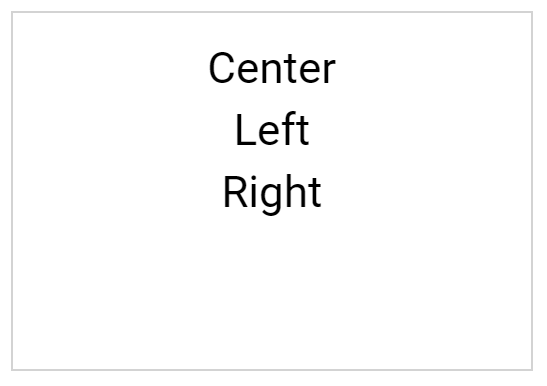
Middle
Bottom
Note: To remove alignment, set vertical alignment as Default.
-
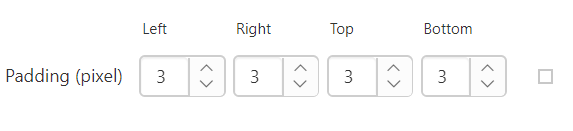
Padding
This allows you to increase/decrease the text padding.
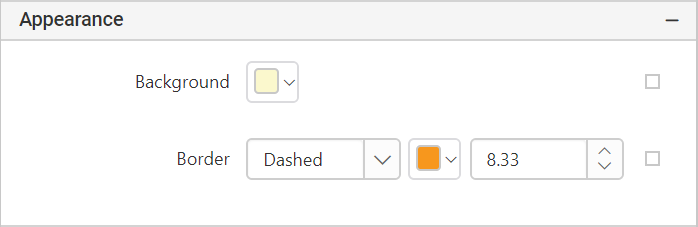
Appearance
The properties under this category allows you to set the background color, border style, and border width.
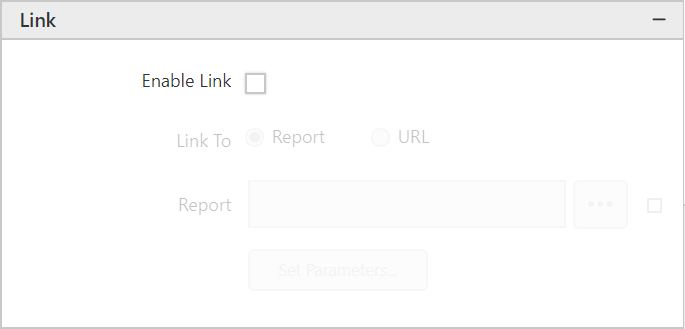
Enable Link
Linking actions used to define a hyperlink, a bookmark link, or a drill through action for providing navigation actions to reports.
You can enable this actions by enabling the Enable Link checkbox.
Note: The
Enable Linkoption is available in the Properties tab of the widgets.
Drill Through
A drill through report is a report that a user opens by clicking a link within another report. Drill through reports commonly contain details about an item that is contained in an original summary report. You can add drill through links to text boxes, images, charts or any other report item that has an Action property.
Link Report
-
Select Report option.
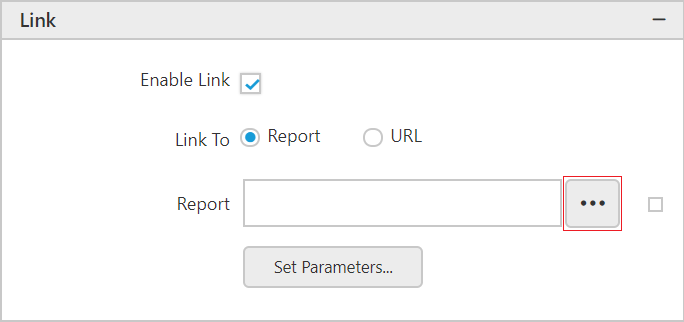
-
Click the
Browsebutton in the report fields and select the report from the list.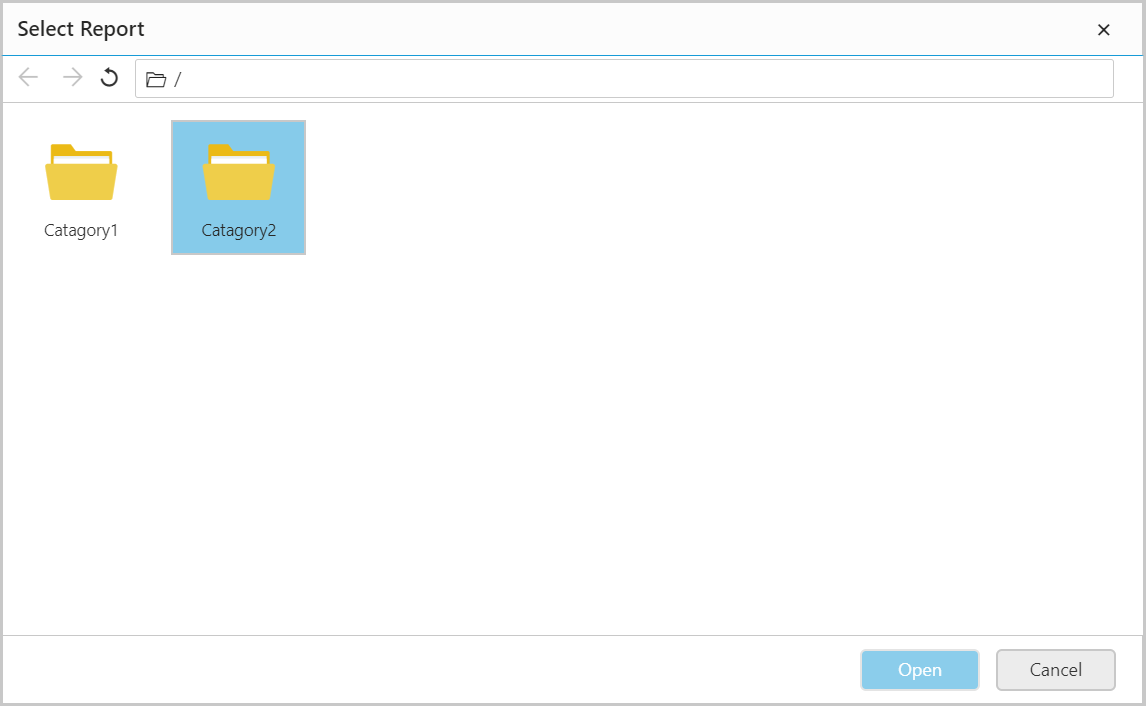
Link Parameters
A drill through report contains parameters that are passed to it by the summary report. To specify parameters for the drill through report, follow the below steps.
-
Click the
Set Parametersbutton in the report fields, it will launch theParametersdialog.
-
To add parameter, click Add.
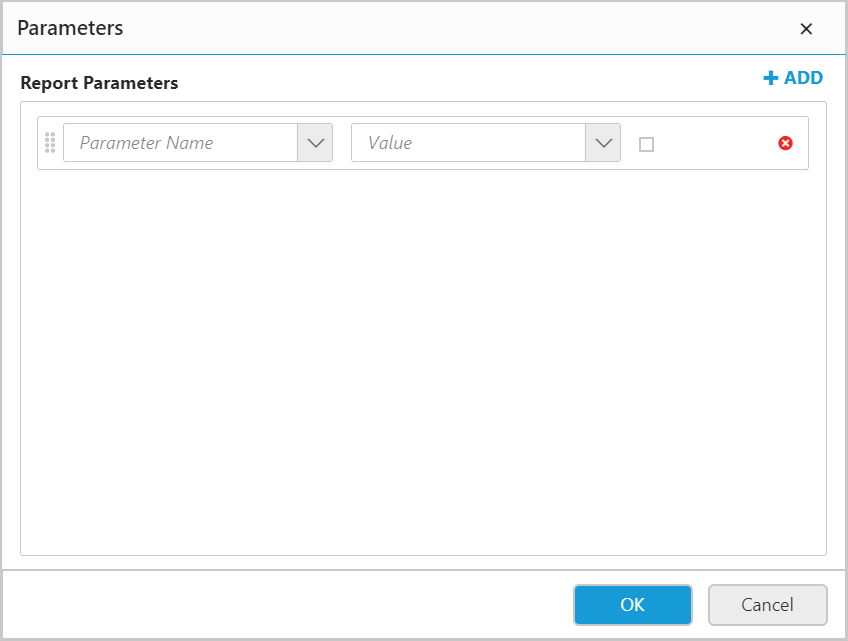
-
In the Name text box, type the name of the report parameter in the drill through report. If the drill through report is in the server, the parameter names are available in the drop-down list.
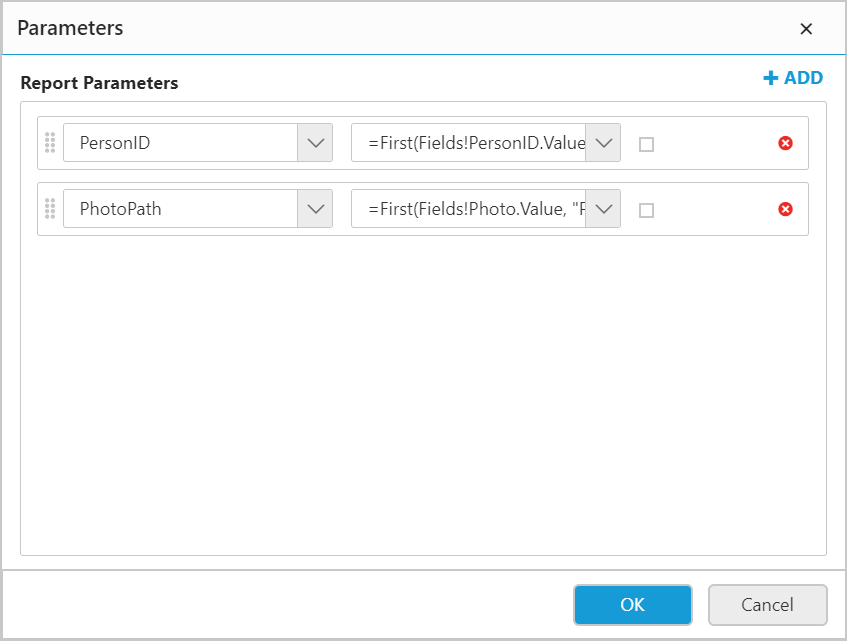
-
In Value field, type or select the value to pass to the parameter in the drill through report.
Values contain an expression that evaluates the value passed on to the report parameter. The expressions in the value list include the field list for the current report.
 -
To set expression, click on the icon in the right side of the value field.
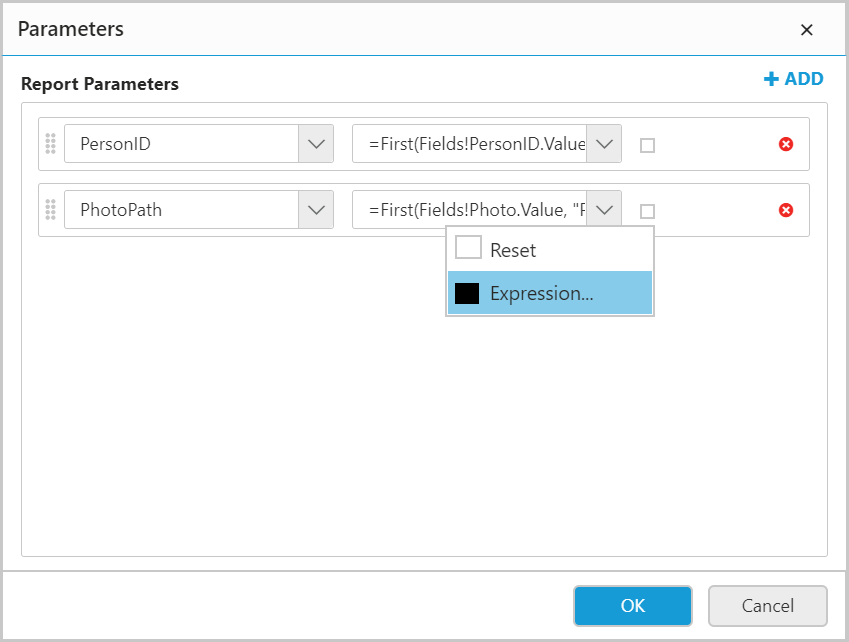 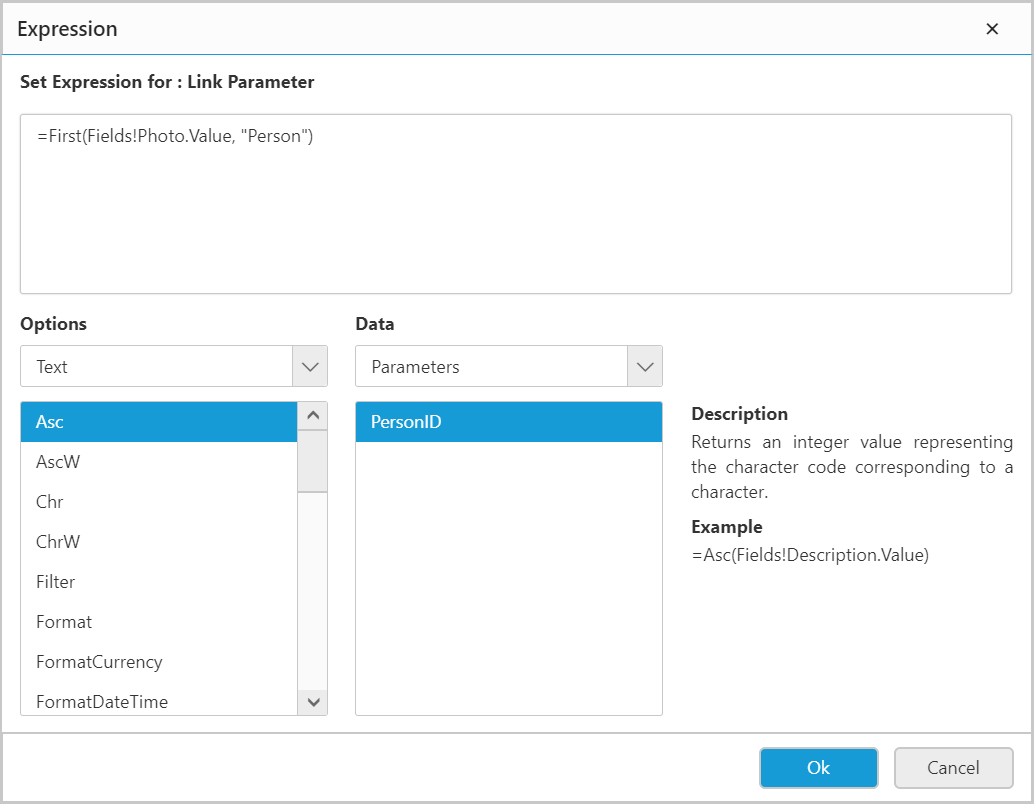The icon will be indicated in
Black color, if the expression is applied. -
Click
OKto save the parameters.
Remove Parameters
Click Close icon to remove the parameters from the list.

Reorder item
To change the order of an item in the list, click and hold the icon in the left corner of Name field, and then drag the item to higher or lower position in the list.

The position of dragged item is shown as below:

Hyperlink
Hyperlink can be added to the report item, so that users can able to click the link in the report and open a browser to the URL that you specify. The static URL or an expression that evaluates URL can be used as hyperlink.
Add a hyperlink to a URL
Follow the below steps to add a hyperlink to a URL
-
Select URL option.
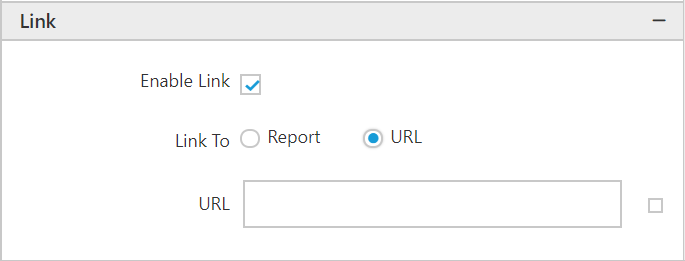
-
In URL field, type or select a URL or an expression that evaluates to the URL.
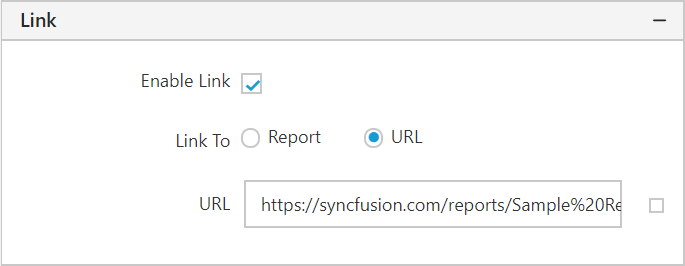
-
To test the link, click Preview to preview the report, and then click the report item that you set on this link to see the navigation result.
Position
You can change the textbox size and position under this category.
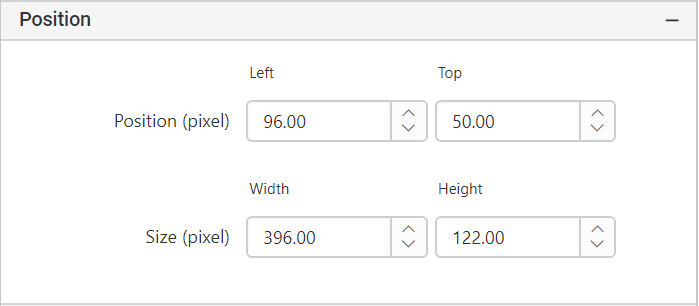
-
Position
This allows you to adjust the position of the textbox in the designer area.
-
Size
This allows you to adjust the height and width of the textbox.
Note: You can also achieve the above behavior with the resizer.
Visibility
Select this option to indicate how the report item is initially displayed in the report.

- Enable the checkbox to show the report item.
- Disable the checkbox to hide the report item.
- Show or hide based on an expression
Click on the icon in the right corner and select Expression to edit the expression.

Miscellaneous
-
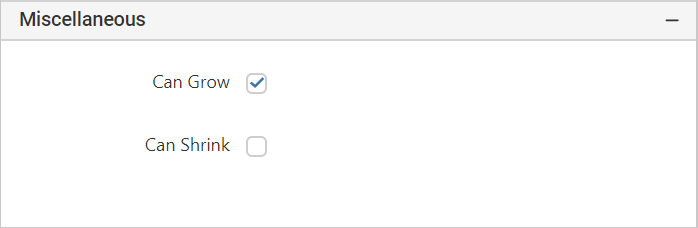
Can Grow
Enabling this property will increase the Textbox Height based on the Text Height while previewing the text.
-
Disable Can Grow
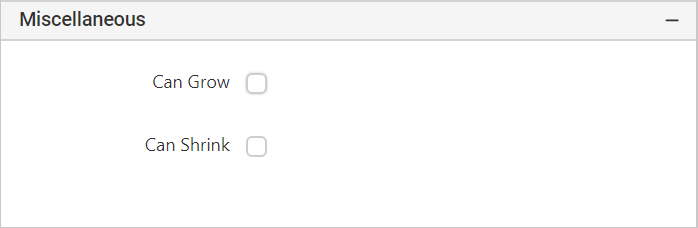
On preview:
-
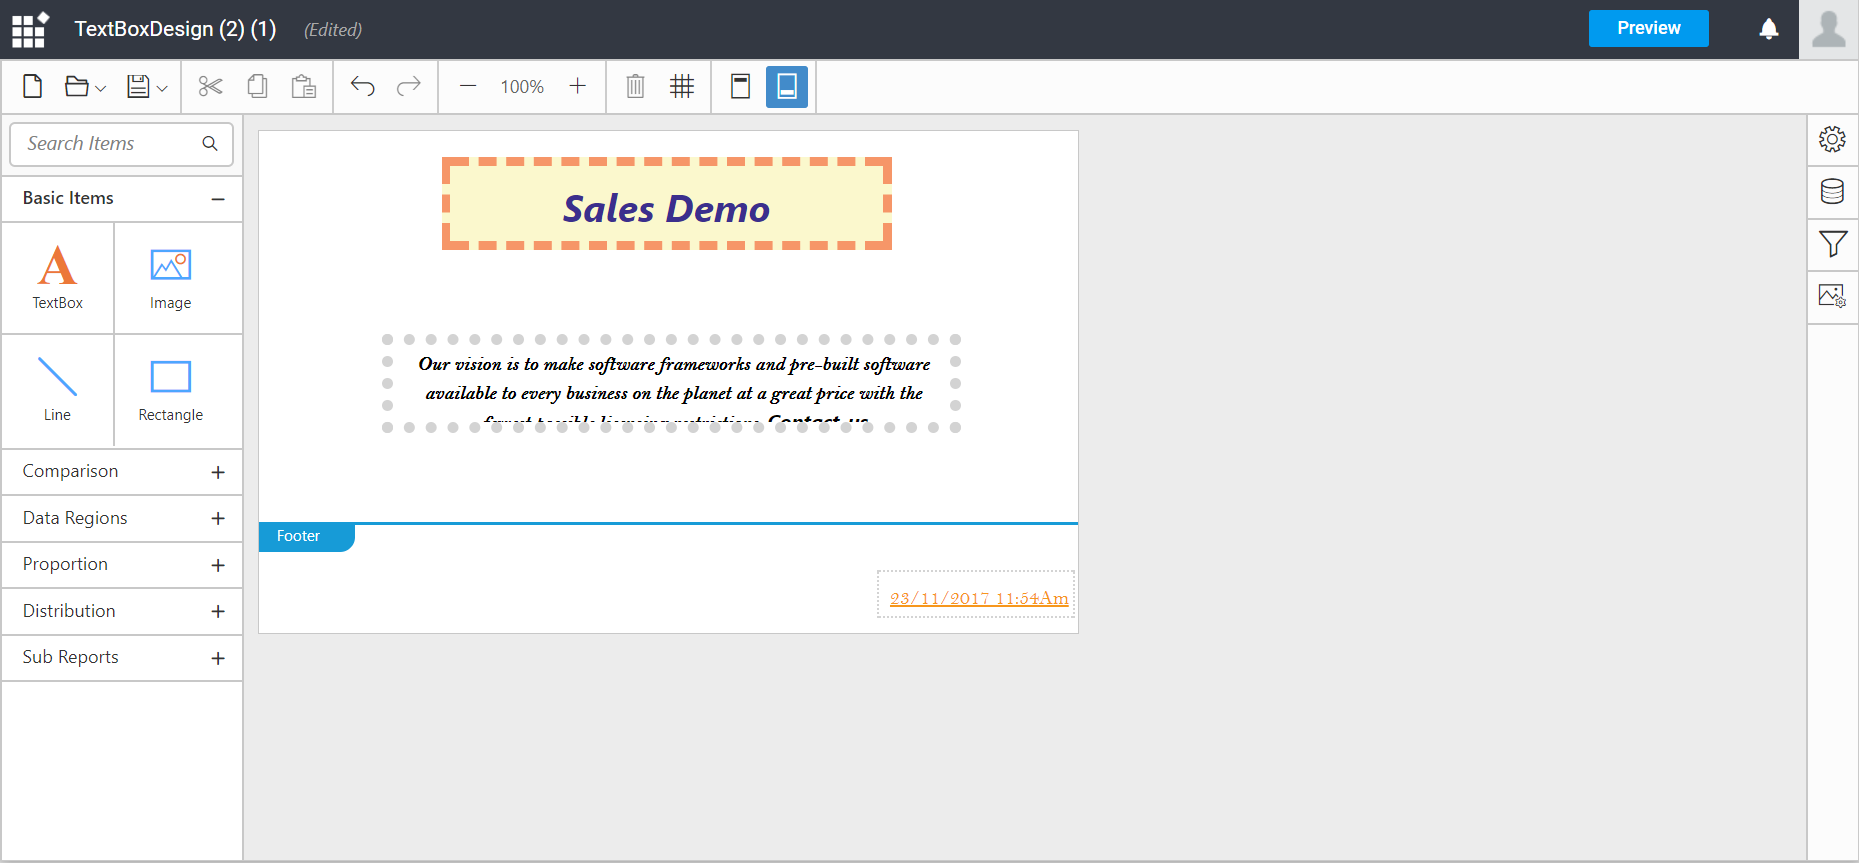
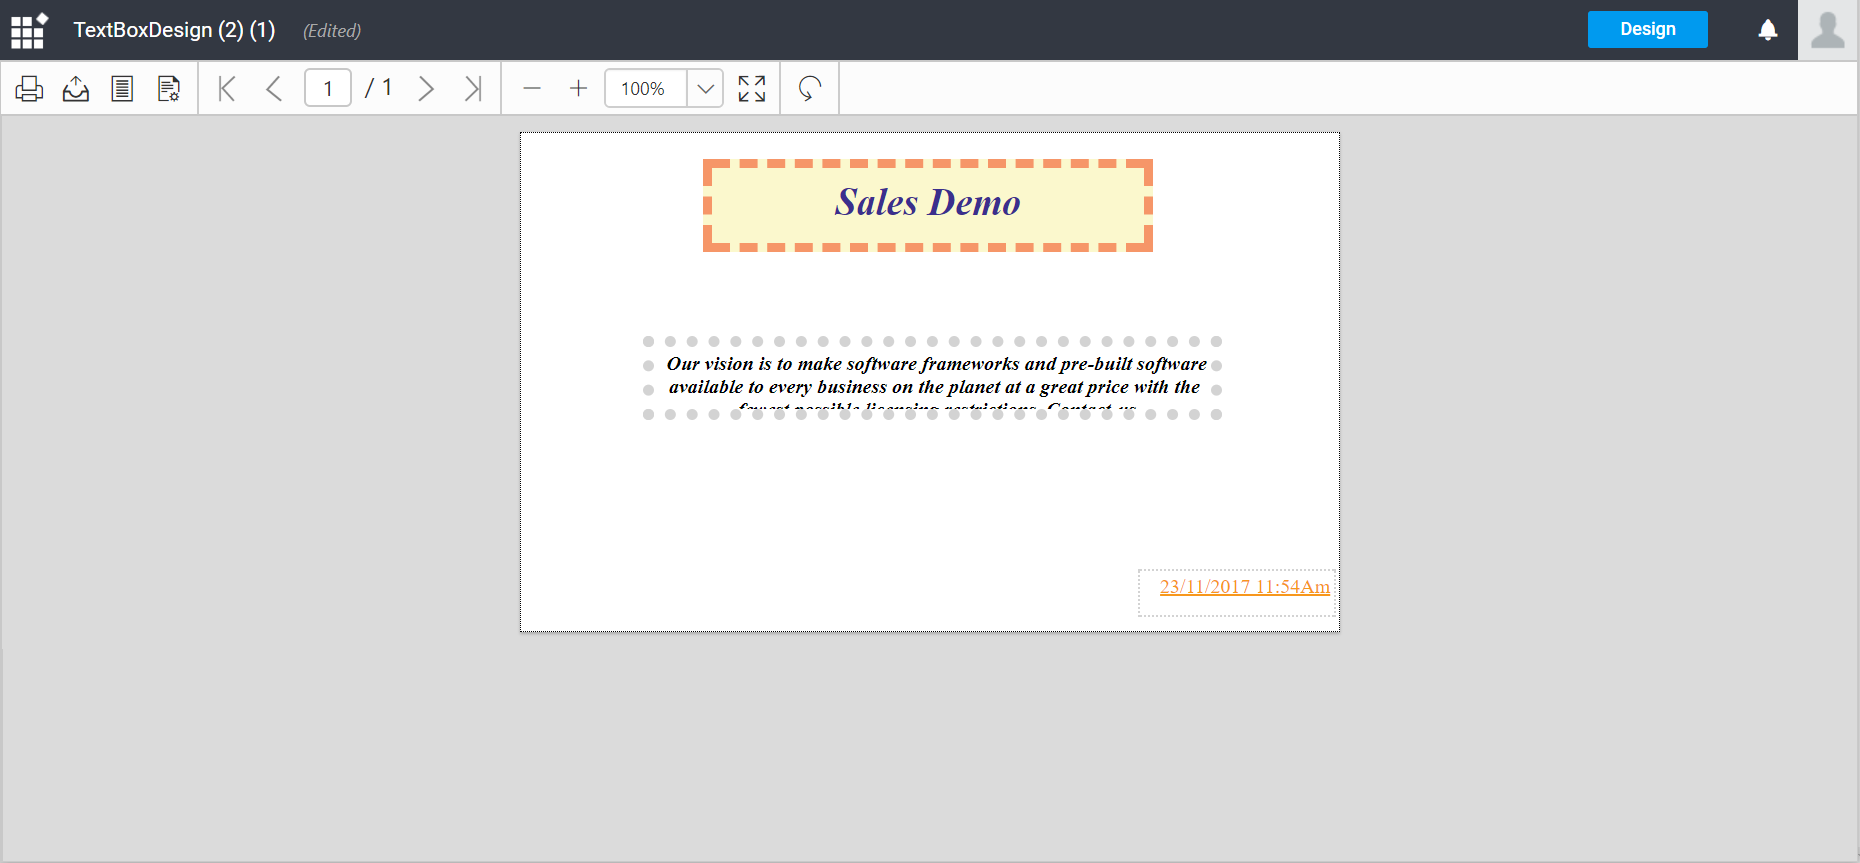
Enable Can Grow

On preview:
-
-
Can Shrink
Enabling this property will shrink the text inside the Textbox Height while previewing the text.
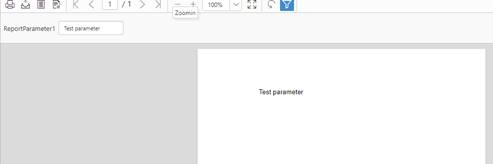
Set dynamic text using expression
Please find the steps to set the dynamic expressions, fields and parameters for textbox report item. For example, we are going to assign the parameter assigned to textbox through below steps,
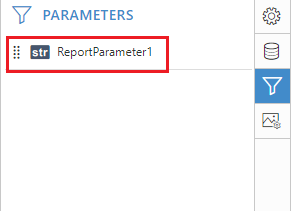
-
Create a parameter.
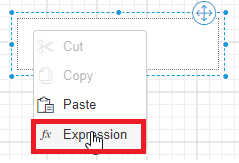
-
Drag on drop the textbox item and right click on textbox item. The textbox context menu will appear as shown below and you can select the “Expression” option in that menu list.
-
Now, expression editor opens as shown below and you can choose/specify the required expression from that.
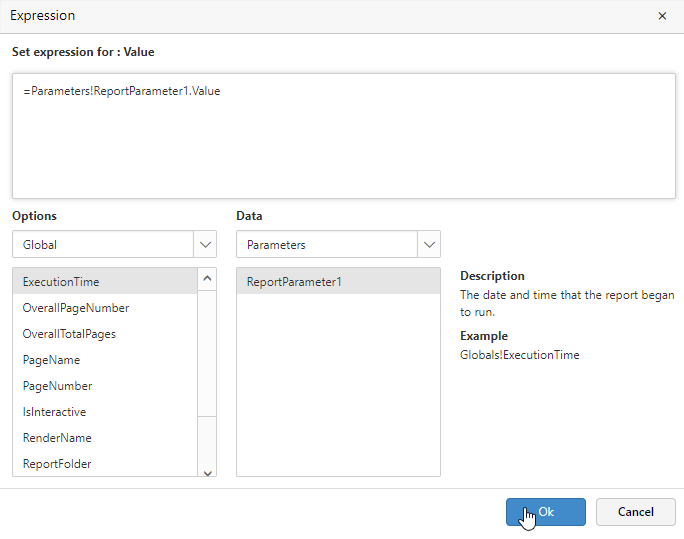
-
The specified expression is set/assigned to textbox at respective cursor position.
-
Also, you can edit the textbox expression which you selected in textbox like as below.

-
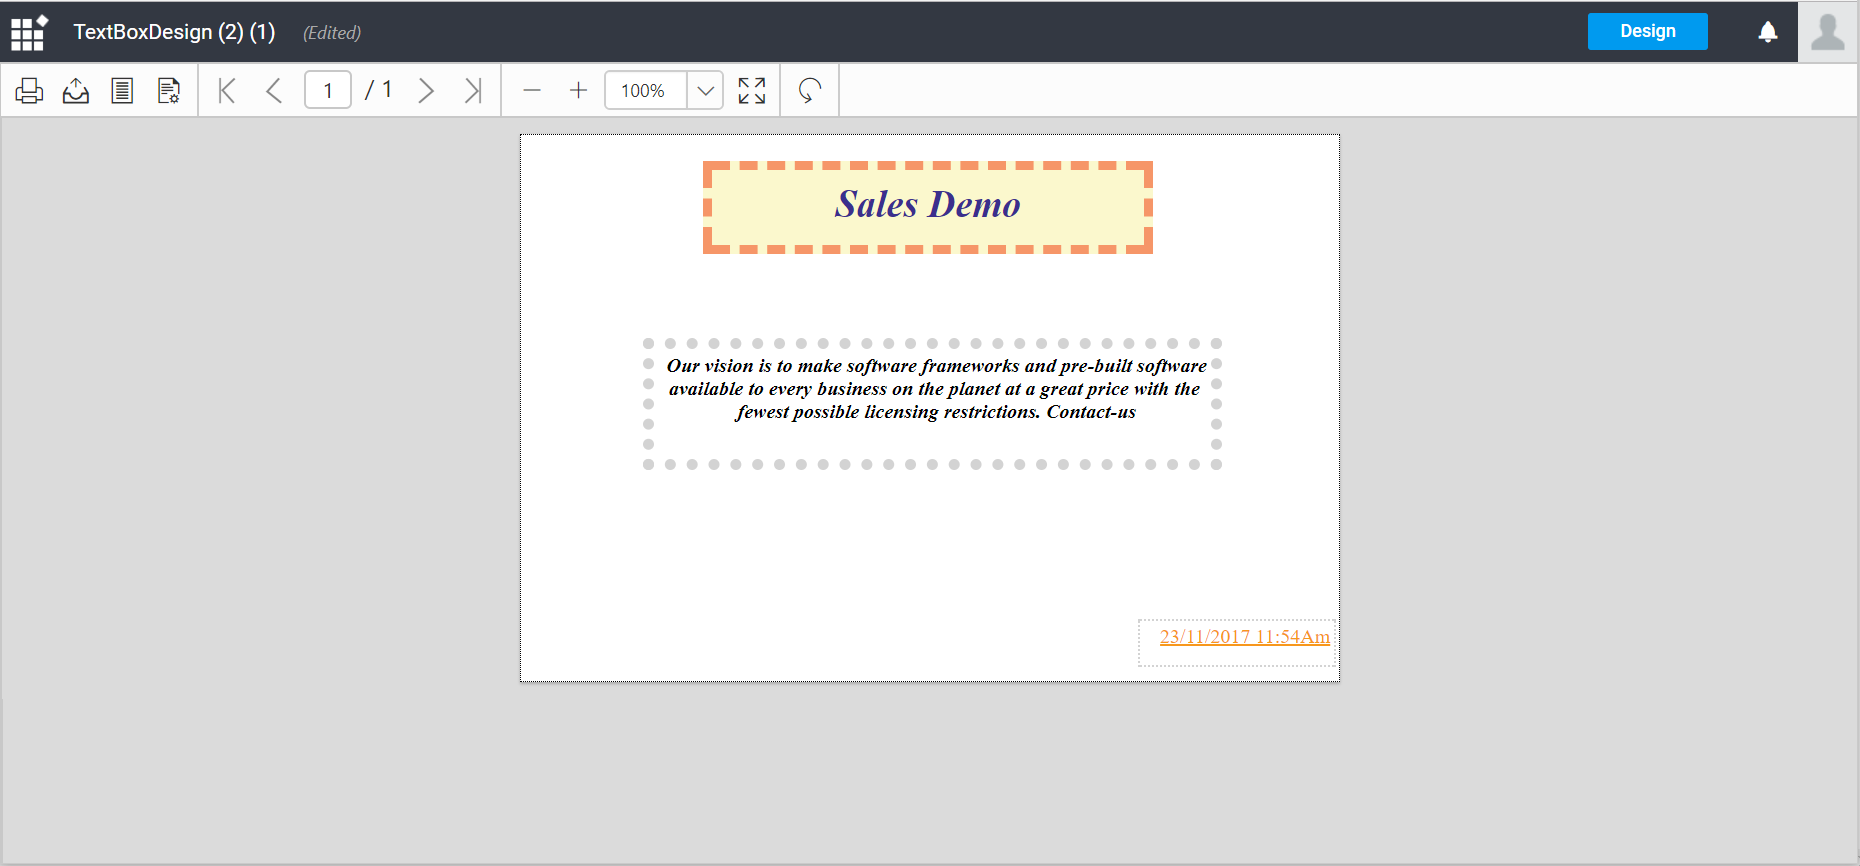
You can now view your actual expression value during preview.