Deploy a custom report item
To deploy a custom report item, you must modify the application configuration files or create “ReportExtension.config” file and copy the run-time component assembly (Syncfusion.Extensions.BarcodeCRI) and its dependent assemblies to the bin folder of your application. The deployment requires configuration to process the extensions, following describes about configuration settings.
We need to replace the newly created assembly and its dependent assemblies in the following location.
C:\Program Files (x86)\Syncfusion\Report Server\ReportServer.Web\bin
The configuration file will be available in the location (C:\Program Files (x86)\Syncfusion\Report Server\ReportServer.Web) and you can edit it based on your requirement and it has only the following section.
<configSections>
    <section name="ReportingExtensions" type="Syncfusion.Reporting.Extensions,  Syncfusion.EJ.ReportViewer" allowLocation="true" allowDefinition="Everywhere" />
</configSections>
We must add the tag ReportItem for all the newly added report Item types. It has following attributes.
| Attribute Name | Description |
|---|---|
| Name | Name of your report Item that going to display in list. |
| Assembly | Name of the newly created report Item assembly. |
| Type | Report Item class name with the namespace. |
<ReportingExtensions>
    <ReportItems>
      <ReportItem Name="Barcode" Assembly="Syncfusion.Extensions.BarcodeCRI" Type="Syncfusion.Extensions.BarcodeCRI.BarcodeCustomReportItem" />
    </ReportItems>
  </ReportingExtensions>
</configuration>
Also, you need to add the created/modified “ReportExtensions.config” file in above mentioned location.
Here we just need to add the report item (as like above highlighted one) tag with its necessary attributes and no need to specify additional config sections.
Run the application, output with barcode custom report item is rendered as below.
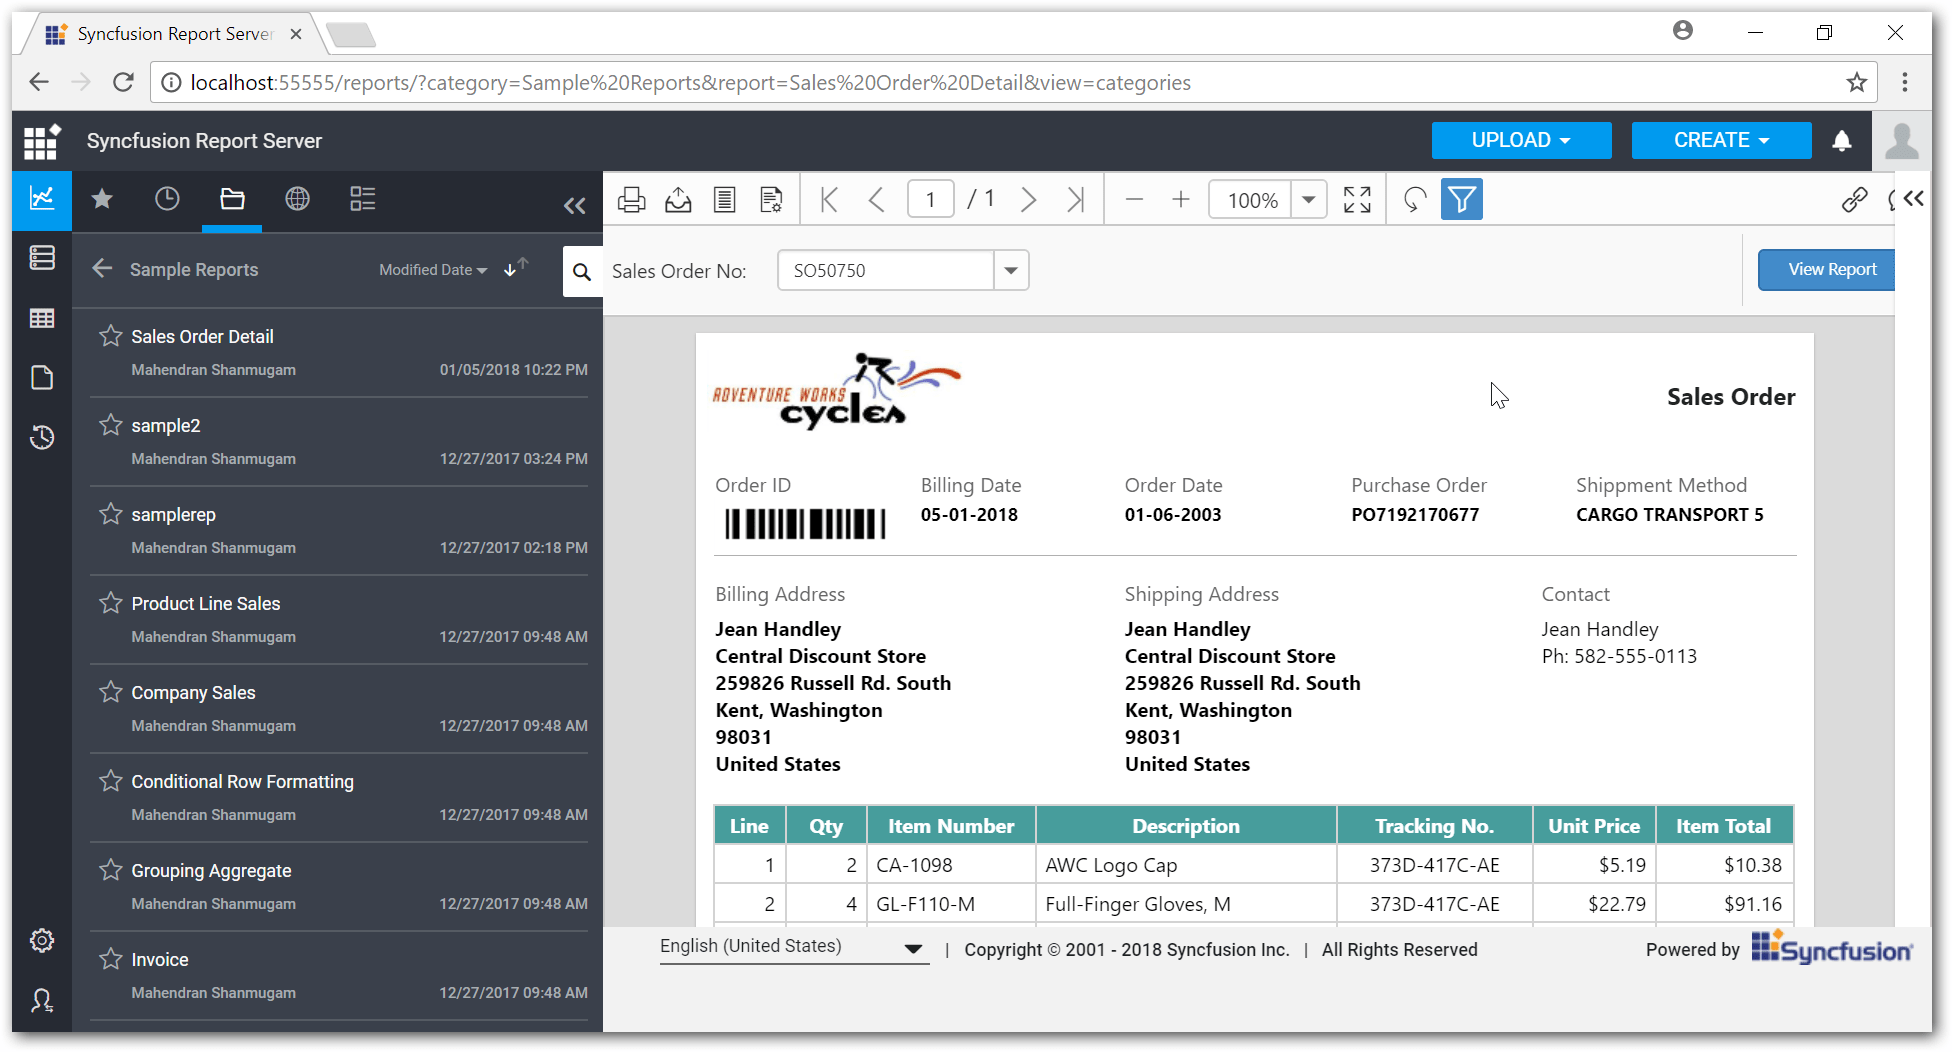
Shows invoice report rendered with barcode custom report item