Getting Started with ASP.NET MVC Application
This section describes how to embed the Report Server report with ASP.NET MVC application using ReportViewer.
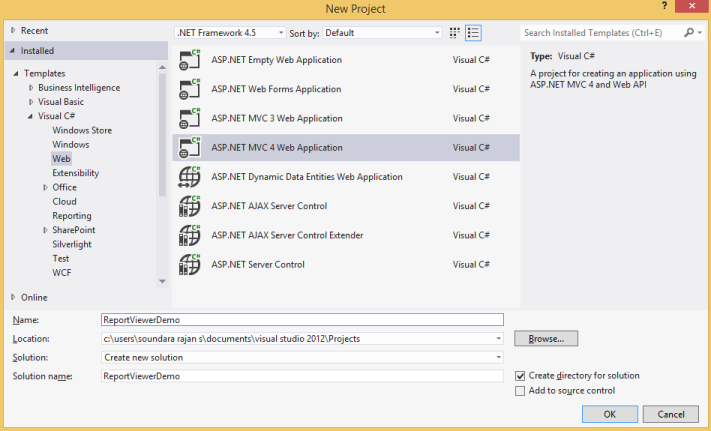
Project Creation
Create a new ASP.NET MVC project by selecting the WEB category from the listed project template in Microsoft Visual Studio IDE.
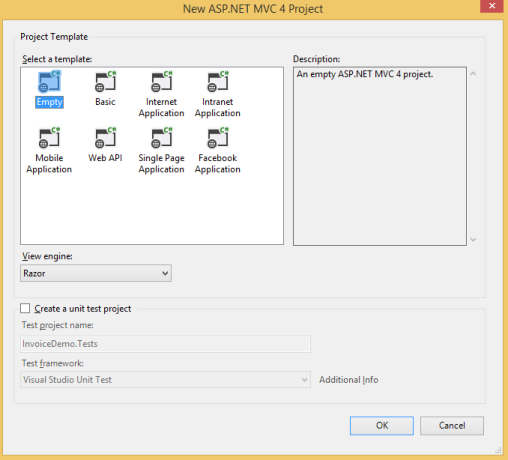
The following screenshot displays how to select Internet application template with razor view engine.
Adding References, Scripts, Styles and Control in CSHTML Page
Add the References, scripts, styles that are required for the ReportViewer.
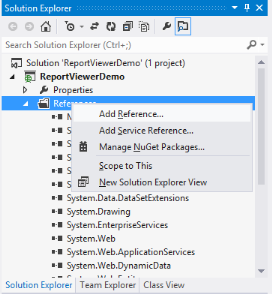
Add References
-
In the Solution Explorer, right-click the References folder and then click Add Reference.
-
Add the following assemblies and click OK.
- System.Web.Routing
- System.Web.Http
- System.Web.WebHost
- System.Net.Http
- System.Net.Http.WebRequest
- System.Net.Http.Formatting
- Syncfusion.EJ
- Syncfusion.EJ.MVC
- Syncfusion.Linq.Base
- Syncfusion.EJ.ReportViewer
- Syncfusion.Pdf.Base
- Syncfusion.XlsIO.Base
- Syncfusion.DocIO.Base
- Syncfusion.Shared.Wpf
- Syncfusion.Chart.Wpf
- Syncfusion.Gauge.Wpf
- Syncfusion.SfMaps.Wpf
NOTE
You can get the above assemblies from the installed location %localappdata%\Syncfusion\ReportsSDK\Samples\Common\Assemblies.
Refer System.Web.Http, System.Web.Http.WebHost, System.Net.Http.WebRequest and System.Net.Http.Formatting assemblies from the NuGet package installed location %localappdata%\Syncfusion\ReportsSDK\Samples\Common\nuget.
Add Scripts and Styles
Add the script files and CSS files in the <title> tag of the Index.cshtml page.
<link href="https://cdn.syncfusion.com/reportplatform/3.2.0.40/js/themes/flat-azure/ej.reportviewer.all.min.css" rel="stylesheet"/>
<script src="https://code.jquery.com/jquery-1.11.3.min.js" type="text/javascript"></script>
<script src="https://cdn.syncfusion.com/reportplatform/3.2.0.40/js/scripts/web/ej.reportviewer.all.min.js" type="text/javascript"></script>
NOTE
Use the above code example while adding scripts and styles
Refer the themes and scripts from the installed location %localappdata%\Syncfusion\ReportsSDK\Samples\Common\Html
Registering Syncfusion Assemblies within the Application’s Root Web.config
In your application’s root web.config file, add the below assembly information within the <assemblies> tag.
<system.web>
    <compilation debug="true" targetFramework="4.5">
        <assemblies>
            <add assembly="Syncfusion.EJ, Version=13.4450.0.54, Culture=neutral, PublicKeyToken=3d67ed1f87d44c89"/>
            <add assembly="Syncfusion.EJ.Mvc, Version=13.4500.0.54, Culture=neutral, PublicKeyToken=3d67ed1f87d44c89"/>
            <add assembly="Syncfusion.Linq.Base, Version=13.4450.0.54, Culture=neutral, PublicKeyToken=3d67ed1f87d44c89"/>
            <add assembly="Syncfusion.EJ.ReportViewer, Version=13.4450.0.54, Culture=neutral, PublicKeyToken=3d67ed1f87d44c89"/>
        </assemblies>
    </compilation>
</system.web>
Registering namespaces within Web.config
Now you need to register the below mentioned two namespaces in the web.config file present within the Views folder as well as the Root directory of your application.
- Syncfusion.MVC.EJ
- Syncfusion.JavaScript
- Syncfusion.EJ.ReportViewer
<namespaces>
    <add namespace="System.Web.Mvc"/>
    <add namespace="System.Web.Mvc.Ajax"/>
    <add namespace="System.Web.Mvc.Html"/>
    <add namespace="System.Web.Routing"/>
    <add namespace="System.Web.WebPages"/>
    <add namespace="Syncfusion.MVC.EJ"/>
    <add namespace="Syncfusion.JavaScript"/>
    <add namespace="Syncfusion.JavaScript.DataVisualization"/>
    <add namespace="Syncfusion.EJ.ReportViewer"/>
</namespaces>
Control Initialization
Initialize ReportViewer by using the following code example in the <body> tag of the Index.cshtml page that is already created.
@using Syncfusion.MVC.EJ;
@using Syncfusion.JavaScript;

<body style="overflow: hidden; position: static; margin: 0px; padding: 0px; width: 100%; height: 100%">
    <div style="width:100%; height:100%; position:absolute;">
        @(Html.EJ().ReportViewer("reportsample"))
    </div>
        @(Html.EJ().ScriptManager())
</body>

<style type="text/css">
    html, body {
        overflow: hidden;
        padding: 0;
        margin: 0;
        height: 100%;
        position: static;
    }

    #reportsample {
        width: 100%;
        height: 99.9%;
        position: absolute;
    }
</style>
Load Report Server Report
ReportViewer supports to load RDL files from Report Server. The following steps help you to load reports from Report Server.
Set the Report Server ServiceAuthorizationToken, ReportServiceUrl and ReportPath in the ReportViewer properties.
<body style="overflow: hidden; position: static; margin: 0px; padding: 0px; width: 100%; height: 100%">
    @{
        var controller = ViewContext.Controller as RDLReportSample.Controllers.ReportViewerController;
        var apiToken = controller.GenerateToken("http://reportserver.syncfusion.com/", "guest", "demo");
    }
        <div style="width:100%; height:100%; position:absolute;">
            @(Html.EJ().ReportViewer("reportsample")
                        .ServiceAuthorizationToken(@apiToken)
                        .ReportServiceUrl(@"http://reportserver.syncfusion.com/ReportService/api/Viewer")
                        .ReportPath("/Sample Reports/Company Sales")
            )
        </div>
    @(Html.EJ().ScriptManager())
</body>
NOTE
In case, if we have to load the reportPath using guid instead of report location then we have a support to set guid of the report in
ReportPathas like as ‘ReportPath=”91f24bf1-e537-4488-b19f-b37f77481d00”’.
Controller
using Newtonsoft.Json;
using System;
using System.Collections.Generic;
using System.Linq;
using System.Net.Http;
using System.Web;
using System.Web.Mvc;
namespace RDLReportSample.Controllers
{
public class ReportViewerController : Controller
{
public ActionResult Viewer()
{
return View();
}
public string GenerateToken(string serverUrl, string userName, string password)
{
using (var client = new HttpClient())
{
client.BaseAddress = new Uri(serverUrl);
client.DefaultRequestHeaders.Accept.Clear();
var content = new FormUrlEncodedContent(new[]
{
new KeyValuePair<string, string>("grant_type", "password"),
new KeyValuePair<string, string>("username", userName),
new KeyValuePair<string, string>("password", password)
});
var result = client.PostAsync("/api/Token", content).Result;
string resultContent = result.Content.ReadAsStringAsync().Result;
var token = JsonConvert.DeserializeObject<Token>(resultContent);
return token.token_type + " " + token.access_token;
}
}
}
public class Token
{
public string access_token { get; set; }
public string token_type { get; set; }
public string expires_in { get; set; }
public string userName { get; set; }
public string serverUrl { get; set; }
public string password { get; set; }
}
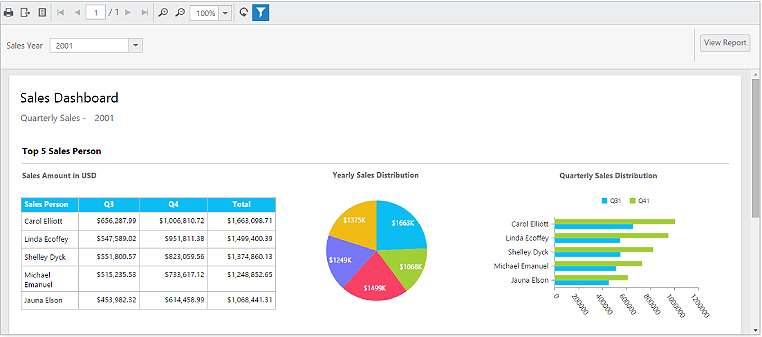
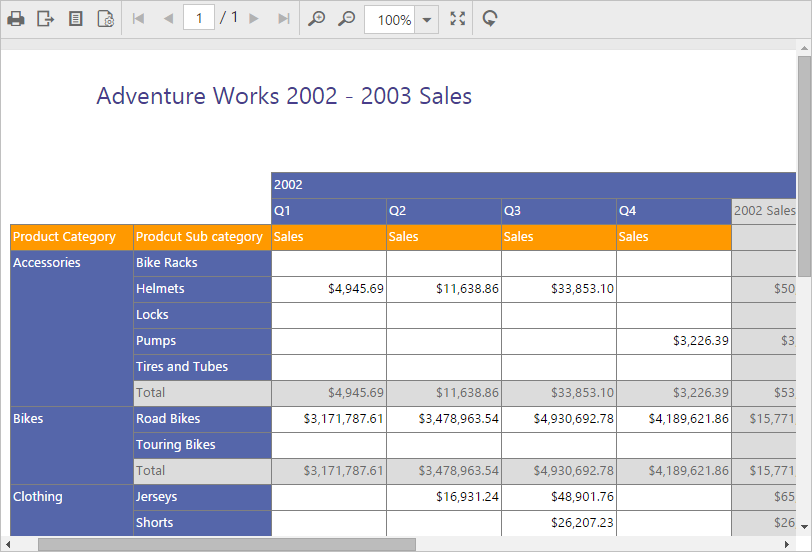
}Following screenshot displays reports from Report Server with help of configured external Reporting Server.
Load RDL Report
ReportViewer supports to load local RDL files. The following steps help you to load reports from local path.
Set the ReportPath, ProcessingMode and ReportServiceUrl to ReportViewer.
<body style="overflow: hidden; position: static; margin: 0px; padding: 0px; width: 100%; height: 100%">
<div style="width:100%; height:100%; position:absolute;">
@(Html.EJ().ReportViewer("reportsample").ProcessingMode(Syncfusion.JavaScript.ReportViewerEnums.ProcessingMode.Remote).ReportServiceUrl(VirtualPathUtility.ToAbsolute("~/api/ReportApi")).ReportPath("~/App_Data/Sales Dashboard.rdl"))
</div>
@(Html.EJ().ScriptManager())
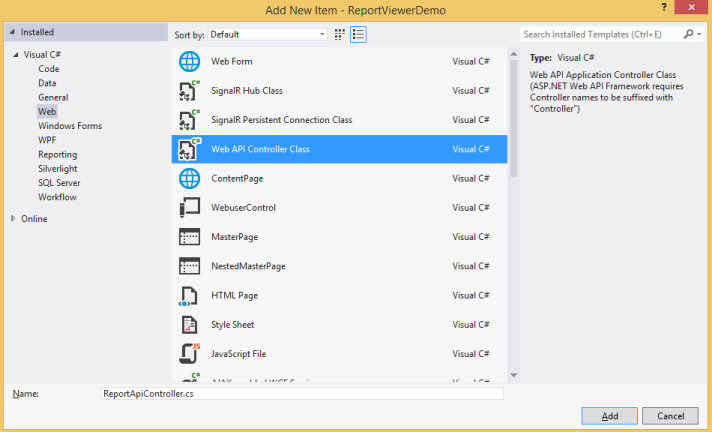
</body>Add WebAPI controller for ReportViewer
The ASP.NET MVC ReportViewer uses WebApi services to process the report file and get the request from control.
IReportController
The ApiController inherits the IReportController and you can add the following code example to its methods definition in order to process the report file. The interface IReportController contains the required actions and helper methods declaration to process the report. The ReportHelper class contains helper methods that helps to process Post/Get request from control and return the response to control.
using Syncfusion.EJ.ReportViewer;
using System;
using System.Collections.Generic;
using System.Linq;
using System.Net;
using System.Net.Http;
using System.Web.Http;

namespace ReportViewerDemo
{
    public class ReportApiController : ApiController, IReportController
    {
        //Post action for processing the rdl/rdlc report
        public object PostReportAction(Dictionary<string, object> jsonResult)
        {
            return ReportHelper.ProcessReport(jsonResult, this);
        }
        //Get action for getting resources from the report
        [System.Web.Http.ActionName("GetResource")]
        [AcceptVerbs("GET")]
        public object GetResource(string key, string resourcetype, bool isPrint)
        {
            return ReportHelper.GetResource(key, resourcetype, isPrint);
        }
        //Method will be called when initialize the report options before start processing the report
        public void OnInitReportOptions(ReportViewerOptions reportOption)
        {
            //You can update report options here
        }
        //Method will be called when reported is loaded
        public void OnReportLoaded(ReportViewerOptions reportOption)
        {
            //You can update report options here
        }
    }
}
WebAPI Routing
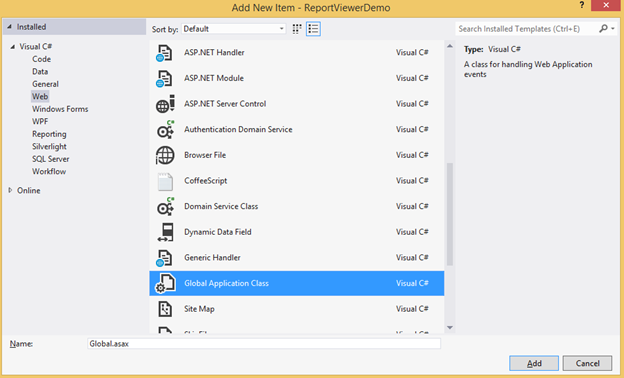
1 Right-click the project and select Add and select Global.asax file from the listed templates.
2 You can route the WebAPI in Application_Start event into Global.asax file as follows.
using System;
   using System.Collections.Generic;
   using System.Linq;
   using System.Web;
   using System.Web.Security;
   using System.Web.SessionState;
   using System.Web.Http;

   namespace ReportViewerDemo
   {
       public class Global: System.Web.HttpApplication
       {
           protected void Application_Start(object sender, EventArgs e)
           {
               System.Web.Http.GlobalConfiguration.Configuration.Routes.MapHttpRoute(
               name: "DefaultApi",
               routeTemplate: "api/{controller}/{action}/{id}",
               defaults: new { id = RouteParameter.Optional });
           }
       }
   }
3 Run the sample application and you can see the ReportViewer on the page as displayed in the following screenshot.