Getting Started
23 Jan 20173 minutes to read
This section helps to get start with the DatePicker component in a ReactJS application
Create a DatePicker
Refer the common ReactJS Getting Started Documentation to create an application and add necessary scripts and styles for rendering our ReactJS components.
Using JSX template
Create a JSX file and add the EJ component, by using DatePicker tag like <EJ.DatePicker>. This JSX file will be converted to JS file which can be referred in html file.
Below code example explain to render the EJ components,
ReactDOM.render(
            <EJ.DatePicker id="dtp" value={new Date()} >
    </EJ.DatePicker>,
            document.getElementById('dtp')
    );
Define an HTML element for adding DatePicker in the application and refer the JSX file that you have created.
<div id="container"></div>Configure properties of the DatePicker control
ReactDOM.render(
            <EJ.DatePicker
            value = {new Date()}
            minDate={new Date("11/11/2011")}
            maxDate= {new Date("11/11/2018")}
            >
    </EJ.DatePicker>,
    document.getElementById('container')
    );
Without using JSX template
You can also render the DatePicker component without using JSX template. Here the DatePicker component can be created with use of script section lie below.
<script>
        ReactDOM.render(
        React.createElement(EJ.DatePicker, { id: "container", }
        ),
        document.getElementById('container')
        );

        </script>
This will render an empty DatePicker component on executing.
Configure Properties
In the JSX file, you can define all required APIs of DatePicker based on needs. Refer below code example to know the adding the required APIs.
<script>
ReactDOM.render(
React.createElement(EJ.DatePicker, {id: "container",
value:new Date("11/12/2018"),
minDate: new Date("12/12/2015"),
maxDate: new Date("1/12/2019")
}
),
document.getElementById('container')
);
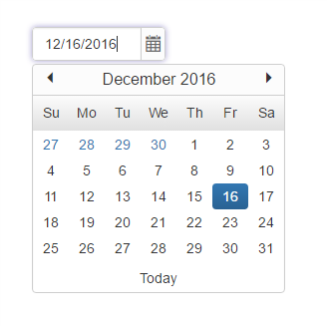
</script>Run the above code to render the following output,