Getting Started
27 Sep 201710 minutes to read
This section helps to get started of the Navigation Drawer control for PHP.
Create Navigation Drawer Control
1) Refer the common PHP Getting Started Documentation to create a PHP application and add necessary scripts and styles for rendering Essential PHP controls.
2) Create the Navigation Drawer control object by creating an object for the Navigation Drawer referring the below code, here the class EJ\NavigationDrawer object is created by using ‘new’ keyword. Define its properties and use render() method for rendering the control. We need to call the
rendering element in echo statement.
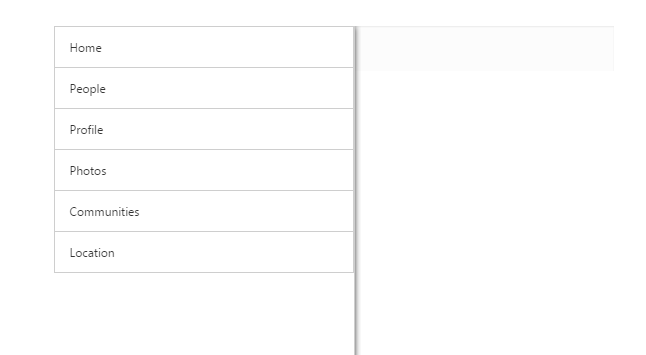
To add the navigation drawer list item by using items property and access the List View control properties by enabling the enableListView property. First specify the List View control properties in array format then map the items with List View settings as shown below.
<?php
      $lvset=array("width"=>"300");
      $itemslist=array(array("text"=>"Home"),
          array("text"=>"People"),
          array("text"=>"Profile"),
          array("text"=>"Photos"),
          array("text"=>"Communities"),
          array("text"=>"Location"));
    $navdraw=new EJ\NavigationDrawer("navpane");
    echo $navdraw->listViewSettings($lvset)->items($itemslist)->enableListView(true)->type("overlay")->position("normal")->targetId("butdrawer")->render();
    ?>
Create the target element as follows to display the list items by clicking target icon.
<div id="container">
            <div class="e-lv">
                <div class="e-header">
                    <div id="butdrawer"
                        class="drawericon e-icon">
                    </div>
                </div>
            </div>
        </div>
To set the target icon image and with the correct position as using the below mentioned styles.
<style>
       .e-header {
            padding-top: 8px;
            padding-left: 0px;
        }

        .drawericon {
            background-position: center center;
            background-repeat: no-repeat;
            height: 32px;
            width: 32px;
            background-size: 100% 100%;
			padding-right: 10px;
        }

        .drawericon:before {
            content: "\e76b";
            font-size: 28px;
			height: 26px;
        }
    </style>
You can open the list items by clicking on target element using the targetId property.
<?php
    echo $navdraw->targetId("butdrawer")->render();
    ?>
To set the images for list items of the Navigation Drawer by using the Image Class property as follows.
<?php
      $lvset=array("width"=>"300");
      $itemslist=array(array("text"=>"Home","imageClass"=>"e-icon e-home"),
          array("text"=>"Profile","imageClass"=>"e-icon e-profile"),
          array("text"=>"Photos","imageClass"=>"e-icon e-photo"),
          array("text"=>"Location","imageClass"=>"e-icon e-location"));
      $navdraw=new EJ\NavigationDrawer("navpane");
      echo $navdraw->listViewSettings($lvset)->items($itemslist)->enableListView(true)->type("overlay")->position("normal")->targetId("butdrawer")->render();
    ?>
To set the images with the correct position by using the mentioned styles.
<style>


	@font-face {
        font-family: 'ej-font';
        src: url('../../common-images/tools/icons.eot');
        src: url('../../common-images/tools/icons.eot') format('embedded-opentype'), url('../../common-images/tools/icons.woff') format('woff'),url('../../common-images/tools/icons.woff') format('woff'), url('../../common-images/tools/icons.ttf') format('truetype'), url('../../common-images/tools/icons.svg') format('svg');
        font-weight: normal;
        font-style: normal;
    }

    .e-home:before {
        font-family: "ej-font";
        content: "\e900";
    }

    .e-profile:before {
        font-family: "ej-font";
        content: "\e901";
    }

    .e-photo:before {
        font-family: "ej-font";
        content: "\e903";
    }

    .e-location:before {
        font-family: "ej-font";
        content: "\e905";
    }

    .e-people:before {
        font-family: "ej-font";
        content: "\e902";
    }

    .e-communities:before {
        font-family: "ej-font";
        content: "\e904";
    }

    .e-home, .e-profile, .e-people, .e-photo, .e-communities, .e-location {
        font-size: 24px;
        color: black;
    }

    </style>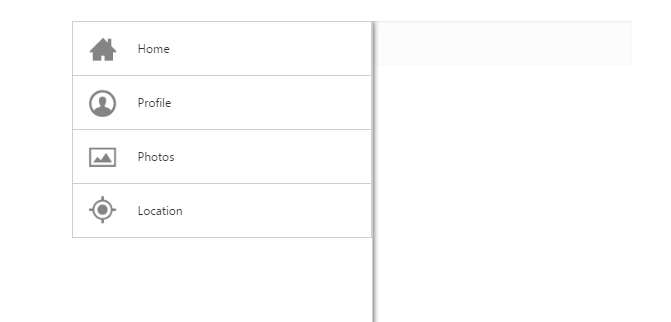
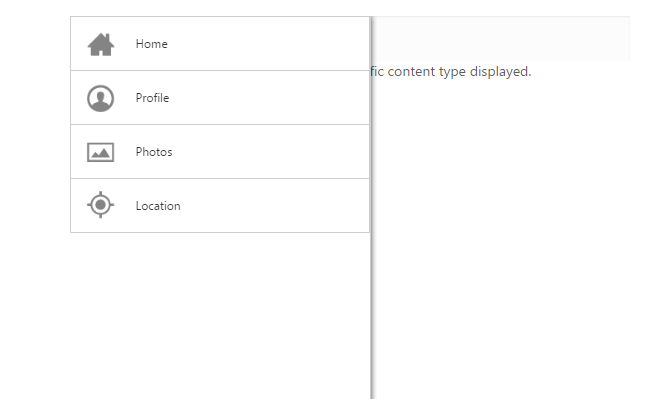
To add desired page content while selecting the options in navigation drawer as follows.
<!-- Home Page Content-->

    <div id="Home">

        The Home screen allows you to choose the specific content type displayed.

    </div>

    <!-- Profile Page Content-->

    <div id="Profile" style="display: none">

        The Profile page content is displayed.

    </div>

    <!-- Photos Page Content-->

    <div id="Photos" style="display: none">

        The Photos page content is displayed.

    </div>

    <!-- Location Page Content-->

    <div id="Location" style="display: none">

        The Location page content is displayed.

    </div>
To load the appropriate content for the navigation by using the mouse up event handler of list view control.
<?php
      $lvset=array("width"=>"300","selectedItemIndex"=>"0","mouseUp"=>"headChange");
      $itemslist=array(array("text"=>"Home","imageClass"=>"e-icon e-home"),
          array("text"=>"Profile","imageClass"=>"e-icon e-profile"),
          array("text"=>"Photos","imageClass"=>"e-icon e-photo"),
          array("text"=>"Location","imageClass"=>"e-icon e-location"));
      $navdraw=new EJ\NavigationDrawer("navpane");
      echo $navdraw->listViewSettings($lvset)->items($itemslist)->enableListView(true)->type("overlay")->position("normal")->targetId("butdrawer")->render();
    ?>
In the mouse-up handler, it’s display the respective selected item’s content.
function headChange(e) {
               $('#Home, #Profile, #Photos, #Location').hide(); //Hiding all other contents
               $('#' + e.text).show(); //Displaying the content based on the text of item selected
           }
Run the above code to render the following output.
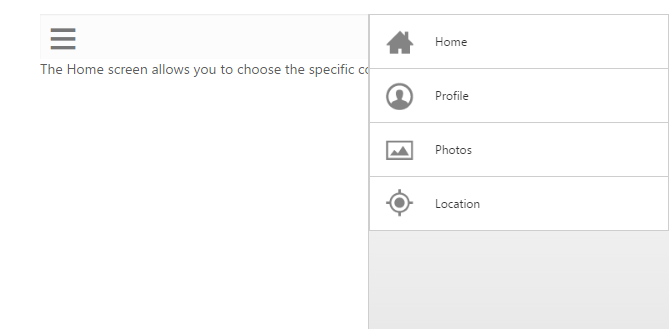
Customize Direction
By using this property, to change the list view open direction. The possible directions are Right, Left and the Left is default value.
<?php
      $lvset=array("width"=>"300","selectedItemIndex"=>"0","mouseUp"=>"headChange");
      $itemslist=array(array("text"=>"Home","imageClass"=>"e-icon e-home"),
          array("text"=>"Profile","imageClass"=>"e-icon e-profile"),
          array("text"=>"Photos","imageClass"=>"e-icon e-photo"),
          array("text"=>"Location","imageClass"=>"e-icon e-location"));
      $navdraw=new EJ\NavigationDrawer("navpane");
      echo $navdraw->listViewSettings($lvset)->items($itemslist)->enableListView(true)->type("overlay")->position("normal")->targetId("butdrawer")->direction("right")->render();
    ?>
NOTE
You can find the complete API list for all Syncfusion controls from the API reference