Getting started with MobileJS Password
9 Jun 20232 minutes to read
This section describes in brief how you can create an Essential JavaScript Mobile Password Textbox widget.
Create your first Password Textbox in JavaScript
Using the given guidelines, you can create a basic login form using the Password Textbox control.
Create Password Textbox
Create an HTML file and add the following template to the HTML file.
<!DOCTYPE html>

<html>

	<head>

		<title>Password</title>

		<meta name="viewport" content="width=device-width, initial-scale=1.0,maximum-scale=1.0, user-scalable=no" />

		<link href="http://cdn.syncfusion.com/25.1.35/js/mobile/ej.mobile.all.min.css" rel="stylesheet" />

		<script src="http://cdn.syncfusion.com/js/assets/external/jquery-3.0.0.min.js"></script>

		<script src="http://cdn.syncfusion.com/25.1.35/js/mobile/ej.mobile.all.min.js"></script>

	</head>

	<body>

	<div id="header" data-role="ejmheader" data-ej-position="normal" data-ej-title="Login"></div>

		<div id="sample" class="sample">

			<div class="container">

				<form id="loginForm">

					<label>

						User Name

					</label>

					<div>

						<input id="userName" name="userName" data-role="ejmtextbox" data-ej-watermarktext="User Name" />

					</div>

					<label>

						Password

					</label>

					<!-- Add Password elements here -->

					<div class="submit">

						<input id="submit" name="submit" data-role="ejmbutton" data-ej-text="Login" type="button" />

					</div>

				</form>

			</div>

		</div>

		<div id="scrollPanel" data-role="ejmscrollpanel" data-ej-target="sample"></div>

	</body>

</html>
To render the Password control, you can set “ejmpassword” to the data-role attribute for the specific input element as follows.
<!-- Password elements -->

<div>

	<input name="password" id="password" data-role="ejmpassword" />

</div>
Add the following styles to show the Password control in an order.
.error {
color: red;
}
.sample {
display: table;
width: 100%;
}
.submit {
text-align: center;
}
form {
padding: 15px;
}
.container {
display: table-cell;
vertical-align: middle;
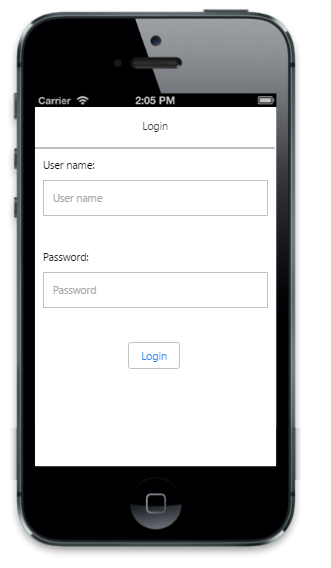
}Run the above code example and you can see the following output.
Set watermark text
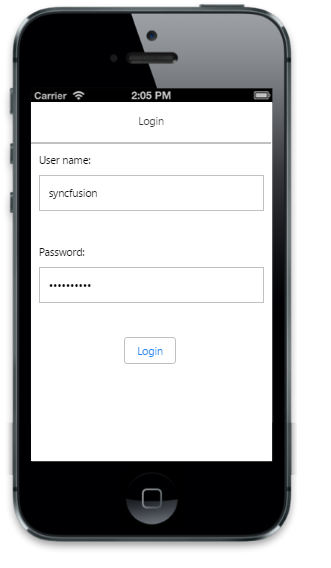
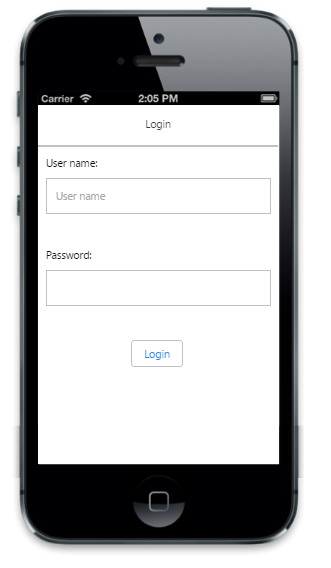
The watermark text is usually a short hint that describes the expected value of the input field. This can be achieved by using the “data-ej-watermarktext” attribute.
<input name="password" id="password" data-role="ejmpassword" data-ej-watermarktext="Password" />Run the above code example and you can see the following output.