How can I help you?
Project
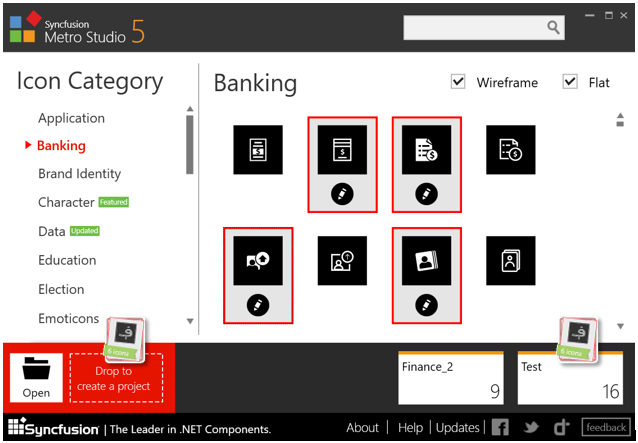
In the project segment area, you can:
- Create a new project.
- Open an existing project.
- View the opened projects.
- Add icons to the new and existing projects simply by drag and drop.
- View number of icons present in the opened project.
- Edit and export multiple icons, sprite image, and icon font.
NOTE
Multiple icons, sprite image, and icon font can be exported only through projects. Let us see in detail how to create a project, and how to add, edit, and export multiple icons through the project.
Create Project
To create a project, use one of the following methods:
-
Select the icons you want to add in the project. Drag and drop those icons into the drop area. Then, a text input field appears. Name the project > Choose the location > Save the project. (or)
-
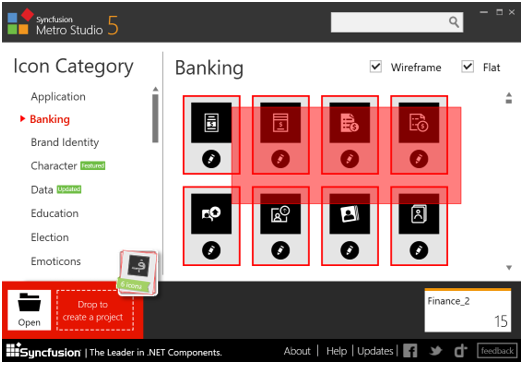
Hover your mouse over the “drop” area, and it will change to create a project button, click on it. Then, a text input field appears. Name the project > Choose the location > Save the project. (In this case, you have to add icons later in the process. Once the project is created, you can drag and drop the icons you want to add.)

NOTE
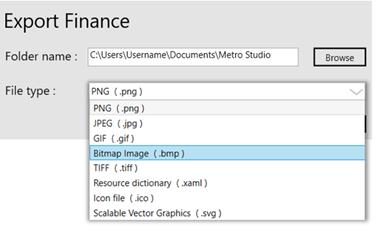
By default, the project will be saved in C:\Users\Username\Documents\MetroStudio.
NOTE
Select multiple icons using one of these methods:
- Click the first item, press and hold down the Shift key, and then click the last item.
- To select multiple icons that are close to one another, drag the mouse pointer to create a selection around the icons you want to include.
- To select non-consecutive icons, press and hold down the Ctrlkey, and then click each item you want to select.
The newly created project is displayed in the right corner of the project segment area. Hover over it, and you will see three actions buttons sliding over the project, i.e., Edit, Create Font and Explore.

- To export/edit multiple icons and sprite images, click the edit icon button.
- To export/edit icon font, click the create font button.
- To view the project folder, click the explore button.
Edit Multiple Icons
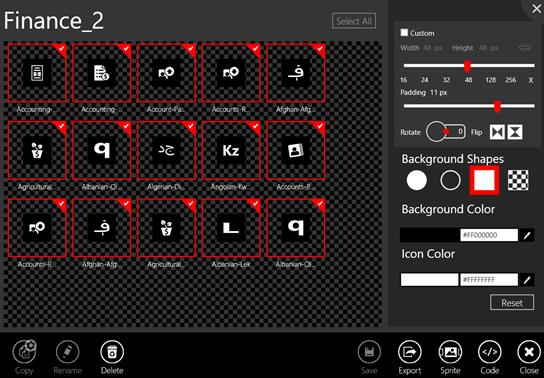
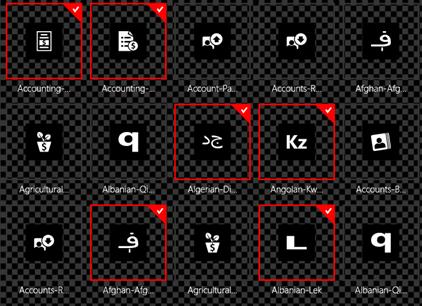
When you click the edit icon button, an editor dialog window appears. The icons in the project appears in the canvas area, a property pane in the right side, and an app bar at the bottom of the editor window.
Using the property pane, you can edit the color, size, and background of the icon. Let us see in detail how to perform each function.
-
Choose the icons you want to edit as a group.
-
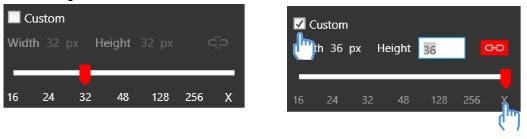
Choose the predefined icon size from the slider or enter the custom size by either selecting the custom check box or setting X in the slider.
-
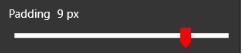
Set the inner padding for the icon. Based on the inner padding, the icon size proportionately reduces.
-
You can rotate and flip the icon with this option.

-
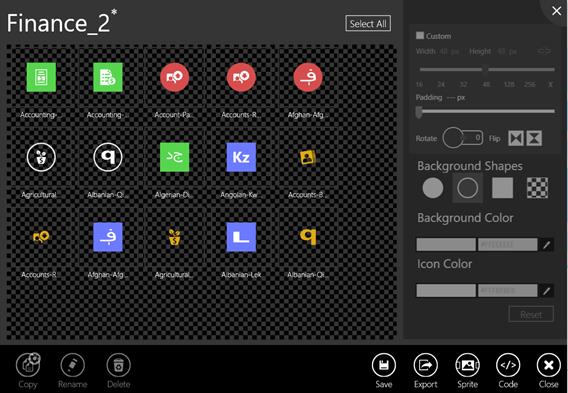
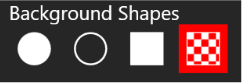
Choose the background from the predefined sets such as circular, circular frame, square, and transparent background.
-
To set different colors for the background and icon, use the color picker.
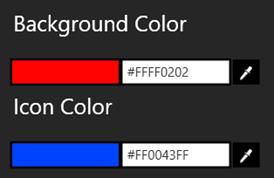
Using eyedropper , you can pick any color inside or outside the application area.
NOTE
Click the code appbar icon button
to view XAML, WinRT AppBar, AppBarButton, and SVG codes of all the icons present in the project.
Save and Export
Once editing is complete, you can choose your export options. By clicking the export appbar icon  , you can export the icons in 8 different formats such as PNG, JPG, GIF, BMP (Bitmap Image), TIFF, XAML, ICO and SVG.
You can also save the project for later use by clicking the save appbar icon  . The project is saved in the .metrop file format
 .
.