Install Syncfusion® MAUI Toolkit NuGet Packages
NuGet is a package management system used in Visual Studio, simplifying the process of adding, updating, and removing external libraries in your applications. Syncfusion® publishes the Syncfusion.Maui.Toolkit NuGet package, which can be found on nuget.org.
Installation using Package Manager UI
The NuGet Package Manager UI allows you to search for, install, uninstall, and update Syncfusion® MAUI Toolkit packages easily. Follow these steps to install the Syncfusion.Maui.Toolkit package in your MAUI application:
-
Right-click on your MAUI application or solution in the Solution Explorer and select Manage NuGet Packages…

Alternatively, open the Tools menu, hover over NuGet Package Manager, and choose Manage NuGet Packages for Solution…
-
In the Manage NuGet Packages window, navigate to the Browse tab and search for Syncfusion.Maui.Toolkit.
NOTE
Ensure that nuget.org is selected as the package source. If not, follow the instructions to configure it.

-
Select the Syncfusion.Maui.Toolkit package, choose the appropriate version, and click Install. Accept the license terms to complete the installation.

-
Once the installation is complete, your application will have all the necessary Syncfusion® assemblies required to begin developing using the Syncfusion® .NET MAUI Toolkit components.
Installation using Dotnet (.NET) CLI
The .NET Command Line Interface (CLI) allows you to add, restore, and manage packages without making changes to your project files manually. Here are the steps to install the Syncfusion.Maui.Toolkit package using the .NET CLI:
Follow the below instructions to use the dotnet CLI command to install the Syncfusion® Maui NuGet packages.
-
Open a command prompt and navigate to your MAUI application directory.
-
Run the following command to install the Syncfusion.Maui.Toolkit package:
dotnet add package Syncfusion.Maui.ToolkitNOTE
By default, the latest version will be installed. To specify a version, use the -v parameter:
dotnet add package Syncfusion.Maui.Toolkit -v 1.0.0 -
After installation, inspect the
.csprojfile of your project to confirm the package has been added.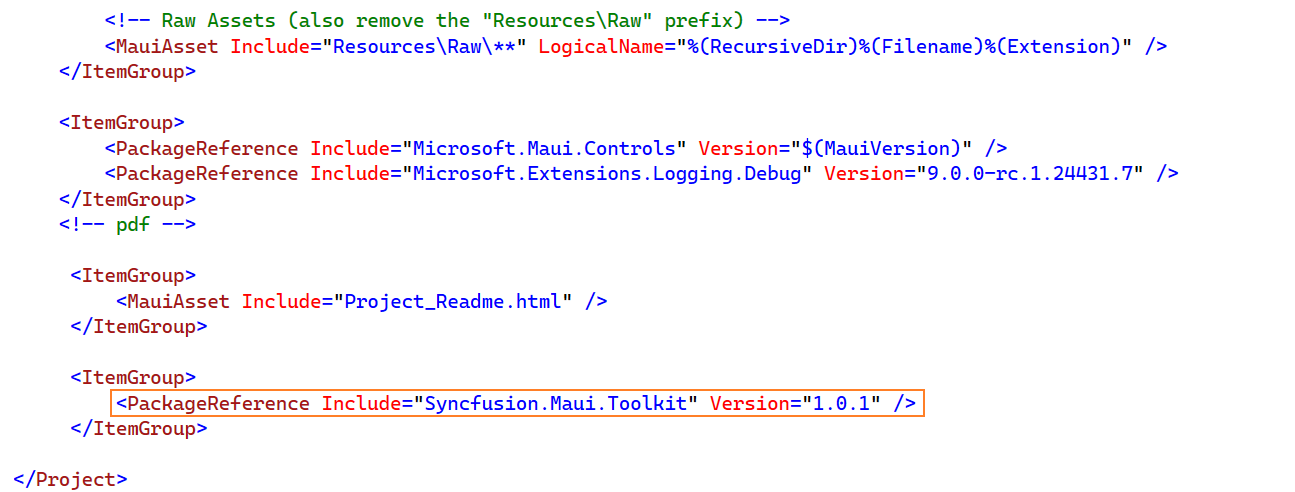
-
Run dotnet restore to install all dependencies and ensure that your project is ready.
Installation using Package Manager Console
The Package Manager Console provides an efficient way to install the Syncfusion.Maui.Toolkit NuGet package. Follow these steps:
-
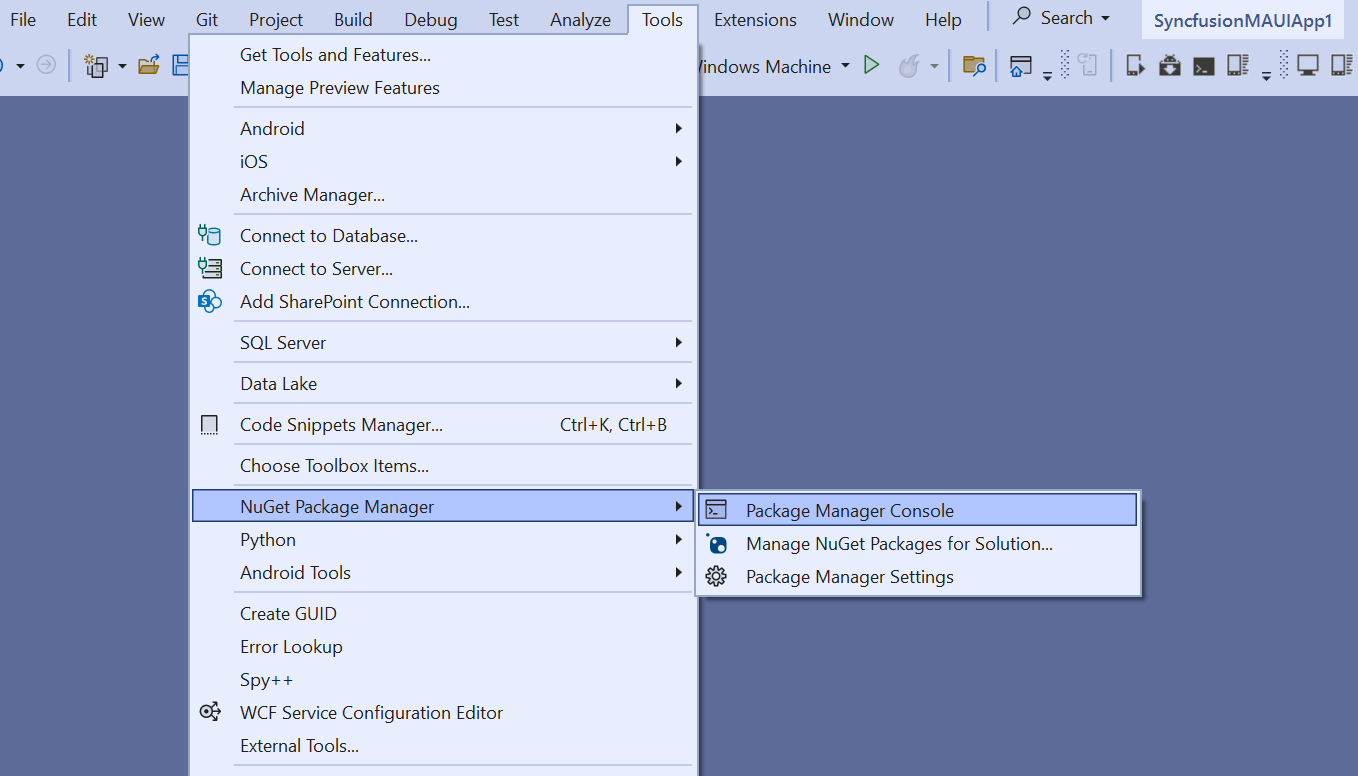
In Visual Studio, navigate to Tools -> NuGet Package Manager -> Package Manager Console.
-
In the console, install the Syncfusion.Maui.Toolkit package with the following command:
Install-Package Syncfusion.Maui.Toolkit
NOTE
To specify the version or target a specific project, use:
Install-Package Syncfusion.Maui.Toolkit -Version 1.0.0 - ProjectName <Project Name>
-
Once the installation completes, the console will display confirmation, and your application will now have access to the Syncfusion® .NET MAUI Toolkit components.
-
Your application is now ready to leverage the high-performance and responsive components of the Syncfusion® .NET MAUI Toolkit.