Getting Started
19 Apr 20175 minutes to read
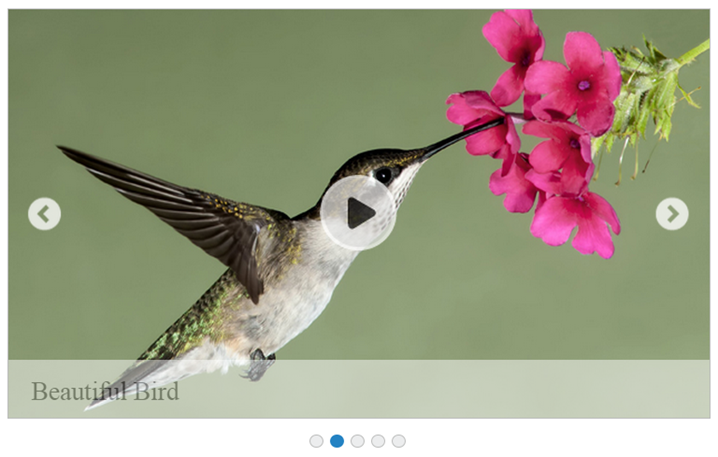
This section explains briefly about how to create a Rotator in your application with JavaScript. Essential JavaScript Image Rotator comes with a visual that has a spectacular zoom in and fade out effect. A single line of code invokes the JavaScript Rotator effect. Using the following guidelines you can create Rotator widget for a real-time website banner. It has five images that slide automatically. When you click the center button, image slides in a rotating manner and on second click the rotation stops.
The following screenshot demonstrates the functionality of Rotator widget.
Create Rotator Widget
A Rotator widget can be made by the following steps.
Create an HTML file and add the following template in the HTML file.
<!doctype html>

<html>
   <head>
      <title>Essential Studio for JavaScript : Rotator Default Functionalities</title>
      <meta name="viewport" content="width=device-width, initial-scale=1.0" charset="utf-8" />
      <!-- Style sheet for default theme (flat azure) -->
      <link href="http://cdn.syncfusion.com/32.1.19/js/web/flat-azure/ej.web.all.min.css" rel="stylesheet" />
      <!--Scripts-->
      <script src="http://cdn.syncfusion.com/js/assets/external/jquery-1.10.2.min.js"></script>
      <script src="http://cdn.syncfusion.com/js/assets/external/jquery.easing.1.3.min.js"></script>
      <script src="http://cdn.syncfusion.com/32.1.19/js/web/ej.web.all.min.js"></script>
      <!--Add custom scripts here -->
   </head>
   <body>
      <!-- Add Rotator element here. -->
   </body>
</html>
Configure Images
The following guidelines help you to configure images.
- Copy the following codes in the HTML file.
- Ensure you have saved images in the Rotator/image folder.
<div class="content-container-fluid">
   <div class="row">
      <div class="cols-sample-area">
         <div class="frame">
            <ul id="sliderContent">
               <li><img class="image" src="../image/Untitled.png"/></li>
               <li><img class="image" src="../image/Untitled1.png"/></li>
               <li><img class="image" src="../image/Untitled2.png"/></li>
               <li><img class="image" src="../image/Untitled3.png"/></li>
               <li><img class="image" src="../image/Untitled4.png"/></li>
            </ul>
         </div>
      </div>
   </div>
</div>
Configure Styles
Add the following style in the HTML file.
<style type="text/css" class="cssStyles">
  .frame
    {
        width: 600px;
    }

    #sliderContent > li .image
    {
        width: 600px;
        height: 350px;
    }
</style>
Set Actions
Add the following script in the HTML file.
$(function () {
// declaration
$("#sliderContent").ejRotator({
slideWidth: "600px",
frameSpace: "0px",
displayItemsCount: "1",
slideHeight: "350px",
navigateSteps: "1",
enableResize: true,
pagerPosition: ej.Rotator.PagerPosition.Outside,
orientation: ej.Orientation.Horizontal,
showPager: true,
enabled: true,
showCaption: true,
allowKeyboardNavigation: true,
showPlayButton: true,
enableRTL: true,
animationType: "slide"
});
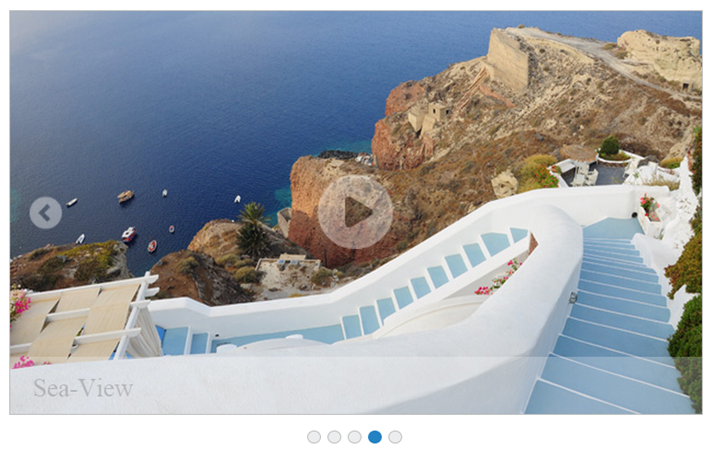
});The above code gives the output displayed in following screenshot.