How can I help you?
Getting Started with JavaScript ReportDesigner
This section explains briefly about how to create a ReportDesigner in your web application with JavaScript.
Project Creation
The following steps displays the Project Creation Wizard in Visual Studio 2013.
Create a new ASP.NET Empty Web application project by selecting the WEB category from the listed project template in Microsoft Visual Studio IDE.

Add References
-
In the Solution Explorer, right-click the
Referencesfolder and then clickAdd Reference.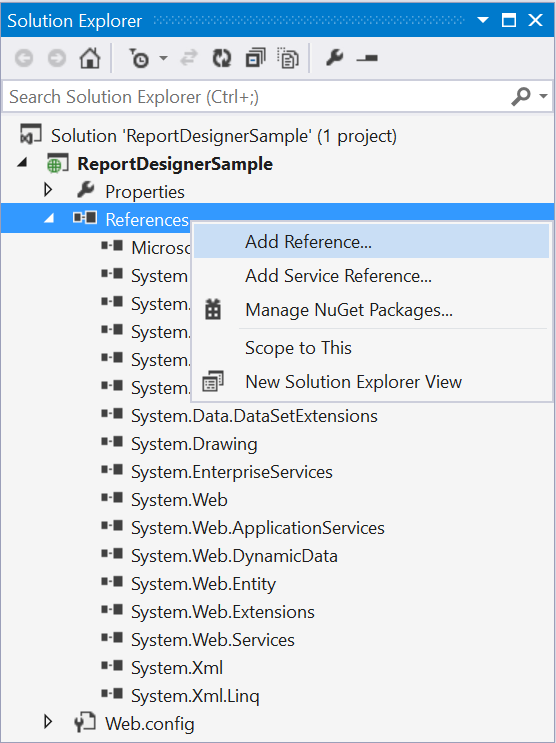
-
Add the following Syncfusion assemblies to the project that are necessary for using the report designer control and click OK.
- Syncfusion.Chart.Wpf
- Syncfusion.Compression.Base
- Syncfusion.DocIO.Base
- Syncfusion.EJ.ReportDesigner
- Syncfusion.EJ.ReportViewer
- Syncfusion.Gauge.Wpf
- Syncfusion.Pdf.Base
- Syncfusion.Presentation.Base
- Syncfusion.Shared.Wpf
- Syncfusion.SfMaps.Wpf
- Syncfusion.XlsIO.Base
Refer the above assemblies from the installed location, [Installed Location]:\Program Files (x86)\Syncfusion\Essential Studio\JavaScript\33.1.44\Assemblies
-
Add the following WebAPI assemblies from NuGet package.
- System.Web.Http
- System. Web.Http.WebHost
- System.Net.Http.WebRequest
- System.Net.Http.Formatting
The System.Web.Routing and System.Net.Http assemblies are also required, which are referred by default when creating the project.
Create HTML Page
-
Right-Click on the project and select
Addthen clickNew Item.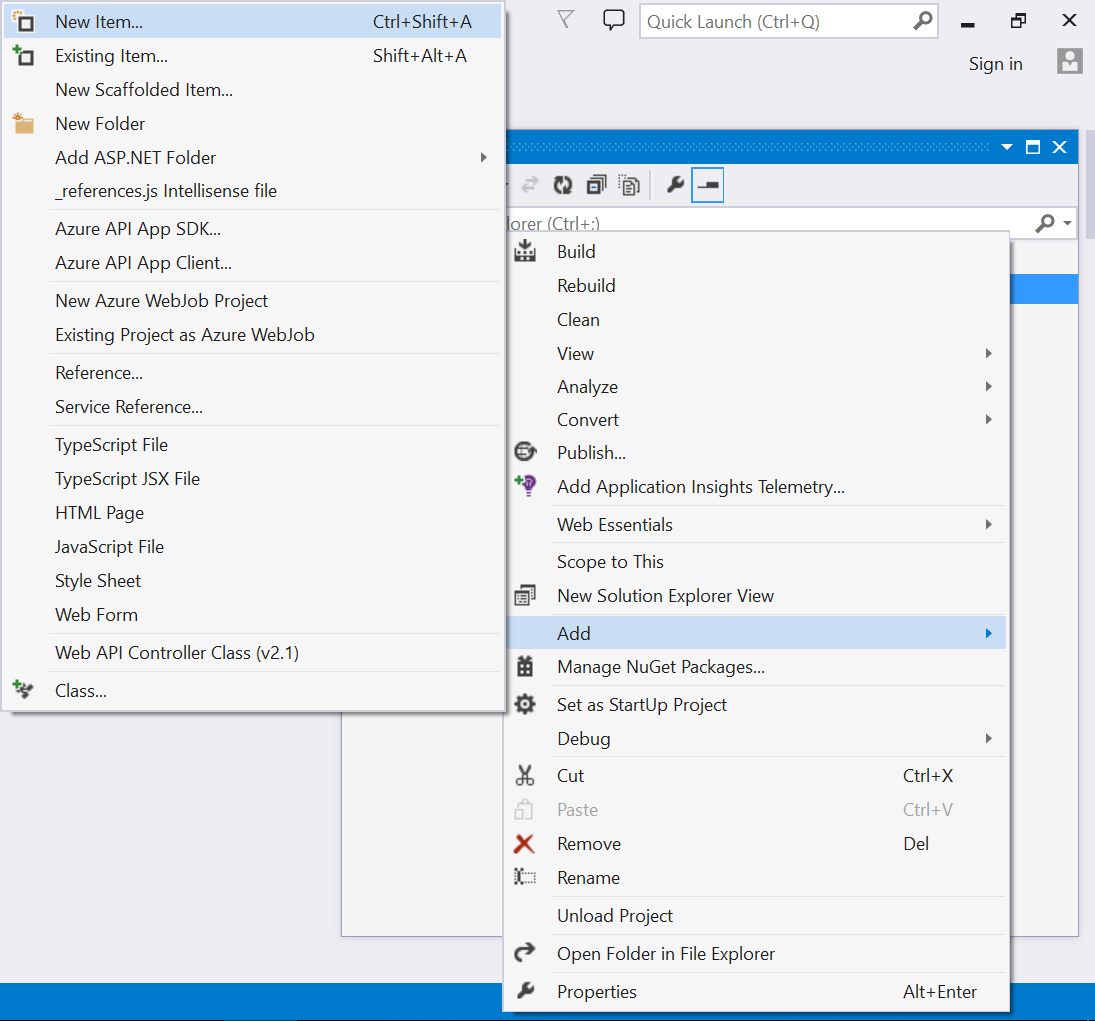
-
Select
HTML Pagefrom the listed templates and name the page as Default.html.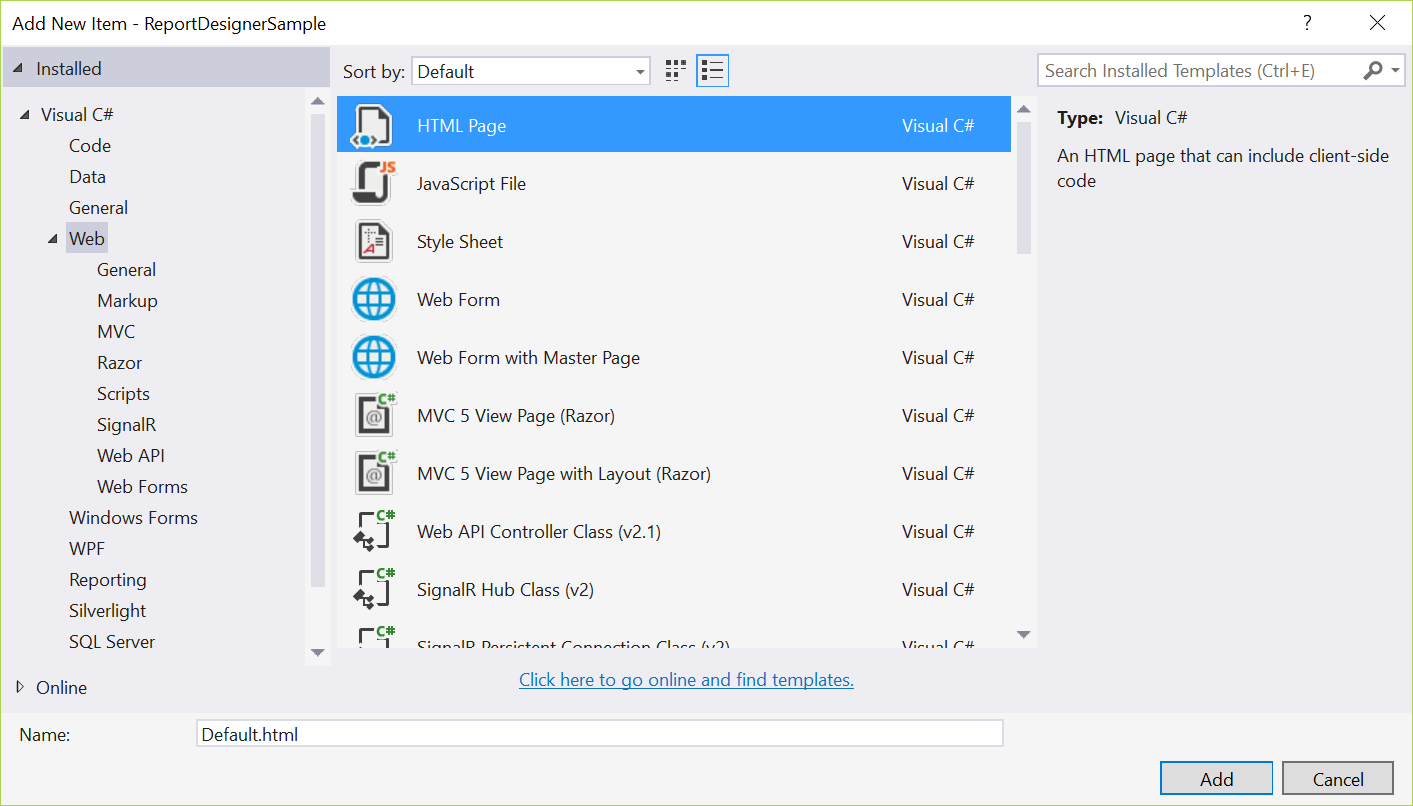
-
Click Add.
Add Scripts and Styles
For complete dependencies list of report designer control Click here.
Add the script files and theme files in the <head> tag of the Default.html page.
Themes
<link href="http://cdn.syncfusion.com/33.1.44/js/web/flat-azure/ej.web.all.min.css" rel="stylesheet" />
<link href="http://cdn.syncfusion.com/33.1.44/js/web/flat-azure/ej.reportdesigner.min.css" rel="stylesheet" />
Scripts
External dependencies
<script src="http://code.jquery.com/jquery-1.10.2.min.js" type="text/javascript"></script>
<script src="http://cdnjs.cloudflare.com/ajax/libs/jquery-easing/1.3/jquery.easing.min.js" type="text/javascript"></script>
<script src="https://cdnjs.cloudflare.com/ajax/libs/jsrender/0.9.90/jsrender.min.js" type="text/javascript"></script>
Internal dependencies
Refer the below scripts to render report designer control.
<script src="http://cdn.syncfusion.com/33.1.44/js/web/ej.web.all.min.js" type="text/javascript"></script>
<script src="http://cdn.syncfusion.com/33.1.44/js/web/ej.reportdesigner.min.js" type="text/javascript"></script>
Code Mirror
To edit the SQL queries with syntax highlighter need to refer the below code mirror scripts and themes.
<link href="https://cdnjs.cloudflare.com/ajax/libs/codemirror/5.37.0/codemirror.min.css" rel="stylesheet" />
<link href="https://cdnjs.cloudflare.com/ajax/libs/codemirror/5.37.0/addon/hint/show-hint.min.css" rel="stylesheet" />

<script src="https://cdnjs.cloudflare.com/ajax/libs/codemirror/5.37.0/codemirror.min.js" type="text/javascript"></script>
<script src="https://cdnjs.cloudflare.com/ajax/libs/codemirror/5.37.0/addon/hint/show-hint.min.js" type="text/javascript"></script>
<script src="https://cdnjs.cloudflare.com/ajax/libs/codemirror/5.37.0/addon/hint/sql-hint.min.js" type="text/javascript"></script>
<script src="https://cdnjs.cloudflare.com/ajax/libs/codemirror/5.37.0/mode/sql/sql.min.js" type="text/javascript"></script>
Use the above code example while adding scripts and styles.
Click here to know more about script and style sheets installed in local machine.
Control Initialization
Initialize Report Designer by using the following code example in the <body> tag of the Default.html page.
<div id="container" style="position: absolute; height: 100%; width: 100%;"></div>
<script type="text/javascript">
    $(function() {
        $("#container").ejReportDesigner({
            serviceUrl: '../../api/ReportDesigner'
        });
    });
</script>
Add WebAPI controller for Report Designer
The JavaScript Report Designer uses WebApi services to process the report file and get the request from control.
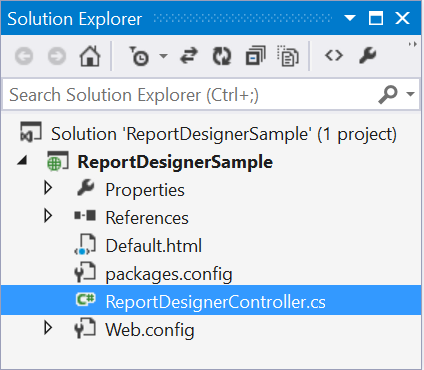
Add Controller
-
Right-Click on the project and select
Addthen clickNew Item. -
Select
Web API Controller Classfrom the listed templates and name the controller as ReportDesignerController.cs.
-
Click Add.
Inherit IReportDesignerController
The ApiController should inherit the IReportDesignerController and to process the report file. The interface IReportDesignerController contains the required actions and helper methods declaration to process the report. The ReportDesignerHelper and ReportHelper class contains helper methods that helps to process Post/Get request from control and return the response to control.
Please add the following code example in ReportDesignerController.cs.
using System;
using System.Collections.Generic;
using System.Linq;
using System.Net;
using System.Net.Http;
using System.Web.Http;
using System.IO;
using System.Web;
using Syncfusion.EJ.ReportViewer;
using Syncfusion.Reports.EJ;
using Syncfusion.EJ.ReportDesigner;

namespace ReportDesignerSample
{
    public class ReportDesignerController : ApiController, Syncfusion.EJ.ReportDesigner.IReportDesignerController
    {
        public string GetFilePath(string fileName)
        {
            string targetFolder = HttpContext.Current.Server.MapPath("~/");
            targetFolder += "Cache";

            if (!Directory.Exists(targetFolder))
            {
                Directory.CreateDirectory(targetFolder);
            }

            if (!Directory.Exists(targetFolder + "\\" + ReportDesignerHelper.EJReportDesignerToken))
            {
                Directory.CreateDirectory(targetFolder + "\\" + ReportDesignerHelper.EJReportDesignerToken);
            }

            var folderPath = HttpContext.Current.Server.MapPath("~/") + "Cache\\" + ReportDesignerHelper.EJReportDesignerToken + "\\";
            return folderPath + fileName;
        }

        public object GetImage(string key, string image)
        {
            return ReportDesignerHelper.GetImage(key, image, this);
        }

        public object PostDesignerAction(Dictionary<string, object> jsonResult)
        {
            return ReportDesignerHelper.ProcessDesigner(jsonResult, this, null);
        }

        public bool UploadFile(System.Web.HttpPostedFile httpPostedFile)
        {
            string targetFolder = HttpContext.Current.Server.MapPath("~/");
            string fileName = !string.IsNullOrEmpty(ReportDesignerHelper.SaveFileName) ? ReportDesignerHelper.SaveFileName : Path.GetFileName(httpPostedFile.FileName);
            targetFolder += "Cache";

            if (!Directory.Exists(targetFolder))
            {
                Directory.CreateDirectory(targetFolder);
            }

            if (!Directory.Exists(targetFolder + "\\" + ReportDesignerHelper.EJReportDesignerToken))
            {
                Directory.CreateDirectory(targetFolder + "\\" + ReportDesignerHelper.EJReportDesignerToken);
            }

            httpPostedFile.SaveAs(targetFolder + "\\" + ReportDesignerHelper.EJReportDesignerToken + "\\" + fileName);
            return true;
        }

        public void UploadReportAction()
        {
            ReportDesignerHelper.ProcessDesigner(null, this, HttpContext.Current.Request.Files[0]);
        }

        public object GetResource(string key, string resourcetype, bool isPrint)
        {
            return ReportHelper.GetResource(key, resourcetype, isPrint);
        }

        public void OnInitReportOptions(ReportViewerOptions reportOption)
        {
            //You can update report options here
        }

        public void OnReportLoaded(ReportViewerOptions reportOption)
        {
            //You can update report options here
        }

        public object PostReportAction(Dictionary<string, object> jsonResult)
        {
            return ReportHelper.ProcessReport(jsonResult, this as IReportController);
        }

        public FileModel GetFile(string filename, bool isOverride)
        {
            throw new NotImplementedException();
        }

        public List<FileModel> GetFiles(FileType fileType)
        {
            throw new NotImplementedException();
        }
    }
}
WebAPI Routing
If Global Application Class file already exists in your application skip the below Add Global Application Class section.
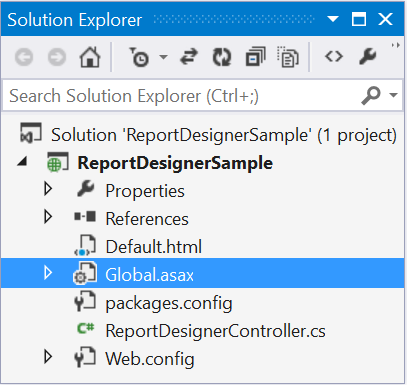
Add Global Application Class
-
Right-Click on the project and select
Addthen clickNew Item. -
Select
Global Application Classfrom the listed templates and name it asGlobal.asax.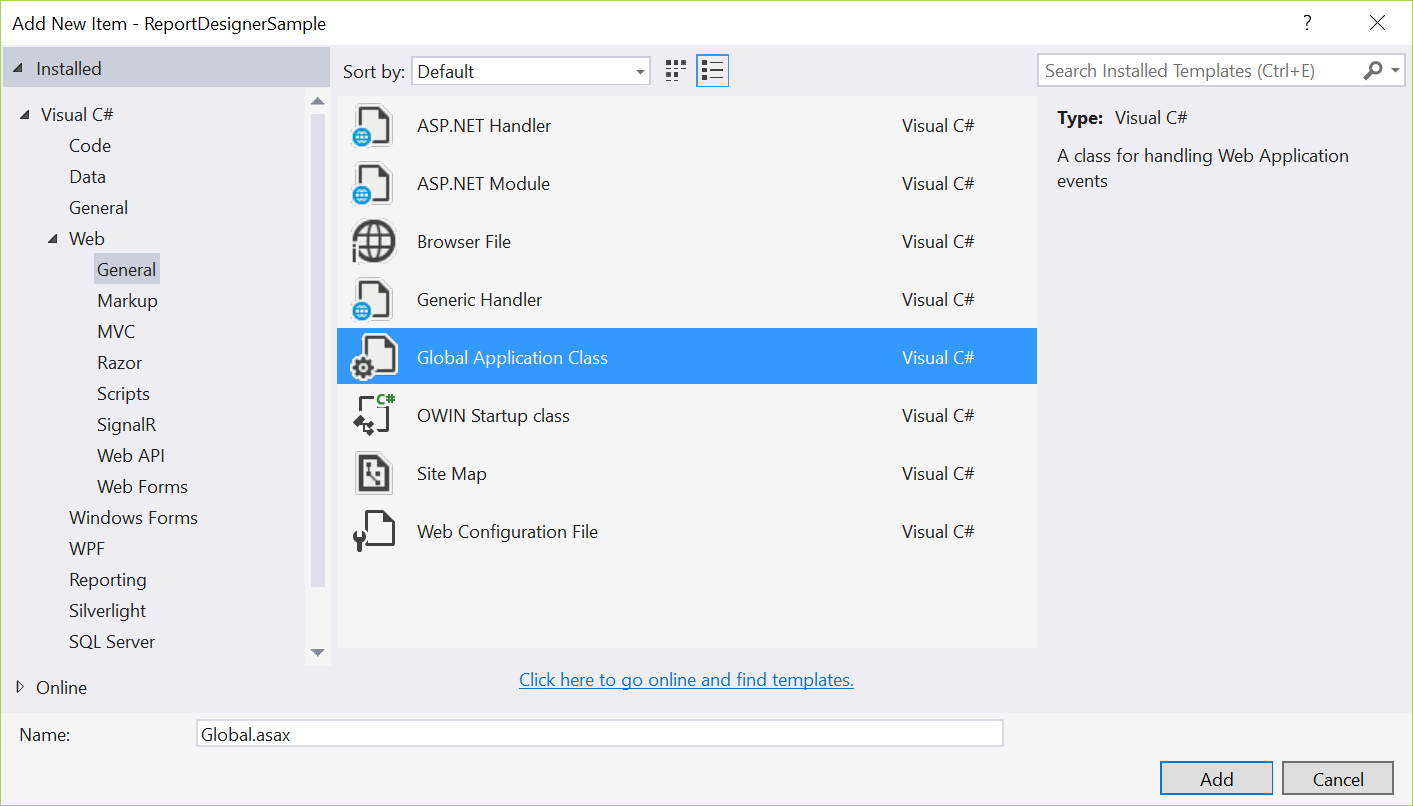
-
Click Add.
Route WebAPI
Modify the WebAPI routing in Application_Start event of Global.asax file as follows.
using System;
using System.Collections.Generic;
using System.Linq;
using System.Web;
using System.Web.Security;
using System.Web.SessionState;
using System.Web.Http;
namespace ReportDesignerSample
{
public class Global : System.Web.HttpApplication
{
protected void Application_Start(object sender, EventArgs e)
{
System.Web.Http.GlobalConfiguration.Configuration.Routes.MapHttpRoute(
name: "DefaultApi",
routeTemplate: "api/{controller}/{action}/{id}",
defaults: new { id = RouteParameter.Optional });
AppDomain.CurrentDomain.SetData("SQLServerCompactEditionUnderWebHosting", true);
}
}
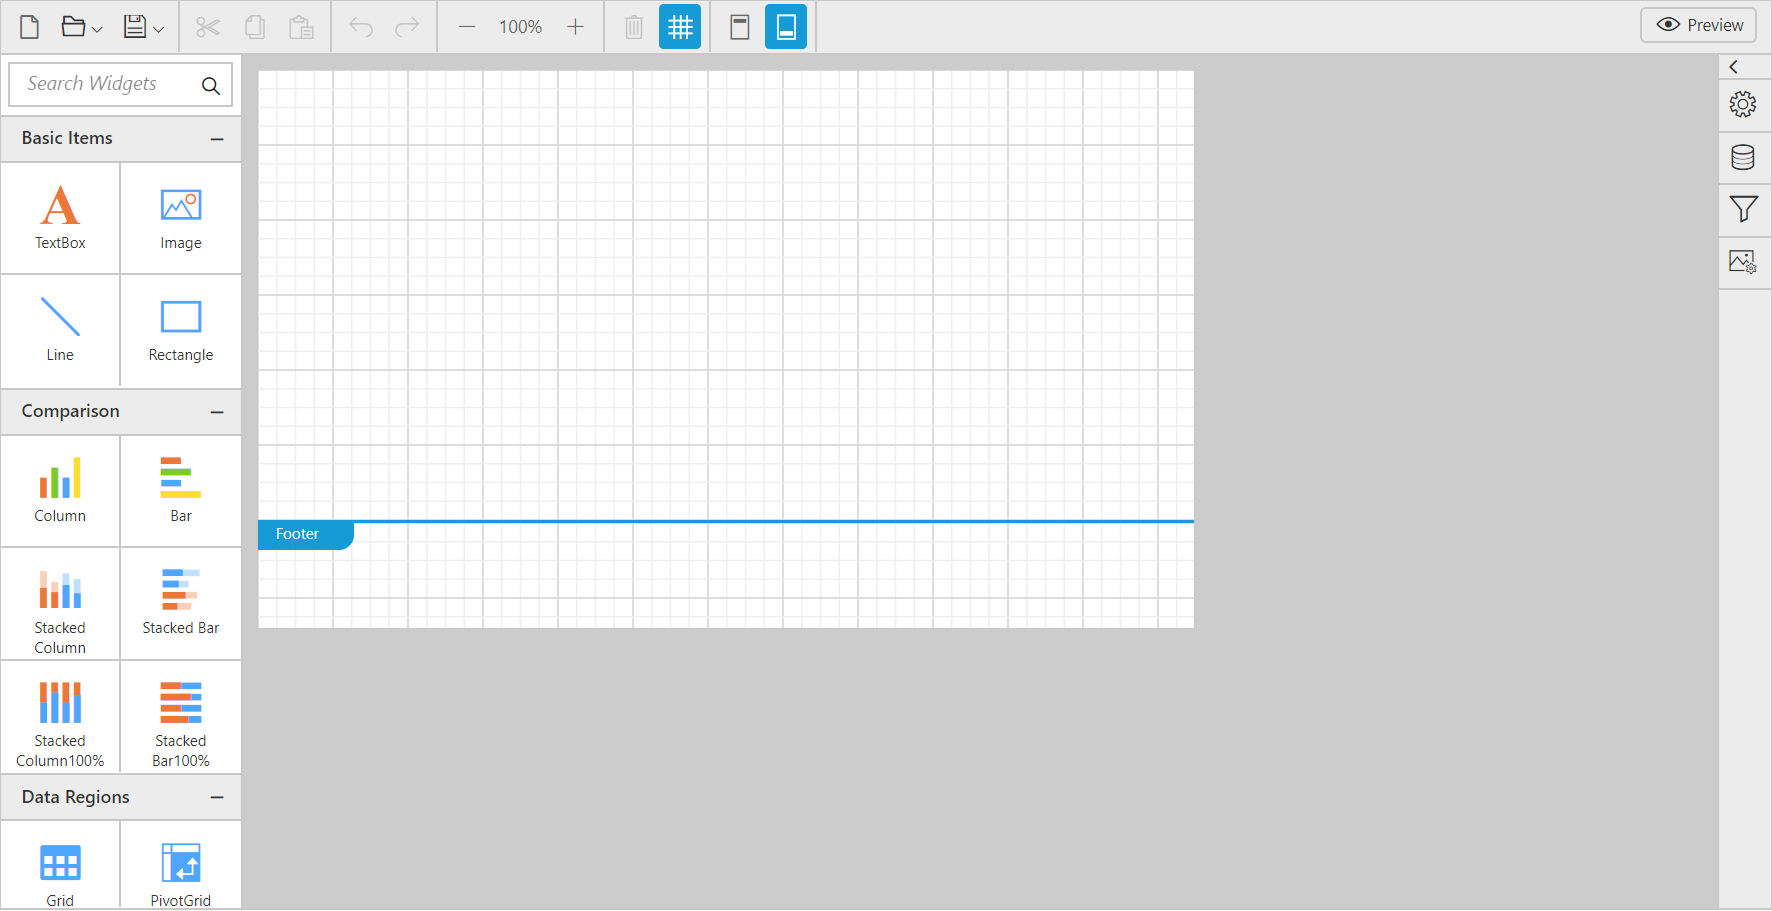
}On running the application, Report Designer will be rendered like below.
Integrate the component with Report Server
Report Designer can be integrated with the Report Server by using below code snippet. After integrating you can open, browse and edit the reports in the Report Server using Report designer.
Set the Report Server serviceUrl and serviceAuthorizationToken in the ReportDesigner properties.
<div id="container" style="position: absolute; height: 100%; width: 100%;"></div>
<script type="text/javascript">
   $(function () {
            var dataValue = "";
            var apiRequest = new Object();
            apiRequest.password = "demo";
            apiRequest.userid = "guest";
            $.ajax({
                type: "POST",
                url: "http://reportserver.syncfusion.com/api/get-user-key",
                data: apiRequest,
                success: function (data) {
                    dataValue = data.Token;
                    var token = JSON.parse(dataValue);
                    $("#container").ejReportDesigner(
                    {
                       serviceUrl: 'http://reportserver.syncfusion.com/ReportService/api/Designer',
                       serviceAuthorizationToken: token['token_type'] + ' ' + token['access_token']
                    });
                }
            });
   });
</script>