How can I help you?
Add Syncfusion® DOCX Editor SDK component to WPF Application
9 Dec 20252 minutes to read
Syncfusion® supports Visual Studio Item Templates to add Syncfusion®DOCX Editor SDK component to the corresponding applications with their references.
IMPORTANT
The Syncfusion®DOCX Editor SDK item templates are available from v32.1.19.
The following steps will guide you in adding the Syncfusion®DOCX Editor SDK component to your Visual Studio WPF application.
Add component using Syncfusion®DOCX Editor SDK Item Template
-
Open a new or existing WPF application.
Option 1:
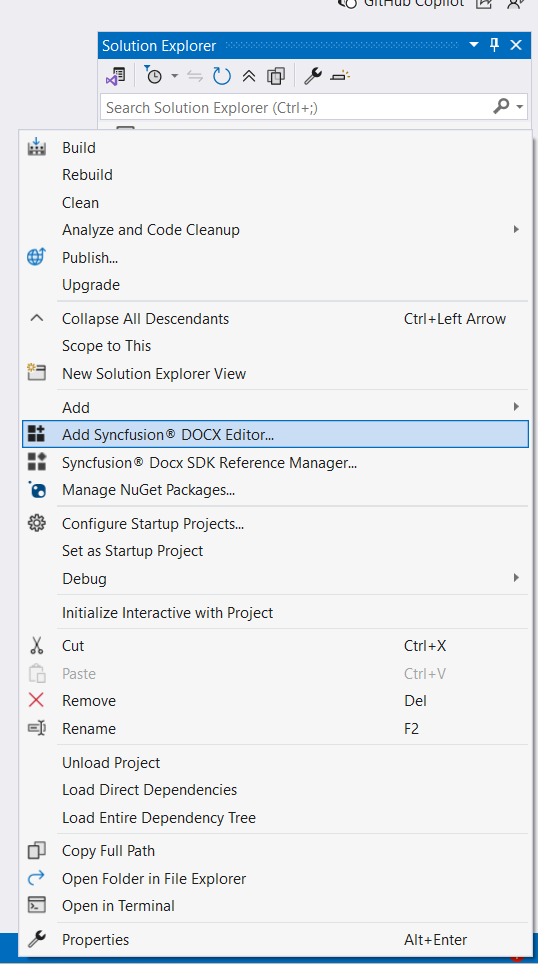
From the Solution Explorer, right-click on the WPF application. Choose Add Syncfusion®DOCX Editor SDK….
Option 2:
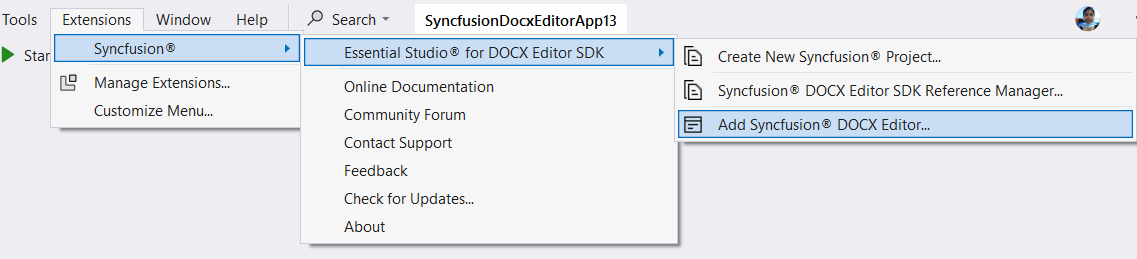
Click Extensions > Essential Studio® for DOCX Editor SDK > Add Syncfusion® DOCX Editor… in Visual Studio.
-
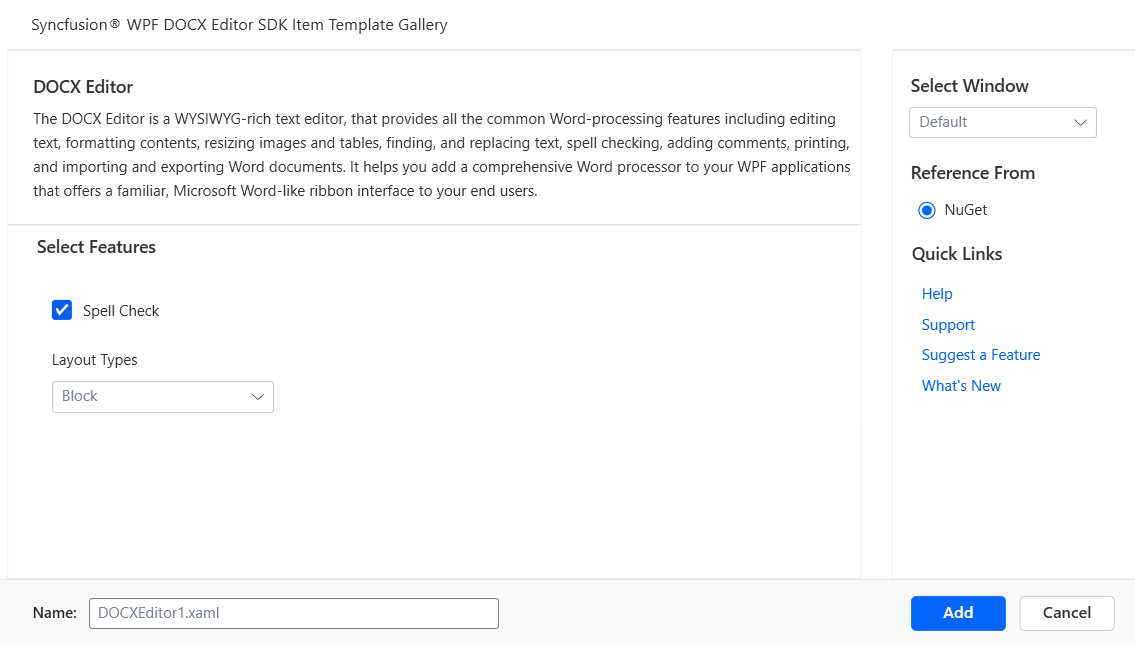
The Syncfusion®DOCX Editor SDK Item Template wizard will be launched, displaying available component for WPF application.
-
The Component and the features associated with the DOCX Editor SDK component will be presented within your DOCX Editor SDK Item template.
-
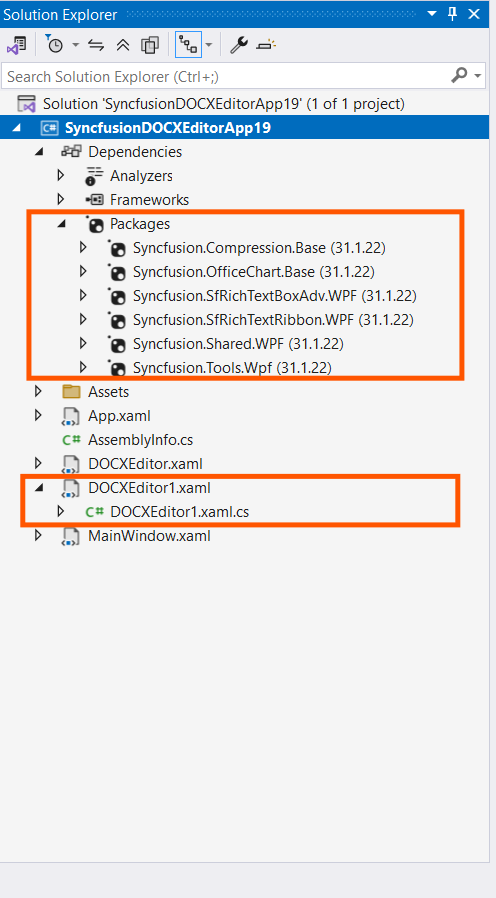
The required Syncfusion® assemblies are added to the project from the NuGet packages reference option.
-
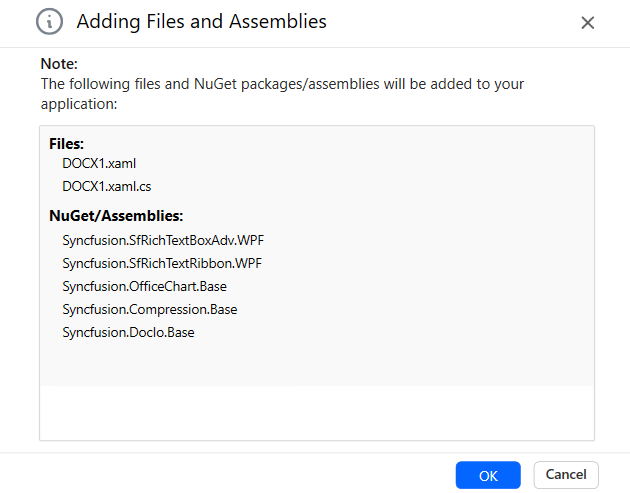
Click Add, and a pop-up will appear providing information about adding Component files and NuGet/Assemblies details.
-
Click OK to incorporate the component into the application, along with the necessary Syncfusion® assemblies.
-
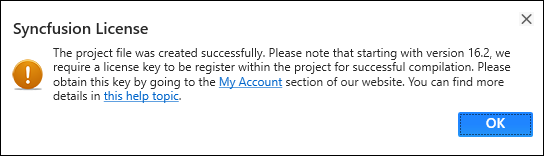
Then, Syncfusion® licensing registration required message box will be shown if you installed the trial setup or NuGet packages since Syncfusion® introduced the licensing system from 2018 Volume 2 (v16.2.0.41) Essential Studio® release. Navigate to the help topic, which is shown in the licensing message box to generate and register the Syncfusion® license key to your project. Refer to this blog post for understanding the licensing changes introduced in Essential Studio®.