Creating SyncfusionASP.NET Web Application
28 Jan 20253 minutes to read
Syncfusion® offers Visual Studio Project Templates for the Syncfusion® ASP.NET platform, which can be used to create a Syncfusion® ASP.NET Web Application or a Syncfusion® ASP.NET Web Site.
IMPORTANT
Syncfusion® ASP.NET Website templates are available beginning with v12.2.0.36, and Syncfusion® ASP.NET Web Application templates are available beginning with v13.3.0.7.
To create the Syncfusion® ASP.NET (Essential® JS 1) Application using the Visual Studio Project Template, follow the steps below:
Before use the Syncfusion® ASP.NET Web Forms Project Template, check whether the ASP.NET Web Forms Extensions - Syncfusion® installed or not in Visual Studio Extension Manager by clicking on the Tools -> Extensions and Updates -> Installed for Visual Studio 2017 or lower and for Visual Studio 2019 by clicking on the Extensions -> Manage Extensions -> Installed.
-
To create a Syncfusion® ASP.NET (Essential® JS 1) Web Forms project, use one of the following methods:
Option 1
Click Syncfusion® Menu and choose Essential Studio® for ASP.NET Web Forms (EJ1) > Create New Syncfusion® ASPNET Web Forms Project… in Visual Studio.
NOTE
From Visual Studio 2019, Syncfusion® menu is available under Extensions in Visual Studio menu.
Option 2
Choose File > New > Project and navigate to Syncfusion > Web > Syncfusion® ASP.NET Web Forms Application in Visual Studio.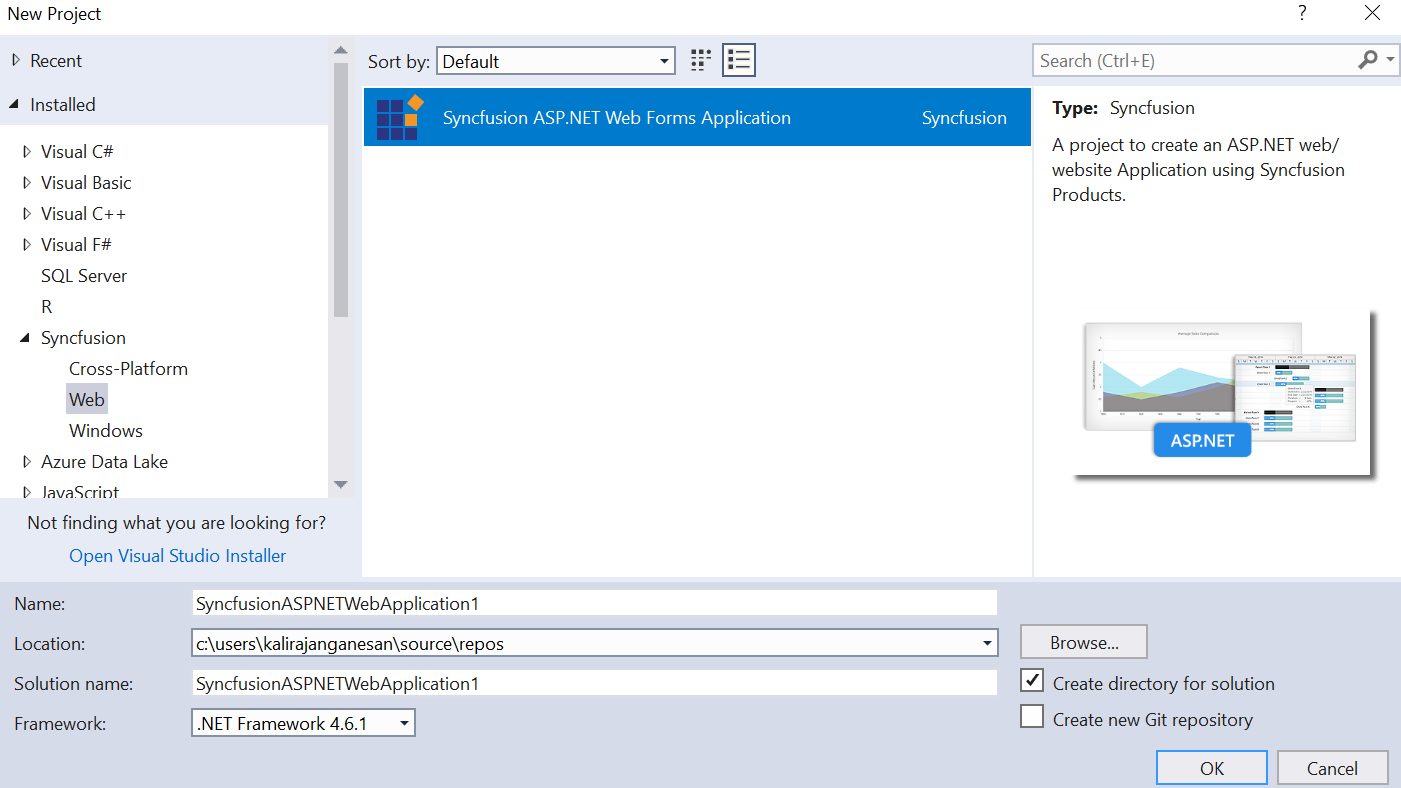
-
Name the project, select the destination location, and configure the project’s .NET Framework, then click OK. The Project Configuration Wizard is displayed.
NOTE
The minimum target framework for Syncfusion® ASP.NET Project Templates is 3.5.
-
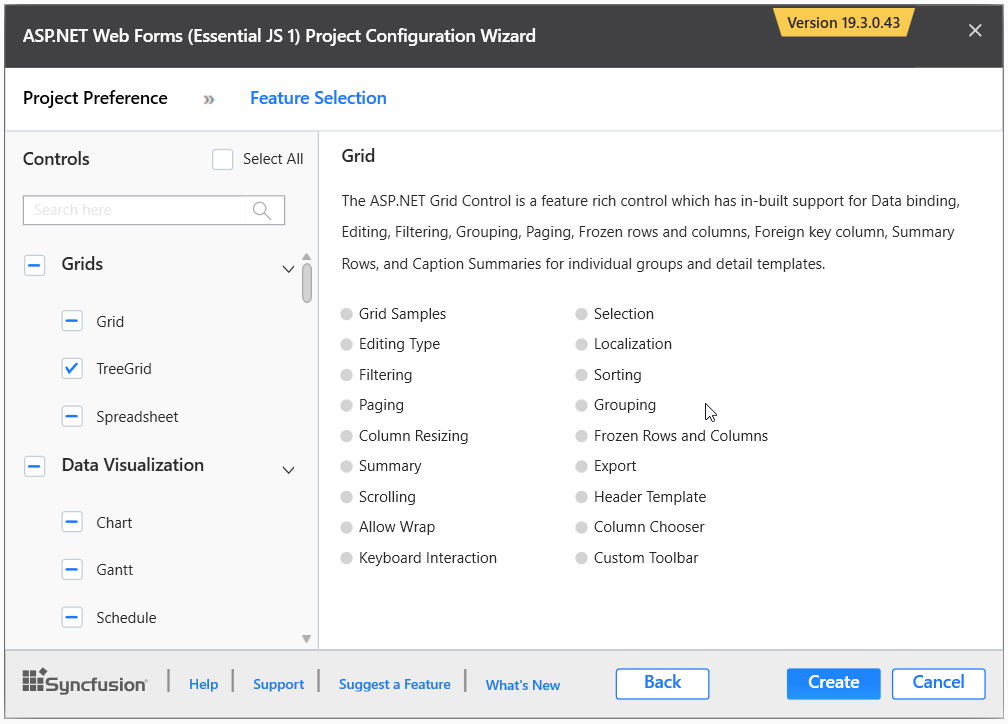
Using the following Project Configuration window, select the options to configure the Syncfusion® ASP.NET Web Forms Application.
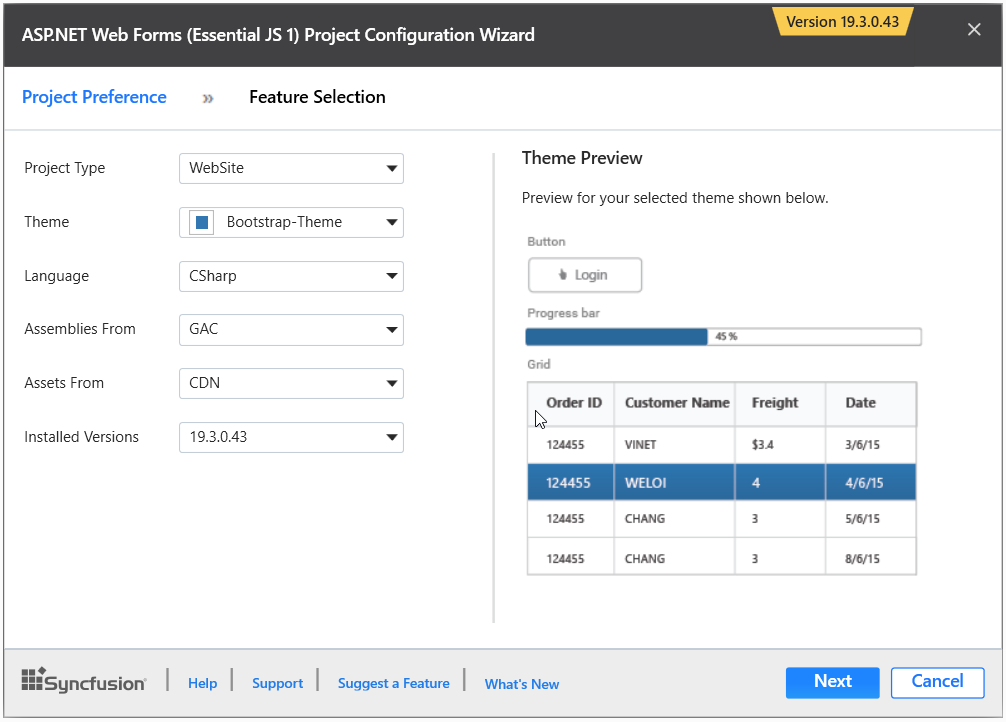
Project Configurations
Project Type: Choose the appropriate Project Type either Website or WebApplication.

Theme: Choose the appropriate theme.
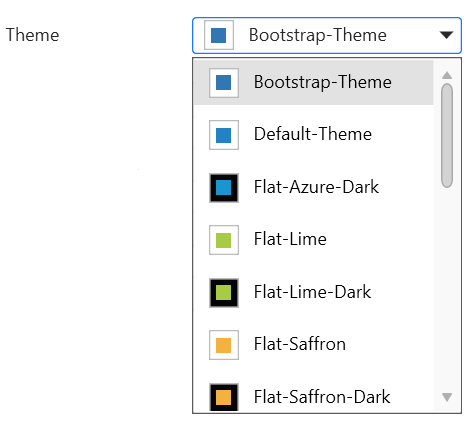
Language: Choose the language, either C# or VB.

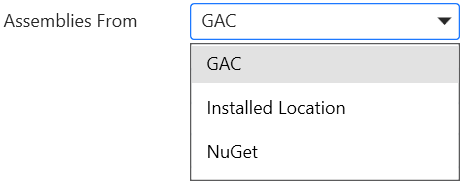
Assemblies From: Choose the assembly location, from where the assembly will be added to the project.
Assets From: Choose the Syncfusion® Essential® JS assets to be added to the ASP.NET Web Forms Project from the NuGet, CDN, or Installed Location.
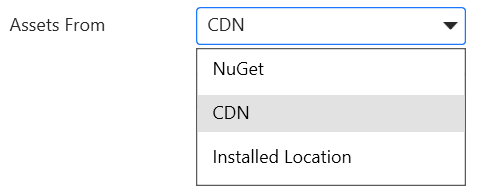
Installed Version Choose the version of the project that needs to be created.

-
Select the components, Assemblies, and Scripts that should be added to the project, and then click the Create button. The Syncfusion® ASP.NET Web Forms project will be created.
-
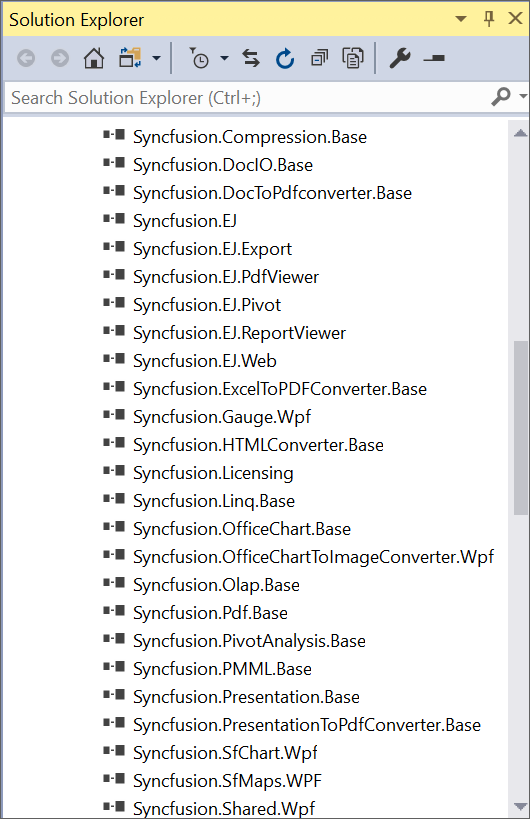
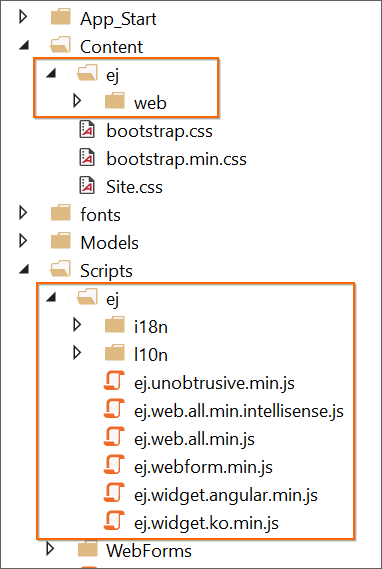
The necessary Syncfusion® Assembly references, Scripts, and CSS, as well as the necessary Web.config entries, have been added to the project.

6.Then, Syncfusion® licensing registration required message box will be shown if you installed the trial setup or NuGet packages since Syncfusion® introduced the licensing system from 2018 Volume 2 (v16.2.0.41) Essential Studio® release. Navigate to the help topic, which is shown in the licensing message box to generate and register the Syncfusion® license key to your project. Refer to this blog post for understanding the licensing changes introduced in Essential Studio®.
