Getting Started
28 Nov 20176 minutes to read
This section helps to understand the getting started of the Dialog widget with the step-by-step instructions.
Before going to getting started with Dialog widget please refer Getting Started with Syncfusion EmberJS application to know how to create simple Essential EmberJS application.
If you want to know individual script reference to create Dialog Please Refer under Requires
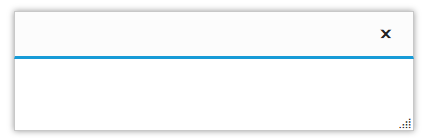
Create Dialog
- Use below code in
default.hbsin templates folder to render the Dialog widget.
<div class="e-control">

      {{#ej-dialog id="defaultdialog" }} {{/ej-dialog}}

</div>- Use the below code in
default.jsin routes folder to bind the model to the Dialog and initialize widget.
export default Ember.Route.extend({
         model(){
          return { }
               }
          });
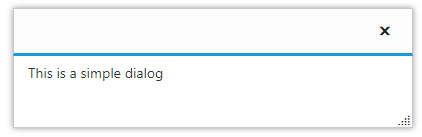
Add dialog content
Add the contents for the dialog as below.
- Use below code in
default.hbsin templates folder to render the Dialog widget.
<div class="e-control">

    {{#ej-dialog id="defaultdialog" }}
                <!--dialog content-->
            <p>This is a simple dialog</p>
                {{/ej-dialog}}

</div>- Use the below code in
default.jsin routes folder to bind the model to the Dialog and initialize widget.
export default Ember.Route.extend({
         model(){
          return { }
               }
          });
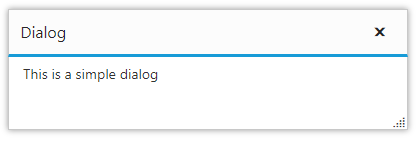
Set the title
The Dialog widget’s title can be set as follows.
- Use below code in
default.hbsin templates folder to render the Dialog widget with title and content.
<div class="e-control">

     {{#ej-dialog id="defaultdialog" e-title="Dialog"}}
                <!--dialog content-->
            <p>This is a simple dialog</p>
                {{/ej-dialog}}

</div>- Use the below code in
default.jsin routes folder
export default Ember.Route.extend({
         model(){
          return { }
               }
          });
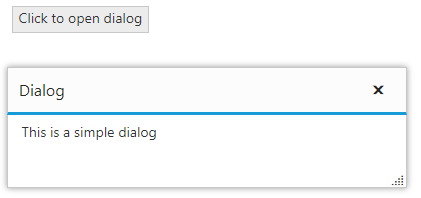
Open Dialog dynamically
In most cases, the Dialog widgets are needed only in dynamic actions like showing some messages on clicking a button, to provide alert, etc. So the Dialog widget provides “open” and “close” methods to open/close the dialogs dynamically.
The Dialog widget can be hidden on initialize using e-showOnInit property which should be set to false.
Refer the below example to open dialog on button click.
- Use below code in
default.hbsin templates folder to render and open dialog on button click.
<div class="e-control">

      <div class="cols-sample-area">

            {{ej-button id="btnOpen" e-text="Click to open dialog" e-click=model.onOpen }}
		   <div class="e-container-dialog">
               {{#ej-dialog id="defaultdialog" e-title="Dialog" e-target=".cols-sample-area" e-showOnInit=false e-close=model.onDialogClose e-open=model.dlgOpen}}
                <!--dialog content-->
            <p>This is a simple dialog</p>
                {{/ej-dialog}}

            </div>
        </div>
</div>- Use the below code in
default.jsin routes folder
export default Ember.Route.extend({

        model() {
        return {

            dlgOpen: function () {
                Ember.$("#btnOpen").hide();
            },
            onDialogClose: function () {
                Ember.$("#btnOpen").show();
            },
            onOpen: function () {
                Ember.$("#btnOpen").hide();
                Ember.$("#defaultdialog").ejDialog("open");
            },
        }
        }
        });