Getting Started with Vue DOCX Editor (Vue 3)
21 Jul 20264 minutes to read
This article provides a step-by-step guide for setting up a Vite project with integrating the Vue DOCX Editor (Document Editor) component using the Composition API or Options API.
Prerequisites
Create a Vue application
Use Vite to quickly scaffold a Vue 3 project. Run one of the following commands to create a new project:
npm create vite@latestor
yarn create viteAfter running the command, follow the interactive prompts shown below to configure the project:
Step 1: Define the project name: Specify the project name directly. This guide uses documenteditor-app.
? Project name: » documenteditor-appStep 2: Select Vue as the framework to target Vue 3.
? Select a framework: » - Use arrow-keys. Return to submit.
Vanilla
> Vue
  React
  Preact
  Lit
  Svelte
  Others
Step 3: Choose JavaScript as the variant to build the Vite project with JavaScript and Vue.
? Select a variant: » - Use arrow-keys. Return to submit.
> JavaScript
  TypeScript
  Customize with create-vue ↗
  Nuxt ↗
Step 4: After the scaffold completes, install the project dependencies:
cd documenteditor-app
npm install
or
cd documenteditor-app
yarn install
Install the DOCX Editor packages
The DOCX Editor package is available in the public npm registry and can be installed directly from npmjs.com.
To install the DOCX Editor component, use the following command:
npm install @syncfusion/ej2-vue-documenteditor --saveRegister a Syncfusion License Key
Before initializing the Vue DOCX Editor control, generate a Syncfusion license key and register it in your application.
Import the required CSS styles
Add the following DOCX Editor and dependent component style definitions to the src/style.css file.
@import '../node_modules/@syncfusion/ej2-base/styles/tailwind3.css';
@import '../node_modules/@syncfusion/ej2-buttons/styles/tailwind3.css';
@import '../node_modules/@syncfusion/ej2-inputs/styles/tailwind3.css';
@import '../node_modules/@syncfusion/ej2-popups/styles/tailwind3.css';
@import '../node_modules/@syncfusion/ej2-lists/styles/tailwind3.css';
@import '../node_modules/@syncfusion/ej2-navigations/styles/tailwind3.css';
@import '../node_modules/@syncfusion/ej2-splitbuttons/styles/tailwind3.css';
@import '../node_modules/@syncfusion/ej2-dropdowns/styles/tailwind3.css';
@import '../node_modules/@syncfusion/ej2-vue-documenteditor/styles/tailwind3.css';
NOTE
Refer to themes topic to know more about built-in themes and different ways to refer to themes in a Vue project.
Initialize the DOCX Editor
Import and register the DOCX Editor component in the <script> section of src/App.vue. If you use the Composition API, add the setup attribute to the <script> tag. Then, define the component in the <template> section.
<template>
  <ejs-documenteditorcontainer
   height="590px"
   :serviceUrl="serviceUrl"
   :enableToolbar="true">
  </ejs-documenteditorcontainer>
</template>

<script setup>
  import { provide } from 'vue';
  import { DocumentEditorContainerComponent, Toolbar } from '@syncfusion/ej2-vue-documenteditor';

  // Use the following service URL only for demo purposes
  const serviceUrl = 'https://document.syncfusion.com/web-services/docx-editor/api/documenteditor/';

  provide('DocumentEditorContainer', [Toolbar]);
</script><template>
<ejs-documenteditorcontainer
height="590px"
:serviceUrl="serviceUrl"
:enableToolbar="true">
</ejs-documenteditorcontainer>
</template>
<script>
import { DocumentEditorContainerComponent, Toolbar } from '@syncfusion/ej2-vue-documenteditor';
export default {
name: 'App',
components: {
'ejs-documenteditorcontainer' : DocumentEditorContainerComponent
},
data () {
return {
// Use the following service URL only for demo purposes
serviceUrl:'https://document.syncfusion.com/web-services/docx-editor/api/documenteditor/'
};
},
provide: {
DocumentEditorContainer: [Toolbar]
}
}
</script>NOTE
The hosted Web API URL is for demo and evaluation purposes only. For production, host your own web service using the GitHub Web Service example or the Docker image.
Run the application
Run the application using the following command:
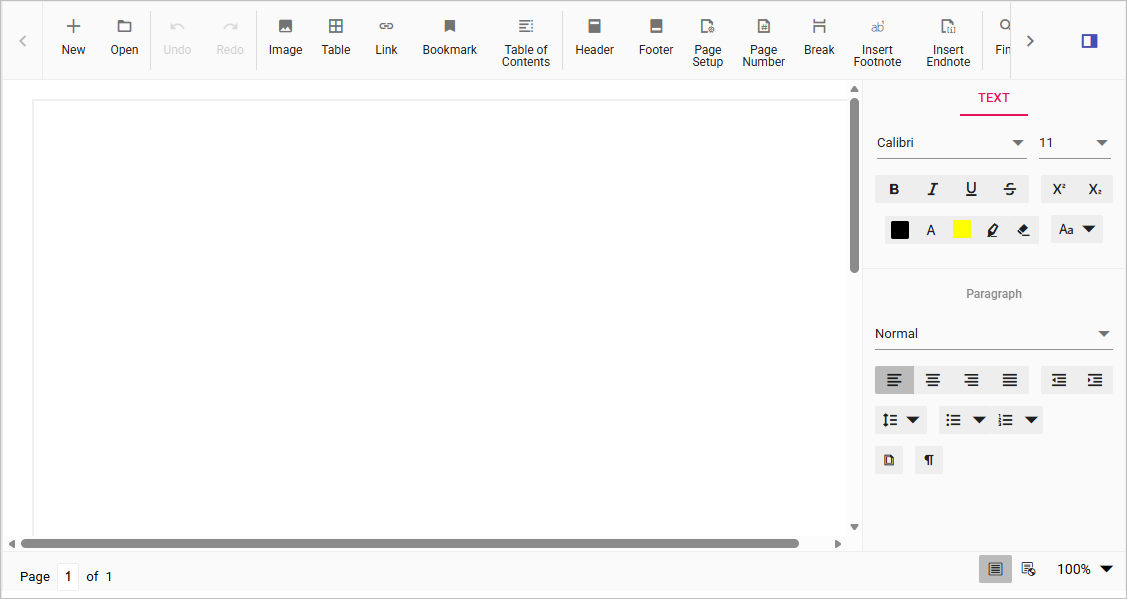
npm run devAfter the application starts, open the localhost URL shown in the terminal. The Vue DOCX Editor is rendered in the browser with a toolbar and an editable document area, as shown below.
NOTE
Server-side dependencies
The DOCX Editor component requires server-side interactions for the following operations:
- Open file formats other than SFDT
- Paste with formatting
- Restrict editing
- Spell check
- Save as file formats other than SFDT and DOCX
NOTE
If you do not require the above functionalities, you can deploy the component as a pure client-side solution without any server-side interactions.
For detailed information about server-side dependencies, refer to the Web Services Overview page.
NOTE
Looking for the full Vue DOCX Editor component overview, features, pricing, and documentation? Visit the Vue DOCX Editor page.