Getting Started with Angular DOCX Editor
24 Jun 20265 minutes to read
Angular DOCX Editor (Document Editor) enables you to create, edit, view, and print Word documents in web applications. This section guides you through the steps to get started and create a DOCX Editor in an Angular application.
Steps to create an Angular DOCX Editor
Prerequisites
System requirements for Document Editor
Setup Angular environment
You can use Angular CLI to set up your Angular application. To install Angular CLI, use the following command:
npm install -g @angular/cliCreate an Angular application
Step 1: Start a new Angular application using the Angular CLI command below:
ng new documenteditor-appStep 2: This command will prompt you to configure settings like enabling Angular routing and choosing a stylesheet format.
? Which stylesheet system would you like to use?
❯ CSS             [ https://developer.mozilla.org/docs/Web/CSS                     ]
  Tailwind CSS    [ https://tailwindcss.com                                        ]
  Sass (SCSS)     [ https://sass-lang.com/documentation/syntax#scss                ]
  Sass (Indented) [ https://sass-lang.com/documentation/syntax#the-indented-syntax ]
  Less            [ http://lesscss.org                                             ]
In this guide, CSS is selected as the stylesheet format.
Step 3: During project setup, when prompted for the server-side rendering (SSR) option, choose the appropriate configuration.
? Do you want to enable Server-Side Rendering (SSR) and Static Site Generation (SSG/Prerendering)? (y/N) NStep 4: Select the required AI tool or ‘none’ if you do not need any AI tool.
? Which AI tools do you want to configure with Angular best practices? https://angular.dev/ai/develop-with-ai
❯ None
  Agents.md      [ https://agents.md/                                               ]
  Claude         [ https://docs.anthropic.com/en/docs/claude-code/memory            ]
  Cursor         [ https://docs.cursor.com/en/context/rules                         ]
  Gemini         [ https://ai.google.dev/gemini-api/docs                            ]
  GitHub Copilot [ https://code.visualstudio.com/docs/copilot/copilot-customization ]
  JetBrains AI   [ https://www.jetbrains.com/help/junie/customize-guidelines.html   ]
Step 5: Next, navigate to the created project folder
cd documenteditor-appInstall the Document Editor packages
The Document Editor package is available in the public npm registry and can be installed directly from npmjs.com.
To install the Document Editor component, use the following command:
npm install @syncfusion/ej2-angular-documenteditor --saveAdd CSS reference
The following CSS files are available in the node_modules/@syncfusion package folder. Reference these styles in the src/styles.css file using the following code:
@import '../node_modules/@syncfusion/ej2-base/styles/tailwind3.css';
@import '../node_modules/@syncfusion/ej2-buttons/styles/tailwind3.css';
@import '../node_modules/@syncfusion/ej2-inputs/styles/tailwind3.css';
@import '../node_modules/@syncfusion/ej2-popups/styles/tailwind3.css';
@import '../node_modules/@syncfusion/ej2-lists/styles/tailwind3.css';
@import '../node_modules/@syncfusion/ej2-navigations/styles/tailwind3.css';
@import '../node_modules/@syncfusion/ej2-splitbuttons/styles/tailwind3.css';
@import '../node_modules/@syncfusion/ej2-dropdowns/styles/tailwind3.css';
@import '../node_modules/@syncfusion/ej2-angular-documenteditor/styles/tailwind3.css';
Add the Document Editor component
Modify src/app/app.ts to render the Document Editor component by adding the Angular Document Editor selector in its template section.
import { Component } from '@angular/core';
import {
  DocumentEditorContainerModule,
  ToolbarService
} from '@syncfusion/ej2-angular-documenteditor';

@Component({
  selector: 'app-root',
  standalone: true,
  imports: [DocumentEditorContainerModule],
  providers: [ToolbarService],
  template: `
    <!-- Use the following service URL only for demo purposes -->
    <ejs-documenteditorcontainer
      serviceUrl="https://document.syncfusion.com/web-services/docx-editor/api/documenteditor/"
      height="600px"
      style="display: block"
      [enableToolbar]="true">
    </ejs-documenteditorcontainer>
  `
})
export class App {}
NOTE
The hosted Web API URL is for demo and evaluation purposes only. For production, host your own web service using the GitHub Web Service example or the Docker image.
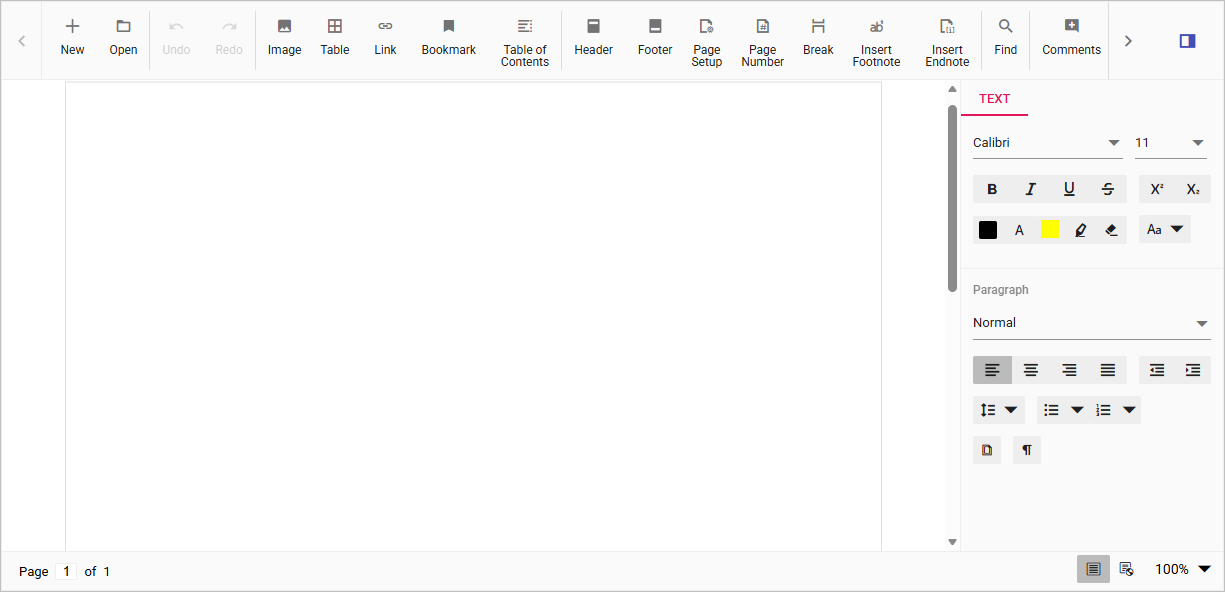
Run the application
Run the application using the following command:
ng serve --openAfter the application starts, open the localhost URL shown in the terminal. The Document Editor is rendered in the browser with a toolbar and an editable document area, as shown below.
You can also explore the Document Editor interactively using the live sample below.
NOTE
Online Demo
Explore how to create, edit, and print Word documents in the Angular Document Editor in this live demo here.
Video tutorial
To get started quickly with the Document Editor component using the Angular CLI, you can check the video below.
Server-side dependencies
The Document Editor component requires server-side interactions for the following operations:
- Open file formats other than SFDT
- Paste with formatting
- Restrict editing
- Spell check
- Save as file formats other than SFDT and DOCX
NOTE
If you don’t require the above functionalities, you can deploy the component as a pure client-side solution without any server-side interactions.
For detailed information about server-side dependencies, refer to the Web Services Overview page.
NOTE
Looking for the full Angular Docx Editor component overview, features, pricing, and documentation? Visit the Angular Docx Editor (Document Editor) page.
See also