Convert Word to PDF in Google Cloud Run
21 Jul 202610 minutes to read
Syncfusion® DocIO is a .NET Core Word library that allows you to create, read, edit, and convert Word documents programmatically, without the need for Microsoft Word or interop dependencies. Using this library, you can convert a Word document to a PDF in Google Cloud Run.
Set up Cloud Run
Step 1: Access Google Cloud Console
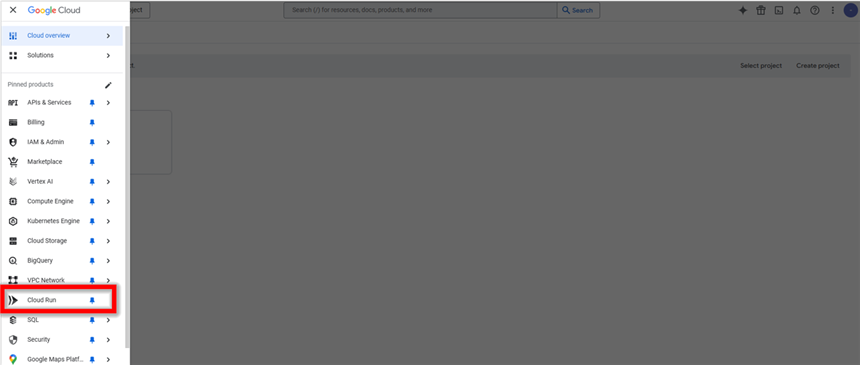
Sign in to the Google Cloud Console and navigate to Cloud Run from the left-hand menu.
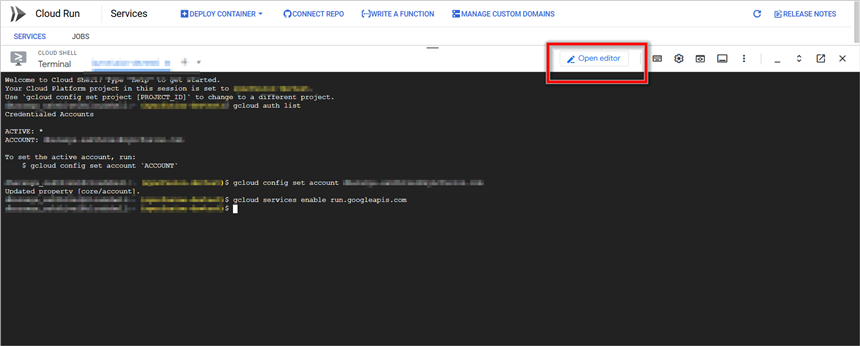
Step 2: Activate Cloud Shell
Click on the Activate Cloud Shell button in the top-right corner of the console. This opens a built-in terminal for running Google Cloud CLI commands without additional setup.

Step 3: Verify Authenticated Accounts
In the Cloud Shell terminal, enter the following command to list authenticated accounts and verify your active account:
gcloud auth list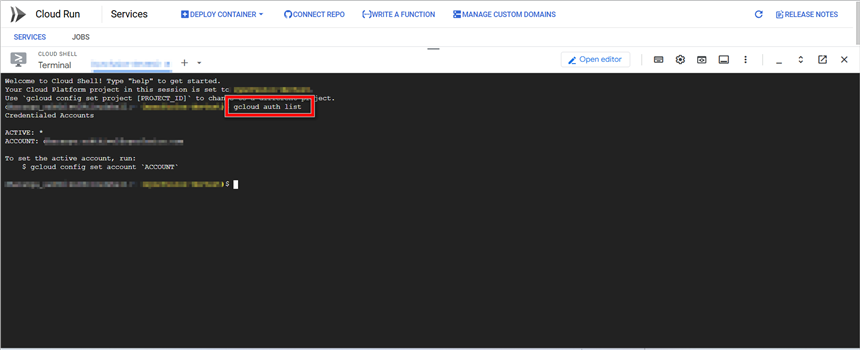
Step 4: Set Active Account
If multiple accounts are listed, set the desired account as active using:
gcloud config set account <[email protected]>Replace [email protected] with your actual Google Cloud email.
Step 5: Enable Cloud Run API
Enable the Cloud Run API using the following command:
gcloud services enable run.googleapis.com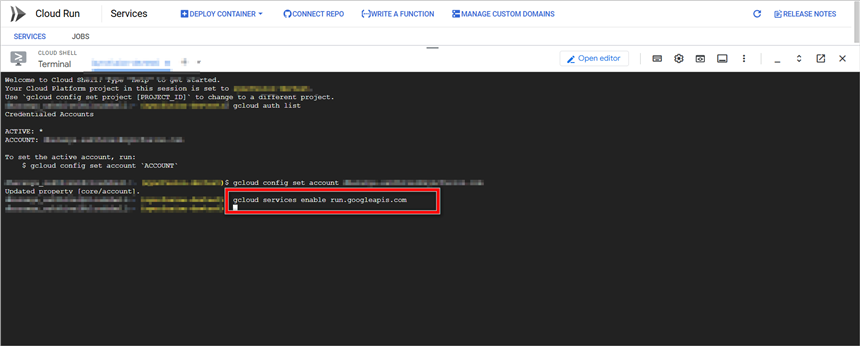
This step ensures that Cloud Run is ready for deployment. If the API is already enabled, the command will confirm that no changes were needed.
Create an application for Cloud Run
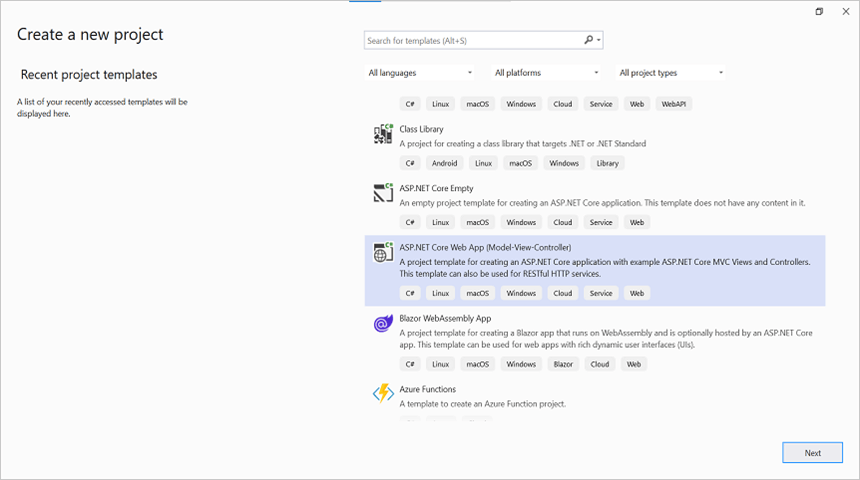
Step 1: In Visual Studio, create a new ASP.NET Core Web App (Model-View-Controller) project (for example, named Convert-Word-Document-to-PDF), select the .NET 8.0 framework, and click Create. This project will be containerized and deployed in the steps below.
Step 2: Install the following NuGet packages as a reference to your project from NuGet.org.
NOTE
The
SkiaSharp.NativeAssets.Linux.NoDependenciespackage ships without native Skia libraries. The Dockerfile in Step 10 installs the required native dependencies (fontconfig,libfreetype6) at container build time.
NOTE
Starting with v16.2.0.x, if you reference Syncfusion® assemblies from trial setup or from the NuGet feed, you also have to add the “Syncfusion.Licensing” assembly reference and include a license key in your projects. Refer to this link to know about registering the Syncfusion® license key in your application.
Step 3: Include the following namespaces in the HomeController.cs file.
using Syncfusion.DocIO;
using Syncfusion.DocIO.DLS;
using Syncfusion.DocIORenderer;
using Syncfusion.Pdf;
Step 4: A default action method named Index will be present in HomeController.cs. Right click on Index method and select Go To View where you will be directed to its associated view page Index.cshtml.
Step 5: Add a new button in the Index.cshtml as shown below.
@{Html.BeginForm("ConvertWordtoPDF", "Home", FormMethod.Get);
{
<div>
    <input type="submit" value="Convert Word Document to PDF" style="width:220px;height:27px" />
</div>
}
Html.EndForm();
}
Step 6: Add a new action method ConvertWordDocumentToPdf in HomeController.cs and include the below code snippet to convert the Word document to Pdf and download it. Ensure the file has the following using directives at the top: using System.IO; and using Microsoft.AspNetCore.Mvc;.
//Open the file as Stream
using (FileStream docStream = new FileStream(Path.GetFullPath("Data/Template.docx"), FileMode.Open, FileAccess.Read))
{
    //Loads file stream into Word document
    using (WordDocument wordDocument = new WordDocument(docStream, FormatType.Docx))
    {
        //Instantiation of DocIORenderer for Word to PDF conversion
        using (DocIORenderer render = new DocIORenderer())
        {
            //Converts Word document into PDF document
            PdfDocument pdfDocument = render.ConvertToPDF(wordDocument);

            //Saves the PDF document to MemoryStream.
            MemoryStream stream = new MemoryStream();
            pdfDocument.Save(stream);
            stream.Position = 0;

            //Download PDF document in the browser.
            return File(stream, "application/pdf", "Sample.pdf");
        }
    }
}
Step 7: Add the following code in Program.cs file.
NOTE
The line
app.UseHttpsRedirection();is included by the default MVC template. Cloud Run terminates TLS at the load balancer and serves plain HTTP to the container, so the redirect may not work as expected. You can safely remove this line for Cloud Run deployments.
var builder = WebApplication.CreateBuilder(args);

// Add services to the container.
builder.Services.AddControllersWithViews();

var port = Environment.GetEnvironmentVariable("PORT") ?? "8080";
var url = $"http://0.0.0.0:{port}";

var app = builder.Build();

// Configure the HTTP request pipeline.
if (!app.Environment.IsDevelopment())
{
    app.UseExceptionHandler("/Home/Error");
    // The default HSTS value is 30 days. You may want to change this for production scenarios, see https://aka.ms/aspnetcore-hsts.
    app.UseHsts();
}

app.UseHttpsRedirection();
app.UseStaticFiles();

app.UseRouting();

app.UseAuthorization();

app.MapControllerRoute(
    name: "default",
    pattern: "{controller=Home}/{action=Index}/{id?}");

app.Run(url);
Step 8: Create a Dockerfile in the project root and add the following content.
FROM mcr.microsoft.com/dotnet/aspnet:8.0 AS base
RUN apt-get update -y && apt-get install -y \
    fontconfig \
    libfontconfig1 \
    libfreetype6 \
    && rm -rf /var/lib/apt/lists/*

USER $APP_UID
WORKDIR /app

# This stage is used to build the service project
FROM mcr.microsoft.com/dotnet/sdk:8.0 AS build
ARG BUILD_CONFIGURATION=Release
WORKDIR /src
COPY ["Convert-Word-Document-to-PDF.csproj", "."]
RUN dotnet restore "./Convert-Word-Document-to-PDF.csproj"
COPY . .
WORKDIR "/src/."
RUN dotnet build "./Convert-Word-Document-to-PDF.csproj" -c $BUILD_CONFIGURATION -o /app/build

# This stage is used to publish the service project to be copied to the final stage
FROM build AS publish
ARG BUILD_CONFIGURATION=Release
RUN dotnet publish "./Convert-Word-Document-to-PDF.csproj" -c $BUILD_CONFIGURATION -o /app/publish /p:UseAppHost=false

# This stage is used in production or when running from VS in regular mode (default when not using the Debug configuration)
FROM base AS final
WORKDIR /app
COPY --from=publish /app/publish .
ENTRYPOINT ["dotnet", "Convert-Word-Document-to-PDF.dll"]
Upload application to Cloud Shell Editor
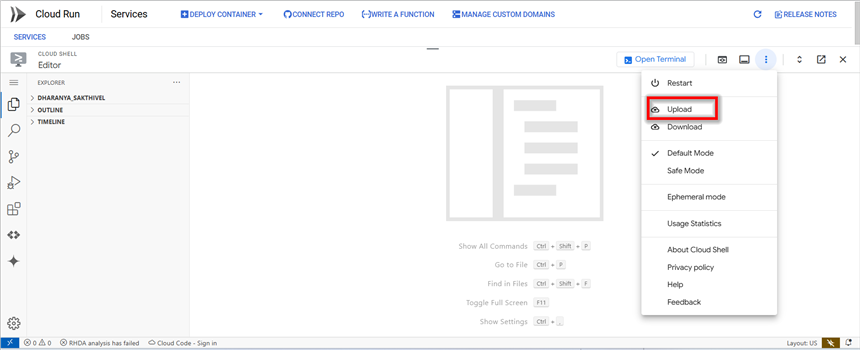
Step 1: Open Cloud Shell Editor
Open Cloud Shell Editor by clicking the pencil icon in Cloud Shell:
Step 2: Upload the sample folder
Upload the Docker sample folder to Cloud Shell Editor by selecting the Upload Files option.
Step 3: Navigate to the sample folder
After uploading, open the terminal in Cloud Shell Editor and move to the sample folder using:
cd <sample-folder-name>Replace
Create and Deploy Docker image in Cloud Run
Step 1: Enable the required APIs
Before building or deploying, enable the Cloud Run, Cloud Build, and Artifact Registry APIs in your project:
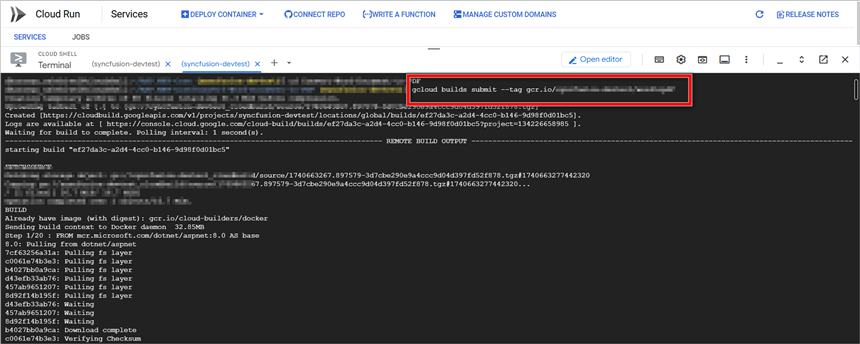
gcloud services enable run.googleapis.com cloudbuild.googleapis.com artifactregistry.googleapis.comStep 2: Build and submit the Docker image to Google Container Registry (GCR)
Run the following command to build and submit the Docker image to Google Container Registry (GCR):
gcloud builds submit --tag gcr.io/<your-project-id>/wordtopdfReplace <your-project-id> with your actual Google Cloud project ID.
NOTE
Google Container Registry is deprecated. For new projects, prefer Artifact Registry. Replace the image tag with
REGION-docker.pkg.dev/<your-project-id>/wordtopdf-repo/wordtopdfafter creating a repository namedwordtopdf-repo(gcloud artifacts repositories create wordtopdf-repo --repository-format=docker --location=REGION).
Step 3: List stored container images in GCR
Verify the stored container images using:
gcloud container images list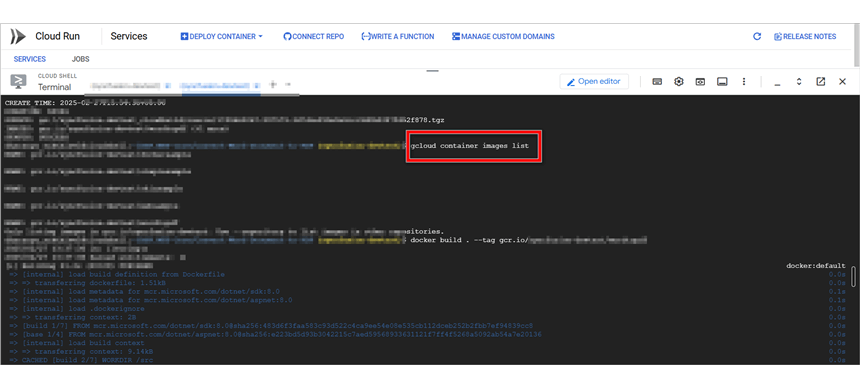
Step 4: Build the Docker image
Enter the following command to build the application.
docker build . --tag gcr.io/<your-project-id>/wordtopdf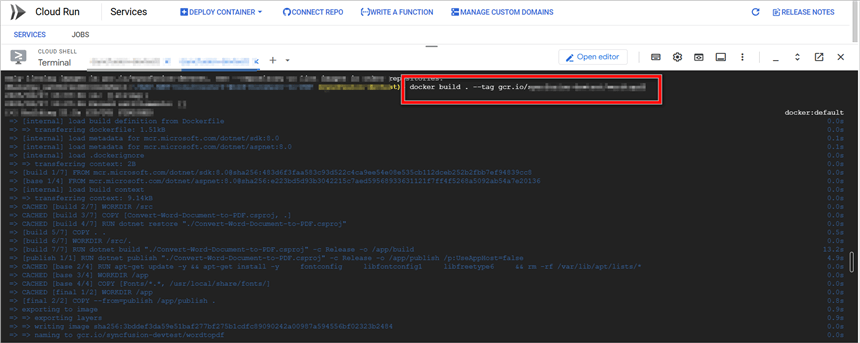
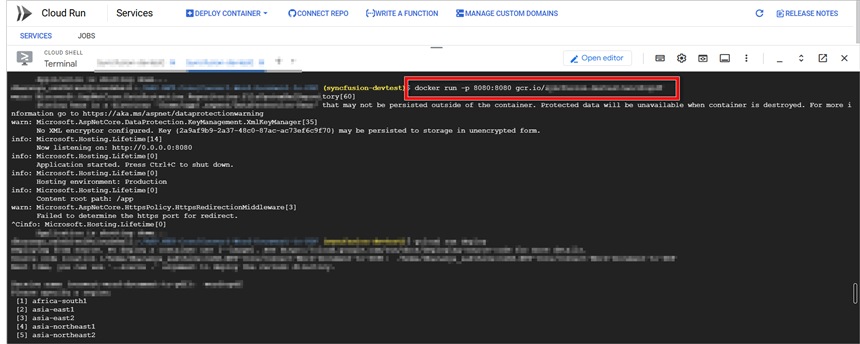
Step 5: Run the sample locally
Run the container locally on port 8080 to verify it works before deploying:
docker run -p 8080:8080 gcr.io/<your-project-id>/wordtopdfTo close the preview page, return to the terminal, and press Ctrl+C to stop the process.
Step 6: Deploy the sample to Cloud Run
Deploy the container to Cloud Run using the following command. Replace the placeholders with your values:
gcloud run deploy wordtopdf \
  --image gcr.io/<your-project-id>/wordtopdf \
  --platform managed \
  --region <your-region> \
  --allow-unauthenticated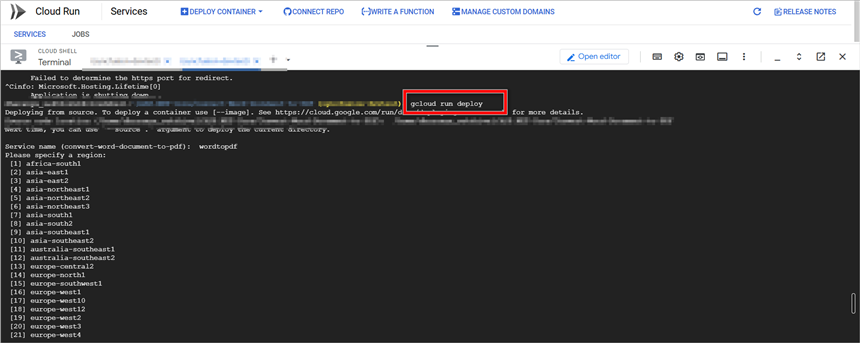
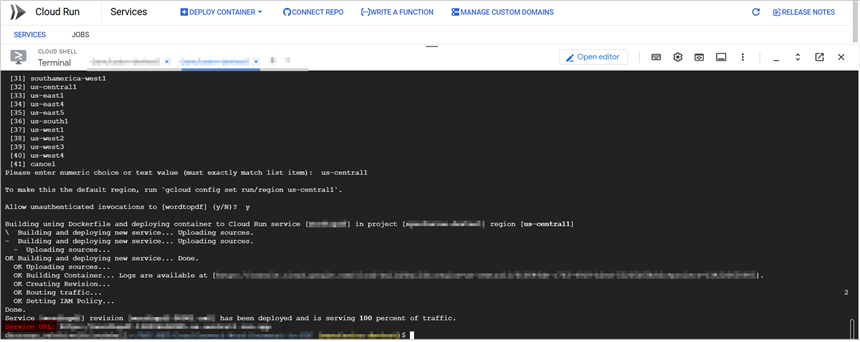
Provide the following values when prompted (or replace the placeholders in the command above):
-
Container Image URL – Enter
gcr.io/<your-project-id>/wordtopdf. -
Service Name – Assign a name to your service (for example,
wordtopdf). -
Region – Choose the deployment region (for example,
us-central1).

Step 7: Retrieve the generated Service URL
Once deployment is complete, a Cloud Run service URL will be generated. Copy this URL to access your deployed service.
You can download a complete working sample from GitHub.
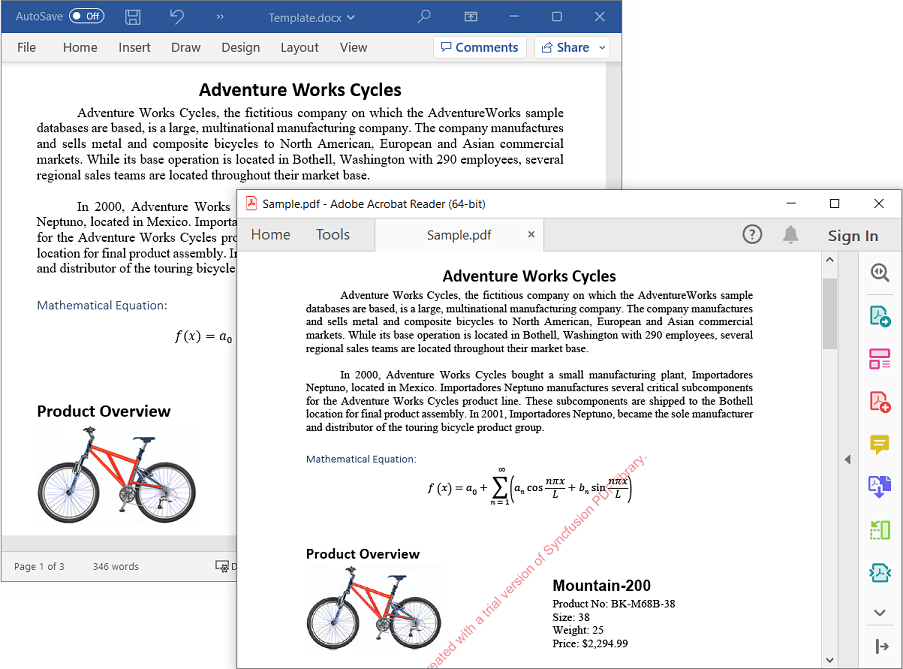
By executing the program, you will get the PDF document as follows. The output is downloaded by the browser when the deployed service is invoked.
Looking for the full .NET Word Library overview, features, pricing, and documentation? Visit the .NET Word Library page.
An online sample link to convert a Word document to PDF in ASP.NET Core.
See also
- Convert Word to PDF in Google App Engine
- Convert Word to PDF in Google Cloud Platform (GCP) — overview of all supported GCP services.