Convert Word to PDF in Google App Engine
19 Aug 20267 minutes to read
Syncfusion® DocIO is a .NET Core Word library that allows you to create, read, edit, and convert Word documents programmatically, without the need for Microsoft Word or interop dependencies. Using this library, you can convert a Word document to PDF in Google App Engine.
Prerequisites
Before you begin, make sure you have the following:
- A Google Cloud Platform (GCP) account with billing enabled and access to the App Engine service.
-
.NET SDK 8.0 or later installed locally (the sample targets
net8.0).
Set up App Engine
This section prepares the Google Cloud Shell environment used to build and deploy the application.
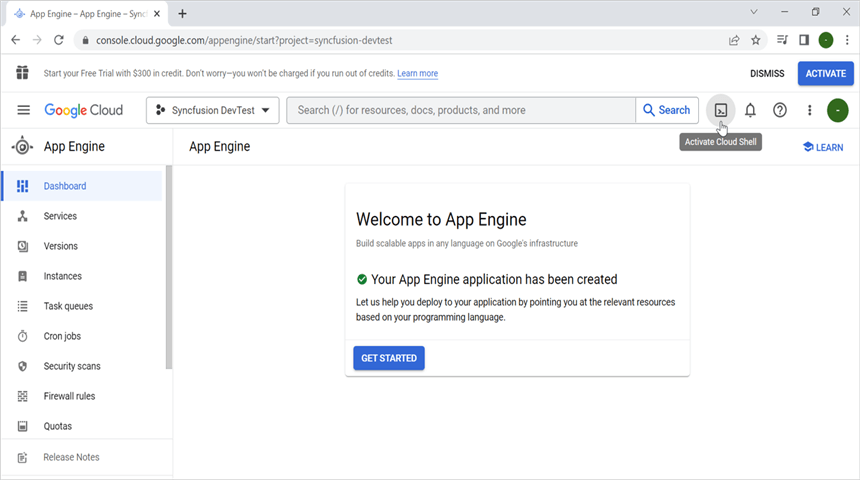
Step 1: Open the Google Cloud Console and click the Activate Cloud Shell button.
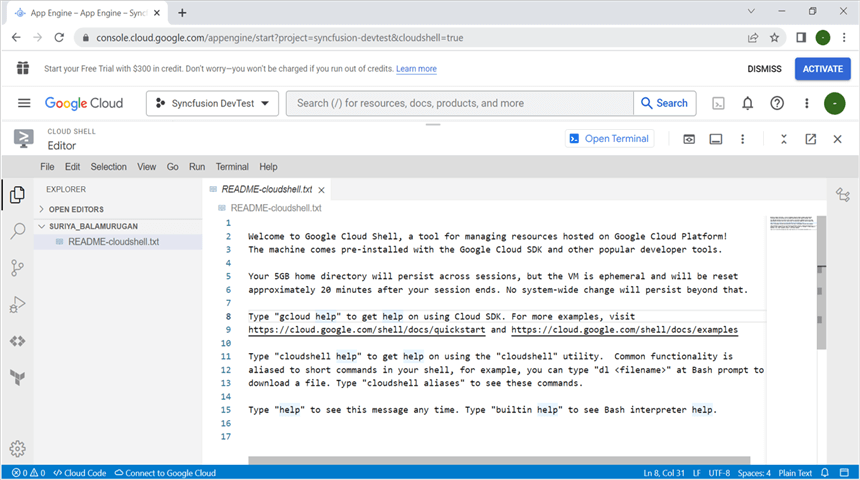
Step 2: Click the Cloud Shell Editor button to view the Workspace.
Step 3: Open Cloud Shell Terminal, run the following command to confirm authentication.
gcloud auth list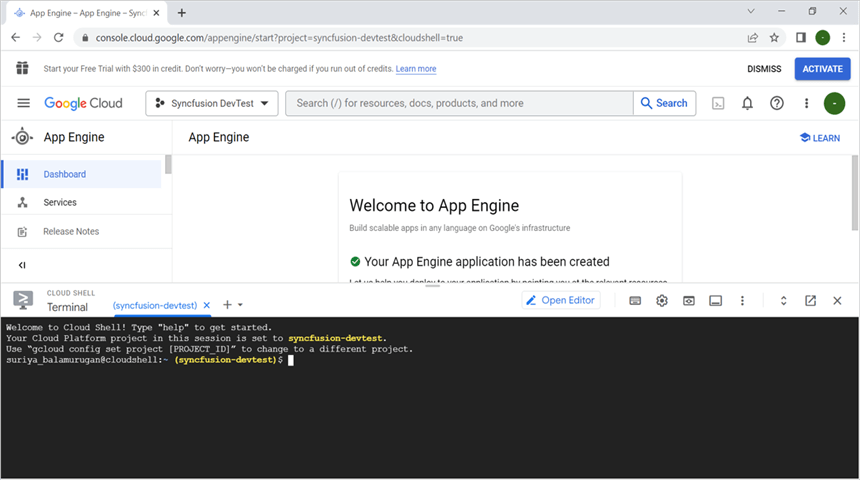
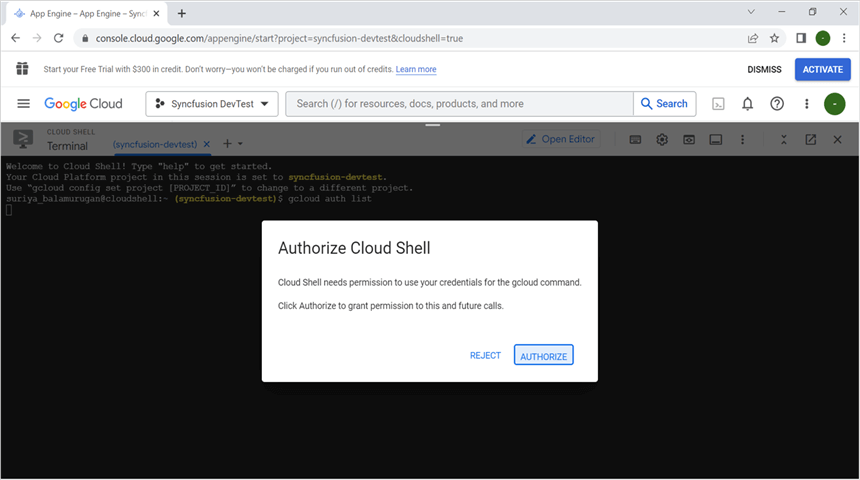
Step 4: Click the Authorize button.
Create the ASP.NET Core Web application for App Engine
This section creates the local ASP.NET Core project that will later be deployed to App Engine.
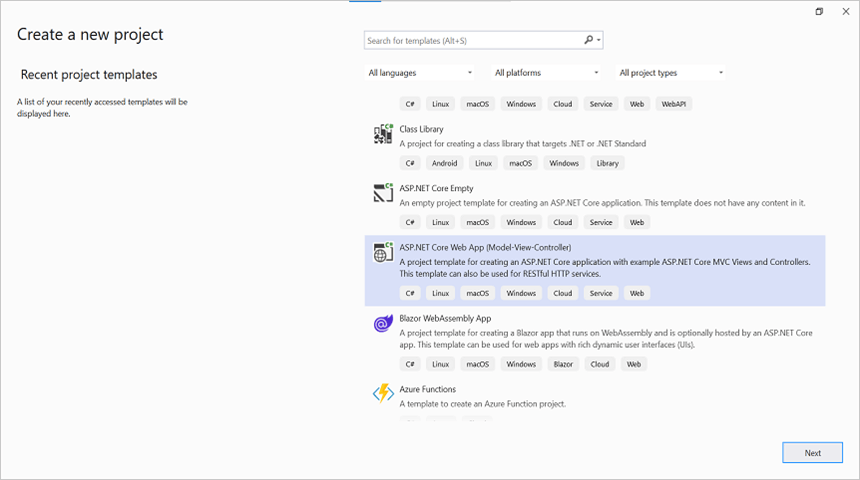
Step 1: Open Visual Studio and select the ASP.NET Core Web App (Model-View-Controller) template.
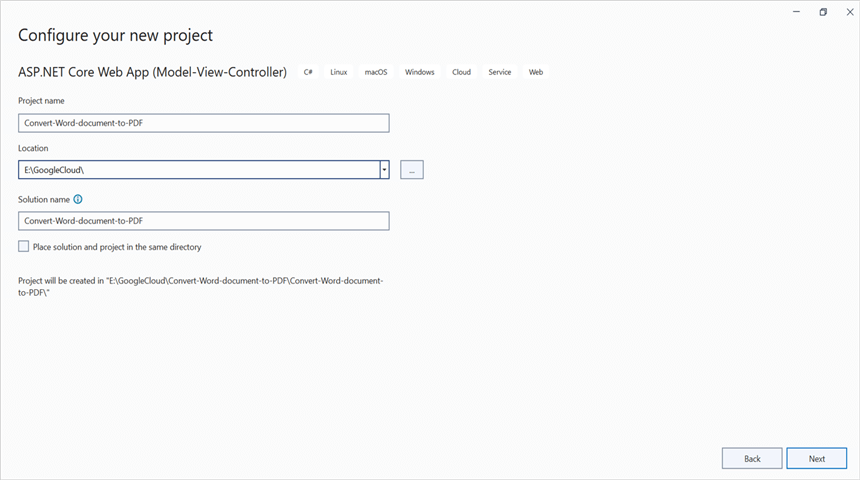
Step 2: Configure the project name (for example, Convert-Word-document-to-PDF), choose a location and click Next.
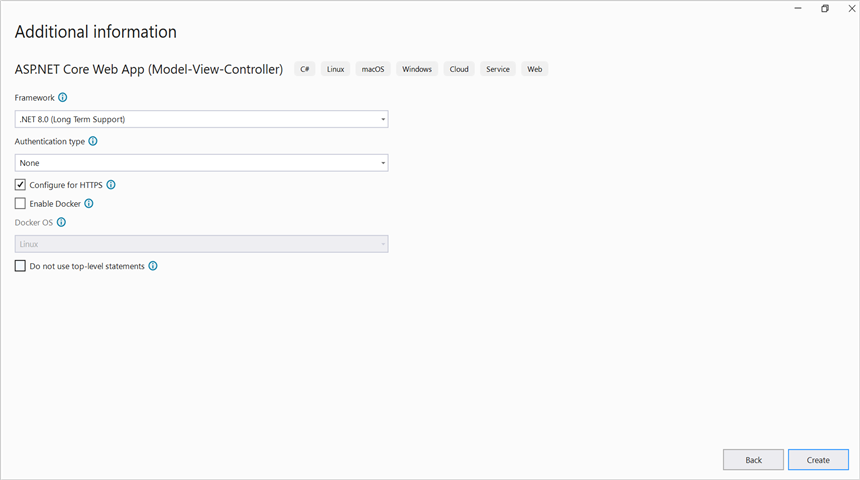
Step 3: Select .NET 8.0 framework and Click the Create button.
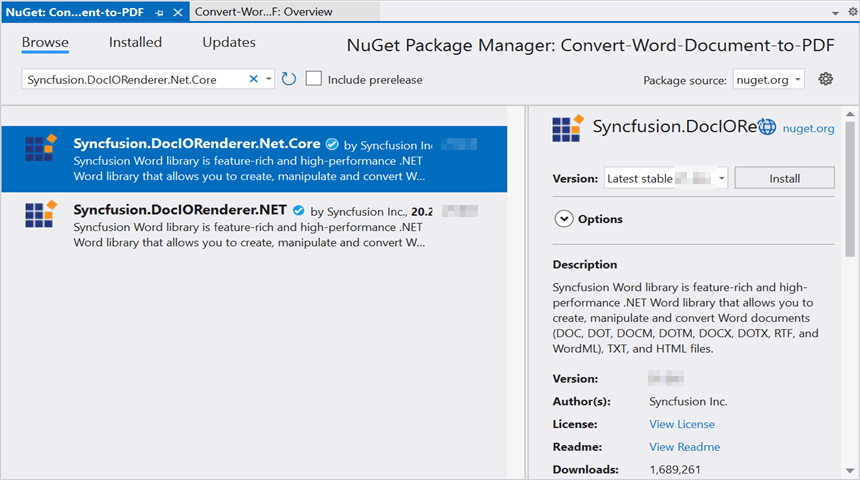
Step 4: Install the following NuGet packages in your application from Nuget.org.
- Syncfusion.DocIORenderer.Net.Core
- SkiaSharp.NativeAssets.Linux v4.150.1
- HarfBuzzSharp.NativeAssets.Linux v14.2.1.1
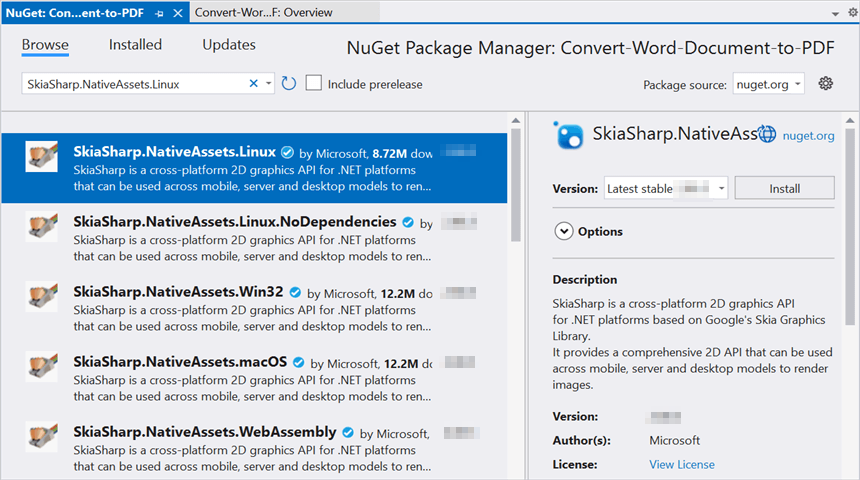
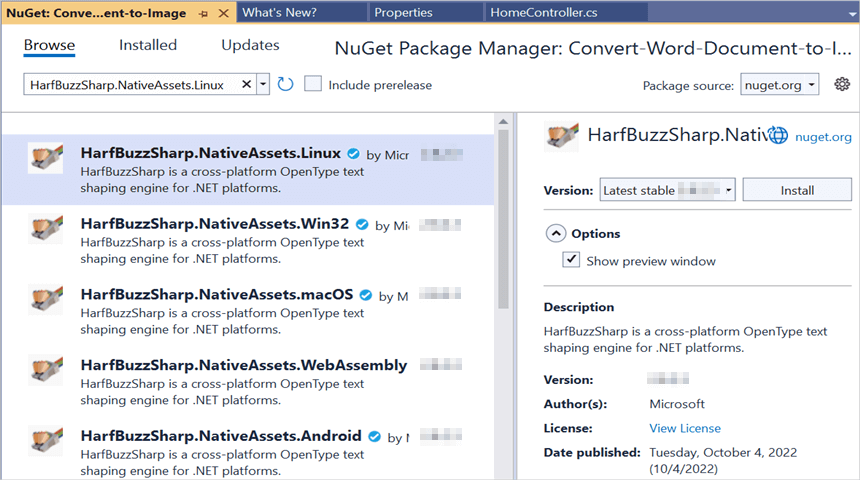
Starting with v16.2.0.x, if you reference Syncfusion® assemblies from trial setup or from the NuGet feed, you also have to add “Syncfusion.Licensing” assembly reference and include a license key in your projects. Please refer to this link to know about registering Syncfusion® license key in your application to use our components.
Step 5: Include the following namespaces in the HomeController.cs file.
using Syncfusion.DocIO;
using Syncfusion.DocIO.DLS;
using Syncfusion.DocIORenderer;
using Syncfusion.Pdf;
Step 6: A default action method named Index will be present in HomeController.cs. Right click on Index method and select Go To View where you will be directed to its associated view page Index.cshtml.
Step 7: Add a new button in the Index.cshtml as shown below.
@{Html.BeginForm("ConvertWordtoPDF", "Home", FormMethod.Get);
{
<div>
    <input type="submit" value="Convert Word Document to PDF" style="width:220px;height:27px" />
</div>
}
Html.EndForm();
}
Step 8: Add a new action method ConvertWordtoPDF in HomeController.cs and include the below code snippet to convert the Word document to Pdf and download it.
//Open the file as Stream
using (FileStream docStream = new FileStream(Path.GetFullPath("Data/Template.docx"), FileMode.Open, FileAccess.Read))
{
    //Loads file stream into Word document
    using (WordDocument wordDocument = new WordDocument(docStream, FormatType.Automatic))
    {
        //Instantiation of DocIORenderer for Word to PDF conversion
        using (DocIORenderer render = new DocIORenderer())
        {
            //Converts Word document into PDF document
            PdfDocument pdfDocument = render.ConvertToPDF(wordDocument);
            //Saves the PDF document to MemoryStream.
            MemoryStream stream = new MemoryStream();
            pdfDocument.Save(stream);
            stream.Position = 0;
            //Download PDF document in the browser.
            return File(stream, "application/pdf", "Sample.pdf");
        }
    }
}
Move the application to App Engine
Step 1: Open the Cloud Shell editor.
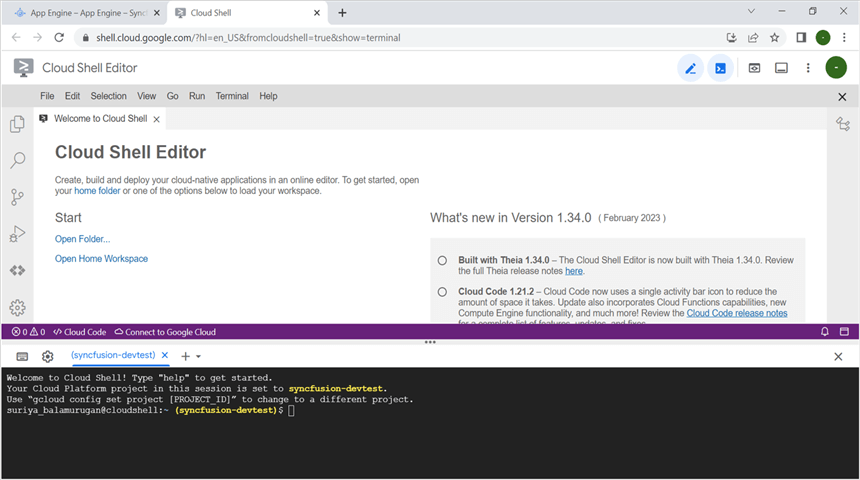
Step 2: Drag and drop the sample from your local machine to Workspace.
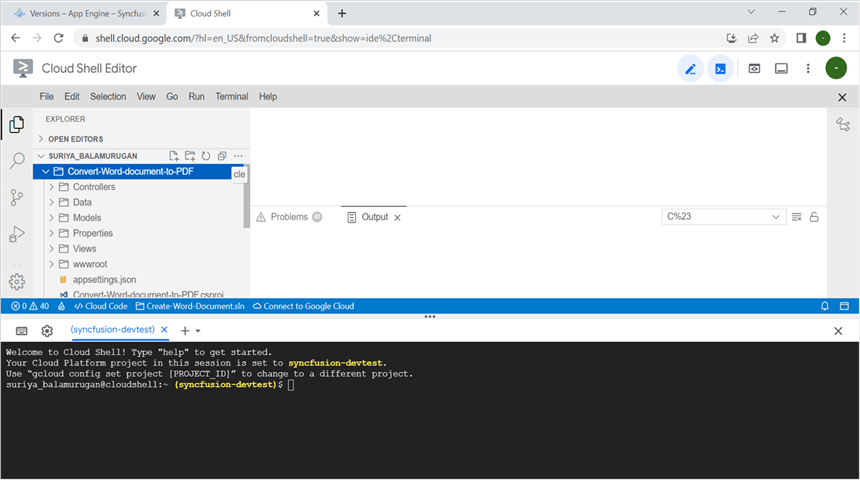
If you have your sample application on your local machine, drag and drop it into the Workspace. If you created the sample using the Cloud Shell terminal command, it will be available in the Workspace.
Step 3: Open the Cloud Shell Terminal and run the following command to view the files and directories within your current Workspace.
lsStep 4: Run the following command to navigate to the sample you want to run.
cd Convert-Word-Document-to-PDFStep 5: To verify the sample works locally before deploying, run the application using the following command.
dotnet run --urls=http://localhost:8080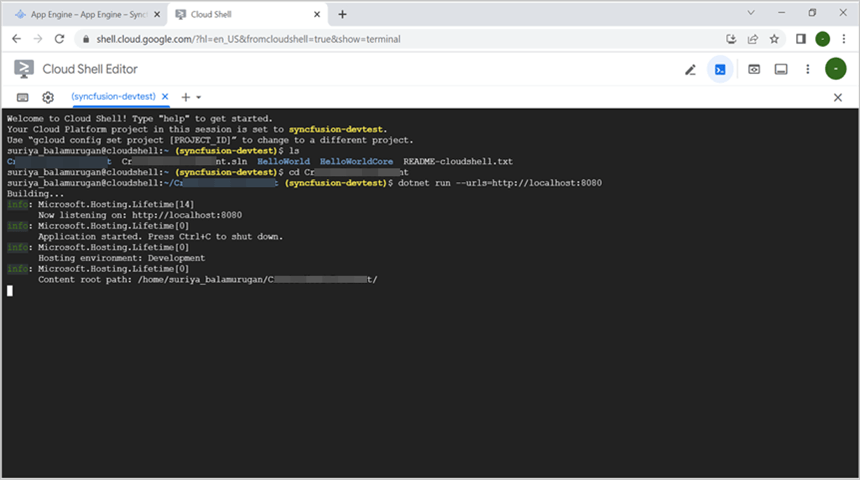
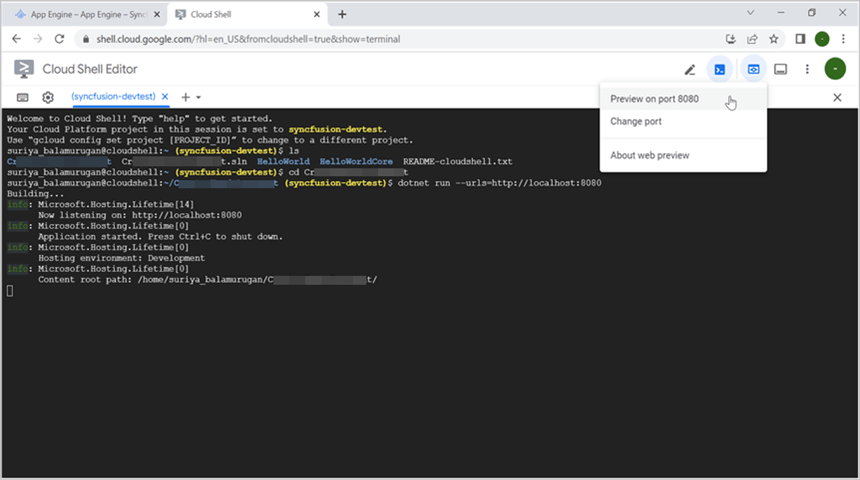
Step 6: Verify that the application is running properly by accessing the Web View -> Preview on port 8080.
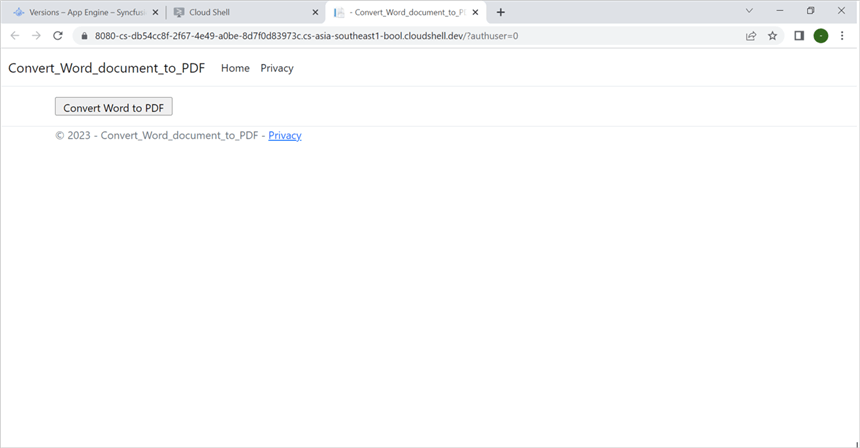
Step 7: Now you can see the sample output on the preview page.
Step 8: Close the preview page, return to the terminal, and press Ctrl+C to stop the process.
Publish the application
Step 1: Run the following command in Cloud Shell Terminal to publish the application.
dotnet publish -c Release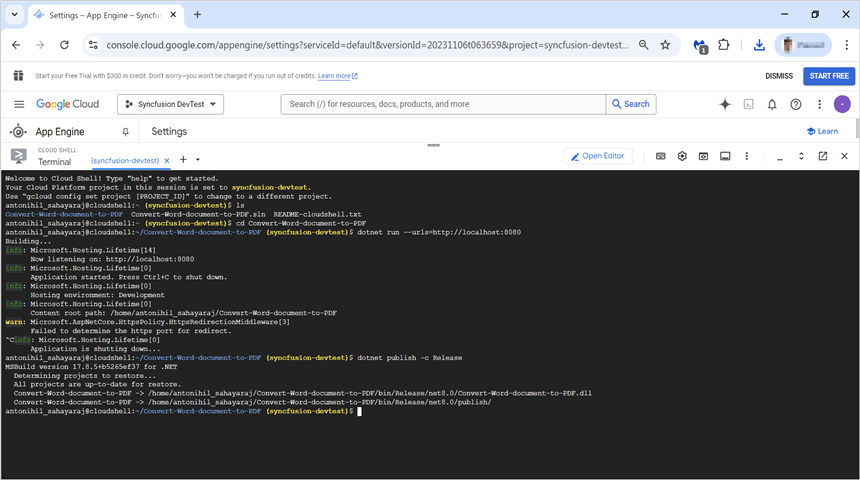
Step 2: Run the following command in Cloud Shell Terminal to navigate to the publish output folder.
cd bin/Release/net8.0/publish/Configure app.yaml and the Dockerfile
This section adds the deployment configuration files to the publish folder. The app.yaml declares the flex environment with a custom runtime, which is required for .NET 8 Linux containers.
Step 1: Add the app.yaml file to the publish folder with the following contents.
cat <<EOT >> app.yaml
env: flex
runtime: custom
EOT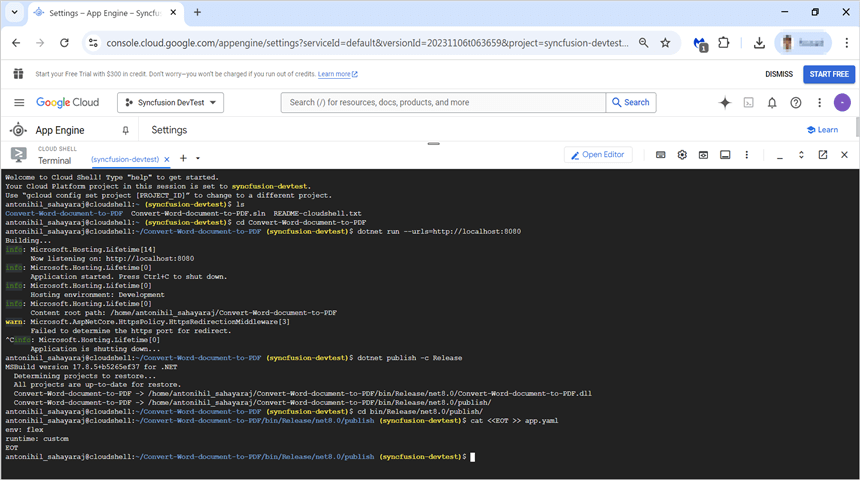
Step 2: Add the Dockerfile to the publish folder with the following contents. Verify the assembly name in the ENTRYPOINT matches your published .dll (the project name from Step 2 of Create the ASP.NET Core Web application).
cat <<EOT >> Dockerfile
FROM mcr.microsoft.com/dotnet/aspnet:8.0
RUN apt-get update -y && apt-get install libfontconfig -y
ADD / /app
EXPOSE 8080
ENV ASPNETCORE_URLS=http://*:8080
WORKDIR /app
ENTRYPOINT [ "dotnet", "Convert-Word-document-to-PDF.dll"]
EOT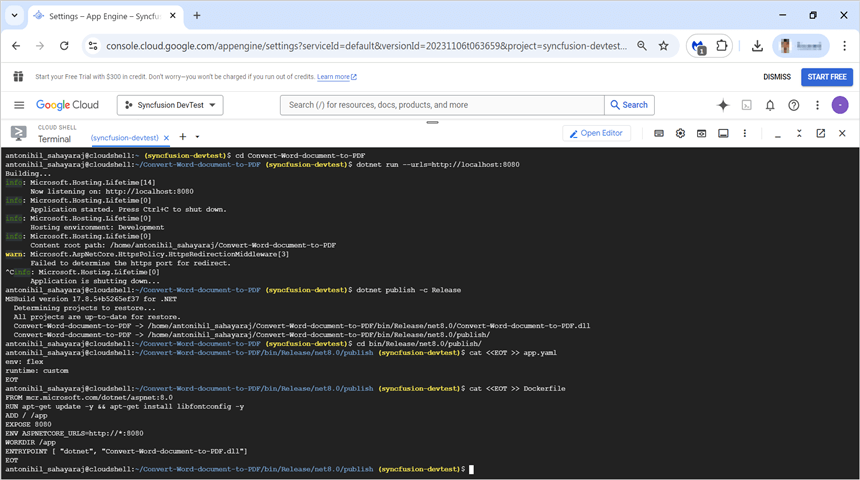
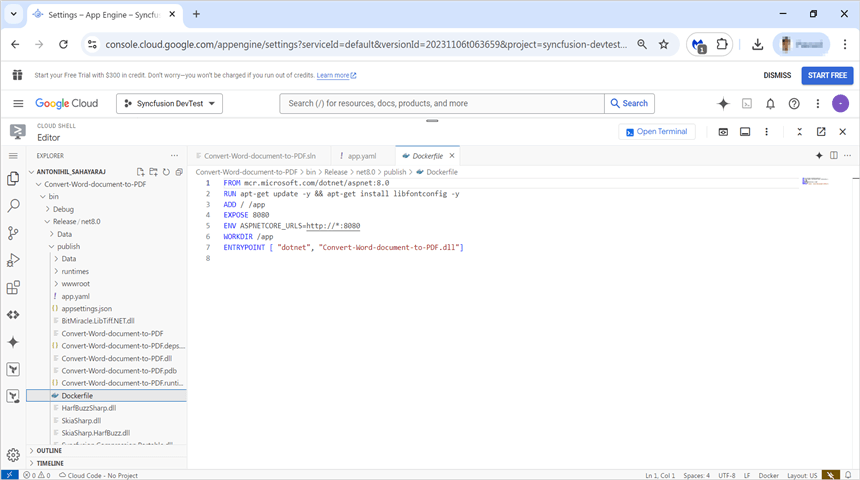
Step 3: Verify that the Dockerfile and app.yaml files are present in the Workspace.
Deploy to App Engine
Step 1: To deploy the application to App Engine, run the following command in the Cloud Shell Terminal. Afterwards, retrieve the URL from the Cloud Shell Terminal.
gcloud app deploy --version v0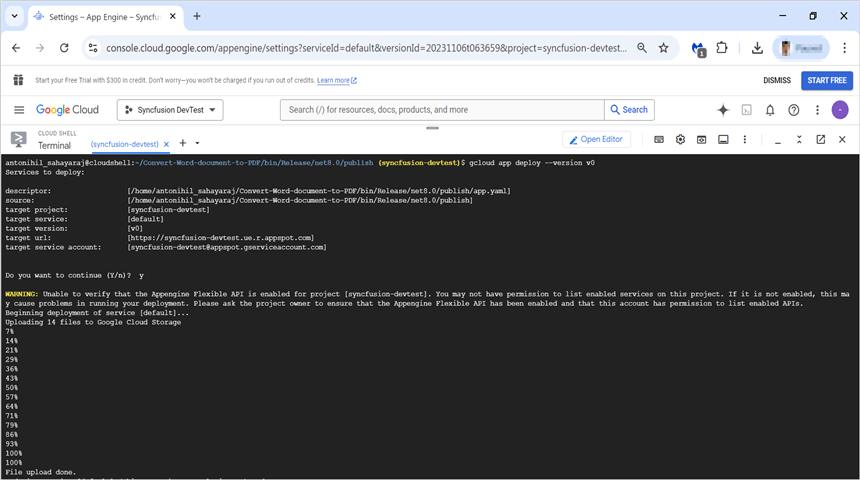
Step 2: Open the URL to access the application, which has been successfully deployed.
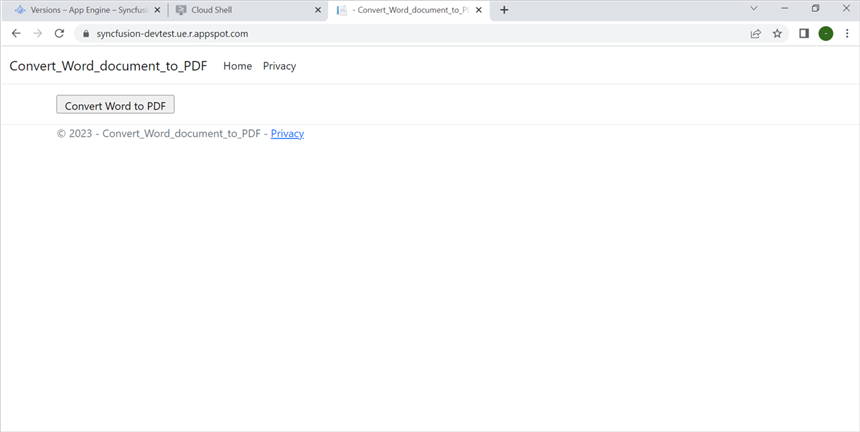
You can download a complete working sample from GitHub.
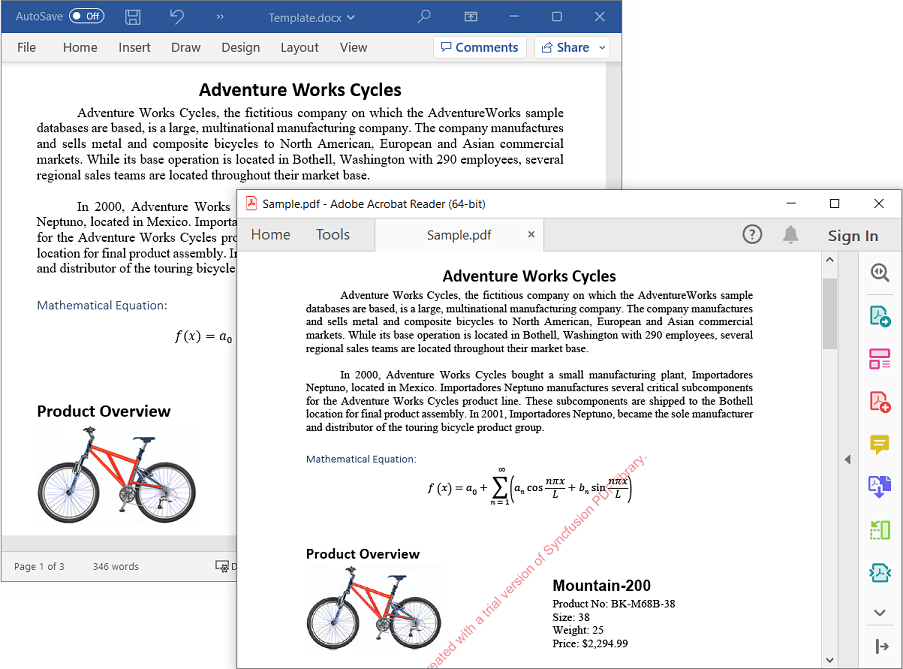
By executing the program, the PDF document is generated and downloaded by the browser as Sample.pdf.
Looking for the full .NET Word Library overview, features, pricing, and documentation? Visit the .NET Word Library page.
An online sample link to convert Word document to PDF in ASP.NET Core.