Deploy SfPdfViewer to Azure Container (Linux)
17 Jul 202612 minutes to read
This article shows how to containerize and deploy a Blazor PDF Viewer application (both Server and WebAssembly scenarios) to Azure using Azure Container Registry (ACR) and Azure App Service for Containers. It combines the application architecture and registration steps from the Blazor web app guide with practical containerization and Azure deployment steps.
Prerequisites
-
.NET 8, 9, or 10 SDK installed locally. For WebAssembly projects, install the
wasm-toolsworkload:dotnet workload install wasm-tools. -
Docker (Docker Desktop, or Rancher Desktop with the
dockerruntime selected) installed and running on the build machine. -
An Azure subscription and permission to create resource groups, ACR instances, and App Services. Signing in with the Azure CLI (
az login) is recommended if you prefer CLI steps over the portal.
Create a simple SfPdfViewer sample
Follow the steps in the Getting started with SfPdfViewer in a Blazor Web App guide to create a basic sample. This provides the required project setup, Program.cs Syncfusion service registration, and SfPdfViewer configuration.
Docker for Blazor Web App (Server and Interactive WebAssembly)
Add Docker support to the project (in Visual Studio: right‑click the project → Add → Container Support; from the CLI run dotnet new dockerfile in the project folder). The Visual Studio‑generated Windows Dockerfile must be replaced with the Linux example below so the image runs on Azure App Service for Containers.
Example Dockerfile for a Blazor Web App (Server or Interactive WebAssembly):
FROM mcr.microsoft.com/dotnet/aspnet:10.0 AS base
# install System.Drawing native dependencies
RUN apt-get update && apt-get install -y --allow-unauthenticated libgdiplus libc6-dev libx11-dev
RUN ln -s libgdiplus.so gdiplus.dll

USER $APP_UID
WORKDIR /app
EXPOSE 8080
EXPOSE 8081

# This stage is used to build the service project
FROM mcr.microsoft.com/dotnet/sdk:10.0 AS build
ARG BUILD_CONFIGURATION=Release
WORKDIR /src
COPY ["YourServerApp/YourServerApp.csproj", "YourServerApp/"]
RUN dotnet restore "./YourServerApp/YourServerApp.csproj"
COPY . .
WORKDIR "/src/YourServerApp"
RUN dotnet build "./YourServerApp.csproj" -c $BUILD_CONFIGURATION -o /app/build

# This stage is used to publish the service project to be copied to the final stage
FROM build AS publish
ARG BUILD_CONFIGURATION=Release
RUN dotnet publish "./YourServerApp.csproj" -c $BUILD_CONFIGURATION -o /app/publish /p:UseAppHost=false

# This stage is used in production or when running from VS in regular mode (Default when not using the Debug configuration)
FROM base AS final
WORKDIR /app
COPY --from=publish /app/publish .
ENTRYPOINT ["dotnet", "YourServerApp.dll"]
FROM mcr.microsoft.com/dotnet/aspnet:10.0 AS base
# install System.Drawing native dependencies
RUN apt-get update && apt-get install -y --allow-unauthenticated libgdiplus libc6-dev libx11-dev
RUN ln -s libgdiplus.so gdiplus.dll
USER $APP_UID
WORKDIR /app
EXPOSE 8080
EXPOSE 8081
# This stage is used to build the service project
FROM mcr.microsoft.com/dotnet/sdk:10.0 AS build
# Install Python required for WASM tools
RUN apt-get update && apt-get install -y \
python3 \
python3-pip \
python3-venv \
&& ln -s /usr/bin/python3 /usr/bin/python || true
# Install WASM tools
RUN dotnet workload install wasm-tools
ARG BUILD_CONFIGURATION=Release
WORKDIR /src
COPY ["YourServerApp/YourServerApp/YourServerApp.csproj", "YourServerApp/YourServerApp/"]
COPY ["YourServerApp/YourServerApp.Client/YourServerApp.Client.csproj", "YourServerApp/YourServerApp.Client/"]
RUN dotnet restore "./YourServerApp/YourServerApp/YourServerApp.csproj"
COPY . .
WORKDIR "/src/YourServerApp/YourServerApp"
RUN dotnet build "./YourServerApp.csproj" -c $BUILD_CONFIGURATION -o /app/build
# This stage is used to publish the service project to be copied to the final stage
FROM build AS publish
ARG BUILD_CONFIGURATION=Release
RUN dotnet publish "./YourServerApp.csproj" -c $BUILD_CONFIGURATION -o /app/publish /p:UseAppHost=false
# This stage is used in production or when running from VS in regular mode (Default when not using the Debug configuration)
FROM base AS final
WORKDIR /app
COPY --from=publish /app/publish .
ENTRYPOINT ["dotnet", "YourServerApp.dll"]NOTE
- Replace
YourServerApp.dllandYourServerApp.csprojwith your actual assembly name. Also in the Web assembly make sure to add the docker code for to install the wasm-tools using the codeRUN dotnet workload install wasm-tools
Local build and run
Build and run the container locally to verify behavior:
docker build -t pdfviewerwebservice:latest .
docker run -d -p 6002:80 pdfviewerwebservice:latest
If you see script errors or documents fail to load, verify the container image contains libgdiplus installed. See the official Microsoft guidance on using System.Drawing.Common on Linux and the .NET Docker samples for the recommended libgdiplus install steps.
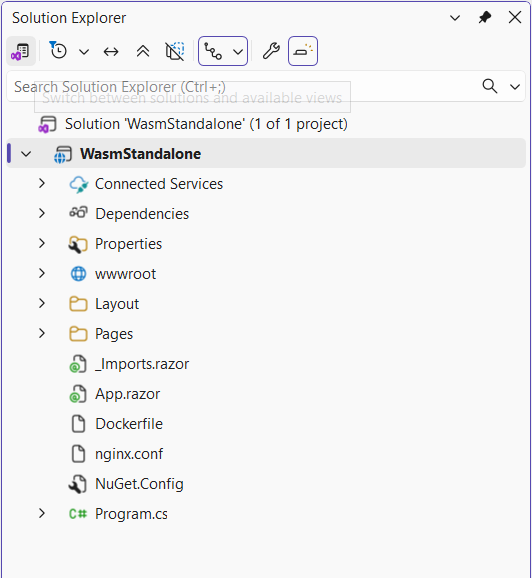
Docker for Blazor WebAssembly Standalone (hosted on nginx)
If you have built a standalone Blazor WebAssembly sample, add the Dockerfile and the required nginx.conf and NuGet.Config files to the project, and update the .csproj reference inside the Dockerfile to match your actual assembly name.
Example Dockerfile for standalone WebAssembly:
#See https://aka.ms/containerfastmode to understand how Visual Studio uses this Dockerfile to build your images for faster debugging.

FROM mcr.microsoft.com/dotnet/aspnet:10.0 AS base
# install System.Drawing native dependencies

RUN apt-get update && apt-get install -y --allow-unauthenticated libgdiplus libc6-dev libx11-dev

RUN ln -s libgdiplus.so gdiplus.dll
WORKDIR /app
EXPOSE 80
EXPOSE 443

FROM mcr.microsoft.com/dotnet/sdk:10.0 AS build
## Install Python required for WASM tools
RUN apt-get update && apt-get install -y \
        python3 \
        python3-pip \
        python3-venv \
    && ln -s /usr/bin/python3 /usr/bin/python || true
## Install WASM tools
RUN dotnet workload install wasm-tools
WORKDIR /src
COPY ["NuGet.Config","/src/"]
COPY ["package", "/src/package"]

RUN dotnet nuget add source package
COPY ["WasmStandalone.csproj", "."]
RUN apt-get update && apt-get install -y emscripten
RUN dotnet restore "WasmStandalone.csproj" --configfile "NuGet.Config"
COPY . .
RUN dotnet build "WasmStandalone.csproj" -c Release -o /app/build

FROM build AS publish
RUN dotnet publish "WasmStandalone.csproj" -c Release -o /app/publish

FROM nginx:alpine AS final
WORKDIR /usr/share/nginx/html
COPY --from=publish /app/publish/wwwroot .
COPY nginx.conf /etc/nginx/nginx.conf
After adding the Dockerfile, place the NuGet.Config and nginx.conf files and an empty folder named package at the project root of the WebAssembly app. The package folder is an offline NuGet feed used during restore. Get the files
NOTE
- Replace
WasmStandalone.csprojwith your actual assembly name. Ensure the Dockerfile installs the wasm-tools workload withRUN dotnet workload install wasm-tools.- The
nginx.confmust include MIME types for.wasm(application/wasm) and.blat(Blazor boot resource) and disable caching for those resources in development. See the sample nginx.conf referenced above.- The final stage uses the
nginx:alpinebase image, so theEXPOSE 80/EXPOSE 443directives on the build stage are not used at runtime—port mapping is controlled by the nginx config.
Then run locally:
docker build -t webassembly .
docker image ls
docker run -d -p 6003:80 pdfviewer-wasm:latest
# Open http://localhost:6003
Push image to Azure Container Registry (ACR)
Managed identity (recommended for production) or admin user (shown below for quick testing) can be used to authenticate. For production, enable the App Service managed identity and grant it the AcrPull role on the registry instead of using admin credentials.
Follow these UI-driven steps in the Azure portal (or use the CLI steps below):
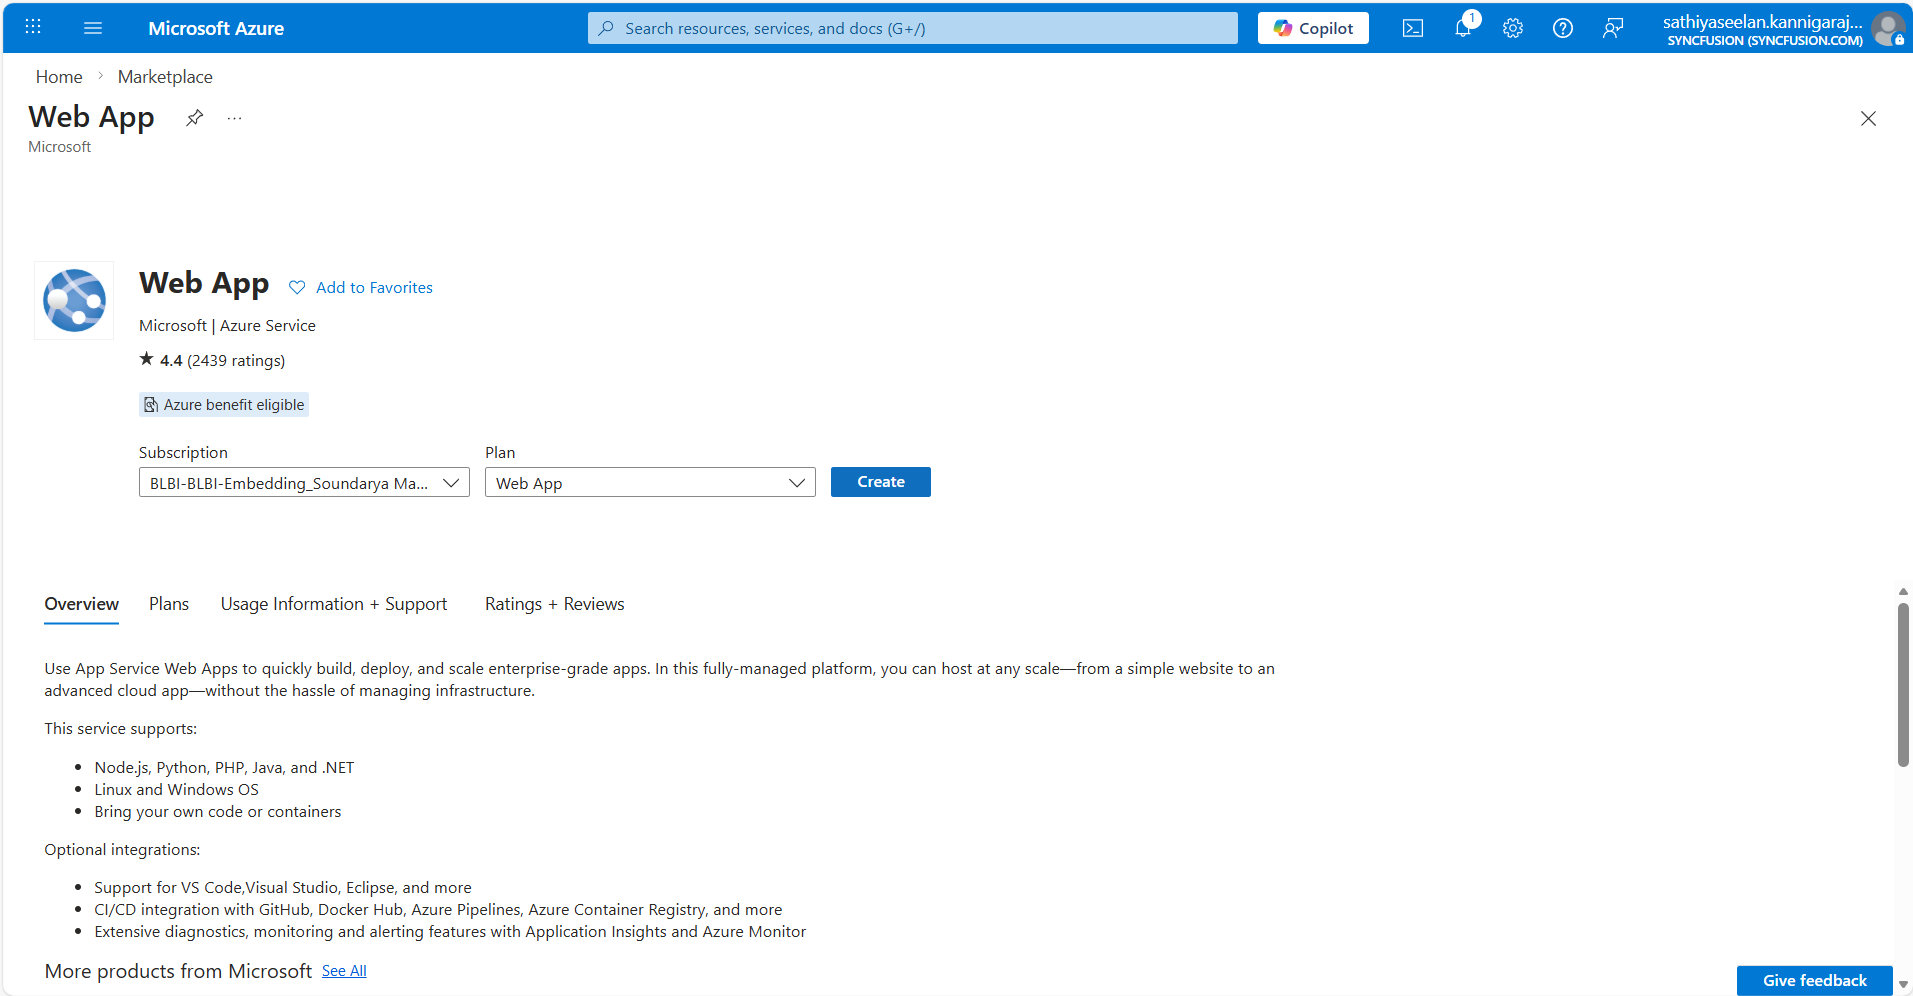
- Create a Container Registry
- In the Azure portal, click Create a resource → search for Container Registry → Create.
- Fill in the basic details: Registry name, Subscription, Resource group (use Create new if needed), and Location.
- Choose a SKU (Basic is fine for testing). Click Review + create, then Create.
- Enable credentials
- Open the newly created Container Registry resource.
- Under Settings, select Access keys.
- Toggle Admin user to Enabled and note the Login server, Username, and Password shown.
- Tag and push your image from your build machine
- Open PowerShell or a terminal on the machine where you built the Docker image.
- Log in to the registry using the login server and admin credentials from the portal:
docker login <login-server>
# Enter username and password (from Access keys in the portal)

# Tag the image for your registry and push it:

docker tag pdfviewerwebservice:latest <login-server>/pdfviewerwebservice:latest
docker push <login-server>/pdfviewerwebservice:latest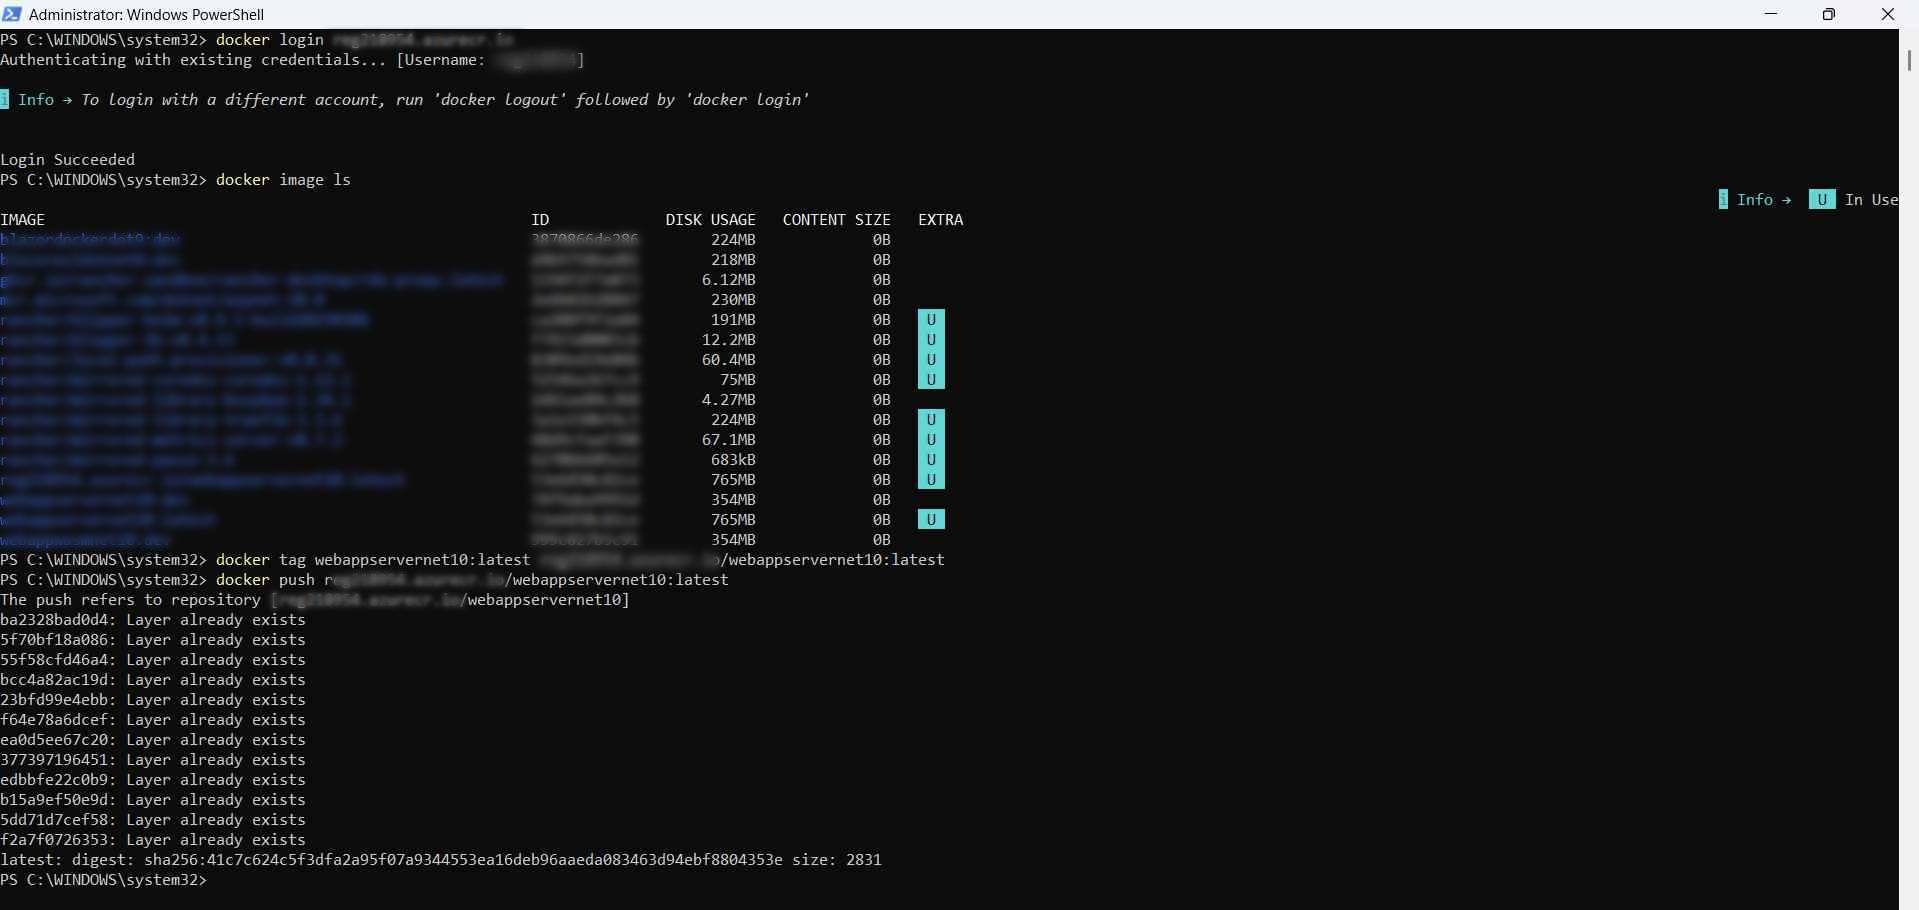
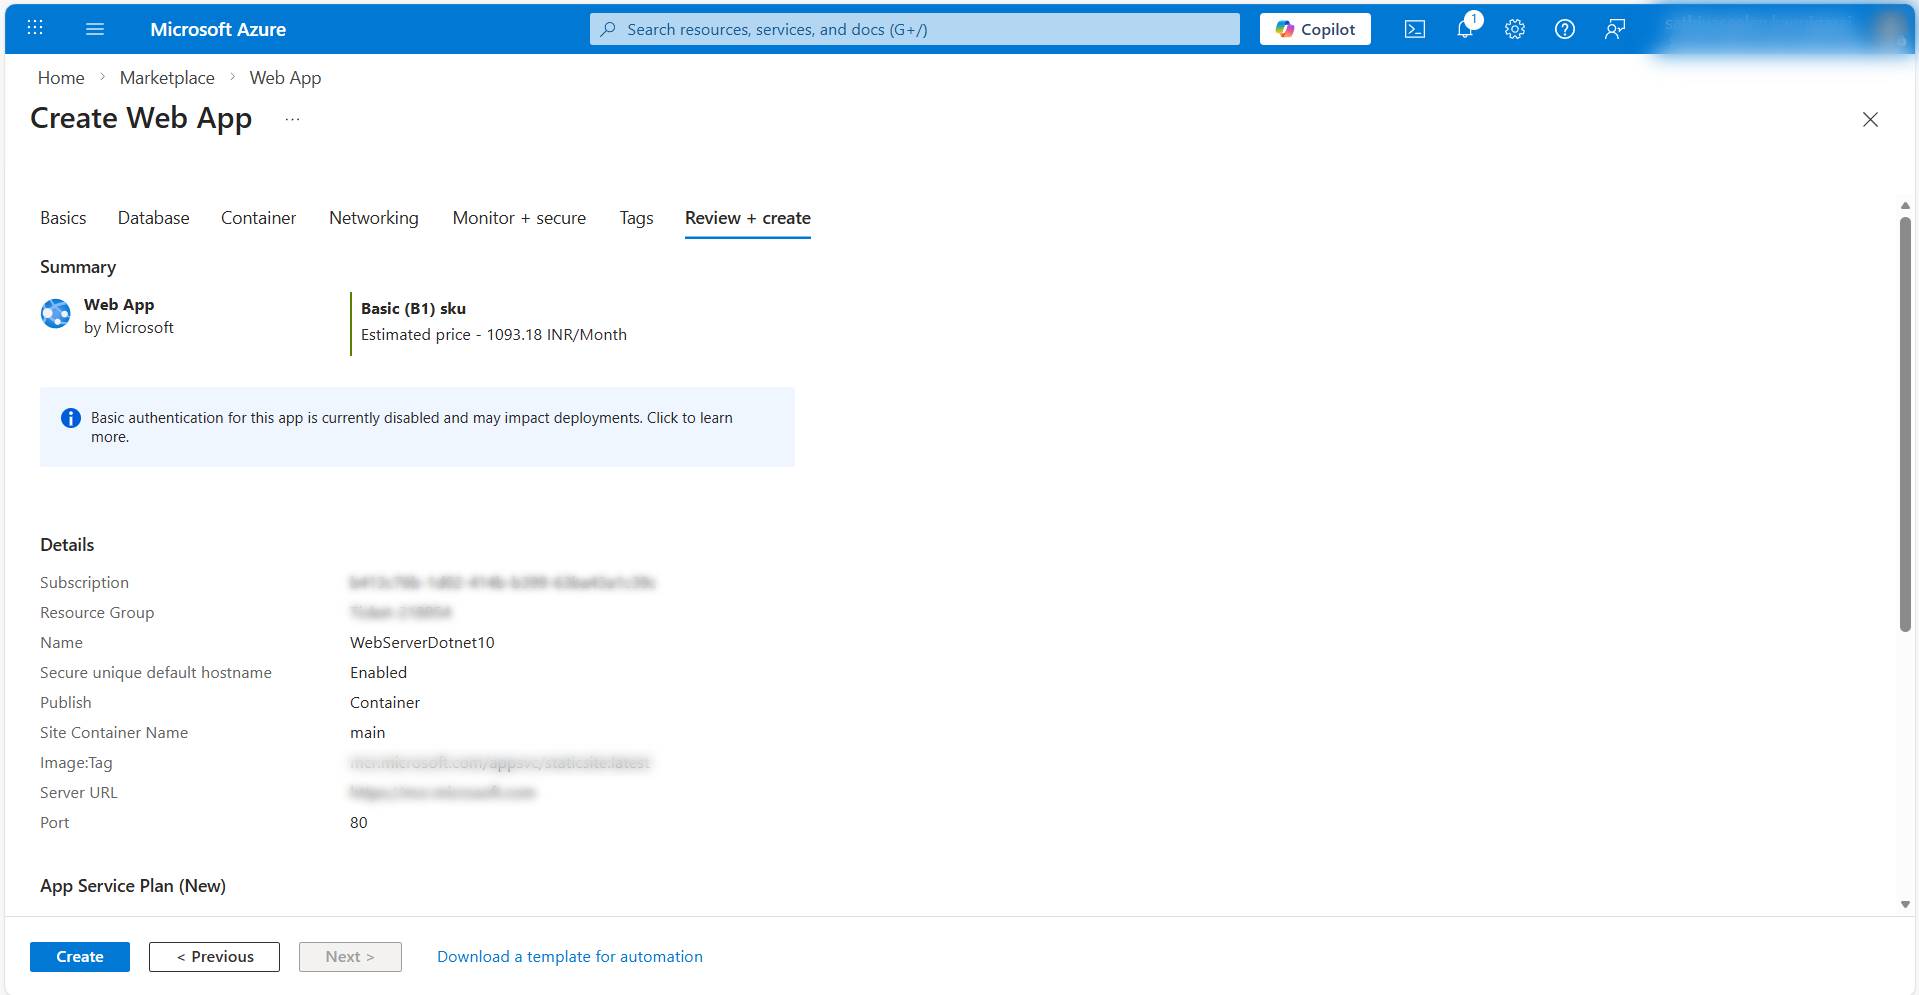
Create an App Service that runs your container
Follow these UI-focused steps in the Azure portal to create an App Service (Linux) and configure it to run your container image from ACR.
- Create the App Service
- In the Azure portal click Create a resource → search Web App → Create.
- Under Basics, set the Subscription, Resource group (use Create new if needed), and Name (this will form the app URL).
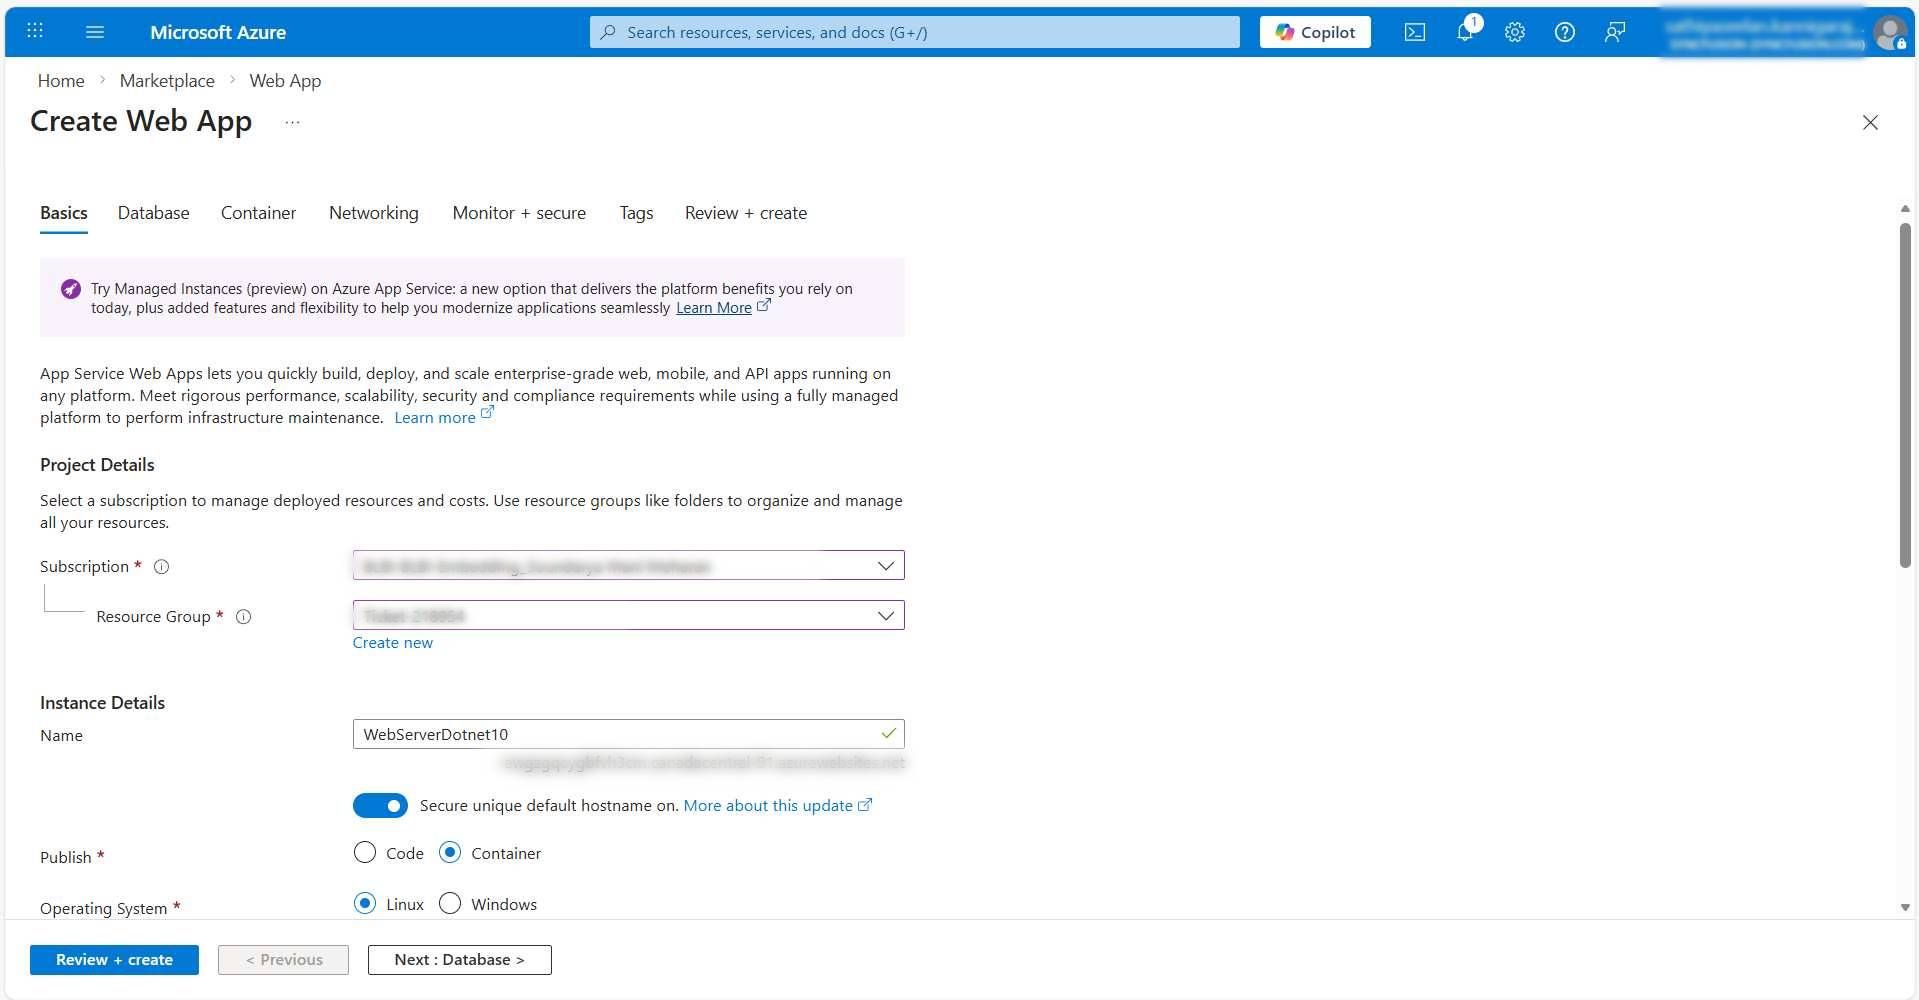
- For Publish, choose Docker Container. For Runtime stack choose Linux.

- Choose a hosting plan: click Change size and pick a plan (Basic/B1 or higher recommended for container workloads). Click Review + create, then Create.
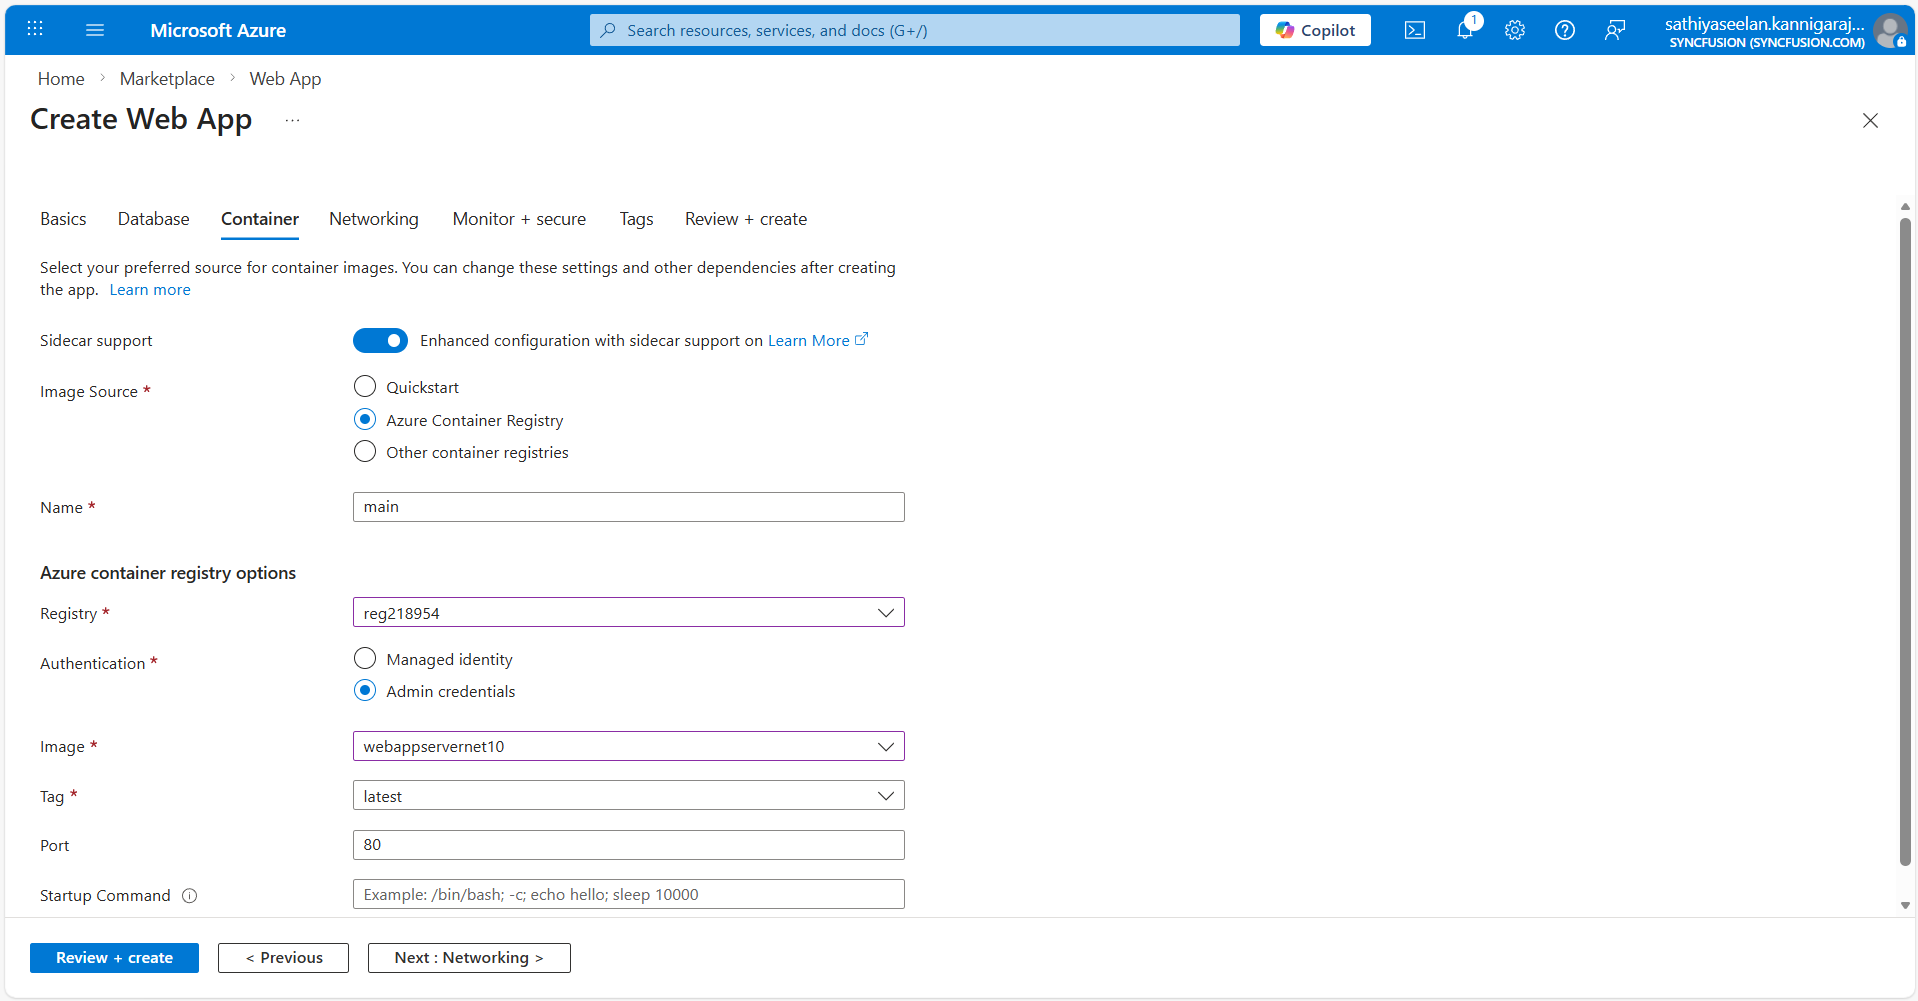
- Configure the container settings
- Open the App Service you created, then go to Deployment → Container settings (or Settings → Container settings in some portal views).
- For Image source select Azure Container Registry.
- Select your Subscription and the Registry you created earlier.
- Under Image and tag, select the repository (for example
pdfviewerwebserviceto match the tag/push step above) and the tag (for examplelatest). - Set the Container port to
80(or the port your container listens on).
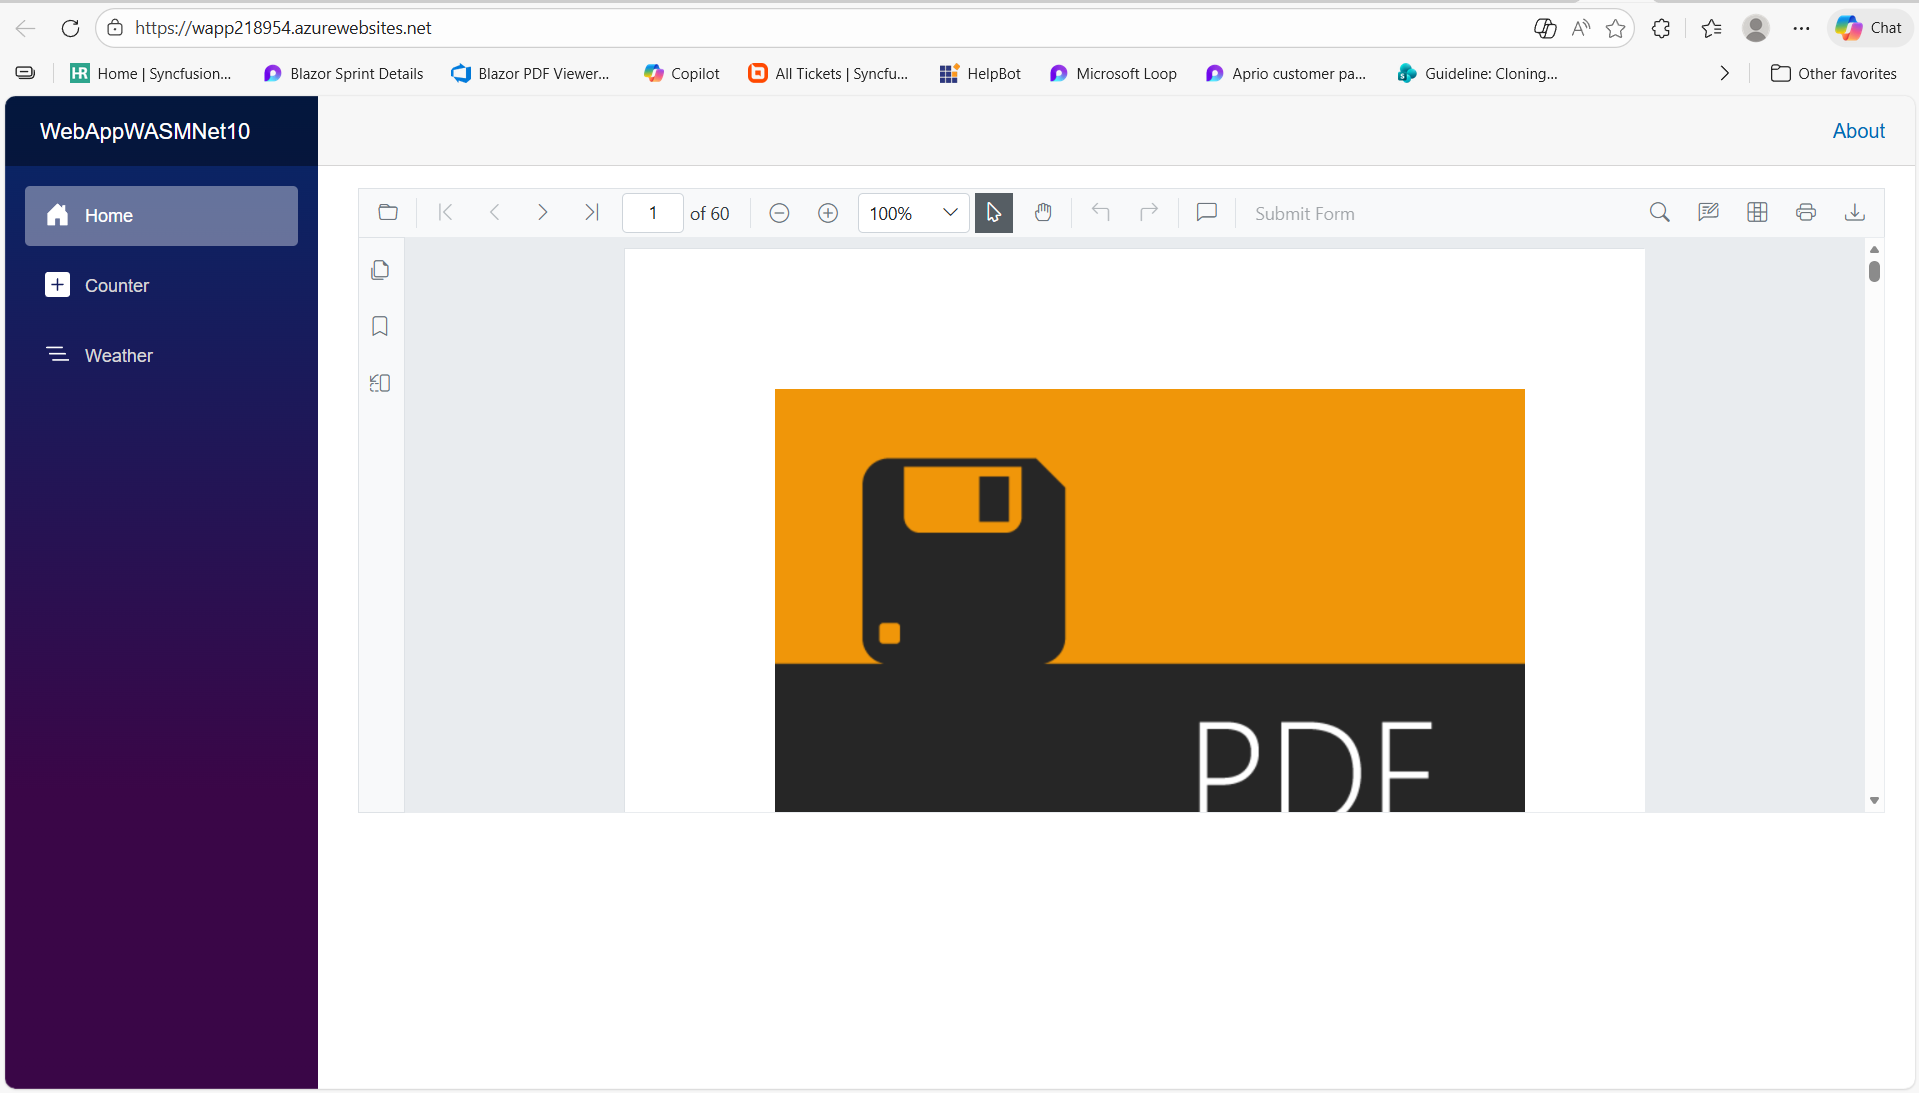
- Verify the deployment
- Open the App Service Overview and click the default domain (for example
https://<app-name>.azurewebsites.net) to confirm the app starts. - If the site fails to start, stream logs from Monitoring → Log stream or use
az webapp log tail -n <app-name> -g <resource-group>.
- Open the App Service Overview and click the default domain (for example
Troubleshooting
- Check container logs and the image locally if the app fails to start.
- Ensure the container listens on port 80 (or configure the App Service container port setting to match your container).
- Ensure native dependencies (SkiaSharp,
libgdiplus) are present in the image; missing native libs commonly cause rendering/script errors. - For static WASM images served by nginx, confirm wasm MIME types and caching are working.
- If the App Service reports
ImagePullFailureorUnauthorized, ensure the App Service managed identity has theAcrPullrole on the registry (or re‑check the admin user credentials).
Configure TLS, custom domain, and monitoring
- Enable a managed TLS certificate for the default
azurewebsites.netdomain from TLS/SSL settings → Private Key Certificates (.pfx) → Create App Service Managed Certificate. - Add custom domains and bindings under Custom domains.
- Enable Application Insights from Monitoring → Application Insights to capture request, dependency, and exception telemetry.
Related samples
- If your project uses SkiaSharp.Views.Blazor on the server or client, double-check native runtime requirements and test rendering in the container.
- For Server interactive scenarios, register Syncfusion services in
Program.csand ensure SignalR message size settings match large‑file processing requirements. See the SignalR MessagePack HubOptions configuration for tuningMaximumReceiveMessageSize. - For WebAssembly interactive render modes, ensure the
wasm-toolsworkload is available when building locally or in CI:dotnet workload install wasm-tools.
NOTE