Create or Generate a PDF File in an Angular Application
16 Jul 20268 minutes to read
The JavaScript PDF Library is used to create, read, and edit PDF documents. The JavaScript PDF Library also offers functionality to merge, split, stamp, fill PDF forms, and secure PDF files.
This guide explains how to integrate the JavaScript PDF Library into an Angular application that runs in the browser. The generated PDF is downloaded directly from the browser; no server-side PDF rendering is involved.
Prerequisites
Before you begin, make sure you have the following installed:
- Angular 20 or later.
- Node.js 18 or later.
- npm 9 or later, or Yarn 1.22 or later.
- Visual Studio Code or another code editor.
- A supported browser such as the latest versions of Microsoft Edge, Google Chrome, or Mozilla Firefox.
To verify your Node.js and npm versions, run the following commands:
node --version
npm --version
Project Setup
This guide includes all the steps needed to create and run the sample in an Angular application. You can either create a new project or use an existing one.
Option A: Create a New Angular Project
If you do not have an Angular project, create one by using the Angular CLI:
npm install -g @angular/cli
ng new my-pdf-app
cd my-pdf-app
Option B: Use an Existing Angular Project
If you already have an Angular project, open its root folder and continue with the package installation steps:
cd path/to/your-existing-appInstalling the JavaScript PDF Library package
All Syncfusion® JS 2 packages are published in npmjs.com registry. The npm install command below resolves @syncfusion/ej2-pdf to the latest stable version that is compatible with Angular 20 or later.
- To install the JavaScript PDF Library, use the following command.
npm install @syncfusion/ej2-pdf --save- If you prefer Yarn, use the following command.
yarn add @syncfusion/ej2-pdfNOTE
For image and data extraction features, you need to install the
@syncfusion/ej2-pdf-data-extractpackage as an add-on. Note the following:
- Copy the
ej2-pdf-libfolder from the@syncfusion/ej2-pdf-data-extractpackage into your project’s public, dist, or assets directory (wherever your static files are served).- Make sure the
ej2-pdf-libfolder exists in your final build output if you need to extract images or data from PDF files.- Ensure your server serves
.wasmfiles with the Content-Type: application/wasm MIME type. Angular’s development server already handles this; configure production servers manually.- This setup is not required for basic PDF creation.
Add the Syncfusion License Key
If your project requires a Syncfusion license, register the license key before using the PDF API. Add the license registration code in your startup file, such as main.ts.
import { registerLicense } from '@syncfusion/ej2-base';

registerLicense('YOUR_LICENSE_KEY');
Replace YOUR_LICENSE_KEY with the key from your Syncfusion account. For more information, see the Syncfusion licensing documentation.
Browser and Environment Compatibility
| Environment | Supported version |
|---|---|
| Angular | 20 or later |
| Node.js | 18.x or later |
| TypeScript | Installed with Angular |
| Visual Studio Code | Latest version recommended |
| Chrome | Latest two major versions |
| Edge | Latest two major versions |
| Firefox | Latest two major versions |
For server-side rendering or Angular Universal, create the PDF document only in browser execution paths. The sample in this guide uses a click handler that runs in the browser, so no additional lifecycle handling is required.
Create a PDF Document
Add a button to the Angular template and attach a click handler that uses the JavaScript PDF Library to create a new PDF document.
- Add the following button to
app.component.html.
<button id="normalButton">Create PDF document</button>- Include the following namespaces in
app.component.ts.
import { PdfDocument, PdfGraphics, PdfPage, PdfFontFamily, PdfFontStyle, PdfFont, PdfBrush } from '@syncfusion/ej2-pdf';- Include the following code in the click event of the button in
app.component.tsto generate a PDF document.
document.getElementById('normalButton').onclick = (): void => {
// Create a new PDF document
const document = new PdfDocument();
// Add a new page
const page: PdfPage = document.addPage();
// Get graphics from the page
const graphics: PdfGraphics = page.graphics;
// Set font
const font: PdfFont = document.embedFont(PdfFontFamily.helvetica, 36, PdfFontStyle.regular);
// Create a new black brush
const brush = new PdfBrush({r: 0, g: 0, b: 0});
// Draw text
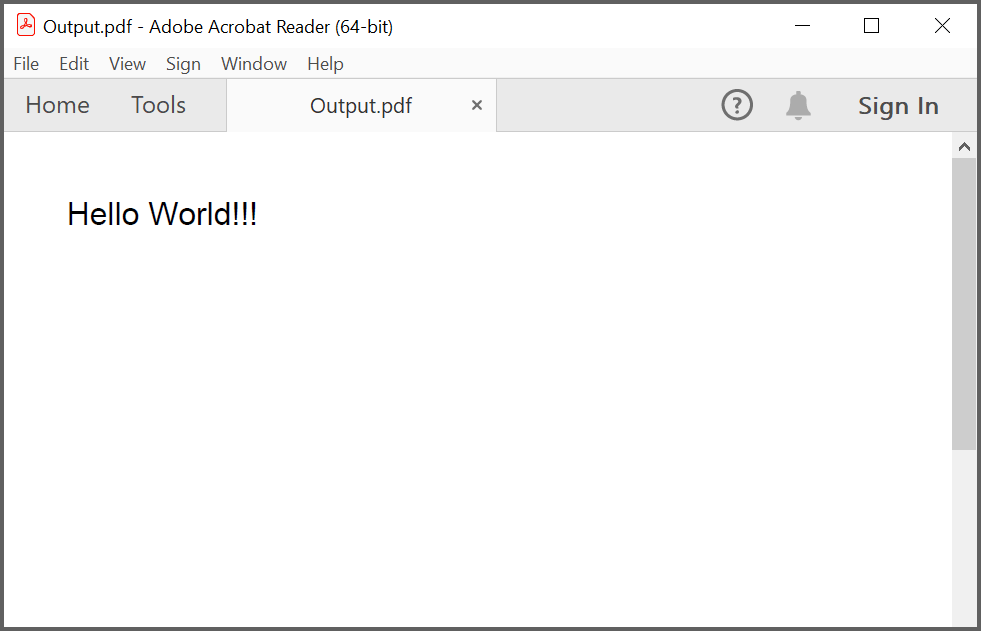
graphics.drawString('Hello World!!!', font, {x: 20, y: 20, width: graphics.clientSize.width - 20, height: 60}, brush);
// Save and download PDF
document.save('Output.pdf');
// Destroy the PDF document instance
document.destroy();
};Code Explanation
-
PdfDocument— creates a new PDF document instance. -
addPage()— appends a blank page to the document and returns thePdfPageobject. -
page.graphics— returns thePdfGraphicsdrawing surface for the page. -
embedFont(family, size, style)— embeds one of the standard PDF font families (here, Helvetica 36pt regular) and returns aPdfFontobject. -
new PdfBrush({ r, g, b })— creates a solid color brush from an RGB object (each channel0-255); here, black. -
drawString(text, font, layoutRect, brush)— draws the text inside the rectangle defined byx,y,width, andheight. -
save('Output.pdf')— saves the PDF and triggers a browser download with the specified file name. The file is sent to the browser’s default downloads folder. -
destroy()— releases native resources held by the document.
Run the Application
Use the following command to run the application in the browser:
ng serve --openWhen you click Create PDF document, the PDF file is generated in the browser and downloaded as Output.pdf to your default downloads folder.
Troubleshooting
| Problem | Cause | Resolution |
|---|---|---|
TS2304: Cannot find name 'PdfDocument' (or similar) |
The import line is missing or the package is not installed | Confirm npm install @syncfusion/ej2-pdf ran successfully and that the import is in app.component.ts
|
Error: Cannot find module '@syncfusion/ej2-pdf' |
The package is not installed | Run npm install @syncfusion/ej2-pdf --save
|
| Button click does nothing | The button ID does not match the ID used in getElementById
|
Confirm the button’s id is normalButton
|
| PDF file does not download | The browser blocks the download | Check the browser’s download settings and the downloads folder |
| Build fails with TypeScript errors | The Angular TypeScript version is incompatible with the PDF package | Update Angular to 20 or later and run npm install again |
registerLicense warning at runtime |
The license key is missing or invalid | Confirm the key is set in main.ts and is the correct key for your Syncfusion account |