Getting Started with TypeScript Spreadsheet control
4 Jul 20263 minutes to read
This section explains how to create a simple TypeScript application and add the TypeScript Spreadsheet control with the minimum required setup.
Prerequisites
To get started, ensure the following software is installed on your machine:
Create a TypeScript application
Create a simple TypeScript application using the Essential® JS 2 quickstart seed repository.
This application is integrated with the
webpack.config.jsconfiguration and uses the latest version of the webpack-cli. For more information about webpack and its features, refer to the webpack documentation.
Step 1: Open the command prompt from the required directory and clone the quickstart project from GitHub.
git clone https://github.com/SyncfusionExamples/ej2-quickstart-webpack- ej2-quickstartStep 2: Navigate to the ej2-quickstart folder.
cd ej2-quickstartStep 3: By default, the ej2‑quickstart repository is preconfigured with the @syncfusion/ej2 package in ~/package.json. This package installs all Syncfusion Essential JS 2 components packages, including the Spreadsheet and other EJ2 controls.
To install only the Spreadsheet component, replace the dependency with @syncfusion/ej2-spreadsheet, as shown below:
"dependencies": {
  "@syncfusion/ej2-spreadsheet": "*"
}
Step 4: Install the dependent npm packages.
npm installAdd CSS references
Add the following Spreadsheet and dependent component style references.
@import '../../node_modules/@syncfusion/ej2-base/styles/tailwind3.css';
@import '../../node_modules/@syncfusion/ej2-inputs/styles/tailwind3.css';
@import '../../node_modules/@syncfusion/ej2-buttons/styles/tailwind3.css';
@import '../../node_modules/@syncfusion/ej2-splitbuttons/styles/tailwind3.css';
@import '../../node_modules/@syncfusion/ej2-lists/styles/tailwind3.css';
@import '../../node_modules/@syncfusion/ej2-navigations/styles/tailwind3.css';
@import '../../node_modules/@syncfusion/ej2-popups/styles/tailwind3.css';
@import '../../node_modules/@syncfusion/ej2-dropdowns/styles/tailwind3.css';
@import '../../node_modules/@syncfusion/ej2-grids/styles/tailwind3.css';
@import '../../node_modules/@syncfusion/ej2-spreadsheet/styles/tailwind3.css';
Refer to the Themes topic to learn more about built-in themes and different ways to refer to themes in a TypeScript project.
Add the Syncfusion® Spreadsheet control to the application
Add a container element for the Spreadsheet control in the index.html file and then initialize the control in the app.ts file.
<!DOCTYPE html>
<html lang="en">
<head>
    <title>Syncfusion TypeScript Spreadsheet</title>
    <meta charset="utf-8" />
    <meta name="viewport" content="width=device-width, initial-scale=1.0, user-scalable=no" />
    <meta name="description" content="Syncfusion TypeScript Spreadsheet" />
    <meta name="author" content="Syncfusion" />
    <link rel="shortcut icon" href="resources/favicon.ico" />
    <link href="https://maxcdn.bootstrapcdn.com/bootstrap/3.3.7/css/bootstrap.min.css" rel="stylesheet" />
</head>
<body>
    <!-- Element which will render as Spreadsheet -->
    <div id="element"></div>
</body>
</html>
import { Spreadsheet } from '@syncfusion/ej2-spreadsheet';
// Initialize the Spreadsheet component
const spreadsheet: Spreadsheet = new Spreadsheet({
openUrl: 'https://document.syncfusion.com/web-services/spreadsheet-editor/api/spreadsheet/open',
saveUrl: 'https://document.syncfusion.com/web-services/spreadsheet-editor/api/spreadsheet/save'
});
// Render initialized Spreadsheet
spreadsheet.appendTo('#element');Note: The openUrl and saveUrl properties are used to connect the Spreadsheet control to a server-side service for Excel import and export operations. For development and production use, we recommend configuring your own local or hosted service instead of relying on demo endpoints. For more information, refer to the
link.
Run the application
The quickstart project is configured to compile and run the application in the browser. Use the following command to run the application.
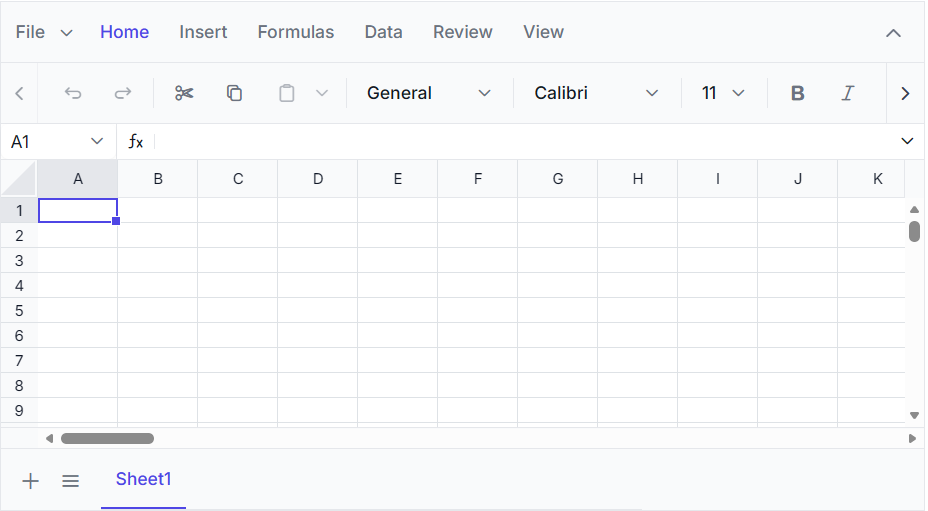
npm startThe image below shows how the spreadsheet is rendered in the browser:
You can also explore the Spreadsheet interactively using the live sample below.
NOTE
View Sample in GitHub. Looking for the full JavaScript Spreadsheet Editor component overview, features, pricing, and documentation? Visit the JavaScript Spreadsheet Editor page.