Loading and Saving Excel files in AWS S3 Cloud Storage
24 Jul 202622 minutes to read
This article explains how to load an Excel file from AWS S3 Cloud Storage and save an Excel file to AWS S3 Cloud Storage using Syncfusion XlsIO.
Prerequisites
- An AWS account with an Amazon S3 bucket and permission to read/write objects in it.
- Visual Studio 2019 or later with the ASP.NET and web development workload.
- AWS credentials (access key + secret key, or an attached IAM role).
- A Syncfusion® license key. Refer to How to register the Syncfusion license key for details.
Loading Excel files from AWS S3
Steps to load an Excel document from AWS S3 Cloud Storage.
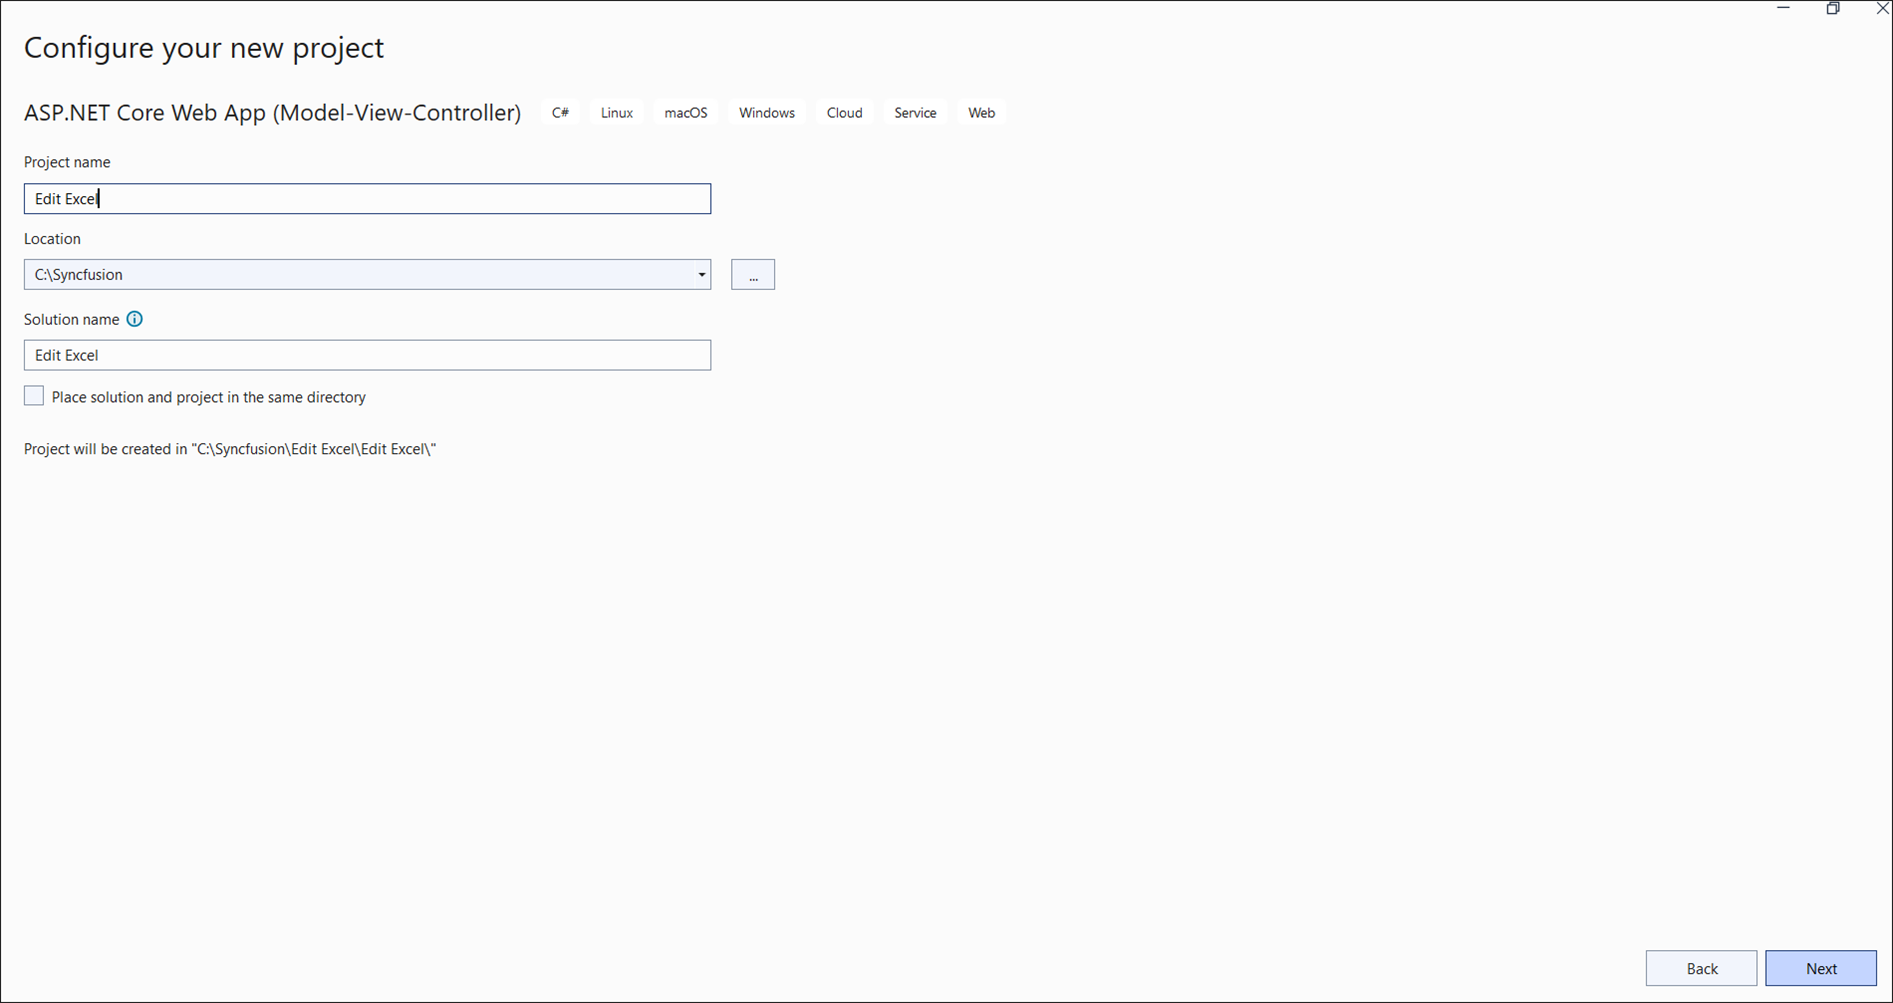
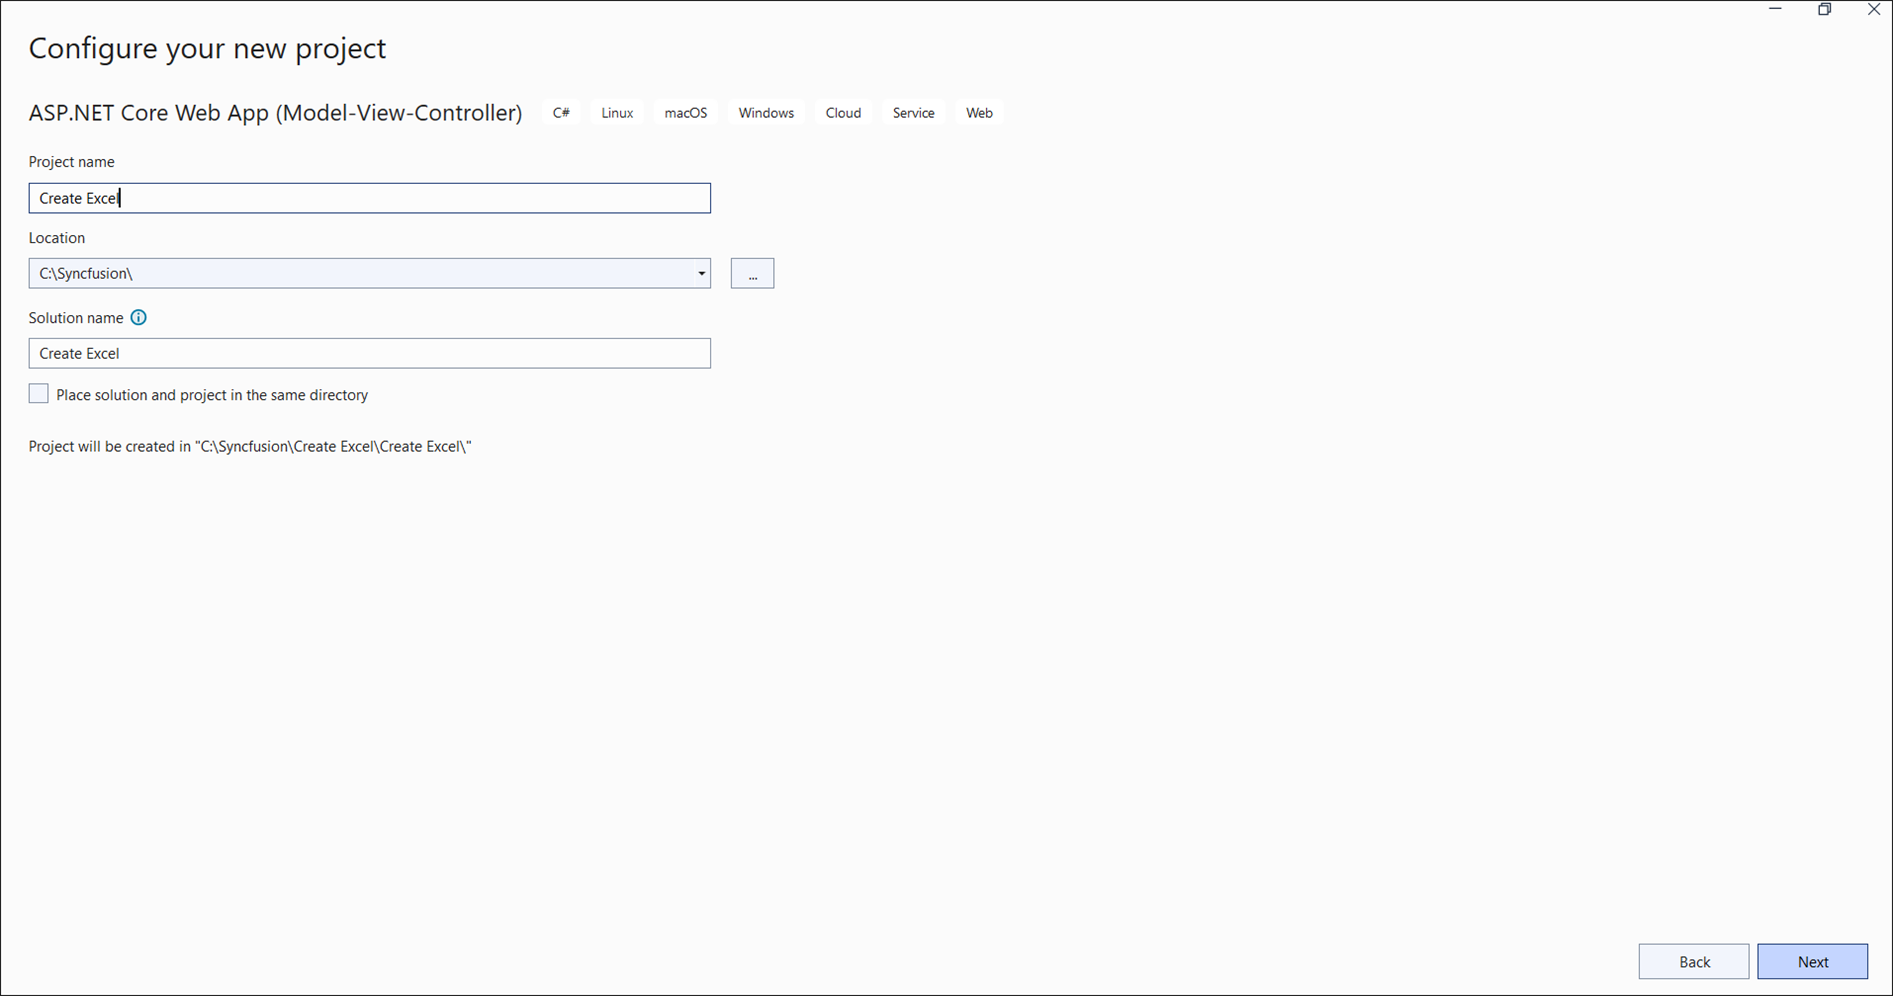
Step 1: Create a new ASP.NET Core Web Application (Model-View-Controller).

Step 2: Name the project.
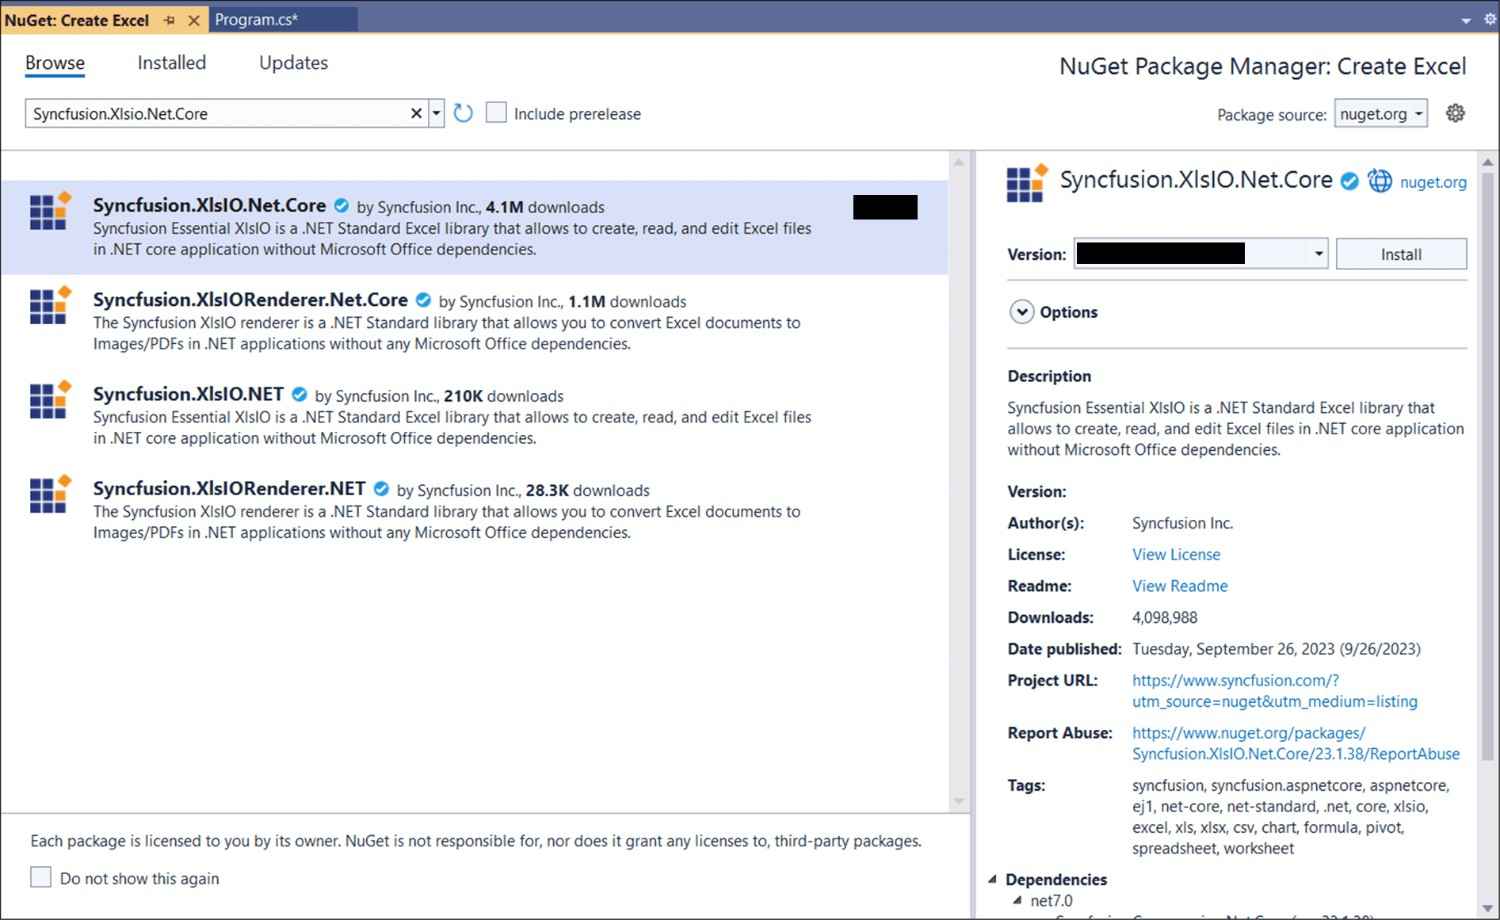
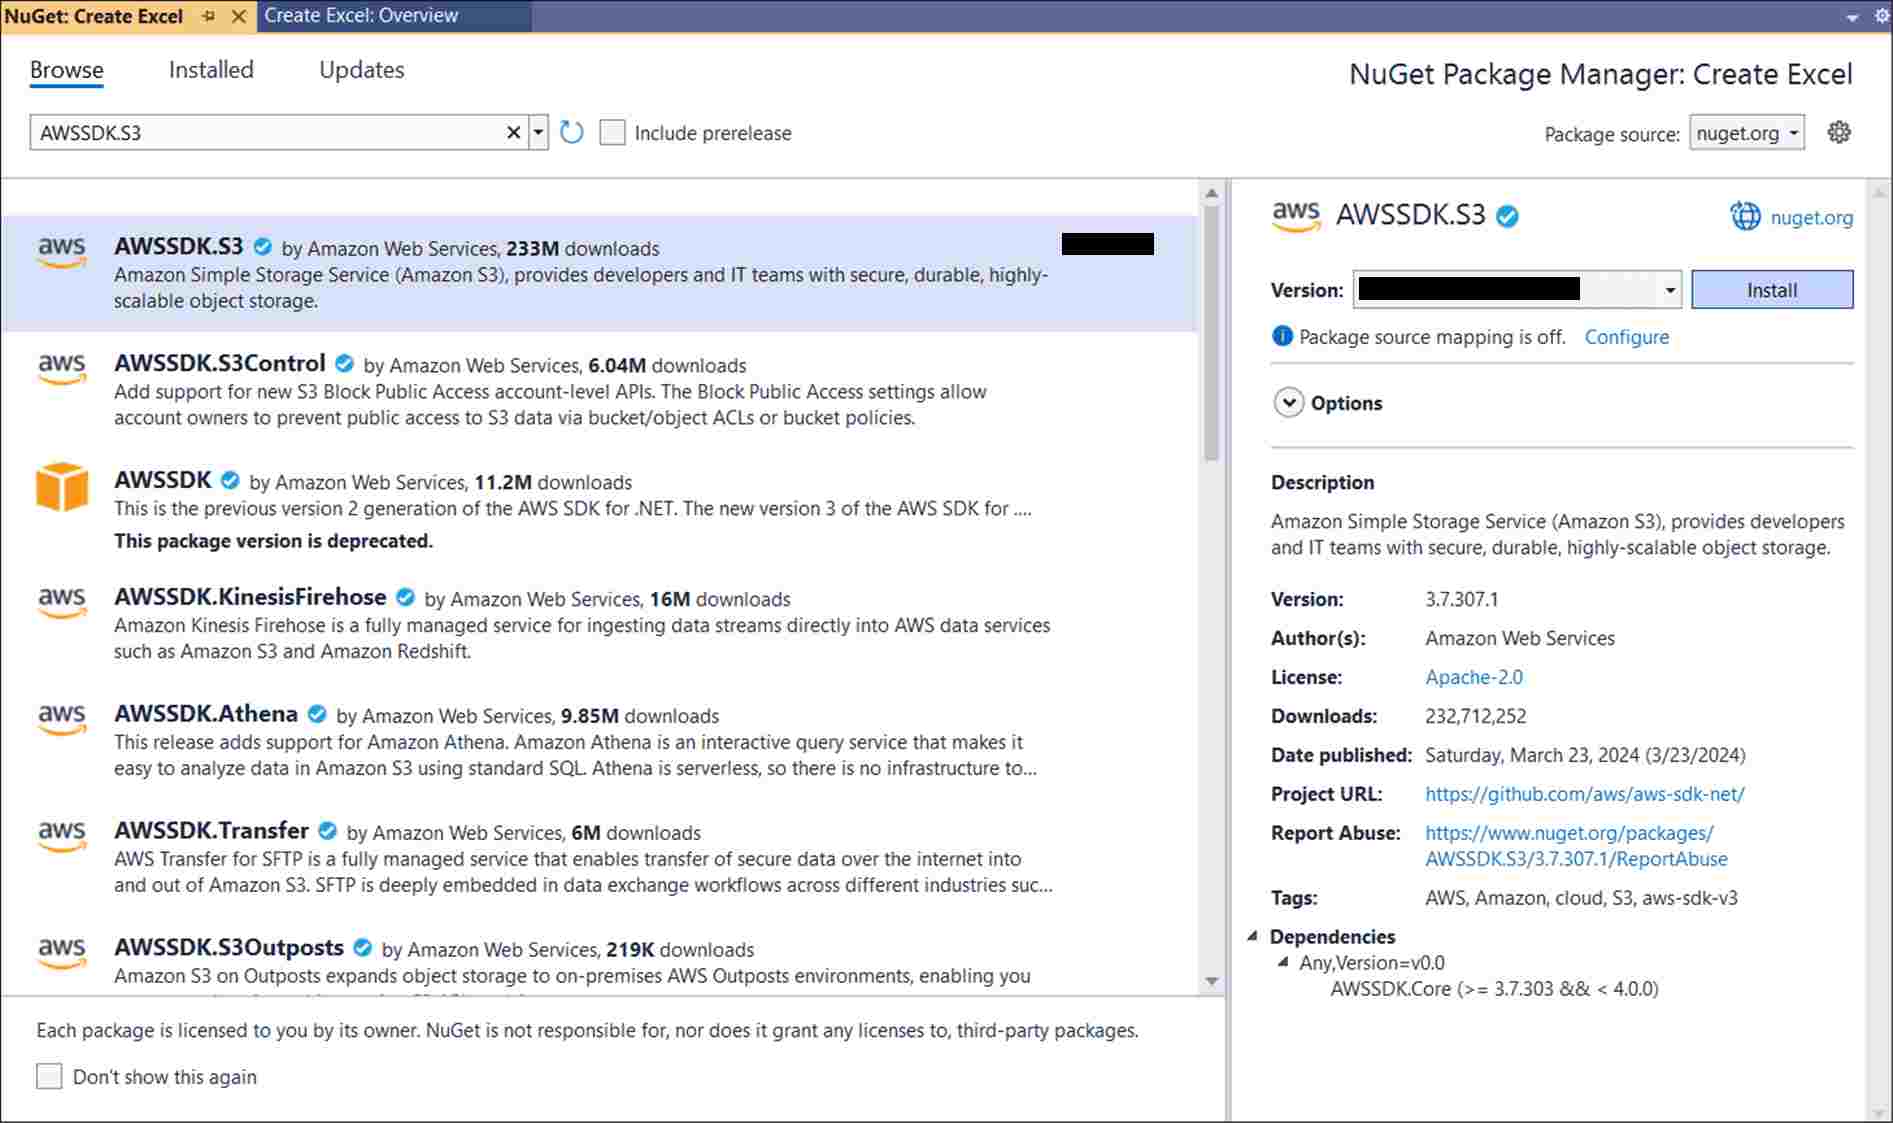
Step 3: Install the following NuGet packages in your application from NuGet.org.
Step 4: Add a new button in the Index.cshtml as shown below.
@{Html.BeginForm("EditDocument", "Home", FormMethod.Get);
    {
        <div>
            <input type="submit" value="Edit Document" style="width:150px;height:27px" />
        </div>
    }
    Html.EndForm();
}
Step 5: Include the following namespaces in HomeController.cs.
using Amazon;
using Amazon.S3;
using Amazon.S3.Transfer;
using Syncfusion.XlsIO;
using Syncfusion.Drawing;
Step 6: Include the below code snippet in HomeController.cs to load an Excel document from AWS S3 Cloud Storage.
//Your AWS Storage Account bucket name
string bucketName = "your-bucket-name";

//Name of the Excel file you want to load from AWS S3
string key = "CreateExcel.xlsx";

// Configure AWS credentials and region.
// The default credentials provider chain picks up credentials from the environment,
// the shared AWS credentials file, or an attached IAM role.
var region = Amazon.RegionEndpoint.USEast1;
var config = new AmazonS3Config
{
    RegionEndpoint = region
};

try
{
    using (var client = new AmazonS3Client(credentials, config))
    {
        // Create a MemoryStream to copy the file content
        using (MemoryStream stream = new MemoryStream())
        {
            // Download the file from S3 into the MemoryStream
            var response = await client.GetObjectAsync(new Amazon.S3.Model.GetObjectRequest
            {
                BucketName = bucketName,
                Key = key
            });

            // Copy the response stream to the MemoryStream
            await response.ResponseStream.CopyToAsync(stream);

            // Set the position to the beginning of the MemoryStream
            stream.Position = 0;

            //Create an instance of ExcelEngine
            using (ExcelEngine excelEngine = new ExcelEngine())
            {
                IApplication application = excelEngine.Excel;
                application.DefaultVersion = ExcelVersion.Excel2016;

                //Load the downloaded document
                IWorkbook workbook = application.Workbooks.Open(stream);

                //Access the first worksheet
                IWorksheet worksheet = workbook.Worksheets[0];

                //Modify the text
                worksheet.Range["A3"].Text = "Hello world";

                //Saving the workbook to the MemoryStream
                MemoryStream outputStream = new MemoryStream();
                workbook.SaveAs(outputStream);

                //Set the position as '0'.
                outputStream.Position = 0;

                //Download the Excel file in the browser
                FileStreamResult fileStreamResult = new FileStreamResult(outputStream, "application/vnd.openxmlformats-officedocument.spreadsheetml.sheet");
                fileStreamResult.FileDownloadName = "EditExcel.xlsx";
                return fileStreamResult;
            }
        }
    }
}
catch (Exception ex)
{
    Console.WriteLine($"Error: {ex.Message}");
    return Content("Error occurred while processing the file.");
}
A complete working example of how to load an Excel document from AWS S3 Cloud Storage in ASP.NET Core is present on this GitHub page.
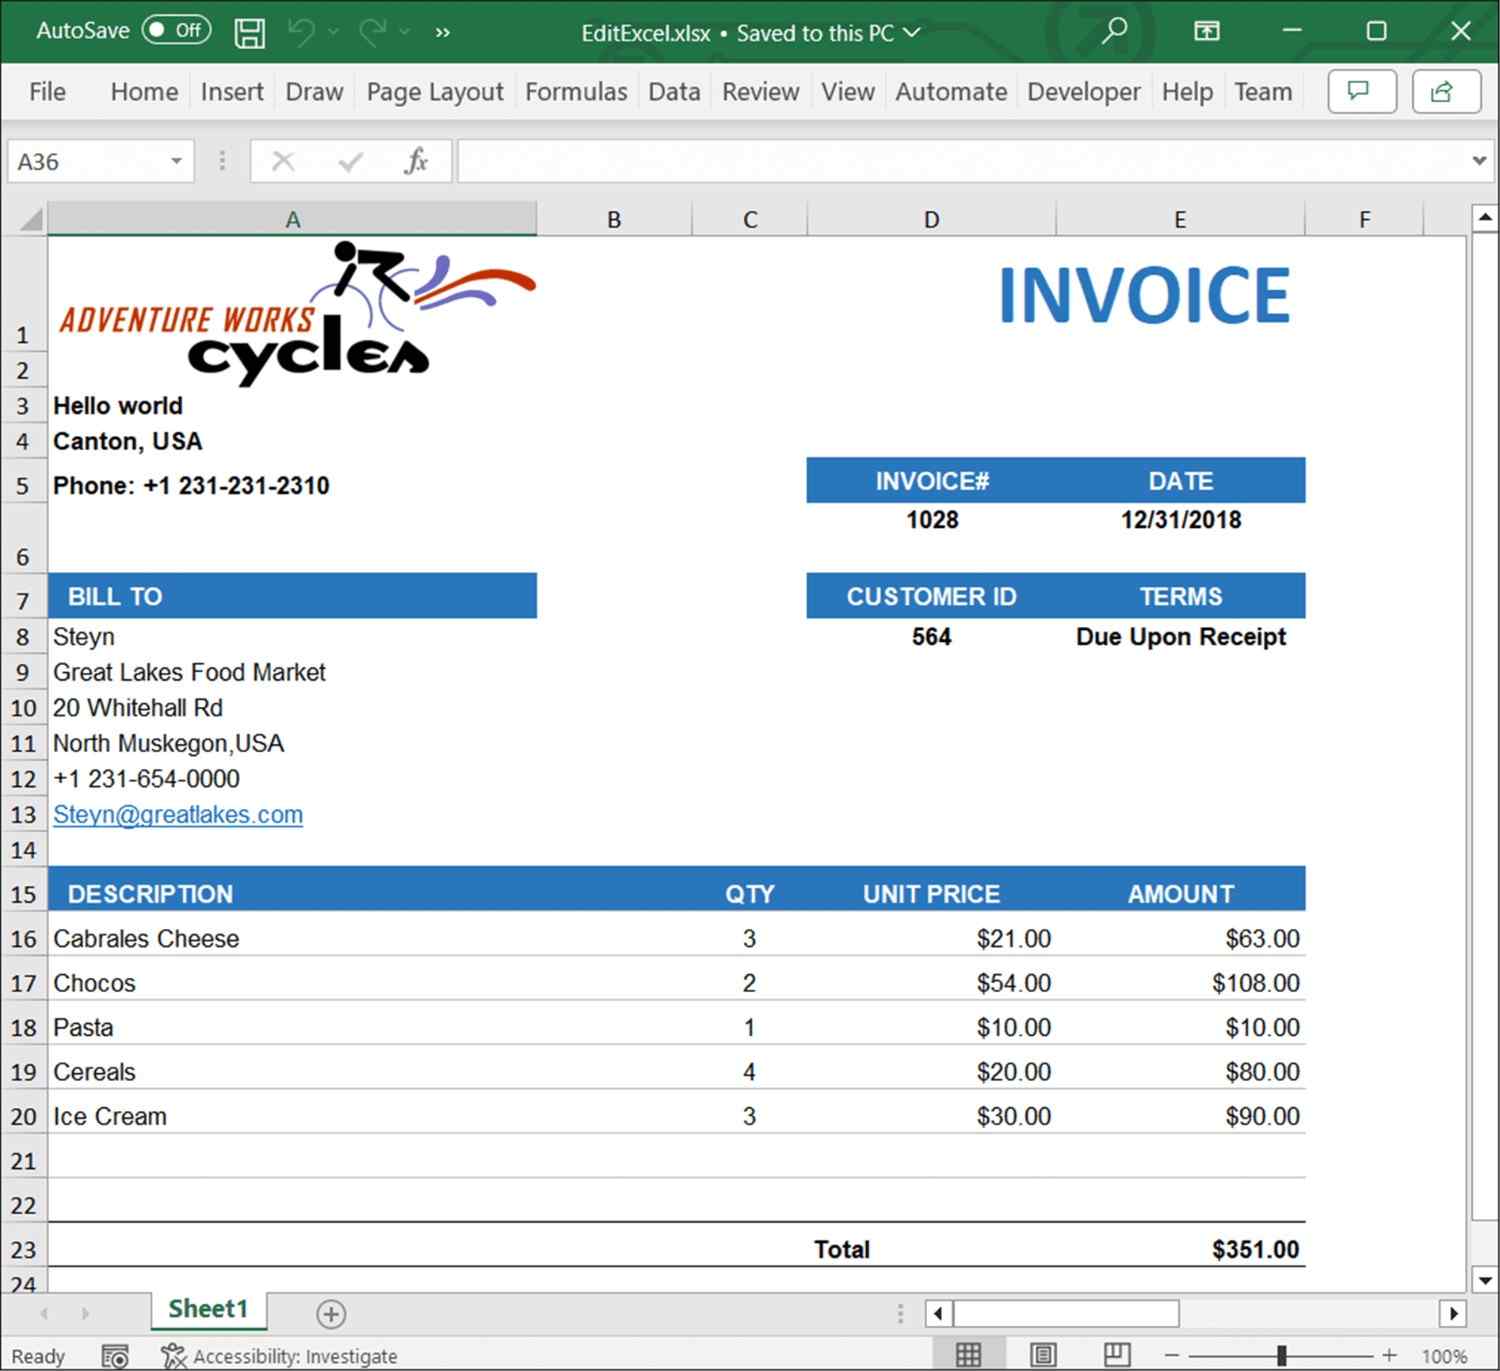
By executing the program, you will get the Excel document as follows.
Saving Excel files to AWS S3
Steps to save an Excel document to AWS S3 Cloud Storage.
Step 1: Create a new ASP.NET Core Web Application (Model-View-Controller).
Step 2: Name the project.
Step 3: Install the following NuGet packages in your application from NuGet.org.
Step 4: Add a new button in the Index.cshtml as shown below.
@{Html.BeginForm("CreateDocument", "Home", FormMethod.Get);
    {
        <div>
            <input type="submit" value="Upload Document" style="width:150px;height:27px" />
        </div>
    }
    Html.EndForm();
}
Step 5: Include the following namespaces in HomeController.cs.
using Amazon;
using Amazon.S3;
using Amazon.S3.Transfer;
using Syncfusion.XlsIO;
using Syncfusion.Drawing;
Step 6: Register the Syncfusion license key (see the Loading section above) if you have not already done so.
Step 7: Include the following code snippet in HomeController.cs to save an Excel document to AWS S3 Storage. The snippet is the body of the CreateDocument action method that the button in Step 4 posts to. The image file AdventureCycles-Logo.png must be present in the project and copied to the publish output.
//Create an instance of ExcelEngine
using (ExcelEngine excelEngine = new ExcelEngine())
{
    IApplication application = excelEngine.Excel;
    application.DefaultVersion = ExcelVersion.Xlsx;

    //Create a workbook
    IWorkbook workbook = application.Workbooks.Create(1);
    IWorksheet worksheet = workbook.Worksheets[0];

    //Adding a picture
    FileStream imageStream = new FileStream("AdventureCycles-Logo.png", FileMode.Open, FileAccess.Read);
    IPictureShape shape = worksheet.Pictures.AddPicture(1, 1, imageStream, 20, 20);

    //Disable gridlines in the worksheet
    worksheet.IsGridLinesVisible = false;

    //Enter values to the cells from A3 to A5
    worksheet.Range["A3"].Text = "46036 Michigan Ave";
    worksheet.Range["A4"].Text = "Canton, USA";
    worksheet.Range["A5"].Text = "Phone: +1 231-231-2310";

    //Make the text bold
    worksheet.Range["A3:A5"].CellStyle.Font.Bold = true;

    //Merge cells
    worksheet.Range["D1:E1"].Merge();

    //Enter text to the cell D1 and apply formatting.
    worksheet.Range["D1"].Text = "INVOICE";
    worksheet.Range["D1"].CellStyle.Font.Bold = true;
    worksheet.Range["D1"].CellStyle.Font.RGBColor = Color.FromArgb(42, 118, 189);
    worksheet.Range["D1"].CellStyle.Font.Size = 35;

    //Apply alignment in the cell D1
    worksheet.Range["D1"].CellStyle.HorizontalAlignment = ExcelHAlign.HAlignRight;
    worksheet.Range["D1"].CellStyle.VerticalAlignment = ExcelVAlign.VAlignTop;

    //Enter values to the cells from D5 to E8
    worksheet.Range["D5"].Text = "INVOICE#";
    worksheet.Range["E5"].Text = "DATE";
    worksheet.Range["D6"].Number = 1028;
    worksheet.SetValue(6, 5, "12/31/2018");
    worksheet.Range["D7"].Text = "CUSTOMER ID";
    worksheet.Range["E7"].Text = "TERMS";
    worksheet.Range["D8"].Number = 564;
    worksheet.Range["E8"].Text = "Due Upon Receipt";

    //Apply RGB backcolor to the cells from D5 to E8
    worksheet.Range["D5:E5"].CellStyle.Color = Color.FromArgb(42, 118, 189);
    worksheet.Range["D7:E7"].CellStyle.Color = Color.FromArgb(42, 118, 189);

    //Apply known colors to the text in cells D5 to E8
    worksheet.Range["D5:E5"].CellStyle.Font.Color = ExcelKnownColors.White;
    worksheet.Range["D7:E7"].CellStyle.Font.Color = ExcelKnownColors.White;

    //Make the text as bold from D5 to E8
    worksheet.Range["D5:E8"].CellStyle.Font.Bold = true;

    //Apply alignment to the cells from D5 to E8
    worksheet.Range["D5:E8"].CellStyle.HorizontalAlignment = ExcelHAlign.HAlignCenter;
    worksheet.Range["D5:E5"].CellStyle.VerticalAlignment = ExcelVAlign.VAlignCenter;
    worksheet.Range["D7:E7"].CellStyle.VerticalAlignment = ExcelVAlign.VAlignCenter;
    worksheet.Range["D6:E6"].CellStyle.VerticalAlignment = ExcelVAlign.VAlignTop;

    //Enter value and applying formatting in the cell A7
    worksheet.Range["A7"].Text = "  BILL TO";
    worksheet.Range["A7"].CellStyle.Color = Color.FromArgb(42, 118, 189);
    worksheet.Range["A7"].CellStyle.Font.Bold = true;
    worksheet.Range["A7"].CellStyle.Font.Color = ExcelKnownColors.White;

    //Apply alignment
    worksheet.Range["A7"].CellStyle.HorizontalAlignment = ExcelHAlign.HAlignLeft;
    worksheet.Range["A7"].CellStyle.VerticalAlignment = ExcelVAlign.VAlignCenter;

    //Enter values in the cells A8 to A12
    worksheet.Range["A8"].Text = "Steyn";
    worksheet.Range["A9"].Text = "Great Lakes Food Market";
    worksheet.Range["A10"].Text = "20 Whitehall Rd";
    worksheet.Range["A11"].Text = "North Muskegon,USA";
    worksheet.Range["A12"].Text = "+1 231-654-0000";

    //Create a Hyperlink for e-mail in the cell A13
    IHyperLink hyperlink = worksheet.HyperLinks.Add(worksheet.Range["A13"]);
    hyperlink.Type = ExcelHyperLinkType.Url;
    hyperlink.Address = "[email protected]";
    hyperlink.ScreenTip = "Send Mail";

    //Merge column A and B from row 15 to 22
    worksheet.Range["A15:B15"].Merge();
    worksheet.Range["A16:B16"].Merge();
    worksheet.Range["A17:B17"].Merge();
    worksheet.Range["A18:B18"].Merge();
    worksheet.Range["A19:B19"].Merge();
    worksheet.Range["A20:B20"].Merge();
    worksheet.Range["A21:B21"].Merge();
    worksheet.Range["A22:B22"].Merge();

    //Enter details of products and prices
    worksheet.Range["A15"].Text = "  DESCRIPTION";
    worksheet.Range["C15"].Text = "QTY";
    worksheet.Range["D15"].Text = "UNIT PRICE";
    worksheet.Range["E15"].Text = "AMOUNT";
    worksheet.Range["A16"].Text = "Cabrales Cheese";
    worksheet.Range["A17"].Text = "Chocos";
    worksheet.Range["A18"].Text = "Pasta";
    worksheet.Range["A19"].Text = "Cereals";
    worksheet.Range["A20"].Text = "Ice Cream";
    worksheet.Range["C16"].Number = 3;
    worksheet.Range["C17"].Number = 2;
    worksheet.Range["C18"].Number = 1;
    worksheet.Range["C19"].Number = 4;
    worksheet.Range["C20"].Number = 3;
    worksheet.Range["D16"].Number = 21;
    worksheet.Range["D17"].Number = 54;
    worksheet.Range["D18"].Number = 10;
    worksheet.Range["D19"].Number = 20;
    worksheet.Range["D20"].Number = 30;
    worksheet.Range["D23"].Text = "Total";

    //Apply number format
    worksheet.Range["D16:E22"].NumberFormat = "$.00";
    worksheet.Range["E23"].NumberFormat = "$.00";

    //Apply incremental formula for column Amount by multiplying Qty and UnitPrice
    application.EnableIncrementalFormula = true;
    worksheet.Range["E16:E20"].Formula = "=C16*D16";

    //Formula for Sum the total
    worksheet.Range["E23"].Formula = "=SUM(E16:E22)";

    //Apply borders
    worksheet.Range["A16:E22"].CellStyle.Borders[ExcelBordersIndex.EdgeTop].LineStyle = ExcelLineStyle.Thin;
    worksheet.Range["A16:E22"].CellStyle.Borders[ExcelBordersIndex.EdgeBottom].LineStyle = ExcelLineStyle.Thin;
    worksheet.Range["A16:E22"].CellStyle.Borders[ExcelBordersIndex.EdgeTop].Color = ExcelKnownColors.Grey_25_percent;
    worksheet.Range["A16:E22"].CellStyle.Borders[ExcelBordersIndex.EdgeBottom].Color = ExcelKnownColors.Grey_25_percent;
    worksheet.Range["A23:E23"].CellStyle.Borders[ExcelBordersIndex.EdgeTop].LineStyle = ExcelLineStyle.Thin;
    worksheet.Range["A23:E23"].CellStyle.Borders[ExcelBordersIndex.EdgeBottom].LineStyle = ExcelLineStyle.Thin;
    worksheet.Range["A23:E23"].CellStyle.Borders[ExcelBordersIndex.EdgeTop].Color = ExcelKnownColors.Black;
    worksheet.Range["A23:E23"].CellStyle.Borders[ExcelBordersIndex.EdgeBottom].Color = ExcelKnownColors.Black;

    //Apply font setting for cells with product details
    worksheet.Range["A3:E23"].CellStyle.Font.FontName = "Arial";
    worksheet.Range["A3:E23"].CellStyle.Font.Size = 10;
    worksheet.Range["A15:E15"].CellStyle.Font.Color = ExcelKnownColors.White;
    worksheet.Range["A15:E15"].CellStyle.Font.Bold = true;
    worksheet.Range["D23:E23"].CellStyle.Font.Bold = true;

    //Apply cell color
    worksheet.Range["A15:E15"].CellStyle.Color = Color.FromArgb(42, 118, 189);

    //Apply alignment to cells with product details
    worksheet.Range["A15"].CellStyle.HorizontalAlignment = ExcelHAlign.HAlignLeft;
    worksheet.Range["C15:C22"].CellStyle.HorizontalAlignment = ExcelHAlign.HAlignCenter;
    worksheet.Range["D15:E15"].CellStyle.HorizontalAlignment = ExcelHAlign.HAlignCenter;

    //Apply row height and column width to look good
    worksheet.Range["A1"].ColumnWidth = 36;
    worksheet.Range["B1"].ColumnWidth = 11;
    worksheet.Range["C1"].ColumnWidth = 8;
    worksheet.Range["D1:E1"].ColumnWidth = 18;
    worksheet.Range["A1"].RowHeight = 47;
    worksheet.Range["A2"].RowHeight = 15;
    worksheet.Range["A3:A4"].RowHeight = 15;
    worksheet.Range["A5"].RowHeight = 18;
    worksheet.Range["A6"].RowHeight = 29;
    worksheet.Range["A7"].RowHeight = 18;
    worksheet.Range["A8"].RowHeight = 15;
    worksheet.Range["A9:A14"].RowHeight = 15;
    worksheet.Range["A15:A23"].RowHeight = 18;

    //Saving the Excel to the MemoryStream
    MemoryStream stream = new MemoryStream();
    workbook.SaveAs(stream);

    //Set the position as '0'.
    stream.Position = 0;

    //Your AWS Storage Account bucket name
    string bucketName = "your-bucket-name";

    //Name of the Excel file you want to upload
    string keyName = "CreateExcel.xlsx";

    // Configure AWS region.
    // The default credentials provider chain picks up credentials from the environment,
    // the shared AWS credentials file, or an attached IAM role.
    var region = RegionEndpoint.USEast1;
    var config = new AmazonS3Config
    {
        RegionEndpoint = region
    };

    using (var client = new AmazonS3Client(config))
    {
        var fileTransferUtility = new TransferUtility(client);

        try
        {
            // Upload the stream to AWS S3
            await fileTransferUtility.UploadAsync(stream, bucketName, keyName);
            Console.WriteLine("Upload completed successfully");
        }
        catch (AmazonS3Exception e)
        {
            Console.WriteLine("Error encountered on server. Message:'{0}' when writing an object", e.Message);
        }
        catch (Exception e)
        {
            Console.WriteLine("Unknown encountered on server. Message:'{0}' when writing an object", e.Message);
        }
    }
    return Ok("Excel document uploaded to AWS S3 Storage.");
}
A complete working example of how to save an Excel document to AWS S3 Cloud Storage in ASP.NET Core is present on this GitHub page.
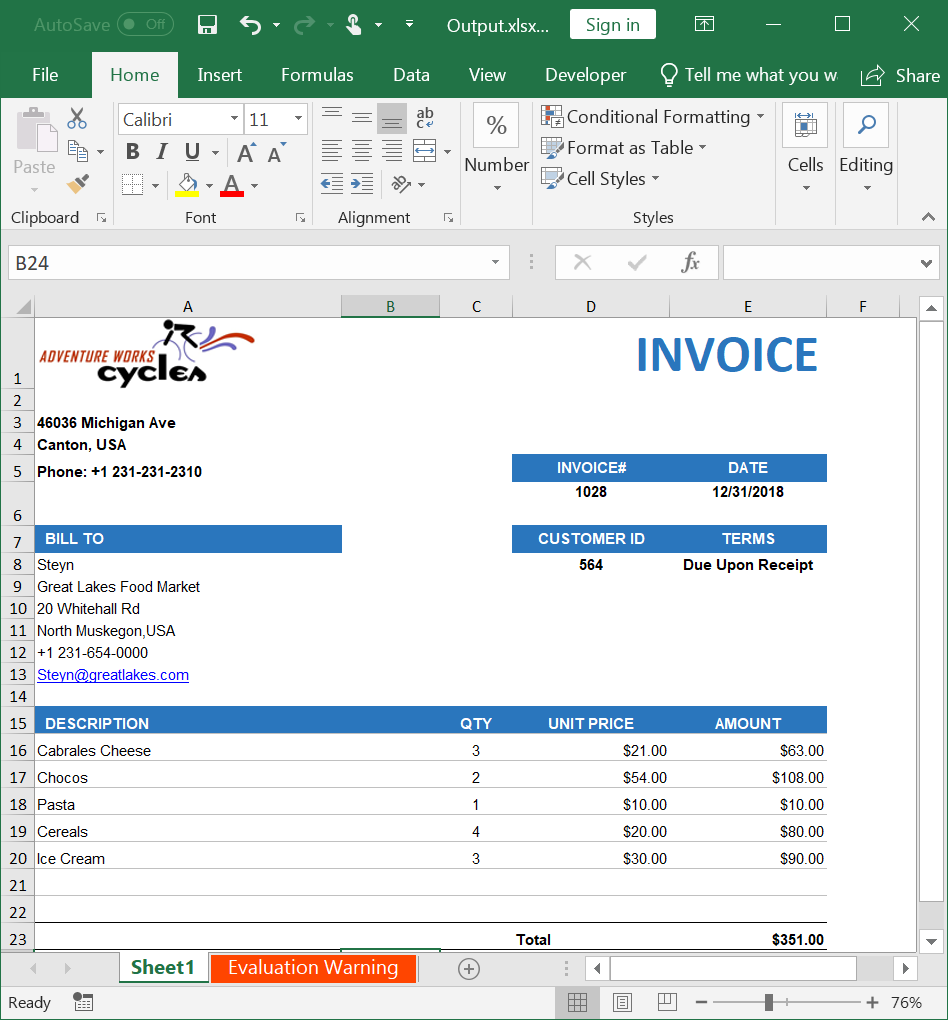
By executing the program, you will get the Excel document as shown below.
Click here to explore the rich set of Syncfusion® Excel library (XlsIO) features.
An online sample link to create an Excel document in ASP.NET Core.