Convert Excel document to Image in ASP.NET Core
22 Jul 20268 minutes to read
Syncfusion® XlsIO is a .NET Core Excel library used to create, read, edit and convert Excel documents programmatically without Microsoft Excel or interop dependencies. Using this library, you can convert an Excel document to Image in ASP.NET Core.
Steps to convert Excel document to Image in ASP.NET Core
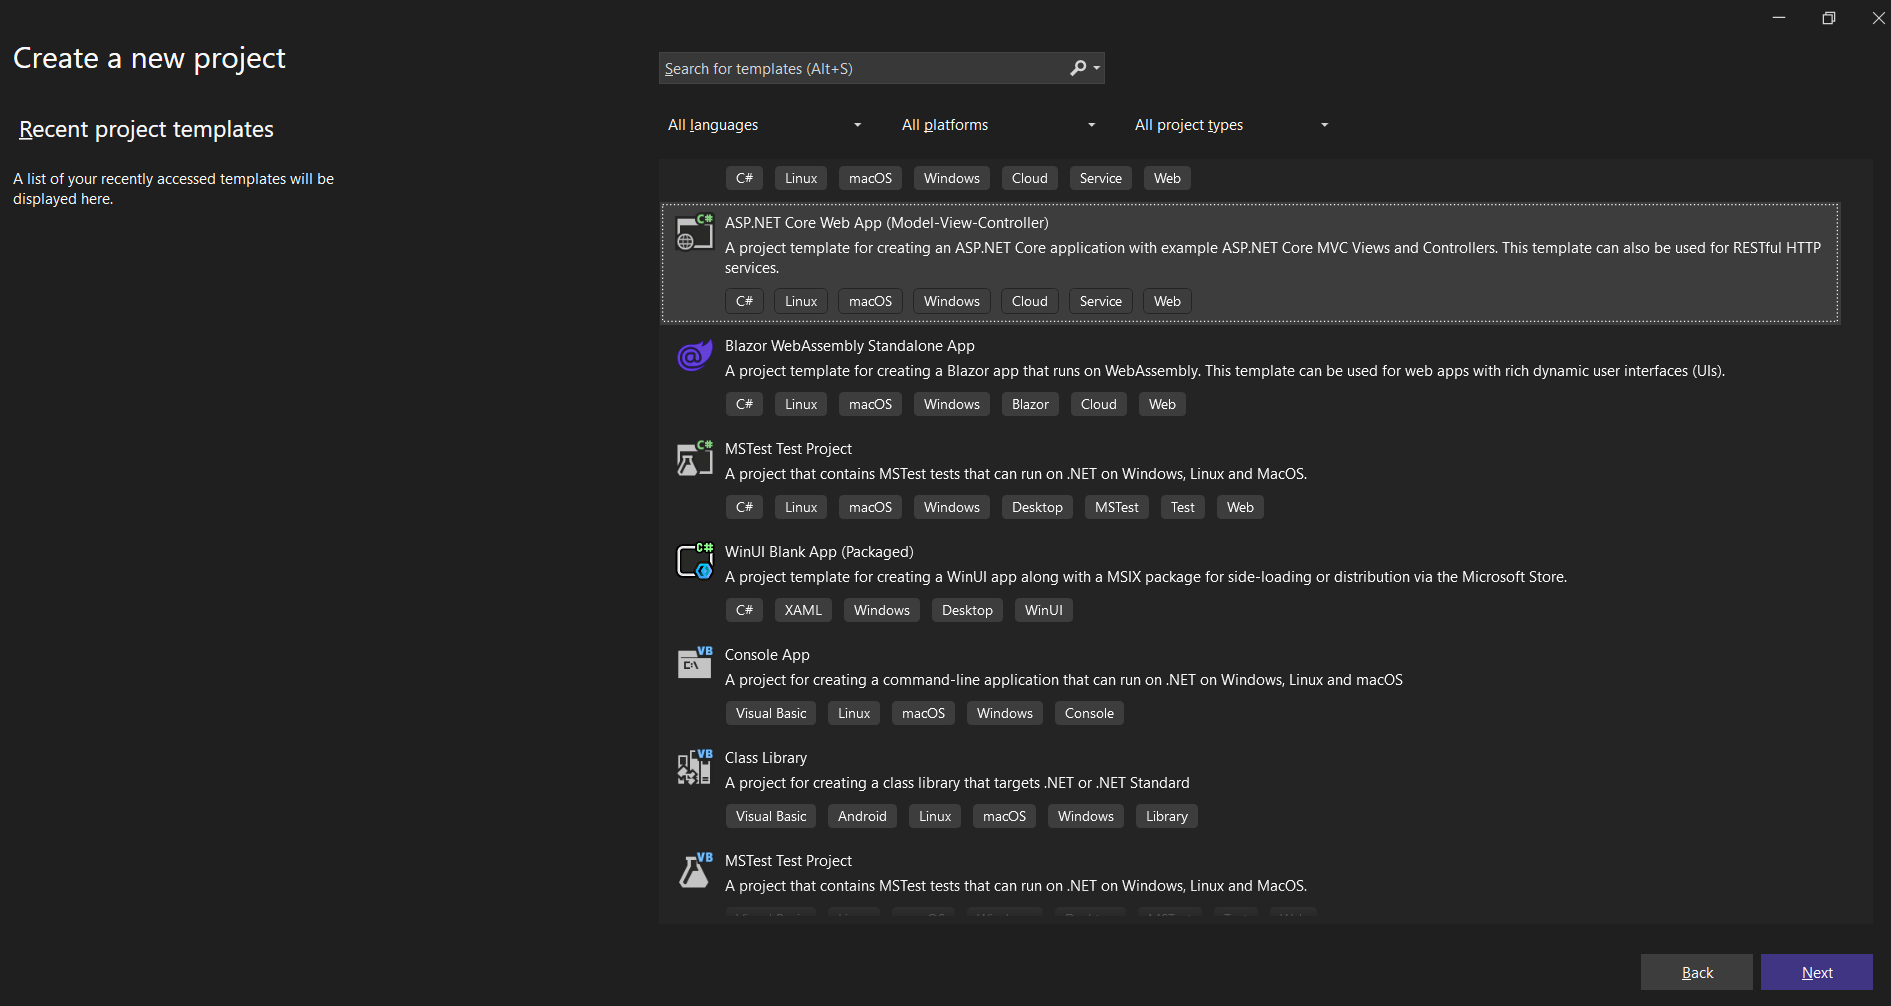
Step 1: Create a new ASP.NET Core Web App (Model-View-Controller) project (Visual Studio → File → New → Project → ASP.NET Core Web App (Model-View-Controller)). Target .NET 8.0 (or .NET 6 / 7) and set Authentication to No Authentication to keep the sample minimal.
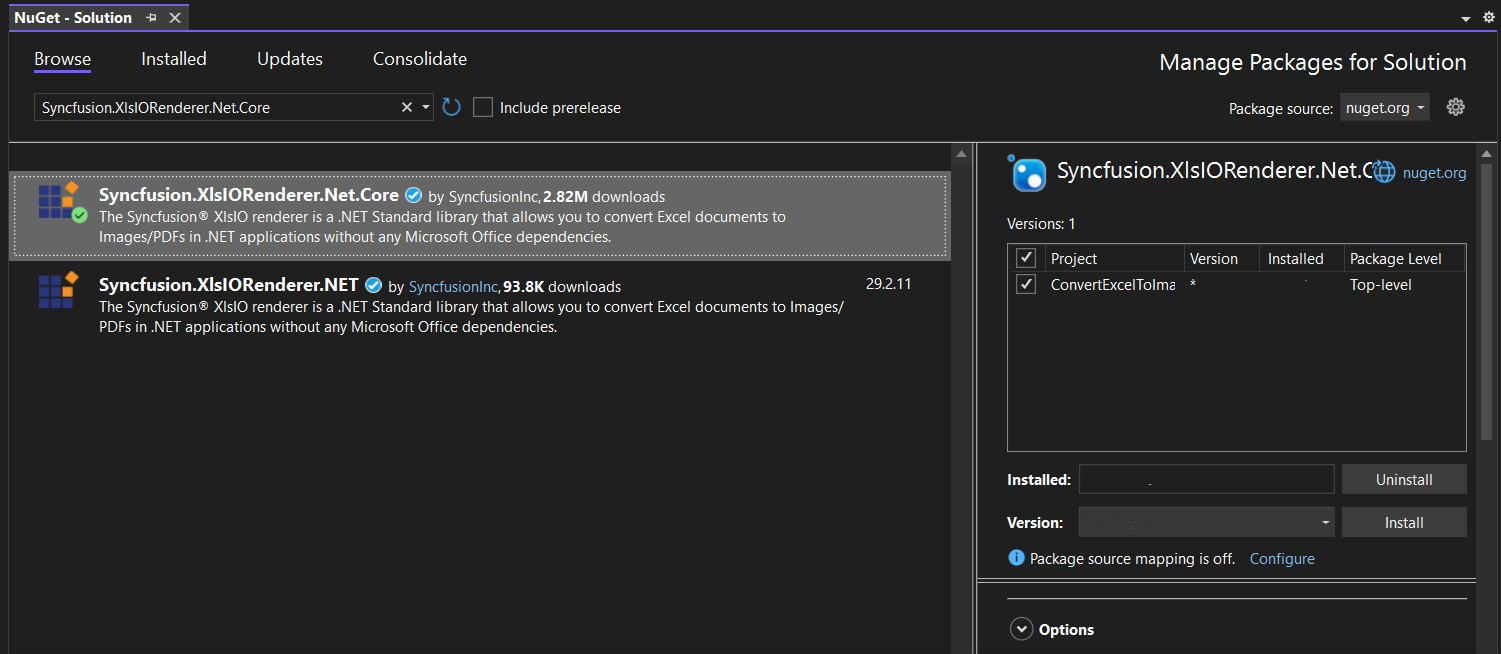
Step 2: Install the Syncfusion.XlsIORenderer.Net.Core NuGet package as a reference to your project from NuGet.org. This package transitively pulls in the required Syncfusion.XlsIO.Net.Core and Syncfusion.Pdf.Net.Core assemblies.
NOTE
Starting with v16.2.0.x, if you reference Syncfusion® assemblies from the trial setup or from the NuGet feed, you must also add the
Syncfusion.Licensingreference and register a license key. Refer to this link to learn how to register the Syncfusion® license key. The simplest approach is to add the following call inProgram.csbeforeapp.Run():Syncfusion.Licensing.SyncfusionLicenseProvider.RegisterLicense("YOUR_LICENSE_KEY");
Step 3: Add the following namespaces in HomeController.cs.
using Syncfusion.XlsIO;
using Syncfusion.XlsIORenderer;
Step 4: Add a new submit button to Index.cshtml (inside the existing <div class="text-center"> block) as shown below.
@{
    Html.BeginForm("ConvertExceltoImage", "Home", FormMethod.Get);
    {
        <div>
            <input type="submit" value="Convert Excel to Image" style="width:200px;height:27px" />
        </div>
    }
    Html.EndForm();
}
Step 5: Add a new action method named ConvertExceltoImage in HomeController.cs and include the following code to convert the Excel document to an image. Place a InputTemplate.xlsx file in the project’s wwwroot folder so the relative path resolves at runtime.
public IActionResult ConvertExceltoImage()
{
    using (ExcelEngine excelEngine = new ExcelEngine())
    {
        IApplication application = excelEngine.Excel;
        application.DefaultVersion = ExcelVersion.Xlsx;

        //Open the existing Excel workbook from wwwroot.
        IWorkbook workbook = application.Workbooks.Open("InputTemplate.xlsx");
        IWorksheet worksheet = workbook.Worksheets[0];

        //Initialize the XlsIO renderer.
        application.XlsIORenderer = new XlsIORenderer();

        //Create a MemoryStream to save the converted image.
        MemoryStream imageStream = new MemoryStream();

        //Save the converted image to the MemoryStream.
        worksheet.ConvertToImage(worksheet.UsedRange, imageStream);
        imageStream.Position = 0;

        //Close the workbook to release resources.
        workbook.Close();

        //Return the image for download in the browser.
        return File(imageStream, "application/jpeg", "Sample.jpeg");
    }
}
Step 1: Create a new ASP.NET Core Web application project.
- Open the command palette by pressing Ctrl+Shift+P and type .NET: New Project and press Enter.
- Choose the ASP.NET Core Web App (Model-View-Controller) template.
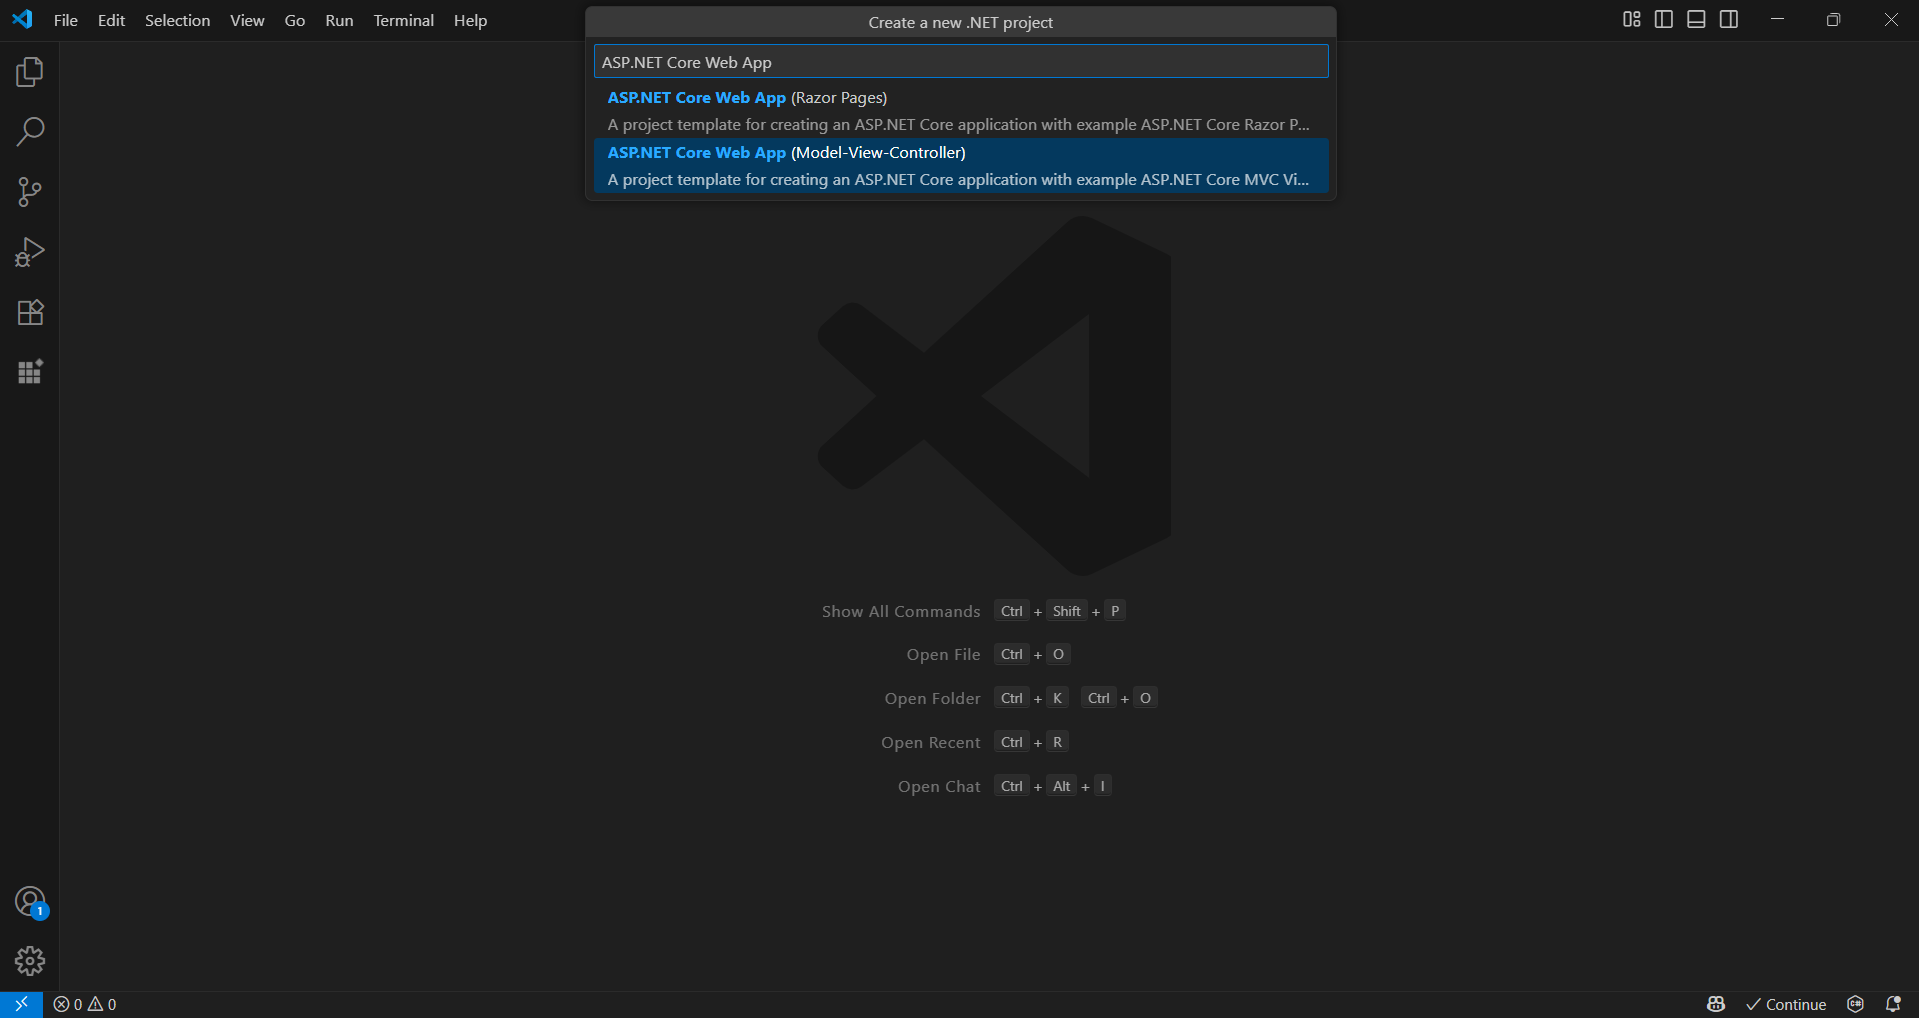
- Select the project location, type the project name, and press Enter.
- Then choose Create project.
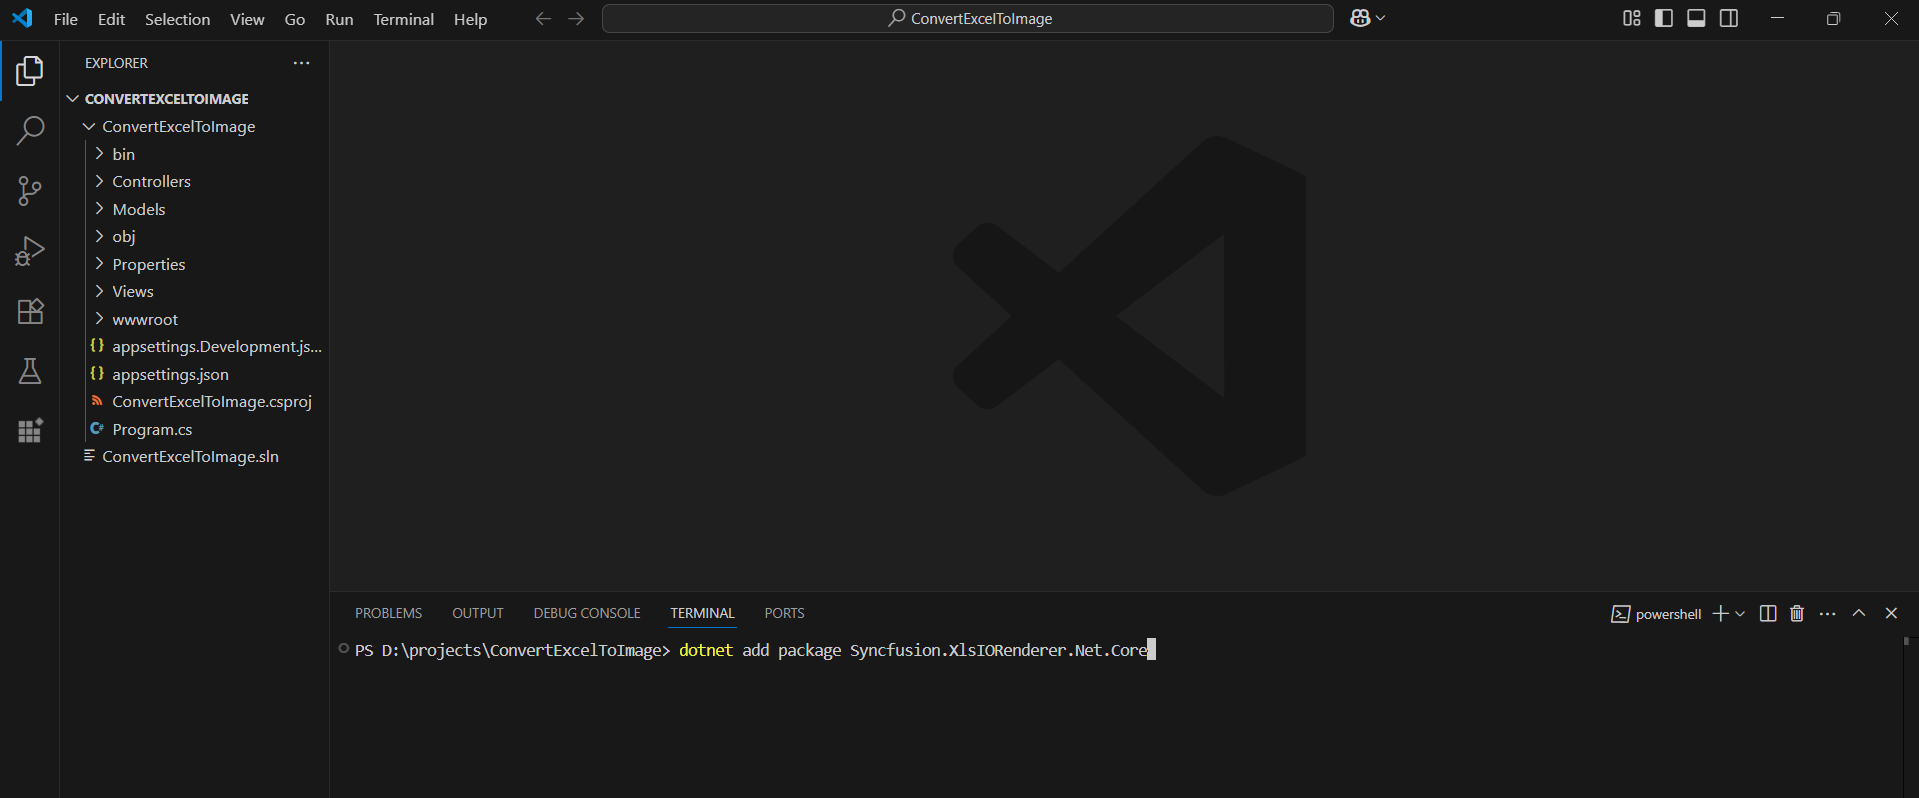
Step 2: To convert an Excel document to an image in an ASP.NET Core Web app, install Syncfusion.XlsIORenderer.Net.Core to the ASP.NET Core project.
- Press Ctrl + ` (backtick) to open the integrated terminal in Visual Studio Code.
- Ensure you’re in the project root directory where your .csproj file is located.
- Run the command
dotnet add package Syncfusion.XlsIORenderer.Net.Coreto install the NuGet package.
NOTE
Starting with v16.2.0.x, if you reference Syncfusion® assemblies from the trial setup or from the NuGet feed, you must also add the
Syncfusion.Licensingreference and register a license key. Refer to this link to learn how to register the Syncfusion® license key. The simplest approach is to add the following call inProgram.csbeforeapp.Run():Syncfusion.Licensing.SyncfusionLicenseProvider.RegisterLicense("YOUR_LICENSE_KEY");
Step 3: Add the following namespaces in HomeController.cs.
using Syncfusion.XlsIO;
using Syncfusion.XlsIORenderer;
Step 4: Add a new submit button to Index.cshtml (inside the existing <div class="text-center"> block) as shown below.
@{
    Html.BeginForm("ConvertExceltoImage", "Home", FormMethod.Get);
    {
        <div>
            <input type="submit" value="Convert Excel to Image" style="width:200px;height:27px" />
        </div>
    }
    Html.EndForm();
}
Step 5: Add a new action method named ConvertExceltoImage in HomeController.cs and include the following code to convert the Excel document to an image. Place a InputTemplate.xlsx file in the project’s wwwroot folder so the relative path resolves at runtime.
public IActionResult ConvertExceltoImage()
{
    using (ExcelEngine excelEngine = new ExcelEngine())
    {
        IApplication application = excelEngine.Excel;
        application.DefaultVersion = ExcelVersion.Xlsx;

        //Open the existing Excel workbook from wwwroot.
        IWorkbook workbook = application.Workbooks.Open("InputTemplate.xlsx");
        IWorksheet worksheet = workbook.Worksheets[0];

        //Initialize the XlsIO renderer.
        application.XlsIORenderer = new XlsIORenderer();

        //Create a MemoryStream to save the converted image.
        MemoryStream imageStream = new MemoryStream();

        //Save the converted image to the MemoryStream.
        worksheet.ConvertToImage(worksheet.UsedRange, imageStream);
        imageStream.Position = 0;

        //Close the workbook to release resources.
        workbook.Close();

        //Return the image for download in the browser.
        return File(imageStream, "application/jpeg", "Sample.jpeg");
    }
}
You can download a complete working sample from GitHub.
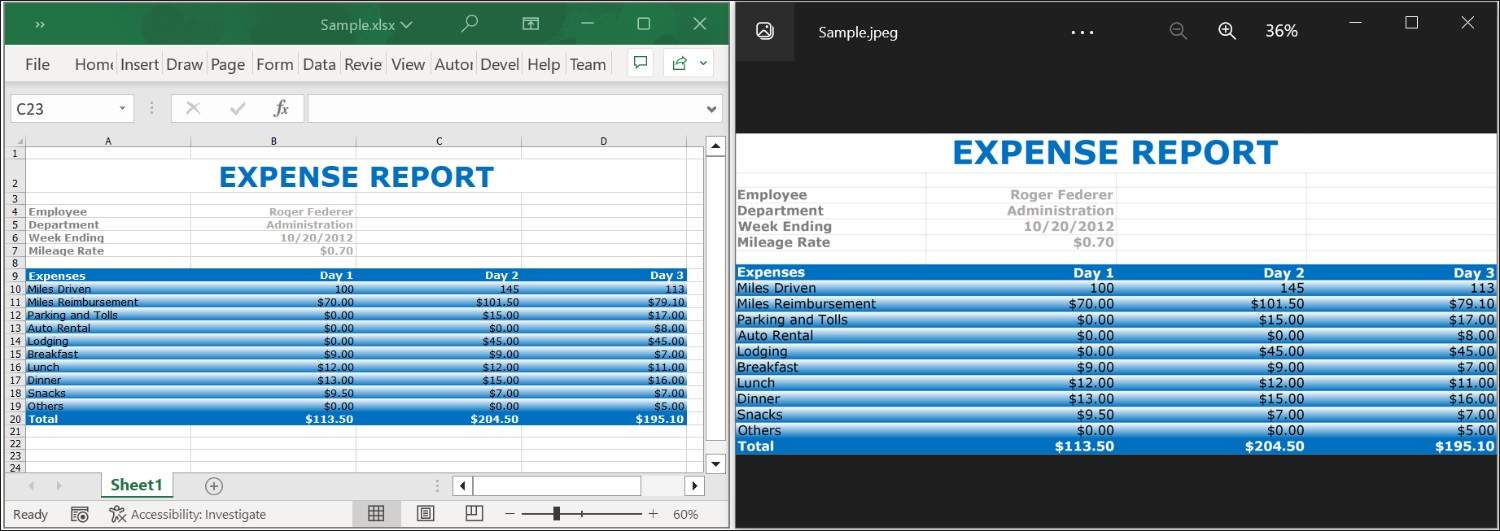
By executing the program, you will get the image as shown below.
Click here to explore the rich set of Syncfusion® Excel library (XlsIO) features.
An online sample link to convert an Excel document to Image in ASP.NET Core.