Installation on Windows
18 Nov 20182 minutes to read
The installation process for Syncfusion Code Studio IDE is straightforward and user-friendly. Simply download the installer from the official Syncfusion website, follow the on-screen instructions to complete the installation, and then launch the IDE. Once installed, you can start using Syncfusion Code Studio immediately to enhance your development experience.
System Requirements
- Operating System: Windows 10 or later
- Processor: Intel Core i5 or equivalent (minimum)
- RAM: 8GB (minimum), 16GB (recommended)
- Disk Space: 2GB of available space
- Internet Connection: Required for downloading the installer and receiving updates
Steps to Install Syncfusion Code Studio IDE
Step 1: Start Installation
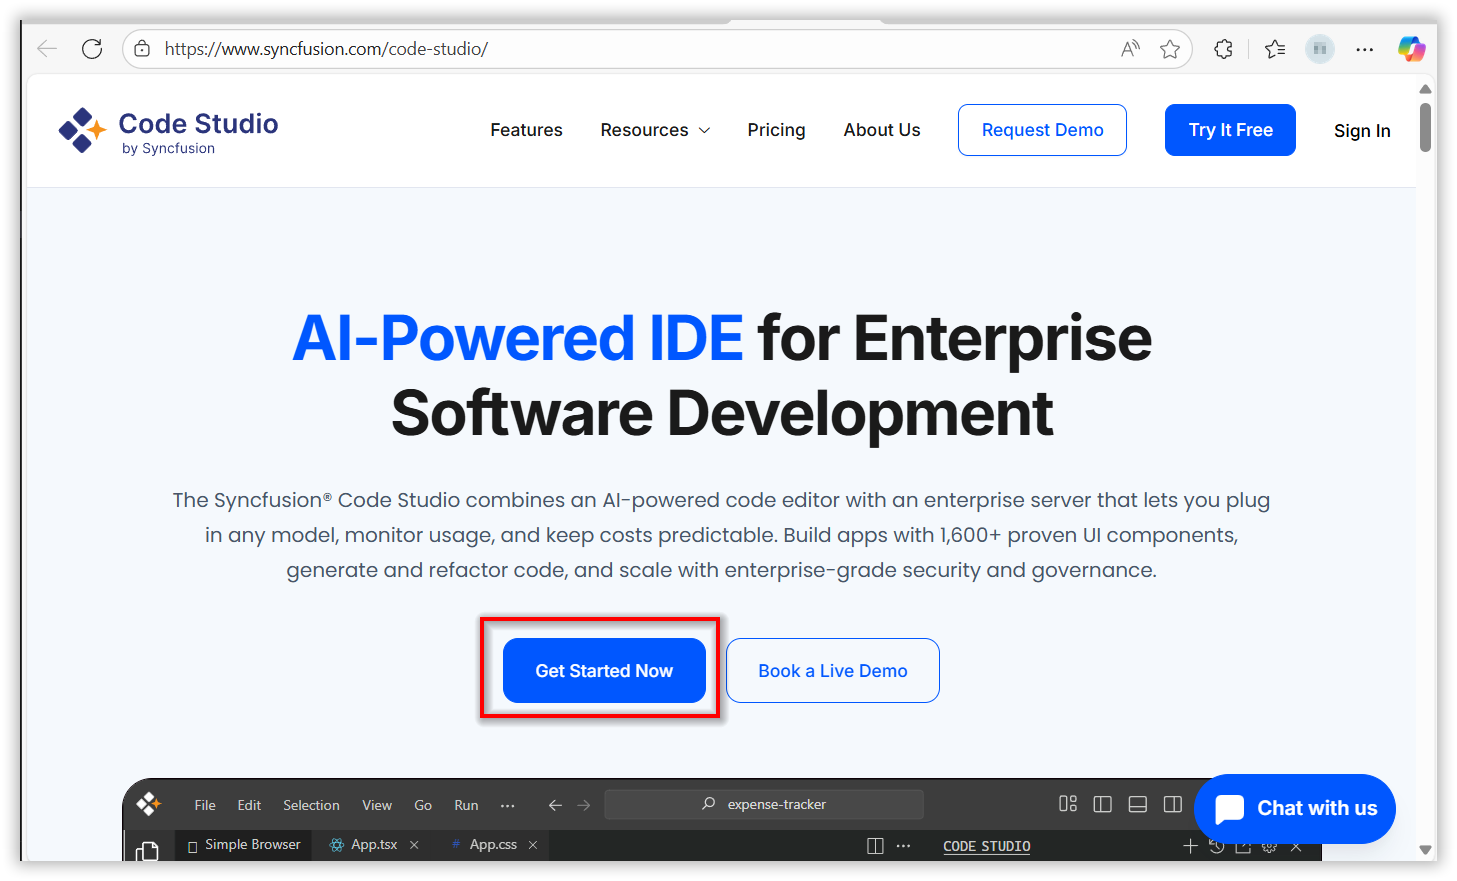
- Visit the official website: Syncfusion Code Studio
- Click the Get Started Now button.
- Follow the instructions to sign in with Syncfusion Code Studio
- Click on the download Code Studio ide.
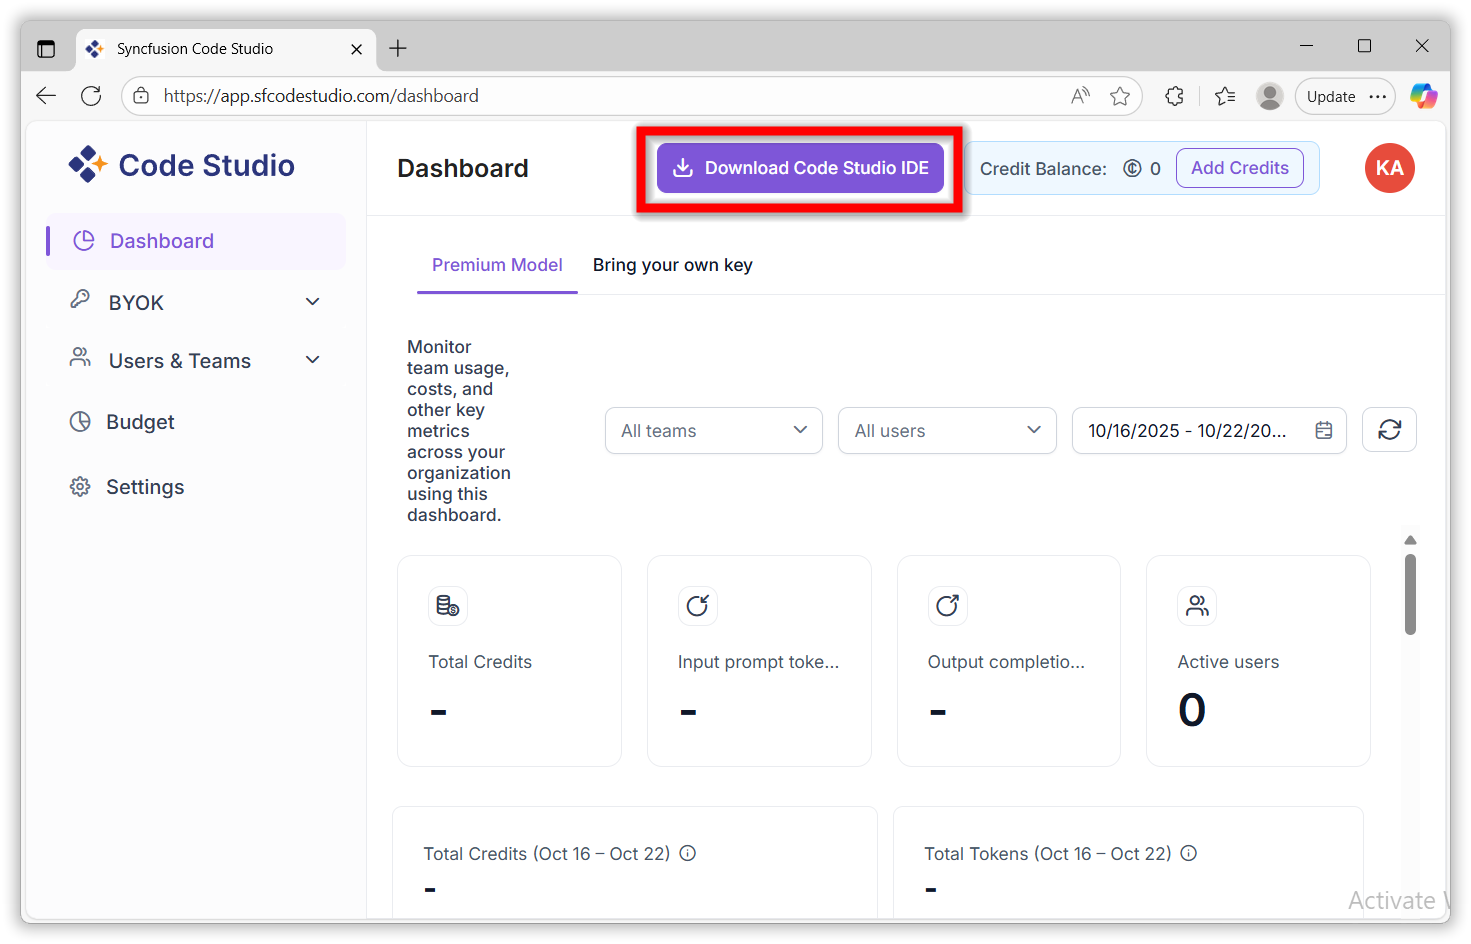
- A list of download options will appear.
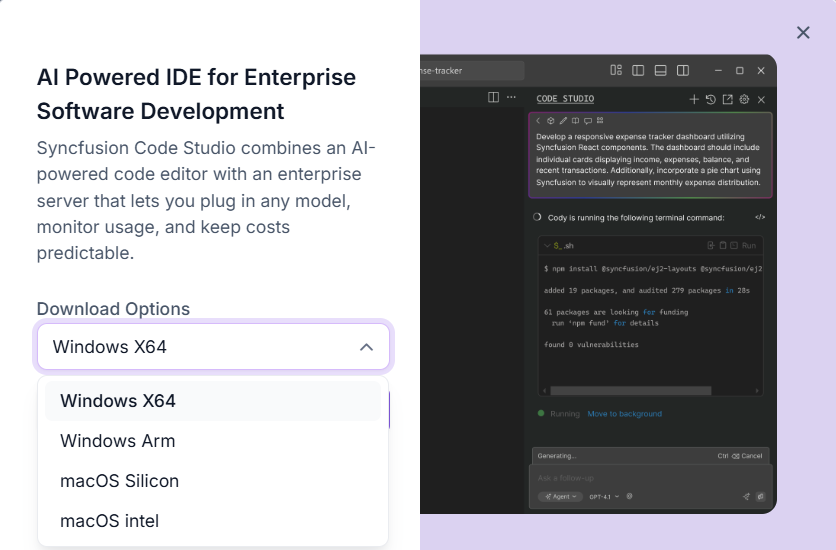
- Click the Download Code Editor option to begin downloading the IDE to your machine.
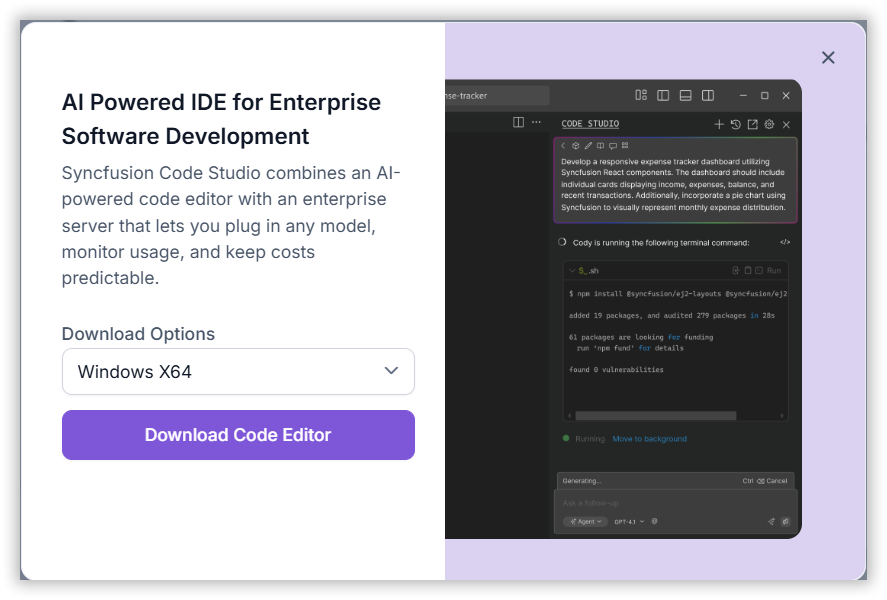
- Double-click the installer to begin the installation process.
- The installation wizard will appear on the screen.
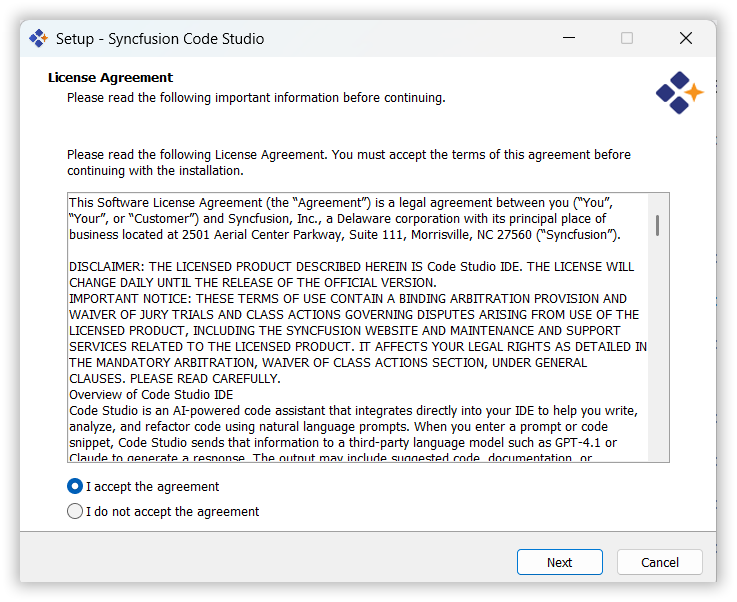
Step 2: Accept the Agreement
- Carefully read the License Agreement.
- To proceed, select the “I accept the agreement” checkbox and click Next.
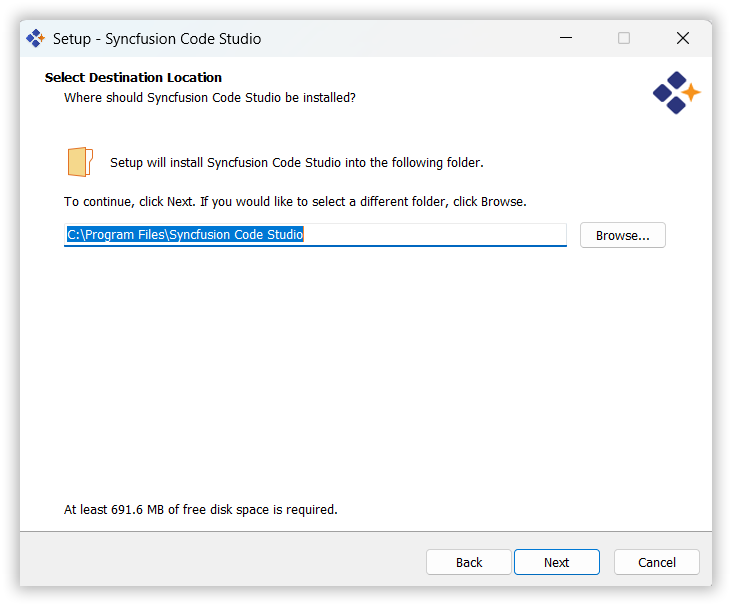
Step 3: Choose the Installation Folder
- By default, the IDE will be installed in the
Program Filesdirectory. - To change the location, click Browse and select your preferred folder.
- Click Next once done.
Step 4: Set Start Menu Folder
- You can specify the folder name that will appear in the Start Menu.
- You can also choose not to create a Start Menu folder by selecting the checkbox.
- Click Next to continue.

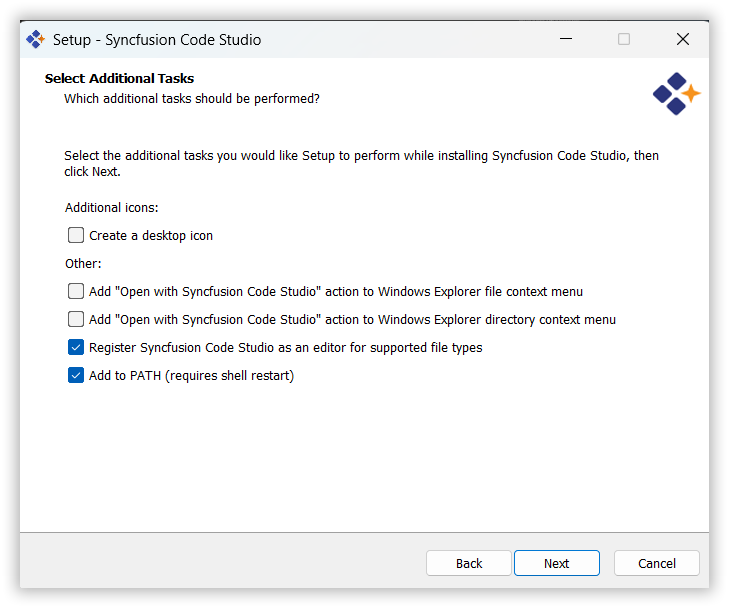
Step 5: Select Additional Tasks
- You may be prompted to create a desktop shortcut or enable additional features.
- Select the tasks you want and click Next.
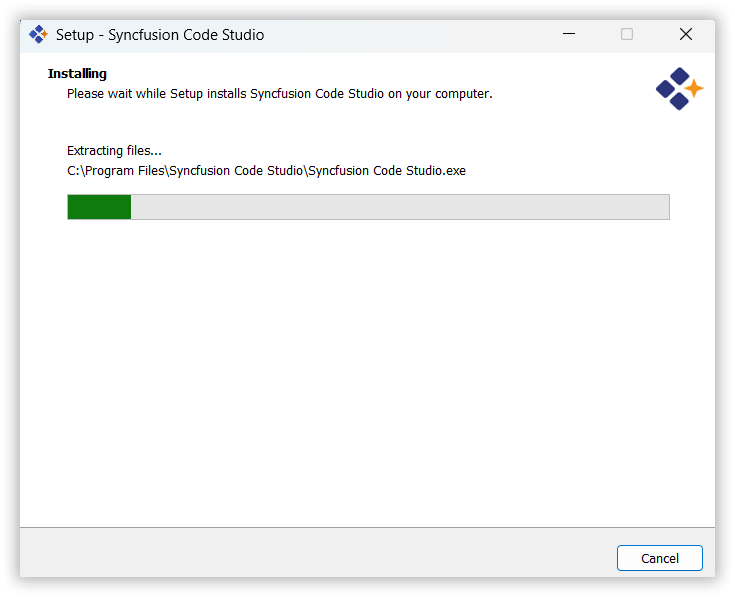
Step 6: Install the IDE
- Review your chosen settings and click Install to start the process.
- A progress bar will indicate the installation status.

Step 7: Completion
- Once the installation is complete, you will see a confirmation screen.
- Click Finish to exit the wizard and launch the IDE.

Note: Code Studio offers a built-in auto-update mechanism to ensure you’re always using the latest version. When a new release becomes available, a notification will appear prompting you to update. Simply click “Update Now”, and the latest version will be downloaded and installed automatically—no manual steps required.
Step 8: Launch the IDE
After installation, the IDE launches with a Welcome Page to help you get started.
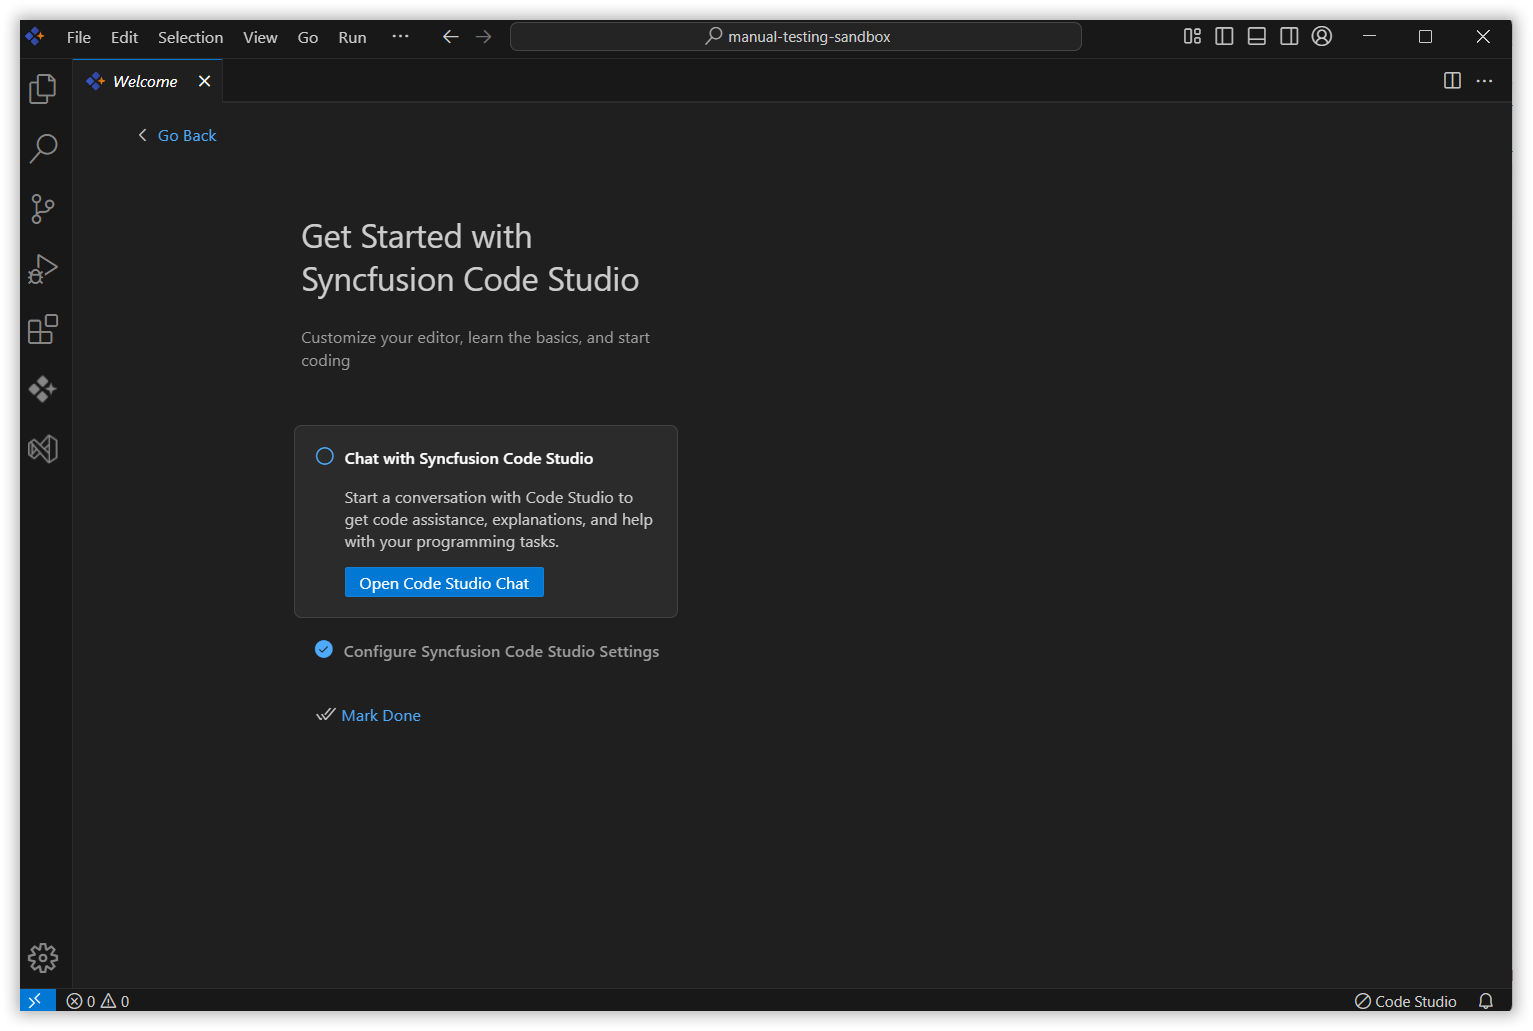
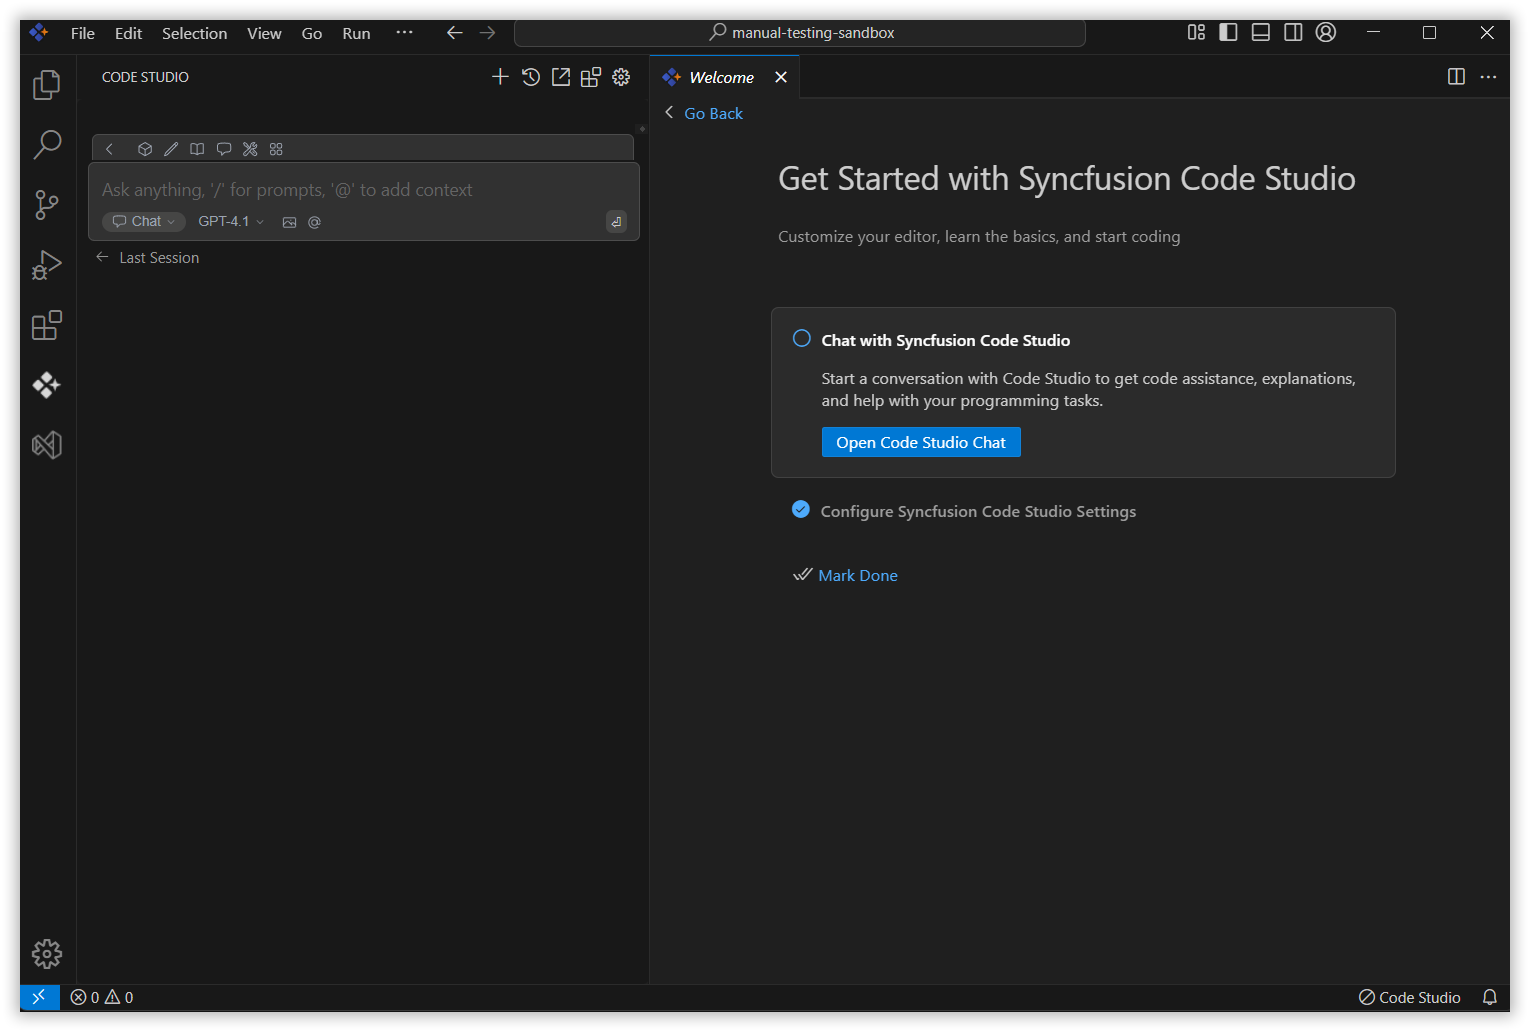
Open Chat Page
- Start a new chat session to interact with Syncfusion Code Studio directly.
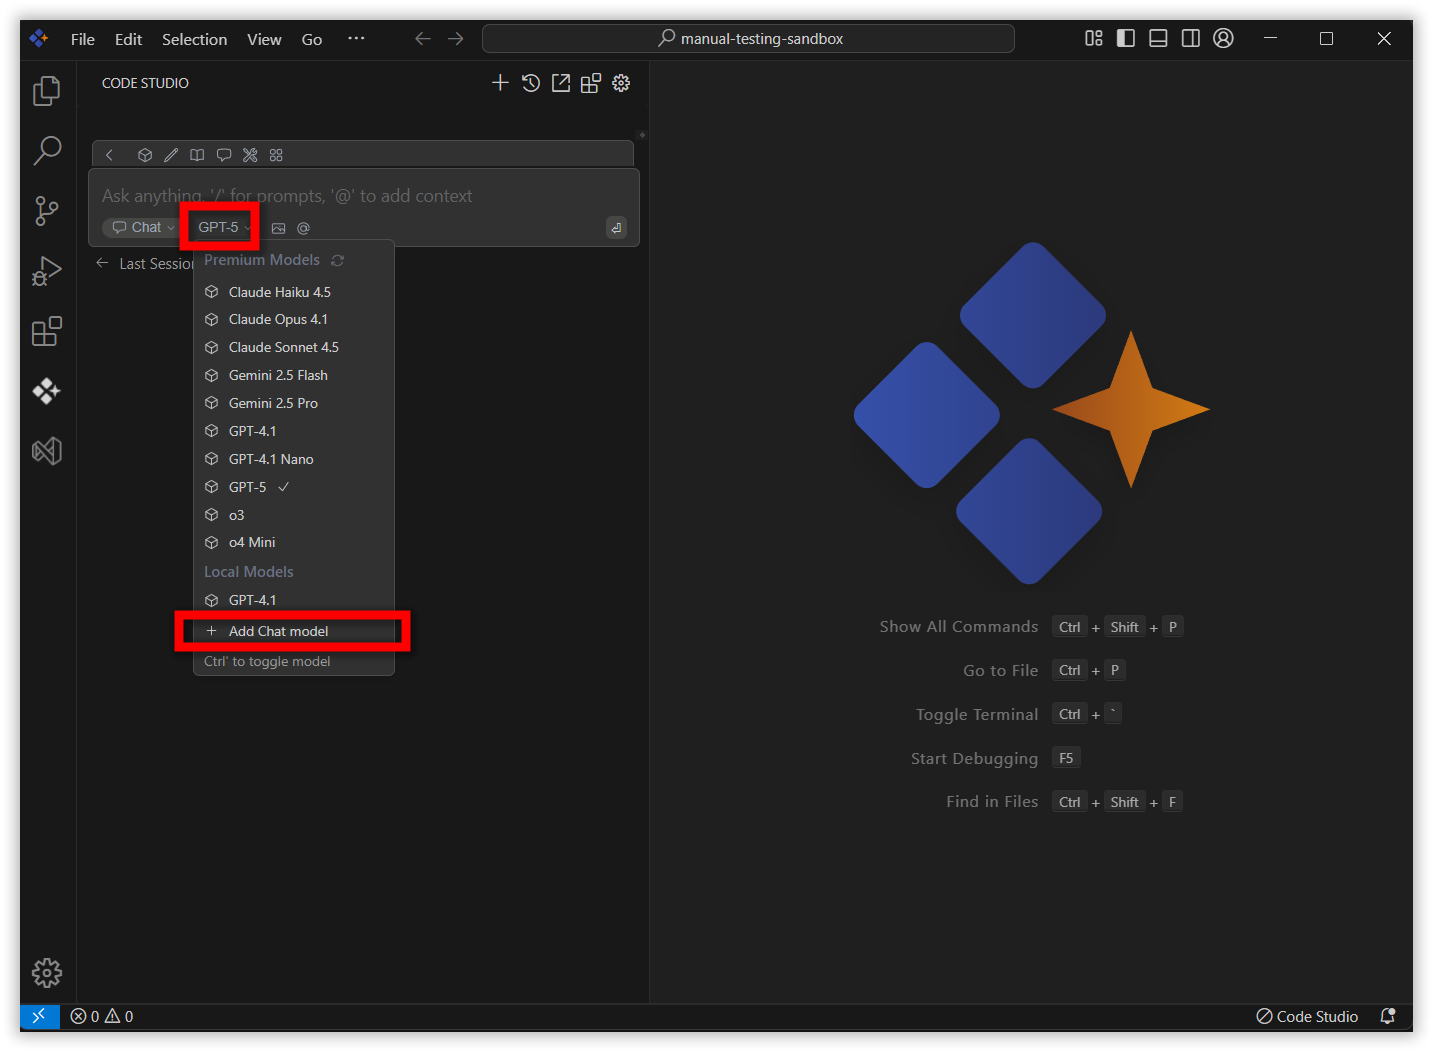
Add Chat Model
- Open a popup to configure your AI model, including provider, model name, and API key.

- You can select the provider from the dropdown

- You can select the Model from the dropdown

- Enter the API key to connect the model with the selected provider and click connect button.
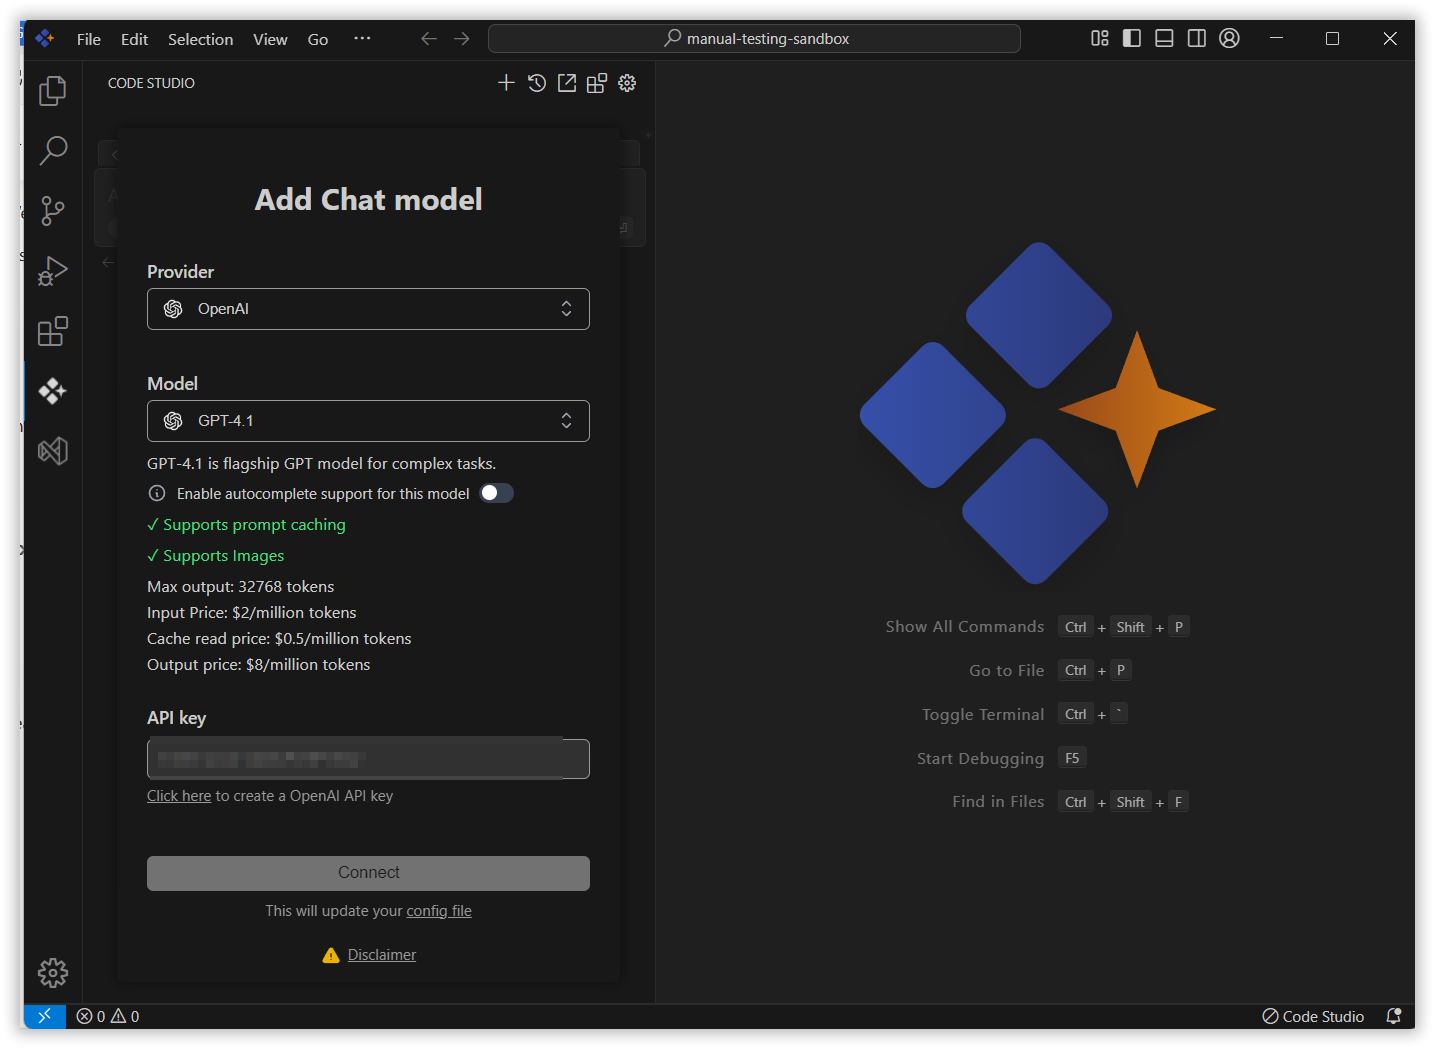
- Now, the selected model has been added and is displayed in the chat box

- Ready for integration within your development environment
