Plan Mode
14 May 20262 minutes to read
Overview
The Plan Agent is a powerful feature in Syncfusion Code Studio that helps you create detailed implementation plans before writing code. It analyzes your task, breaks it down into clear steps, and identifies any questions that need clarification without making code changes until you approve.
Use Cases
Use the Plan Agent when you need to:
- Plan complex features or refactoring efforts
- Understand a task thoroughly before implementing it
- Break down large projects into actionable steps
- Design architecture for new features or components
- Validate requirements and identify potential issues early
Getting Started with the Plan Feature
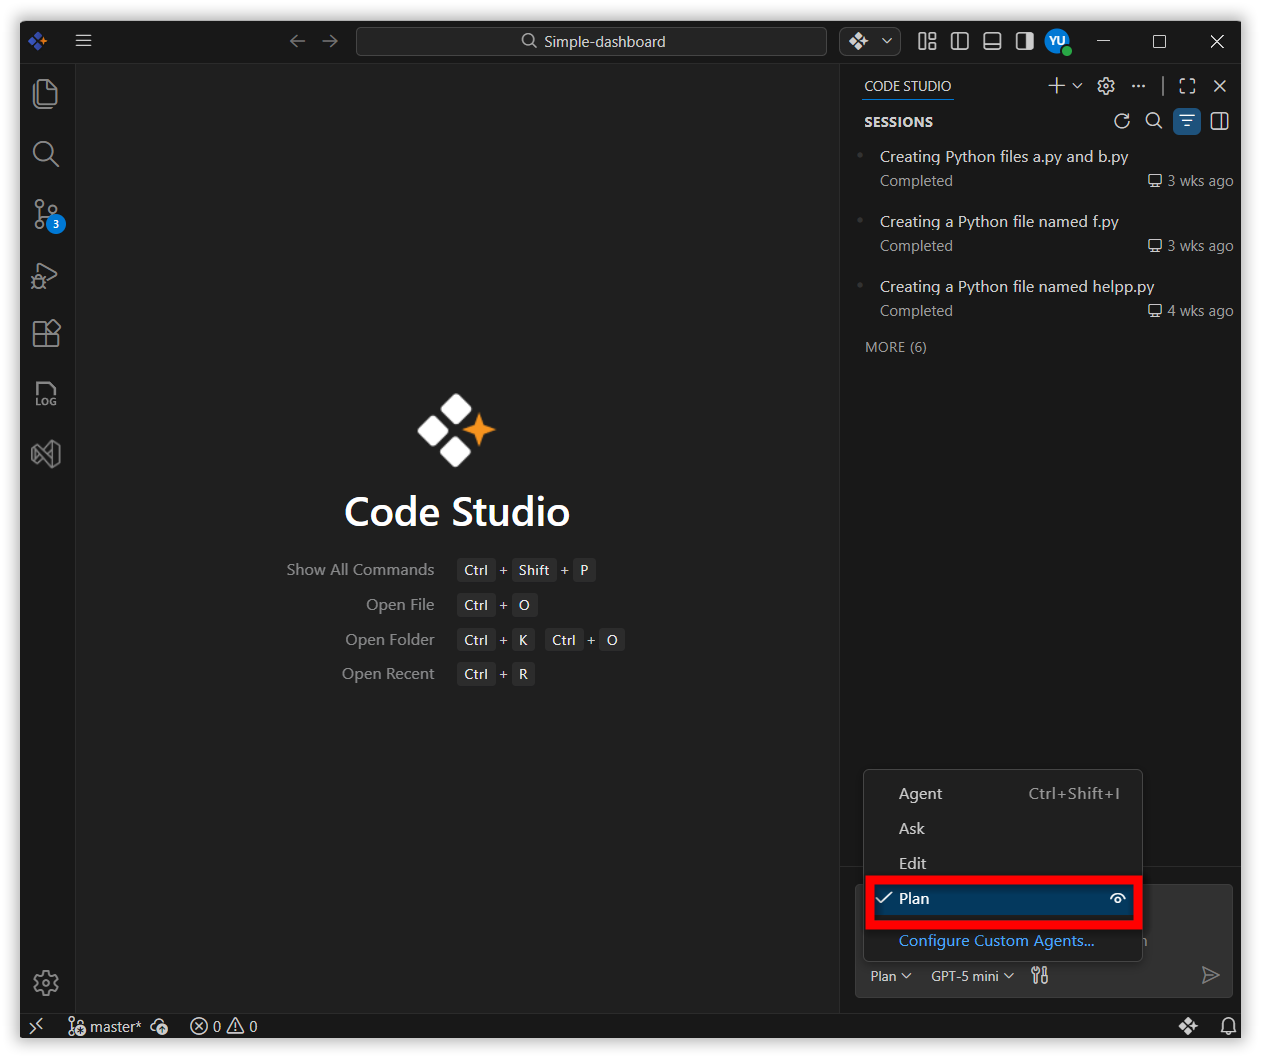
Step 1: Open Chat
-
Open Syncfusion Code Studio and select plan mode in the mode dropdown in the chat panel.
Step 2: Describe Your Task
-
Type a clear description of what you want to accomplish.
Example:
Create a dashboard project for stack analysis using python
Step 3: Review the Plan
The Plan Agent will show you:
- Summary of the task
- Step-by-step breakdown
- Questions that need answers
Step 4: Refine (Optional)
-
Provide feedback or ask questions and adjust the plan until it meets your requirements.
Step 5: Implement or Save the plan
-
Choose one of the following options:
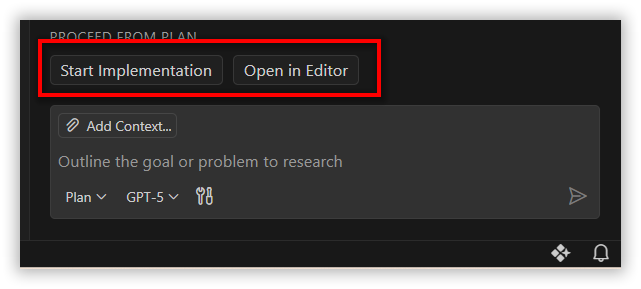
Option A: Start Implementation
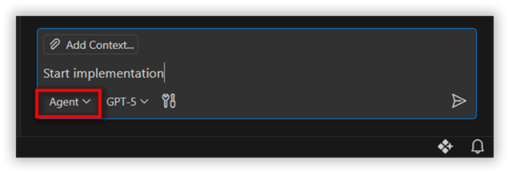
- Select Start Implementation button
-
The command will appear in the chat box and the mode will automatically switch to Agent Mode . Click Enter for execute your plan.
Note: For more information, refer to the Syncfusion Code Studio Agent Mode
Option B: Open in Editor
- Select the Open in Editor button.
-
The plan will be created and opened in the editor.
-
Review the plan, clarify details, and make iterations as needed.
-
Choose Save as Prompt File.
-
The file will be stored in your workspace or globally for future use.
Related Features
Agent Mode
- Executes the approved plan with AI-powered code generation
-
Automatically activated after plan approval
Note: For more information on agent mode features, visit the Syncfusion Code Studio Agent Mode.
Ask Mode
- Ask is optimized for answering questions about your codebase, coding, and general technology concepts
-
Use Ask when you want to understand how something works, explore ideas, or get help with coding tasks
Note: For more information on ask mode features, visit the Syncfusion Code Studio Ask Mode.