How To?
28 Mar 20189 minutes to read
Change Expand/Collapse icons
By default, you are provided with collapse/expand icons in Split bar to collapse or expand the splitter panes. We have provided template support to replace existing expand/collapse icons.
-
expanderTemplate Specifies HTML element string to replace template with existing expand/collapse icons.
-
clickOnExpander event is triggered when we click on the template icon.`
<div id="outterSplitter">
   @Html.EJ().Splitter("innerSplitter").PaneProperties(p1 =>
   {
   p1.Add().ContentTemplate(@<div>
            <div class="cont">
                Pane 1
            </div>
        </div>);
   p1.Add().ContentTemplate(@<div>
            <div class="cont">
                Pane 2
            </div>
        </div>);
   }).Height("250").Width("80%").ExpanderTemplate("<img class='eimg' src='../Content/basketball.png' alt='employee'/>").ClientSideEvents(cs => cs.ClickOnExpander("onClick"))
</div><script type="text/javascript">
var flag = true;
function onClick(args) {
if (flag) { this.collapse(0); flag = false; }
else { this.expand(0); flag = true; }
}
</script>.cont {
padding: 10px 0 0 10px;
text-align: center;
}
.eimg {
height:40px;
width:35px;
margin-left: -13px;
}
.e-splitter .e-splitbar .e-splitter-h-template {
top: 15%;
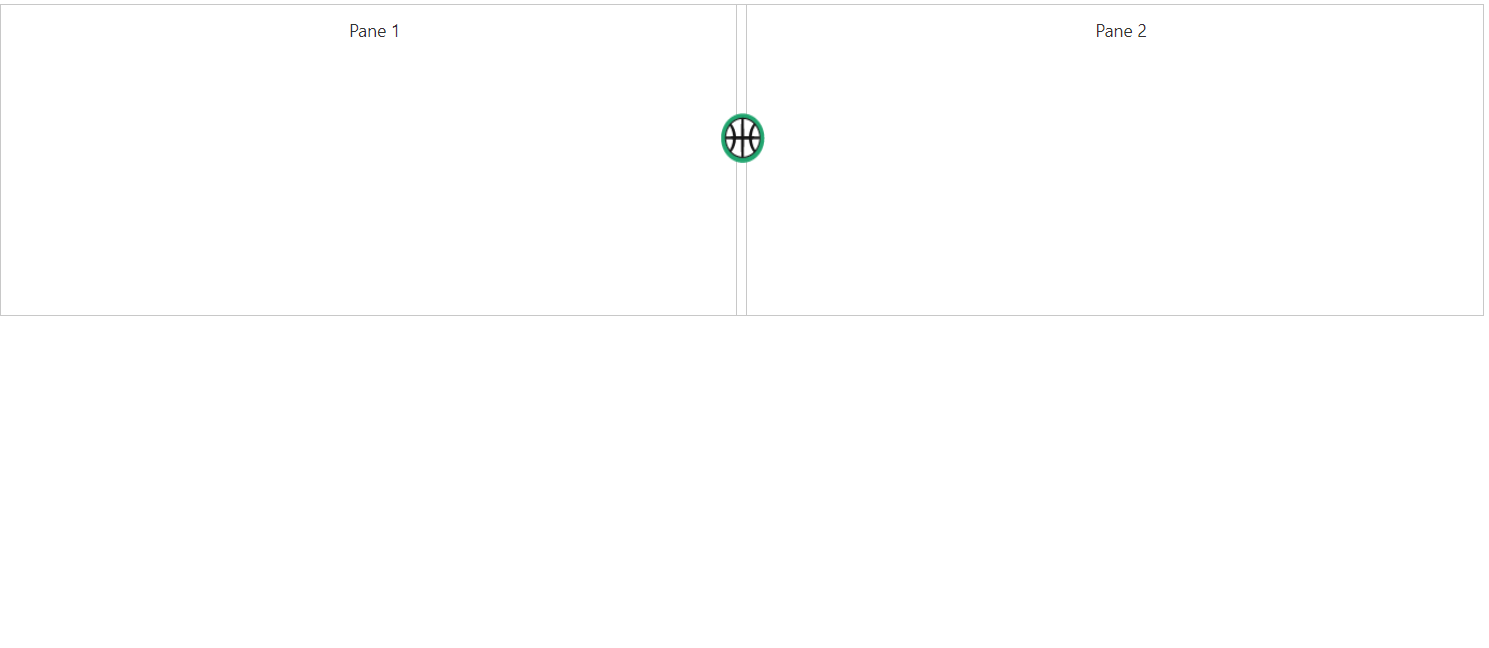
}The output for Splitter with Template support.

Change the splitter pane size dynamically
Splitter pane size can be changed by updating model property of paneSize and by refreshing the control using refresh public method. As shown in the below code, based on the selected dropdown list value, pane size of splitter is changed.
@Html.EJ().DropDownList("customersList").Datasource((IEnumerable<Customers>)ViewBag.datasource).DropDownListFields(df => df.ID("id").Text("text").Value("text")).Value("50").ClientSideEvents(e=>e.Change("change"))
@Html.EJ().Splitter("Splitter").PaneProperties(
    p =>
    {
        p.Add().ContentTemplate(
            @<div>
                <div class="content">
                    <h3 class="h3">
                        Pane 1
                    </h3>
                </div>
            </div>);
        p.Add().ContentTemplate(
            @<div>
                   <h3 class="h3">Pane 2</h3>

                    </div>);
}).Height("350")List<Customers> customer = new List<Customers>();
public ActionResult SplitterFeatures()
{
customer.Add(new Customers { id = "1", text = "25" });
customer.Add(new Customers { id = "2", text = "50" });
customer.Add(new Customers { id = "3", text = "75" });
ViewBag.datasource = customer;
return View();
}
public class Customers
{
public string id { get; set; }
public string text { get; set; }
}<style type="text/css" class="cssStyles">
.cont
{
padding: 10px 0 0 10px;
text-align: center;
}
#inner
{
border:0 none;
}
#Splitter
{
margin: 0 auto;
}
</style><script>
function change(args) {
var obj = $("#Splitter").data("ejSplitter");
obj.model.properties[0].paneSize = args.value + "%";
obj.refresh();
}
</script>
Render Splitter from Code behind
Splitter can be rendered from the code behind by initializing the required properties in controller and passing those properties via ViewData or Model to the client side
The following code illustrates the initialization of Splitter properties in the controller.
//Namespace to get the JavaScript (Splitter) component properties
using Syncfusion.JavaScript.Models;

namespace MvcApplication.Controllers
{
    public class SplitterController: Controller
    {
        public ActionResult SplitterFeatures()
        {

            //Initializing the splitter model

            SplitterProperties splitterObj = new SplitterProperties();

            //Initializing the split panes and other properties

            splitterObj.PaneProperties.Add(new PaneProperties() { Collapsible = true, Expandable = true, ContentTemplate = new Syncfusion.JavaScript.MvcTemplate<PaneProperties> { RazorViewTemplate = (data) => { return "Pane 1"; } } });
            splitterObj.PaneProperties.Add(new PaneProperties() { Collapsible = true, Expandable = true, ContentTemplate = new Syncfusion.JavaScript.MvcTemplate<PaneProperties> { RazorViewTemplate = (data) => { return "Pane 2"; } } });

            splitterObj.Orientation = Syncfusion.JavaScript.Orientation.Vertical;
            splitterObj.Height = "300px";
            splitterObj.Width = "500px";


             //Passing Splitter properties using the ViewData

             ViewData["SplitterModel"] = splitterObj;

             return View();
        }
    }
}
Binding the Splitter properties passed via ViewData from the controller in the client side as below.
@{
    Html.EJ().Splitter("Splitter", (Syncfusion.JavaScript.Models.SplitterProperties)ViewData["SplitterModel"]).Render();
}