8 Jun 20175 minutes to read
This feature is used for produce text and graphics from a computer screen or file onto a sheet of paper. You can use allowPrinting property in printSettingsto enable/disable the print operation.
You have following options in printing.
- Print Sheet / Print Selected Area.
- Print with Gridlines
- Print with Headings
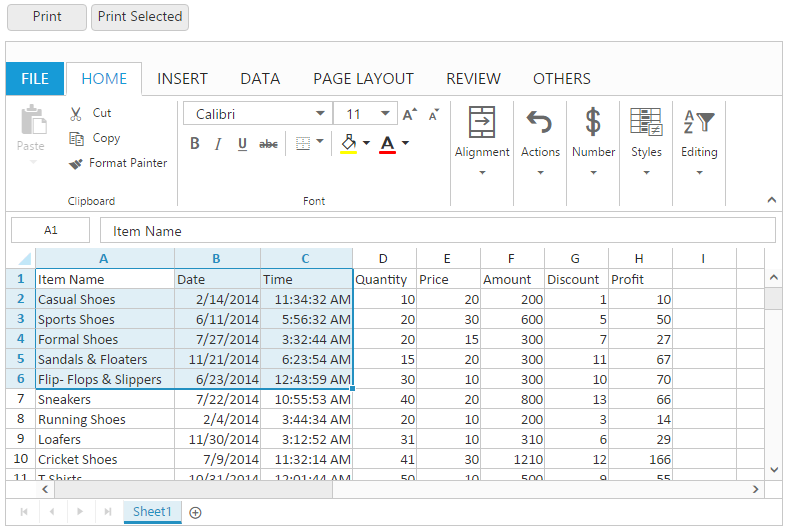
Print Sheet / Print Selected Area
You can print the sheet or print the selected area by following ways,
- Using the Print button or Print Selected button under Print group of PAGE LAYOUT tab in ribbon.
- Using
printSheetorprintSelectionmethod to print the spreadsheet.
The following code example describes the above behavior.
<div><button id="btnPrint" (click)="printClick($event)">Print</button>
<button id="btnPrintSel" (click)="printSelClick($event)">Print Selected</button> </div> <br />
<ej-spreadsheet id="spreadsheet" (loadComplete)= loadComplete($event)  [printSettings.allowPrinting]= "true" >
    <e-sheets>
        <e-sheet>
            <e-rangesettings>
                <e-rangesetting [dataSource]="spreadData" ></e-rangesetting>
            </e-rangesettings>
        </e-sheet>
    </e-sheets>
</ej-spreadsheet>import {Component, ViewEncapsulation} from '@angular/core';
import {SpreadsheetService } from './services/spreadsheet.service';
@Component({
selector: 'ej-app',
templateUrl: 'app/app.component.html', //give the path file for spreadsheet control html file.
providers:[SpreadsheetService ]
})
export class AppComponent {
public spreadData;
constructor(public SpreadsheetService: SpreadsheetService ) {
this.spreadData = SpreadsheetService.getDefaultData();
}
loadComplete(event) {
let xlObj = $("#spreadsheet").data("ejSpreadsheet");
if(!xlObj.isImport) {
xlObj.setWidthToColumns([ 140, 85, 85 ]);
xlObj.performSelection("A1:C6");
}
}
printClick(event) {
let xlObj = $("#spreadsheet").data("ejSpreadsheet");
xlObj.XLPrint.printSheet();
}
printSelClick(event) {
let xlObj = $("#spreadsheet").data("ejSpreadsheet");
xlObj.XLPrint.printSelection();
}
}The following output is displayed as a result of the above code example.
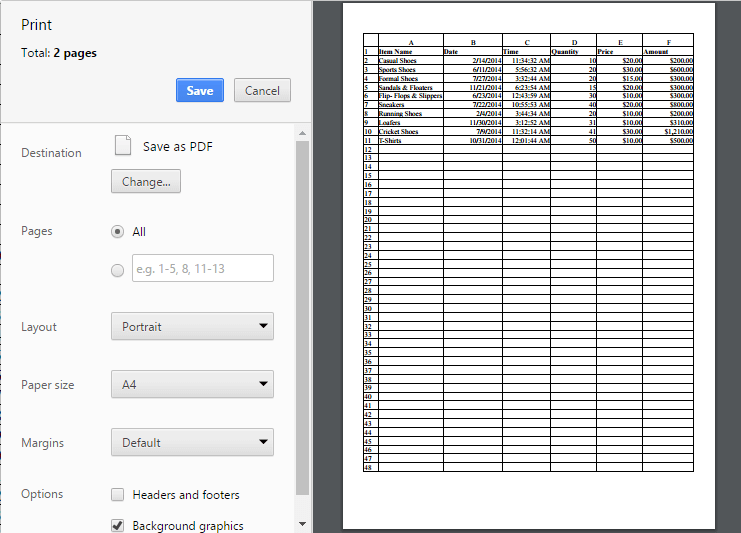
Print dialog with entire sheet in Chrome browser
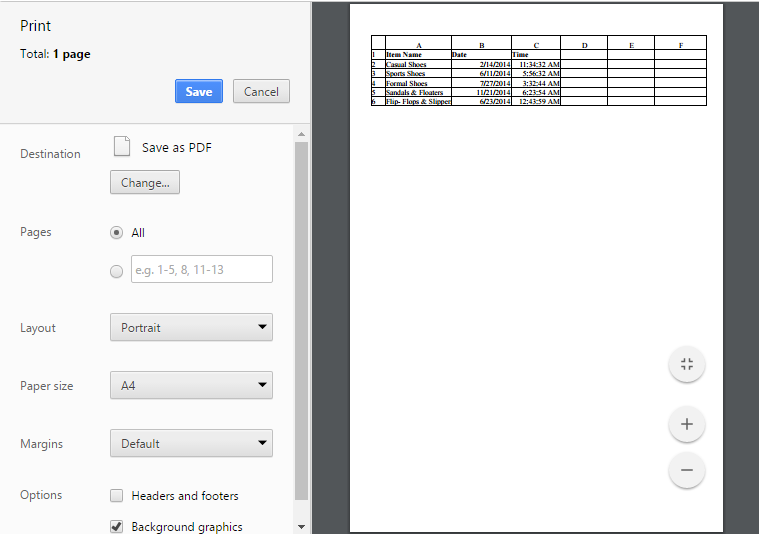
Print dialog with selected area print in chrome browser
Print with Gridlines
You have an option to print the spreadsheet with gridlines or without gridlines. You can do this by one of the following ways,
- Check the Gridlines option under Show group of PAGE LAYOUT tab in ribbon to print with Gridlines.
- Using
showGridlinesproperty to enable / disable the gridlines.
The following code example describes the above behavior.
<ej-spreadsheet id="spreadsheet" (loadComplete)= loadComplete($event)  [printSettings.allowPrinting]= "true" >
    <e-sheets>
        <e-sheet [showGridlines] = "false" >
            <e-rangesettings>
                <e-rangesetting [dataSource]="spreadData" ></e-rangesetting>
            </e-rangesettings>
        </e-sheet>
    </e-sheets>
</ej-spreadsheet>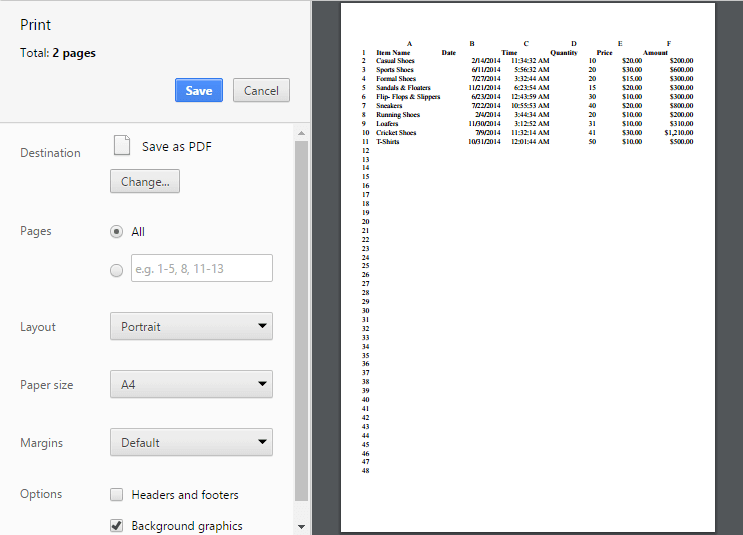
Print dialog without gridlines in chrome browser
Print with Headings
You have an option to print the spreadsheet with headers or without headers. You can do this by one of the following ways,
- Check the Headings option under Show group of PAGE LAYOUT tab in ribbon.
- Using
showHeadingsproperty to enable / disable headings.
The following code example describes the above behavior.
<ej-spreadsheet id="spreadsheet"  (loadComplete)= loadComplete($event)  [printSettings.allowPrinting]= "true" >
    <e-sheets>
        <e-sheet [showHeadings] = "false" >
            <e-rangesettings>
                <e-rangesetting [dataSource]="spreadData" ></e-rangesetting>
            </e-rangesettings>
        </e-sheet>
    </e-sheets>
</ej-spreadsheet>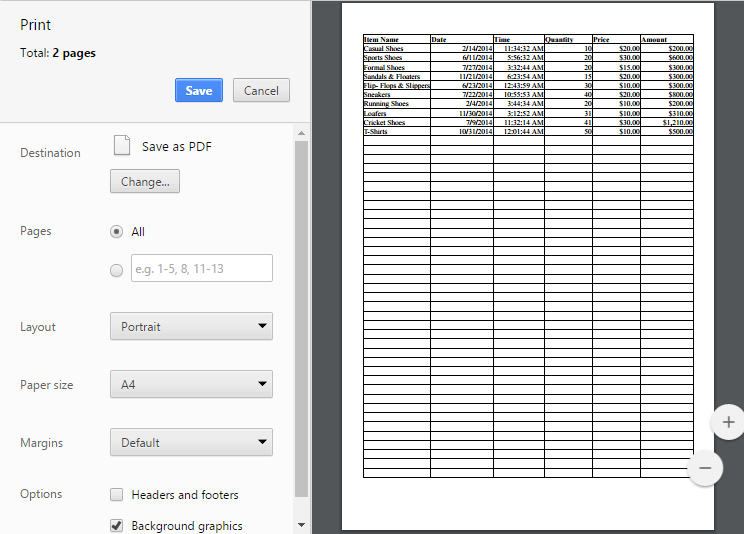
Print dialog without headings in chrome browser