How can I help you?
Getting Started
To get start with how to use the Scheduler component within Angular-2 platform, refer the basic requisites and the configurations needs to be done on the system from here.
Once the configurations are done, Create an angular seed application by referring here.
Initializing Scheduler
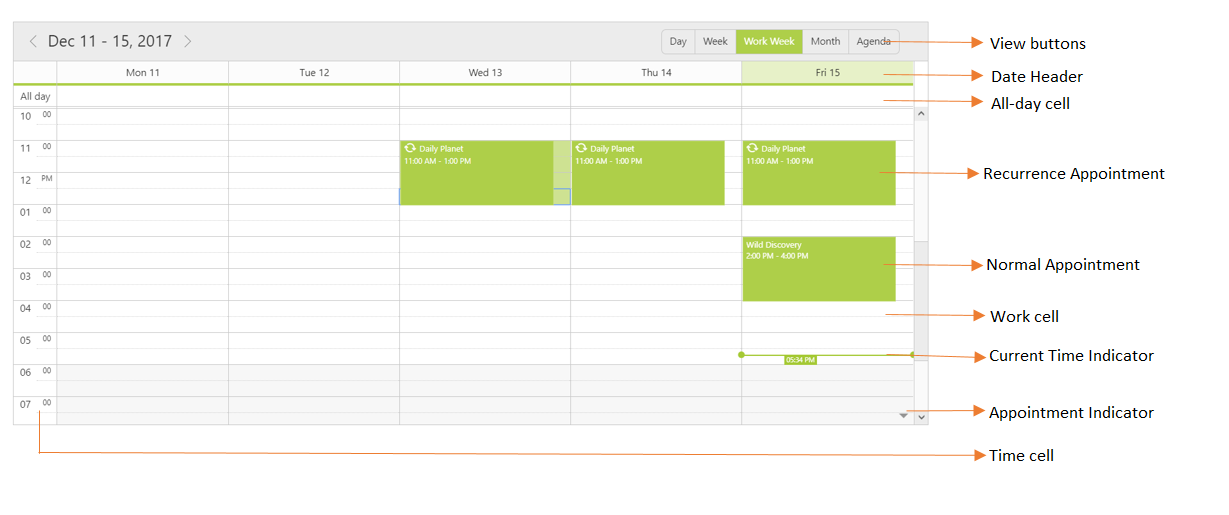
To render the Schedule component on a page, simply define it with the ej-schedule tag as shown in the below code example.
<ej-schedule id="Schedule1" width="100%" height="525px" currentView="week" currentDate="5/4/2014">
</ej-schedule>
Data-binding
The above code example creates an empty Scheduler with no data bound to it. To bind specific appointment data on the Scheduler, then the dataSource property needs to be defined as shown below.
<ej-schedule id="Schedule1" width="100%" height="525px" currentView="week" currentDate="5/4/2014"
        [appointmentSettings.dataSource]=scheduleData >
</ej-schedule>
The below code depicts the collection of appointment data, which is then assigned to the Scheduler dataSource.
import { Component } from '@angular/core';

@Component({
    selector: 'ej-app',
    templateUrl: 'src/schedule/schedule.component.html',
})
export class ScheduleComponent {
    public scheduleData: any;
    constructor() {
        this.scheduleData = [{
            Id: 100, Subject: "Bering Sea Gold", StartTime: new Date(2014, 4, 5, 10, 0),
            EndTime: new Date(2014, 4, 5, 11, 0), Description: "", AllDay: false, Recurrence: false, Categorize: "1,3"
        },
        {
            Id: 101, Subject: "Bering Sea Gold", StartTime: new Date(2014, 4, 2, 16, 0),
            EndTime: new Date(2014, 4, 2, 17, 30), Description: "", AllDay: false, Recurrence: false, Categorize: "2,5"
        },
        {
            Id: 102, Subject: "What Happened Next?", StartTime: new Date(2014, 4, 4, 1, 0),
            EndTime: new Date(2014, 4, 4, 1, 30), Description: "", AllDay: false, Recurrence: false, Categorize: "3,6"
        }];
    }
}