Getting Started with Flutter AI AssistView (SfAIAssistView)
18 Nov 201819 minutes to read
This section explains how to add the Flutter AI AssistView widget to a single Flutter application and how to use its basic features.
Add Flutter AI AssistView to an application
Create a simple Flutter project by following the instructions provided in the Getting Started with your first Flutter app documentation.
Add dependency
Add the Syncfusion Flutter Chat dependency to your pubspec.yaml file.
dependencies:
      syncfusion_flutter_chat: ^x.x.x
Here x.x.x denotes the current version of
Syncfusion Flutter Chatpackage. It is recommended to use the latest available version from pub.dev for the best features and updates.
Get packages
Run the following command to get the required packages.
Import the AI AssistView library
Import the library using the code provided below.
import 'package:syncfusion_flutter_chat/assist_view.dart';Initialize AI AssistView widget
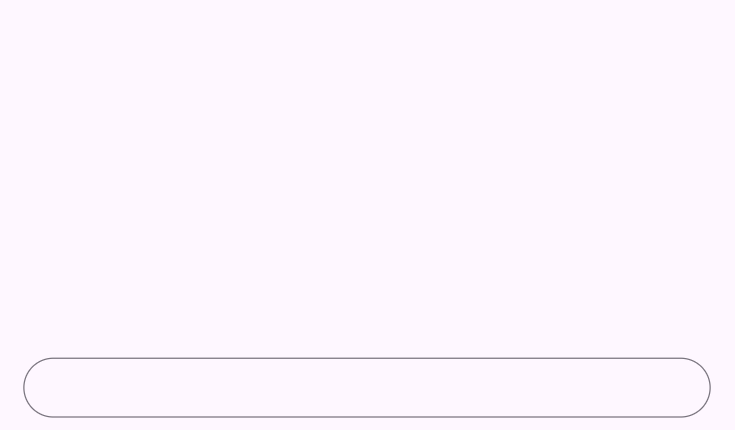
Add an AI AssistView widget with the required messages property.
import 'package:flutter/material.dart';
import 'package:syncfusion_flutter_chat/assist_view.dart';

class GettingStartedExample extends StatelessWidget {
  const GettingStartedExample({super.key});

  final List<AssistMessage> _messages = const <AssistMessage>[];

  @override
  Widget build(BuildContext context) {
    return Scaffold(
      body: SfAIAssistView(
        messages: _messages,
      ),
    );
  }
}
Add composer
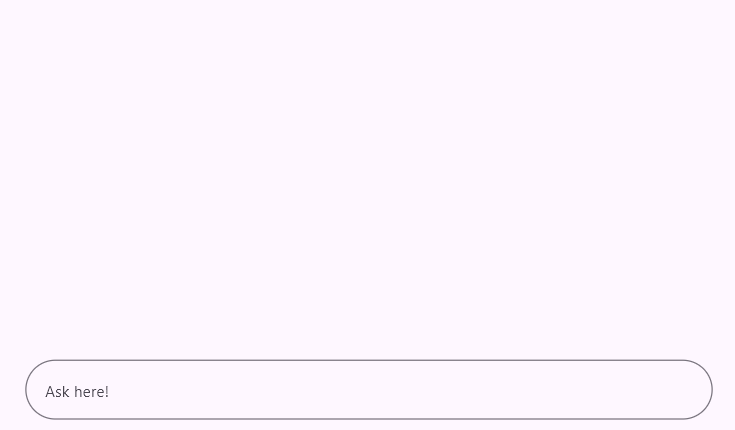
To add the AssistComposer to the SfAIAssistView widget, use the composer property. The composer can be customized using the decoration property, which is of type InputDecoration. The hint text in the composer can be added using the hintText property within InputDecoration.
import 'package:flutter/material.dart';
import 'package:syncfusion_flutter_chat/assist_view.dart';

class ComposerExample extends StatelessWidget {
  const ComposerExample({super.key});

  final List<AssistMessage> _messages = const <AssistMessage>[];

  @override
  Widget build(BuildContext context) {
    return Scaffold(
      body: SfAIAssistView(
        messages: _messages,
        composer: const AssistComposer(
          decoration: InputDecoration(
            hintText: 'Ask here',
          ),
        ),
      ),
    );
  }
}
Add placeholder to conversation area
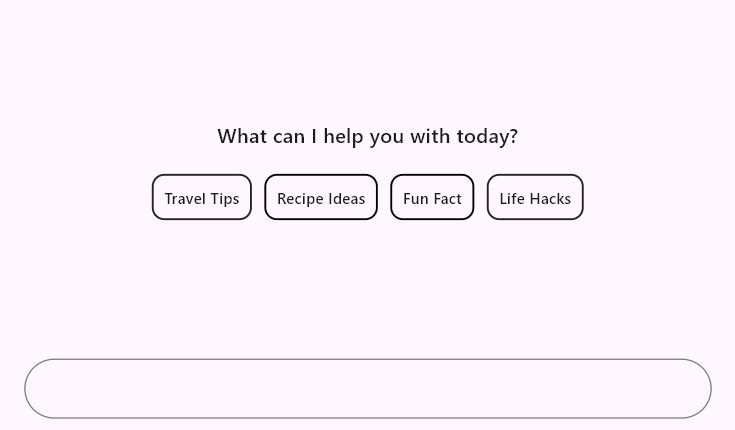
By default, conversation messages are empty. It’s a good idea to show a message or design to indicate this. You can use the placeholderBuilder property to create a custom widget that appears in the conversation area, which can be removed once messages start coming in.
The following sample also adds an AssistActionButton so the composed message is added to the messages list via setState. The _getAIResponse method is a placeholder that returns an empty string until you connect it to your preferred AI service.
import 'package:flutter/material.dart';
import 'package:syncfusion_flutter_chat/assist_view.dart';

class PlaceholderExample extends StatefulWidget {
  @override
  State<PlaceholderExample> createState() => _PlaceholderExampleState();
}

class _PlaceholderExampleState extends State<PlaceholderExample> {
  final List<AssistMessage> _messages = <AssistMessage>[];

  void _generativeResponse(String data) async {
    final String response = await _getAIResponse(data);
    setState(() {
      _messages.add(AssistMessage.response(data: response));
    });
  }

  Future<String> _getAIResponse(String data) async {
    String response = '';
    // Connect with your preferred AI to generate a response to the request.
    return response;
  }

  @override
  Widget build(BuildContext context) {
    return Scaffold(
      body: SfAIAssistView(
        messages: _messages,
        placeholderBuilder: (BuildContext context) {
          return const Center(
            child: Text(
              'What can I help you with today?',
              style: TextStyle(
                fontSize: 16,
                fontWeight: FontWeight.w600,
              ),
            ),
          );
        },
        actionButton: AssistActionButton(
          onPressed: (String data) {
            setState(() {
              _messages.add(AssistMessage.request(data: data));
              _generativeResponse(data);
            });
          },
        ),
      ),
    );
  }
}
Add action button
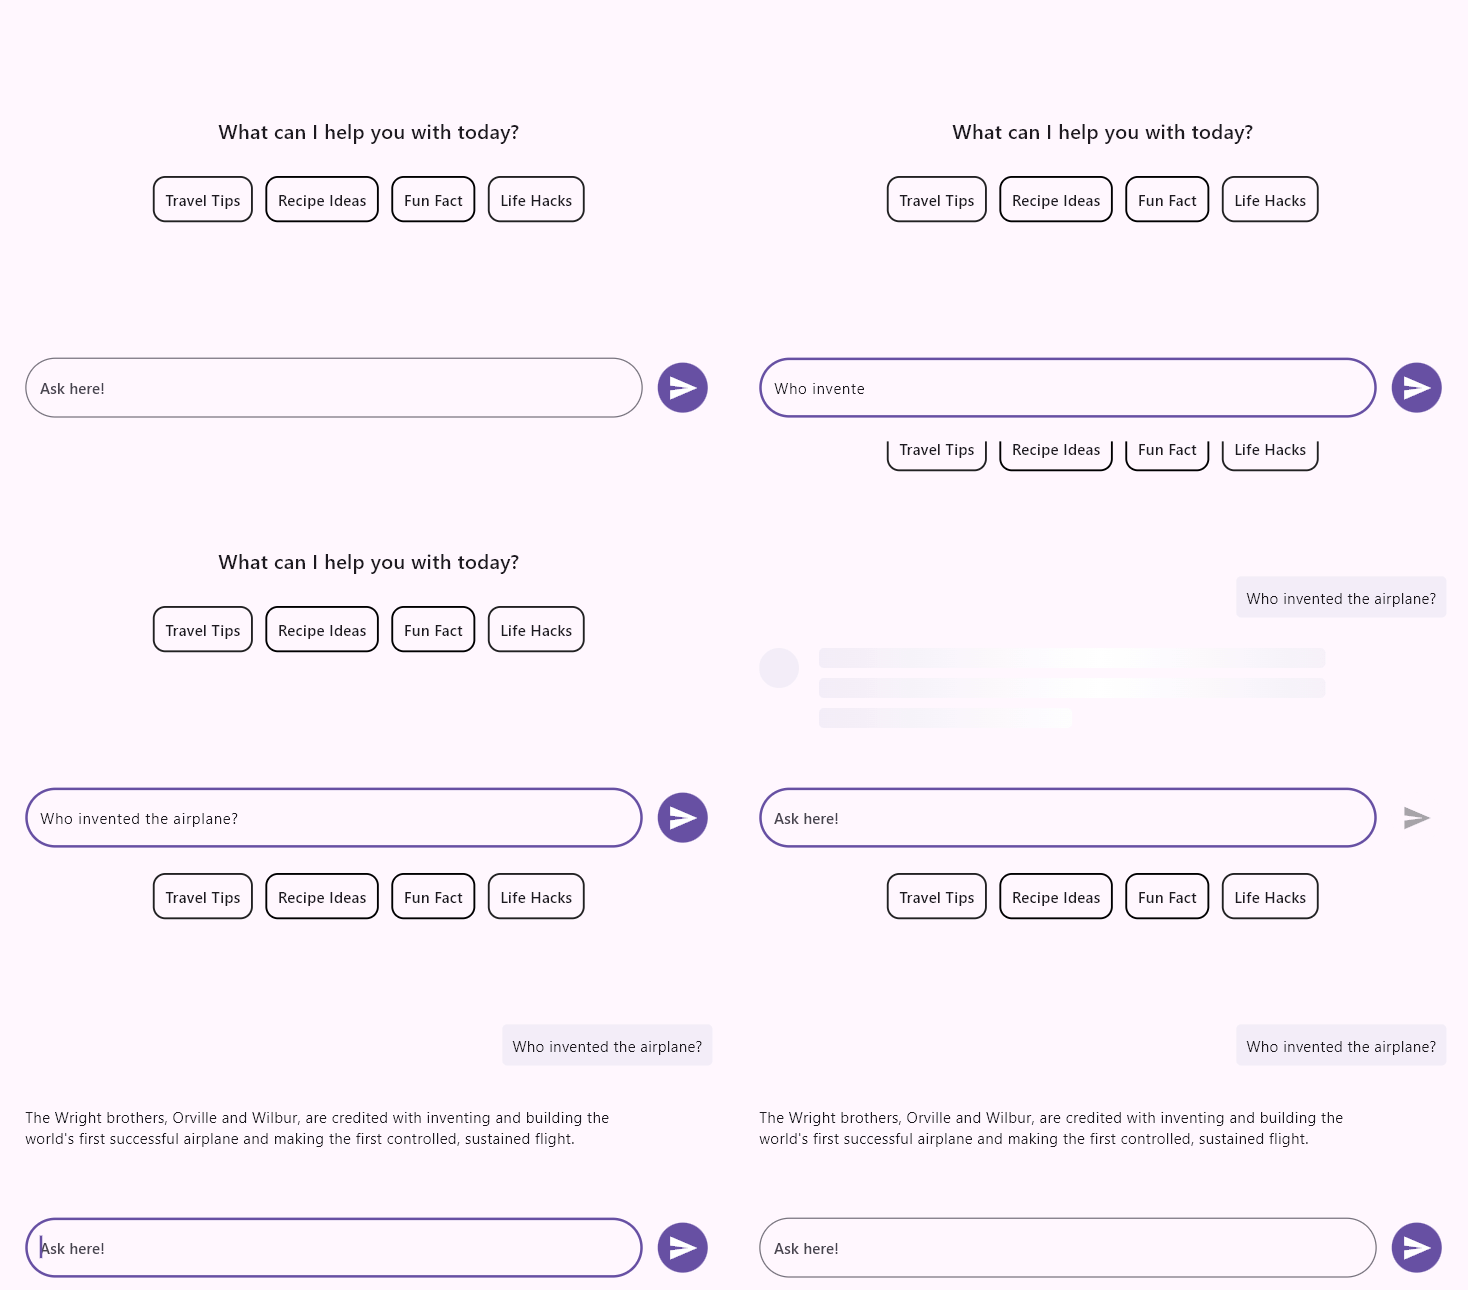
The action button represents the send button, which is not included by default. To add it, create an instance of AssistActionButton for the actionButton.
When the send button is clicked, the AssistActionButton.onPressed callback is invoked, which rebuilds the AI AssistView widget with the newly composed message.
The following sample builds on the previous placeholder example and includes suggestion chips (such as “Travel Tips”, “Recipe Ideas”) inside the placeholderBuilder. These are part of the placeholder UI and are only displayed until the first message is added.
import 'package:flutter/material.dart';
import 'package:syncfusion_flutter_chat/assist_view.dart';

class ActionButtonExample extends StatefulWidget {
  @override
  State<ActionButtonExample> createState() => _ActionButtonExampleState();
}

class _ActionButtonExampleState extends State<ActionButtonExample> {
  final List<AssistMessage> _messages = <AssistMessage>[];

  void _generativeResponse(String data) async {
    final String response = await _getAIResponse(data);
    setState(() {
      _messages.add(AssistMessage.response(data: response));
    });
  }

  Future<String> _getAIResponse(String data) async {
    String response = '';
    // Connect with your preferred AI to generate a response to the request.
    return response;
  }

  @override
  Widget build(BuildContext context) {
    return Scaffold(
      body: SfAIAssistView(
        messages: _messages,
        composer: const AssistComposer(
          decoration: InputDecoration(
            hintText: 'Ask here',
          ),
        ),
        placeholderBuilder: (BuildContext context) {
          return Center(
            child: Column(
              mainAxisSize: MainAxisSize.min,
              children: [
                const Text(
                  'What can I help you with today?',
                ),
                const SizedBox(height: 25),
                Row(
                  mainAxisAlignment: MainAxisAlignment.center,
                  children: [
                    DecoratedBox(
                      decoration: BoxDecoration(
                        border: Border.all(
                          color: Colors.black,
                          width: 1.5,
                        ),
                        borderRadius: BorderRadius.circular(10),
                      ),
                      child: const Padding(
                        padding: EdgeInsets.all(10.0),
                        child: Text(
                          'Travel Tips',
                        ),
                      ),
                    ),
                    const SizedBox(width: 10),
                    DecoratedBox(
                      decoration: BoxDecoration(
                        border: Border.all(
                          color: Colors.black,
                          width: 1.5,
                        ),
                        borderRadius: BorderRadius.circular(10),
                      ),
                      child: const Padding(
                        padding: EdgeInsets.all(10.0),
                        child: Text(
                          'Recipe Ideas',
                        ),
                      ),
                    ),
                    const SizedBox(width: 10),
                    DecoratedBox(
                      decoration: BoxDecoration(
                        border: Border.all(
                          color: Colors.black,
                          width: 1.5,
                        ),
                        borderRadius: BorderRadius.circular(10),
                      ),
                      child: const Padding(
                        padding: EdgeInsets.all(10.0),
                        child: Text(
                          'Fun Fact',
                        ),
                      ),
                    ),
                    const SizedBox(width: 10),
                    DecoratedBox(
                      decoration: BoxDecoration(
                        border: Border.all(
                          color: Colors.black,
                          width: 1.5,
                        ),
                        borderRadius: BorderRadius.circular(10),
                      ),
                      child: const Padding(
                        padding: EdgeInsets.all(10.0),
                        child: Text(
                          'Life Hacks',
                        ),
                      ),
                    ),
                  ],
                ),
              ],
            ),
          );
        },
        actionButton: AssistActionButton(
          onPressed: (String data) {
            setState(() {
              _messages.add(AssistMessage.request(data: data));
              _generativeResponse(data);
            });
          },
        ),
      ),
    );
  }
}
You can refer to our Flutter AI AssistView feature tour page for its groundbreaking feature representations. You can also explore our Flutter AI AssistView example which demonstrates interaction between users and AI services in a fully customizable layout and shows how to easily configure the AI AssistView with built-in support for creating stunning visual effects.