How to configure the Toolbox of Visual Studio Manually?
28 Jan 20251 minute to read
The following are the steps to load the Syncfusion® controls in toolbox of Visual Studio by configuring the toolbox.
Toolbox Configuration Utility
To configure the toolbox using Toolbox Configuration Utility, refer to Toolbox Configuration.
Manually Configuring VS Toolbox
The following are the steps to configure VS Toolbox manually for Syncfusion® tools:
- Close all Visual Studio running instances.
-
Remove the *.tbd files except the toolbox.tbd from the following location:
Windows XP:
C:\Documents and Settings(user name)\Local Settings\Application Data\Microsoft\VisualStudio\10.0Vista/Windows 7 and later:
C:\Users{user name}\AppData\Local\Microsoft\VisualStudio\10.0NOTE
It takes some time to configure the toolbox and create tbd files when you load the toolbox in VS2010 initially.
- Re-open the Visual Studio environment. The VSToolbox is configured.
NOTE
This is applicable for .NET Framework upto the Visual Studio 2015 only
Adding Syncfusion® controls in the Customized Toolbox:
The following are the steps to add the Syncfusion® controls in the user-customized toolbox:
-
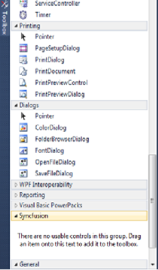
Open Visual Studio and create a new tab named Syncfusion® in the toolbox.
-
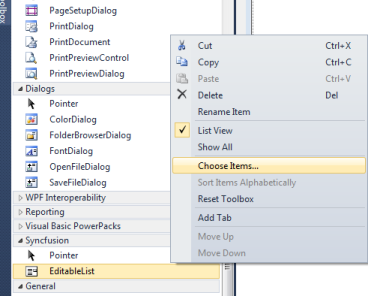
Right-click and select Choose Items.
-
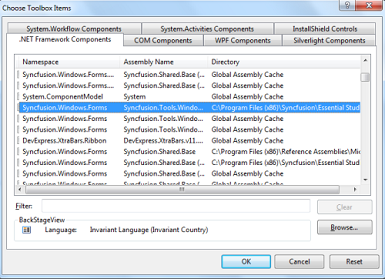
The Choose Toolbox Items window opens.
-
Select all the Syncfusion® assemblies and then click OK. Assemblies are copied to the newly created Syncfusion® Toolbox tab.