Getting Started with WPF Calculator (SfCalculator)
18 Oct 20224 minutes to read
This section provides a quick overview for working with the WPF Calculator (SfCalculator).
Assembly deployment
Refer to the control dependencies section to get the list of assemblies or NuGet package that needs to be added as a reference to use the SfCalculator control in any application.
You can find more details about installing the NuGet package in a WPF application in the following link:
How to install nuget packages
Creating Application with SfCalculator control
In this walk through, user will create a WPF application that contains SfCalculator control.
- Creating project
- Adding control via designer
- Adding control manually in XAML
- Adding control manually in C#
Creating project
Below section provides detailed information to create new project in Visual Studio to display SfCalculator control. The required assemblies will be added automatically.
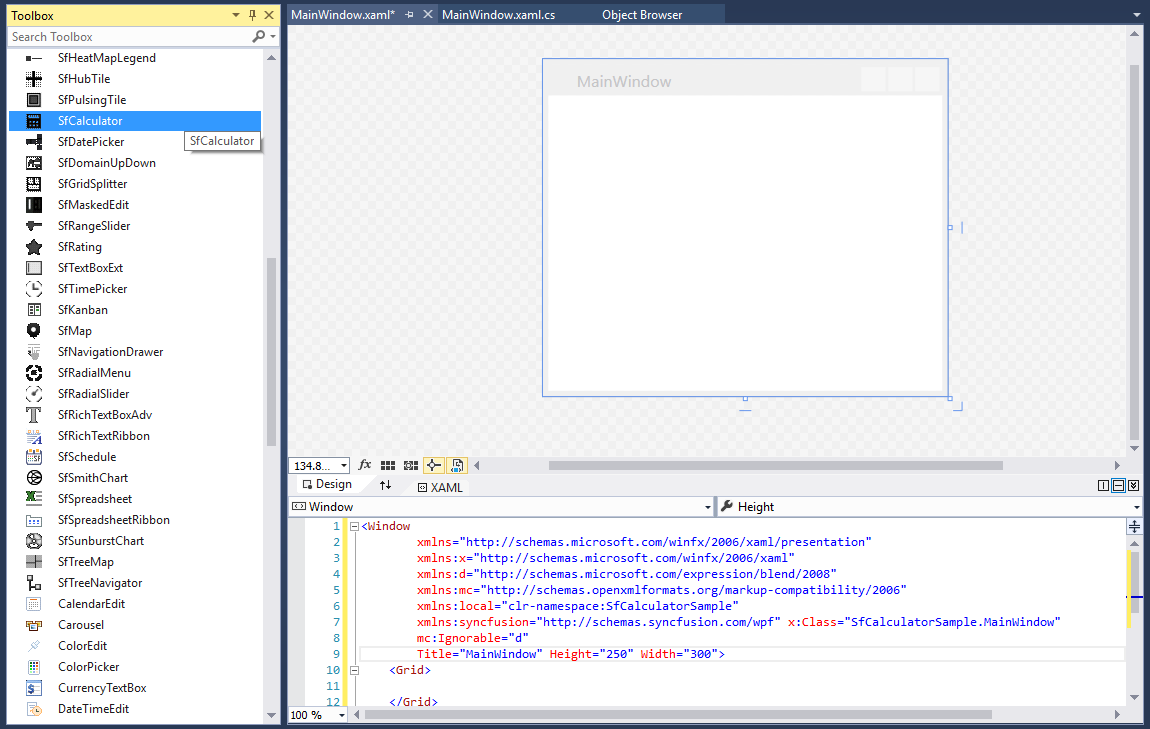
Add control via designer
The SfCalculator control can be added to an application by dragging it from the toolbox to a designer view. The following assembly references are added automatically:
Add control manually in XAML
In order to add SfCalculator control manually in XAML, do the below steps,
-
Add the below required assembly references to the project,
- Syncfusion.SfInput.WPF
- Syncfusion.Shared.WPF
-
Import Syncfusion WPF schema http://schemas.syncfusion.com/wpf in XAML page.
-
Declare SfCalculator in XAML page.
<Window xmlns="http://schemas.microsoft.com/winfx/2006/xaml/presentation"
        xmlns:x="http://schemas.microsoft.com/winfx/2006/xaml"
        xmlns:syncfusion="http://schemas.syncfusion.com/wpf"
        x:Class="SfCalculatorSample.MainWindow"
        Title="SfCalculator Sample" Height="350" Width="525">
    <Grid>
        <syncfusion:SfCalculator x:Name="sfCalculator" HorizontalAlignment="Center" VerticalAlignment="Center" Width="100"/>
    </Grid>
</Window>
Add control manually in C#
In order to add SfCalculator control manually in C#, do the below steps,
-
Add the below required assembly references to the project,
- Syncfusion.SfInput.WPF
- Syncfusion.Shared.WPF
-
Import SfCalculator namespace Syncfusion.Windows.Controls.Input.
-
Create SfCalculator control instance and add it to the window.
using Syncfusion.Windows.Controls.Input;
namespace SfCalculatorSample
{
    /// <summary>
    /// Interaction logic for MainWindow.xaml
    /// </summary>
    public partial class MainWindow : Window
    {
        public MainWindow()
        {
            InitializeComponent();
            //Creating an instance of SfCalculator control
            SfCalculator sfCalculator = new SfCalculator();
            //Adding SfCalculator as window content
            this.Content = sfCalculator;
        }
    }
}
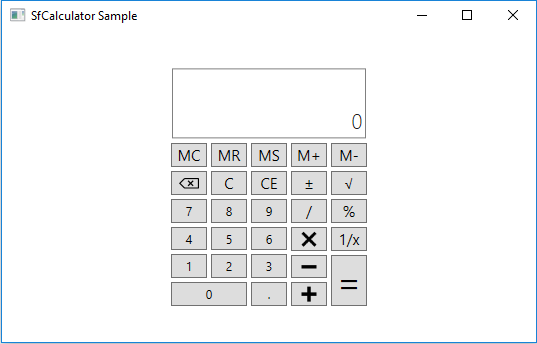
Setting watermark
You can set watermark for SfCalculator control using DefaultText property.
<syncfusion:SfCalculator HorizontalAlignment="Stretch" DisplayText="Empty value here" />SfCalculator sfCalculator = new SfCalculator()
{
HorizontalAlignment = HorizontalAlignment.Stretch,
DisplayText = "Empty value here"
};
Setting value
You can set the value to be displayed on the SfCalculator control using DefaultValue property.
NOTE
The Value property of SfCalculator is Read-only which will allow you to get the value calculated from last expression and will be in decimal format.
<syncfusion:SfCalculator HorizontalAlignment="Stretch" DefaultValue="30" />sfCalculator.DefaultValue = 30;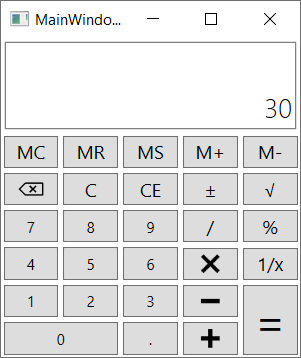
Theme
The WPF Calculator (SfCalculator) supports various built-in themes. Refer to the below links to apply themes for the SfCalculator,