Getting Started with UWP Digital Gauge (SfDigitalGauge)
25 May 20211 minute to read
This section explains you the steps required to configure the SfDigitalGauge and also explains the steps to add basic elements of SfDigitalGauge through various API’s available within it.
Configuring SfDigitalGauge
SfDigitalGauge is existing in the following assembly and namespace.
Assembly: Syncfusion.SfGauge.UWP
Namespace: Syncfusion.UI.Xaml.Gauges
<syncfusion:SfDigitalGauge />SfDigitalGauge digital = new SfDigitalGauge();
this.Grid.Children.Add(digital);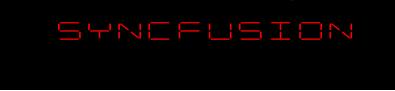
Run the above code and now the default SfDigitalGauge can be displayed as follows. UI component of the digital gauge can be customized by adding segments and passing Values which will be explained in the next section.
Displaying Values
You can add alphanumeric characters to SfDigitalGauge using Value property in SfDigitalGauge.
<syncfusion:SfDigitalGauge Value="GAUGE" />SfDigitalGauge digital = new SfDigitalGauge();
digital.Value = "GAUGE";
this.Grid.Children.Add(digital);SfDigitalGauge Values are displayed as follows.

Changing segments
You can view the digital characters in SfDigitalGauge using different types of Segments available in CharacterType property.
<syncfusion:SfDigitalGauge Value="12345" CharacterType="SegmentSeven" />SfDigitalGauge digital = new SfDigitalGauge();
digital.Value = "12345";
digital.CharacterType = CharacterType.SegmentSeven;
this.Grid.Children.Add(digital);SfDigitalGauge Segments are displayed as follows.
