Getting Started with .NET PDF Library in ASP.NET Web Forms
13 Aug 20264 minutes to read
The .NET PDF library is used to create, read, and edit PDF documents. This library also offers functionality to merge, split, stamp, work with forms, and secure PDF files.
To include the .NET PDF library into your ASP.NET Web application, please refer to the NuGet Package Required or Assemblies Required documentation.
This ASP.NET Web Forms platform is deprecated; you can use the same product from the ASP.NET Core platform.
Prerequisites
- Visual Studio 2017 or later with the ASP.NET and web development workload.
- .NET Framework 4.0 or later installed on the development machine and target server.
Platform notice: This ASP.NET Web Forms platform is deprecated. Consider migrating to ASP.NET Core MVC or ASP.NET Core Razor Pages for new development. Syncfusion® continues to support the existing component on .NET Framework 4.6.2+.
Steps to create PDF document in ASP.NET Web Forms
Step 1: Create a new ASP.NET Web application project.

Step 2: Select the Empty project.
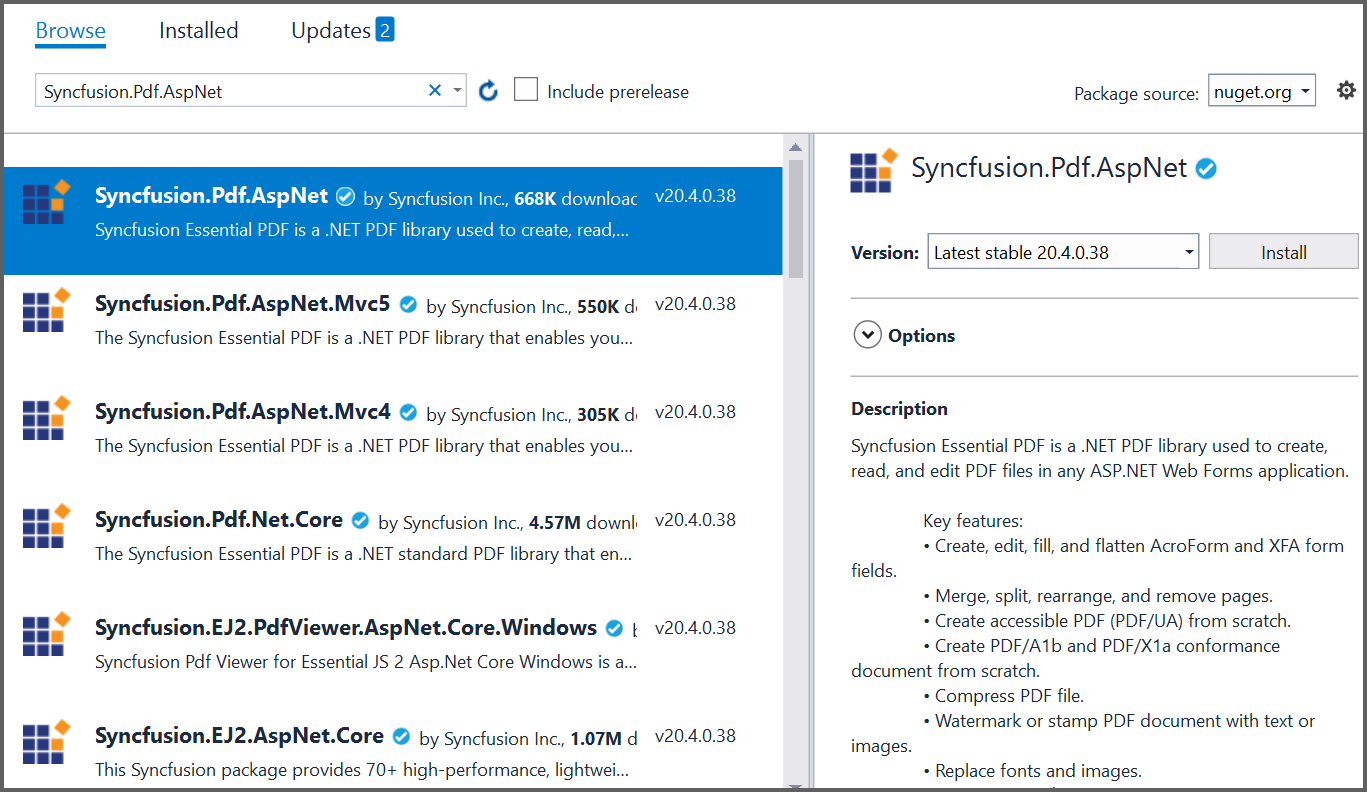
Step 3: Install the Syncfusion.Pdf.AspNet NuGet package as a reference to your .NET Framework applications from NuGet.org.
Step 4: Register the Syncfusion® license key. A trial watermark is added to every page of the generated PDF until a valid key is registered. Include the license key in Global.asax.cs inside the Application_Start method before initializing any Syncfusion® component:
using Syncfusion.Licensing;

protected void Application_Start(object sender, EventArgs e)
{
    // Register the Syncfusion license
    Syncfusion.Licensing.SyncfusionLicenseProvider.RegisterLicense("YOUR LICENSE KEY");
}
Replace "YOUR LICENSE KEY" with the license key associated with your Syncfusion® account. If you do not have a license key, you can request a free 30-day trial or apply for a Community License from the Syncfusion® website. For more information about registering a license key in your application, refer to the Syncfusion® Licensing Documentation.
Step 5: Add a new Web Form in the ASP.NET project. Right-click the project, select Add > New Item, and add a Web Form from the list. Name it MainPage.
Step 6: Add a new button in the MainPage.aspx as follows.
<html xmlns="http://www.w3.org/1999/xhtml">
<head runat="server">
    <title></title>
</head>
<body>
    <form id="form1" runat="server">
    <div>
    <asp:Button ID="Button1" runat="server" Text="Create Document" OnClick="OnButtonClicked" />
    </div>
    </form>
</body>
</html>
Step 7: Include the following namespaces in your MainPage.aspx.cs file.
using Syncfusion.Pdf;
using Syncfusion.Pdf.Graphics;
using System.Drawing;
Step 8: Include the following code example in the click event of the button in MainPage.aspx.cs to generate a PDF document using the PdfDocument class. Then use the DrawString method of the PdfGraphics object to draw text on the PDF page.
//Create a new PDF document.
using (PdfDocument document = new PdfDocument())
{
  //Add a page to the document.
  PdfPage page = document.Pages.Add();
  //Create PDF graphics for the page.
  PdfGraphics graphics = page.Graphics;
  //Set the standard font.
  PdfFont font = new PdfStandardFont(PdfFontFamily.Helvetica, 20);
  //Draw the text.
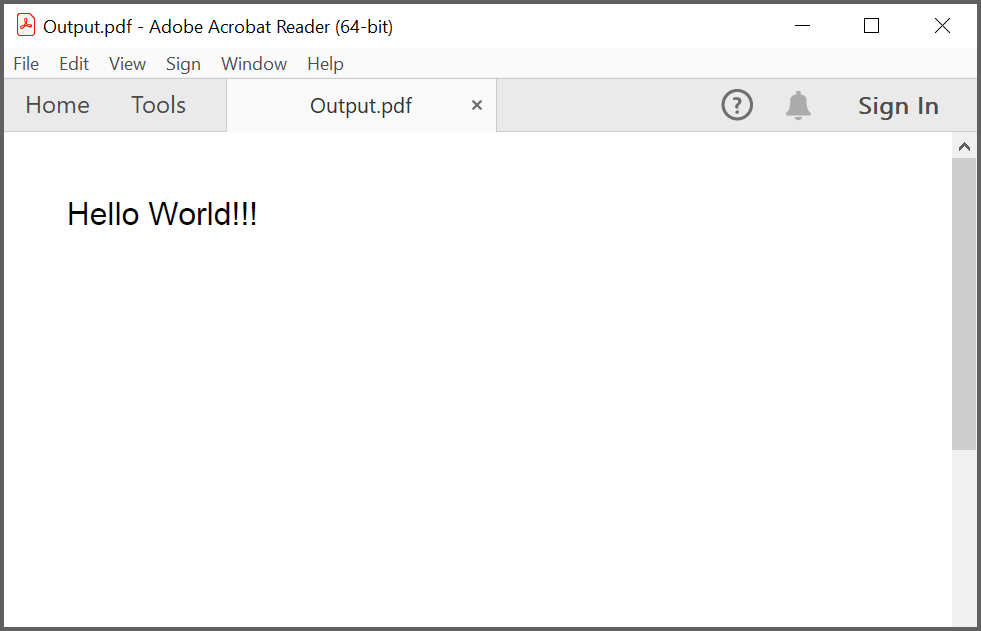
  graphics.DrawString("Hello World!!!", font, PdfBrushes.Black, new PointF(0, 0));
  //Open the document in browser after saving it.
  //HttpReadType.Save prompts the browser to save the file; use HttpReadType.Open to open it inline.
  document.Save("Output.pdf", HttpContext.Current.Response, HttpReadType.Save);
}
You can download a complete working sample from GitHub.
By executing the program, you will get the PDF document as follows.
Click here to explore the rich set of Syncfusion® PDF library features.
An online sample link to create PDF document.