Annotations in Mobile View in Vue PDF Viewer
14 Aug 20263 minutes to read
This article describes how to use annotation tools in the Syncfusion Vue PDF Viewer on touch-enabled (mobile) devices. It covers enabling the annotation toolbar, adding common annotation types, adjusting annotation properties, using comments, and removing annotations.
Open the annotation toolbar
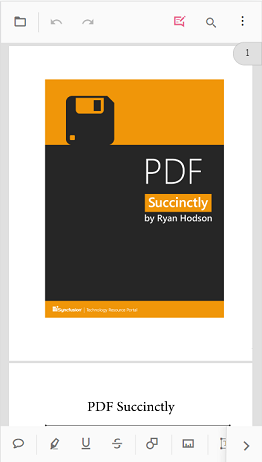
Step 1: Tap the Edit Annotation icon on the main toolbar to enable the annotation toolbar.

Step 2: The annotation toolbar opens below the main toolbar, showing available annotation tools for touch interaction.
Add sticky note annotations
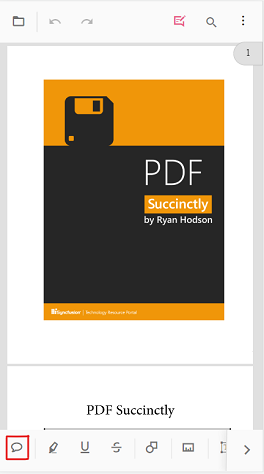
Step 1: Tap the Sticky Notes icon to activate the sticky note tool, then tap the target location on the page to place a note.
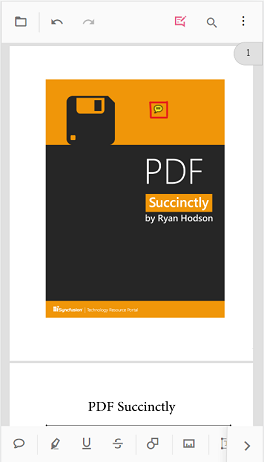
Step 2: A sticky note annotation is added at the tapped location; tap the note to open or edit its content.
Add text markup annotations
Step 1: Tap a text markup tool (for example, highlight or underline), then drag to select the text to be marked.
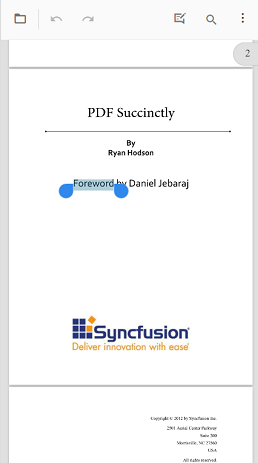
Step 2: Tap the selected area or use the toolbar action to apply the markup; the selected text is then annotated accordingly.
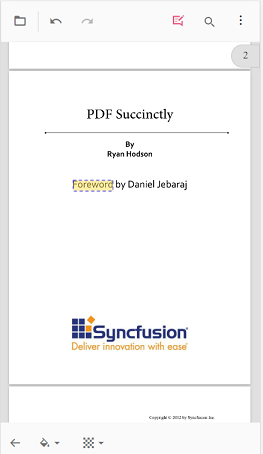
Add shape and measurement annotations
Step 1: Tap the Shape or Measure icon to open the shape/measurement toolbar.
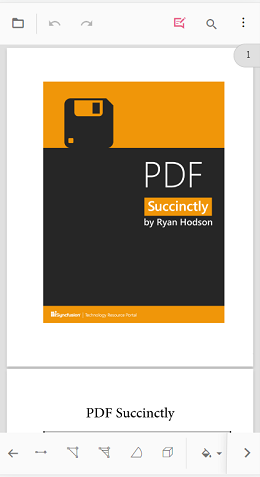
Step 2: Choose a shape or measurement type, then draw the annotation on the page using touch gestures.
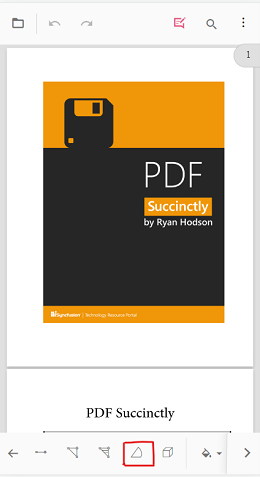
Step 3: The shape or measurement annotation is added to the PDF and can be adjusted via its property toolbar.
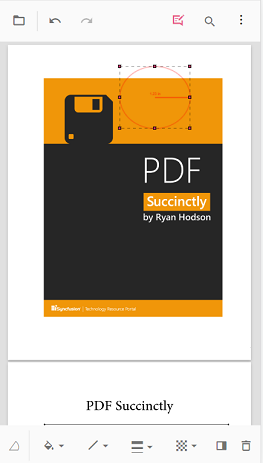
Add stamp annotations
Step 1: Tap the Stamp icon, then choose a stamp type from the presented menu.
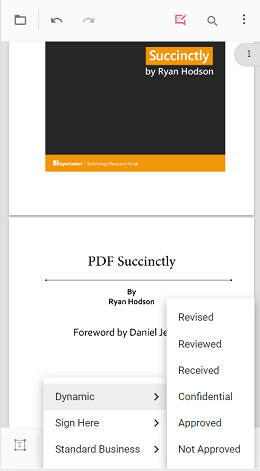
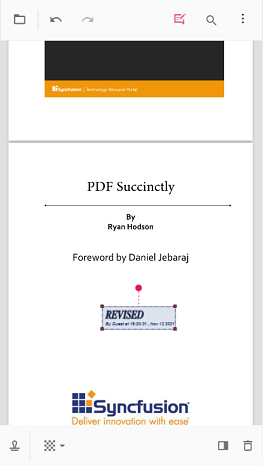
Step 2: Tap the desired location on the page to place the stamp annotation.
Add signature annotations
Step 1: Tap the Signature icon to open the signature canvas. Draw the signature, tap Create, then tap the viewer to place the signature on the page.
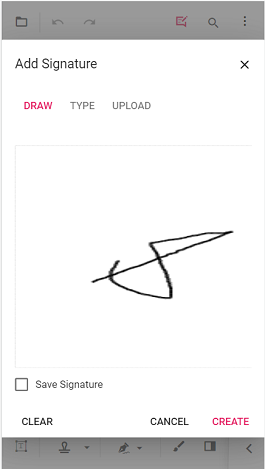
Step 2: The signature annotation is added and can be positioned or resized using standard touch controls.
Add ink annotations
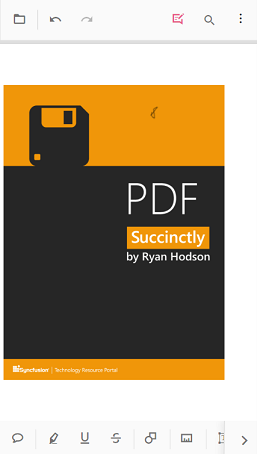
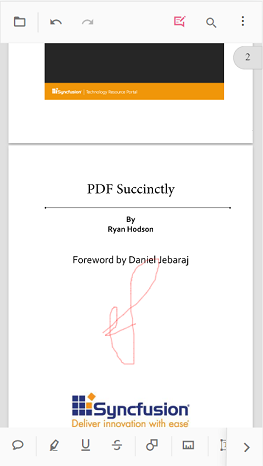
Step 1: Tap the Ink tool and draw directly on the page using a finger or stylus.
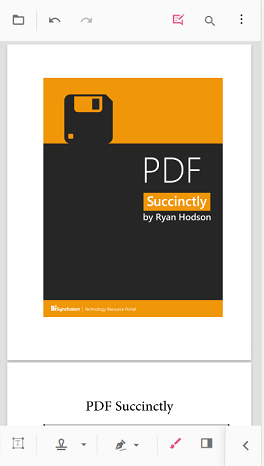
Step 2: The ink strokes are saved as an ink annotation and remain editable until committed.
Change annotation properties (before adding)
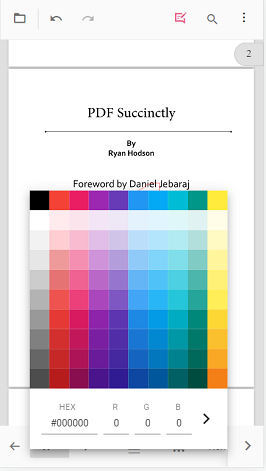
Step 1: Open the annotation property toolbar prior to placing an annotation to set attributes such as color, opacity, stroke thickness, font, or measurement units.
Step 2: With the desired properties selected in the property toolbar, place the annotation on the page; the chosen settings apply to the new annotation.
Change annotation properties (after adding)
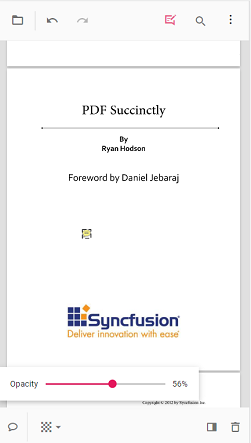
Step 1: Select an existing annotation to reveal its property toolbar.
Step 2: Adjust properties such as color, opacity, stroke, or edit text; changes are applied immediately to the selected annotation.
Delete annotations
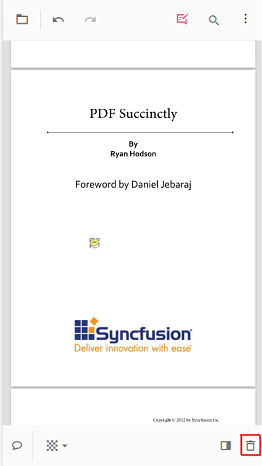
Step 1: Select the annotation to display its property toolbar, then tap the Delete icon to remove the annotation from the page.
Open the comment panel
Step 1: Tap the comment icon in the property toolbar or the annotation toolbar to open the comment panel for the selected annotation.
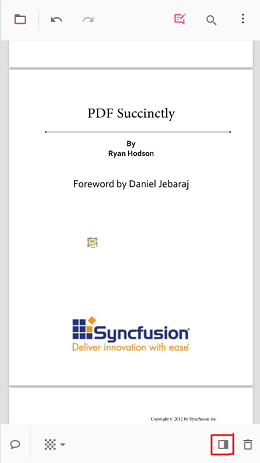
Step 2: The comment panel appears, showing existing comments and allowing new comments to be added.

Close the comment panel
Step 1: Tap the Close button in the comment panel to dismiss it and return to the document view.