Loading and Saving Files in AWS Lambda
14 Aug 20265 minutes to read
Syncfusion® XlsIO is a .NET Core Excel library used to create, read, edit and convert Excel documents programmatically without Microsoft Excel or interop dependencies. This article explains how to load and save an Excel file in AWS Lambda using Syncfusion XlsIO.
Prerequisites
- An AWS account with permissions to create and invoke Lambda functions.
- Visual Studio 2019 or later with the AWS Toolkit for Visual Studio extension installed.
- A Syncfusion® license key. Refer to How to register the Syncfusion license key for details.
Steps to Load and Save an Excel file in AWS Lambda
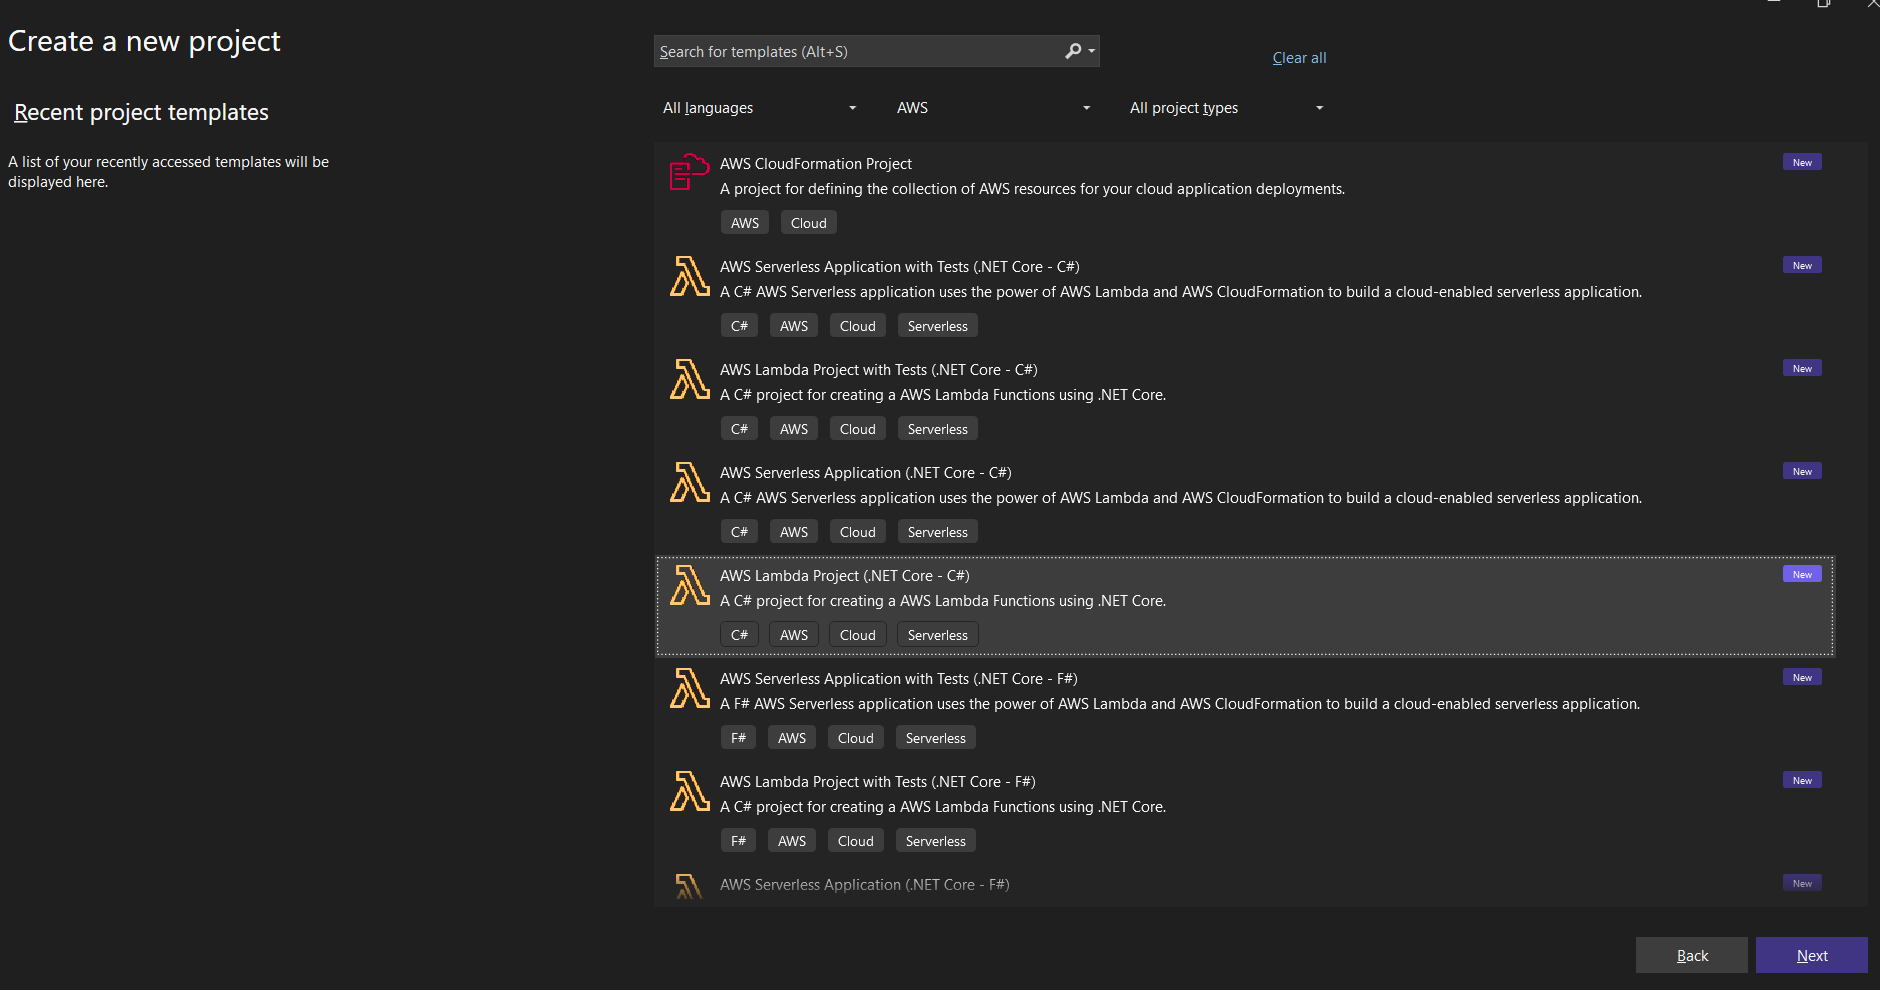
Step 1: Create a new AWS Lambda project as follows.
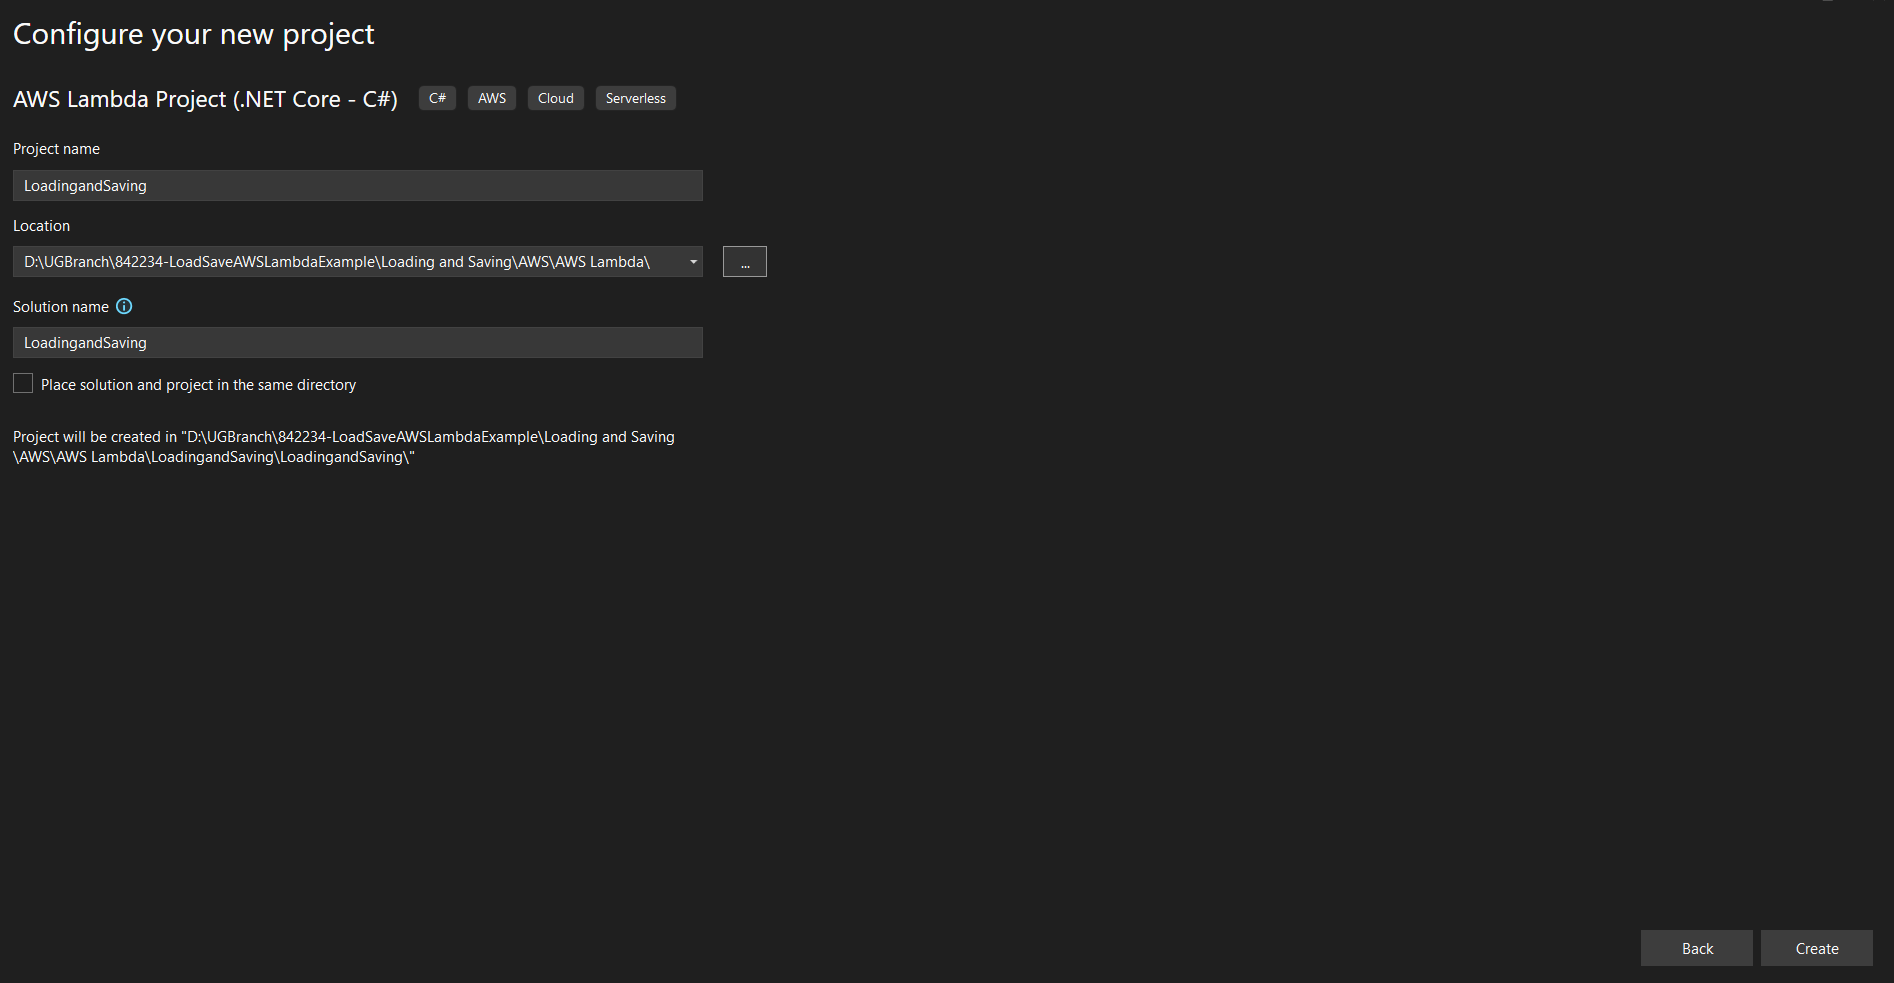
Step 2: Name the application.
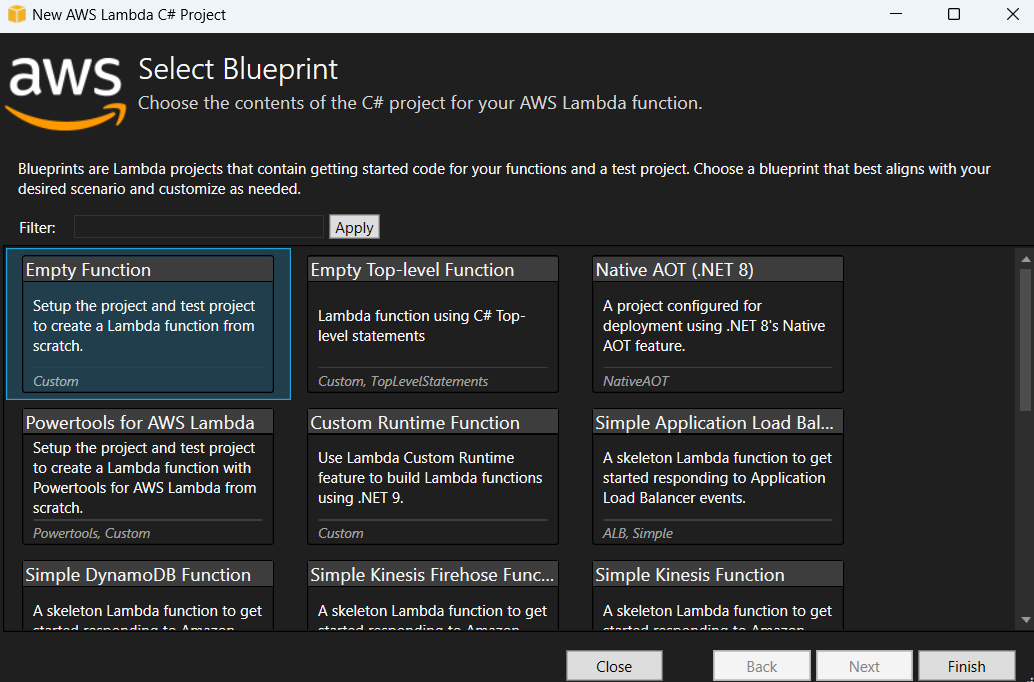
Step 3: Select Blueprint as Empty Function and click Finish.
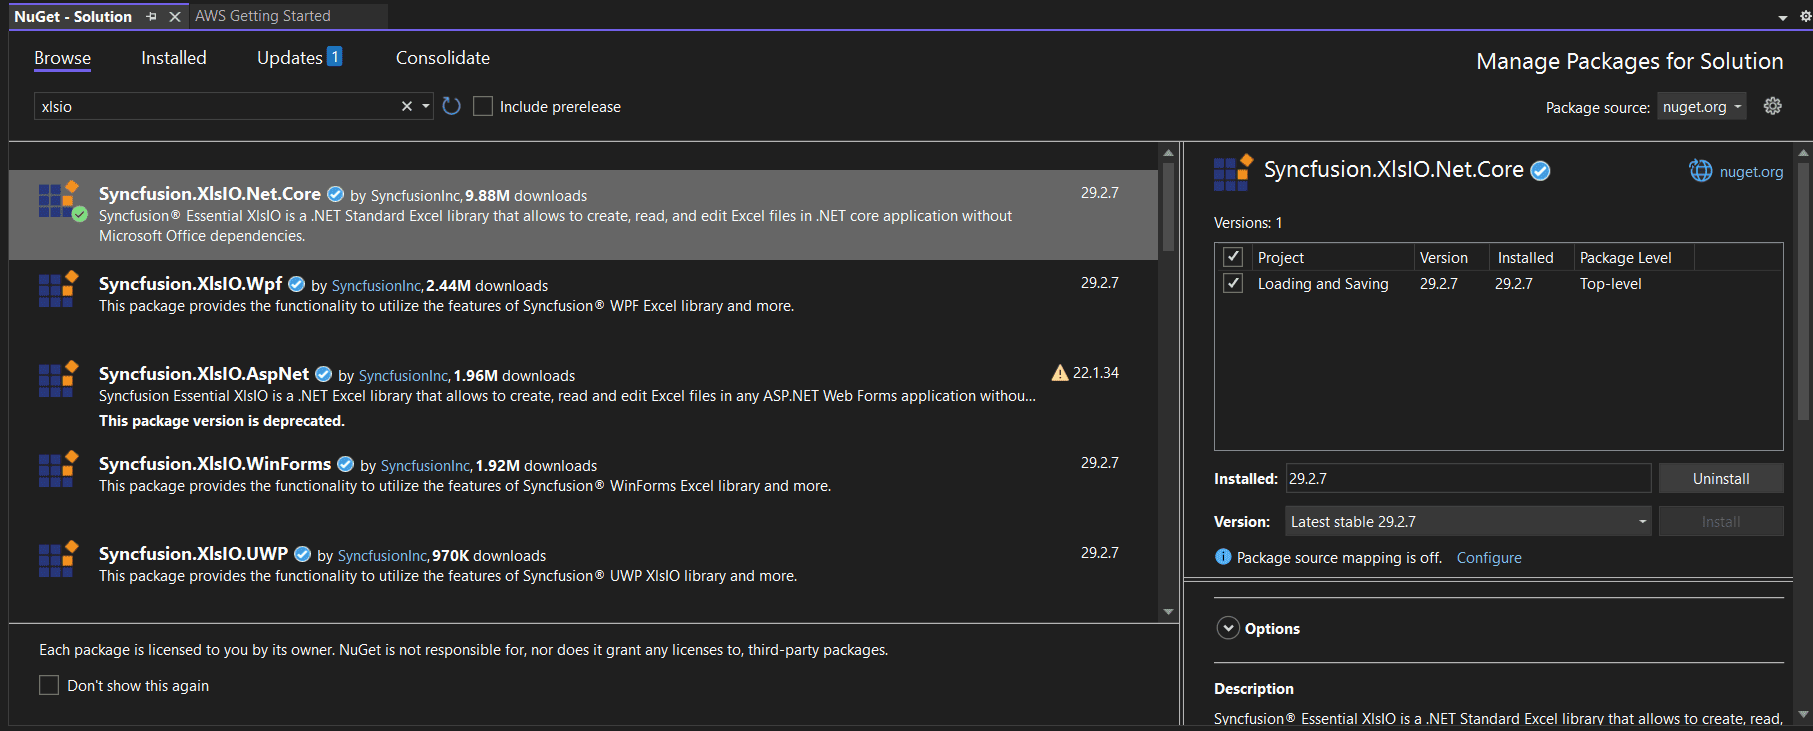
Step 4: Install the Syncfusion.XlsIO.Net.Core NuGet package as a reference to your project from NuGet.org.
Starting with v16.2.0.x, if you reference Syncfusion® assemblies from the trial setup or from the NuGet feed, you must also add the Syncfusion.Licensing assembly reference and register a license key in your project. Refer to How to register the Syncfusion license key for details.
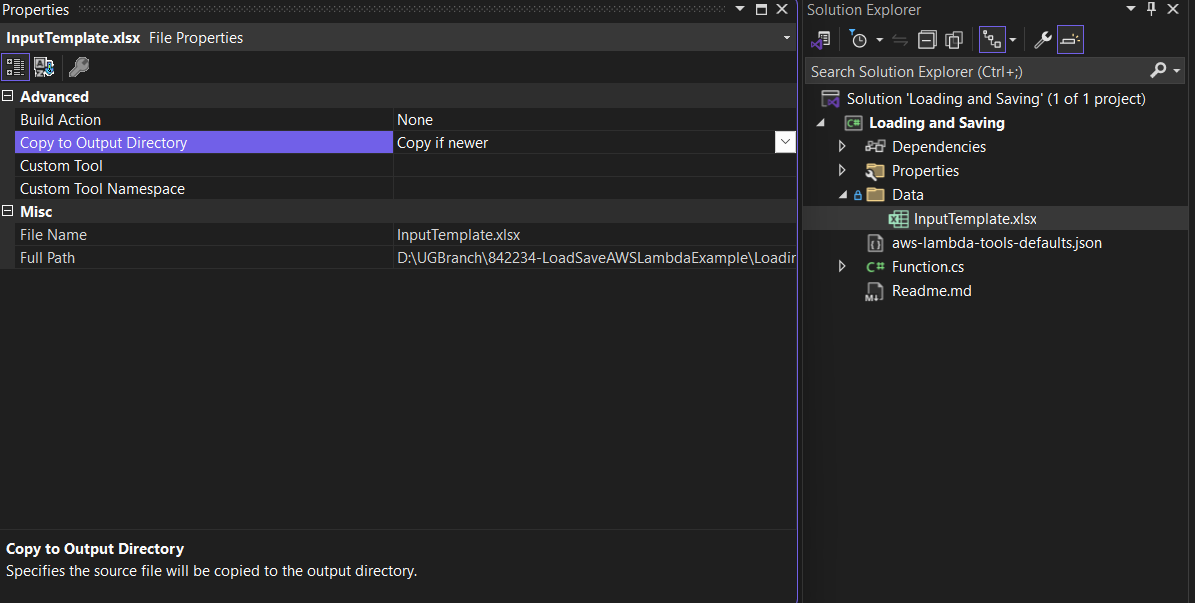
Step 5: Create a folder named Data in the project and copy the required template files (for example, InputTemplate.xlsx) into it. Include the files in the project.
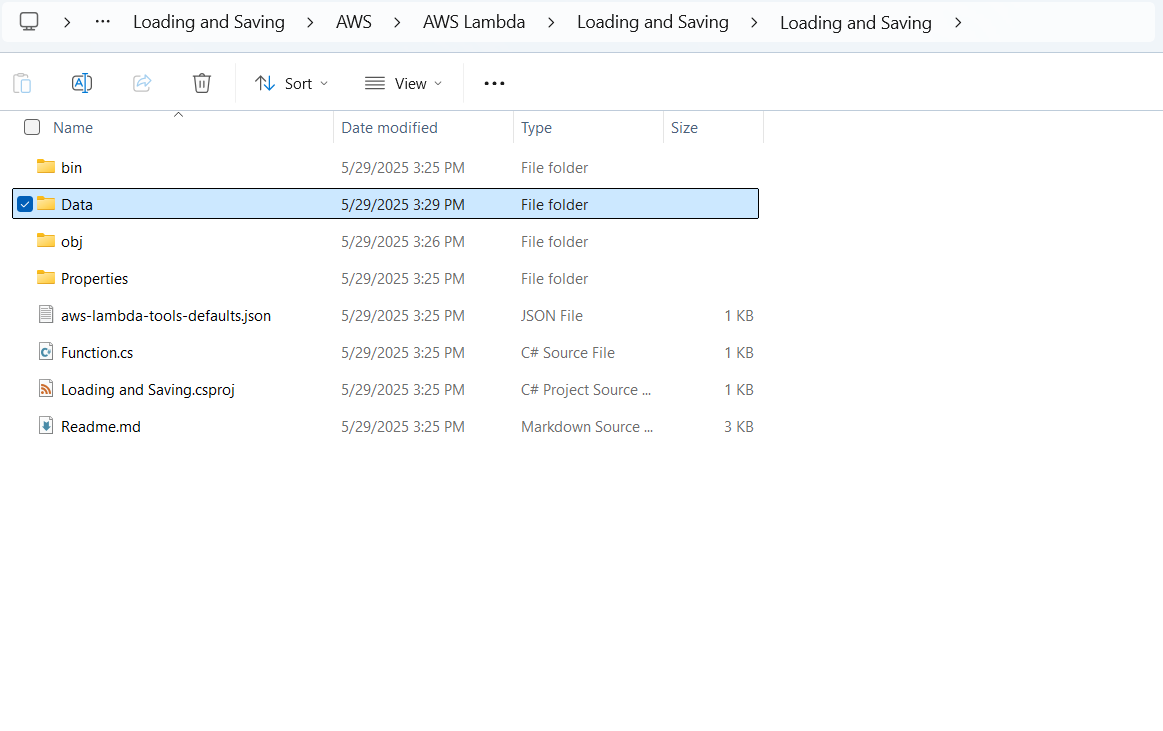
Step 6: Set Copy to Output Directory to Copy if newer for all the data files so they are included in the deployment bundle.
Step 7: Include the following namespaces in Function.cs file.
using Syncfusion.XlsIO;step 8: Add the following code snippet in Function.cs to load and save an Excel document in AWS Lambda.
using (ExcelEngine excelEngine = new ExcelEngine())
{
  IApplication application = excelEngine.Excel;
  application.DefaultVersion = ExcelVersion.Xlsx;

  string filePath = Path.Combine(Directory.GetCurrentDirectory(), "Data", "InputTemplate.xlsx");
  using FileStream excelStream = new FileStream(filePath, FileMode.Open, FileAccess.Read);
  IWorkbook workbook = application.Workbooks.Open(excelStream);

  //Access first worksheet
  IWorksheet worksheet = workbook.Worksheets[0];

  //Set text in cell A3
  worksheet.Range["A3"].Text = "Hello World";

  //Save to MemoryStream
  MemoryStream outputStream = new MemoryStream();
  workbook.SaveAs(outputStream);
  outputStream.Position = 0;

  //Return as Base64 string
  return Convert.ToBase64String(outputStream.ToArray());
}
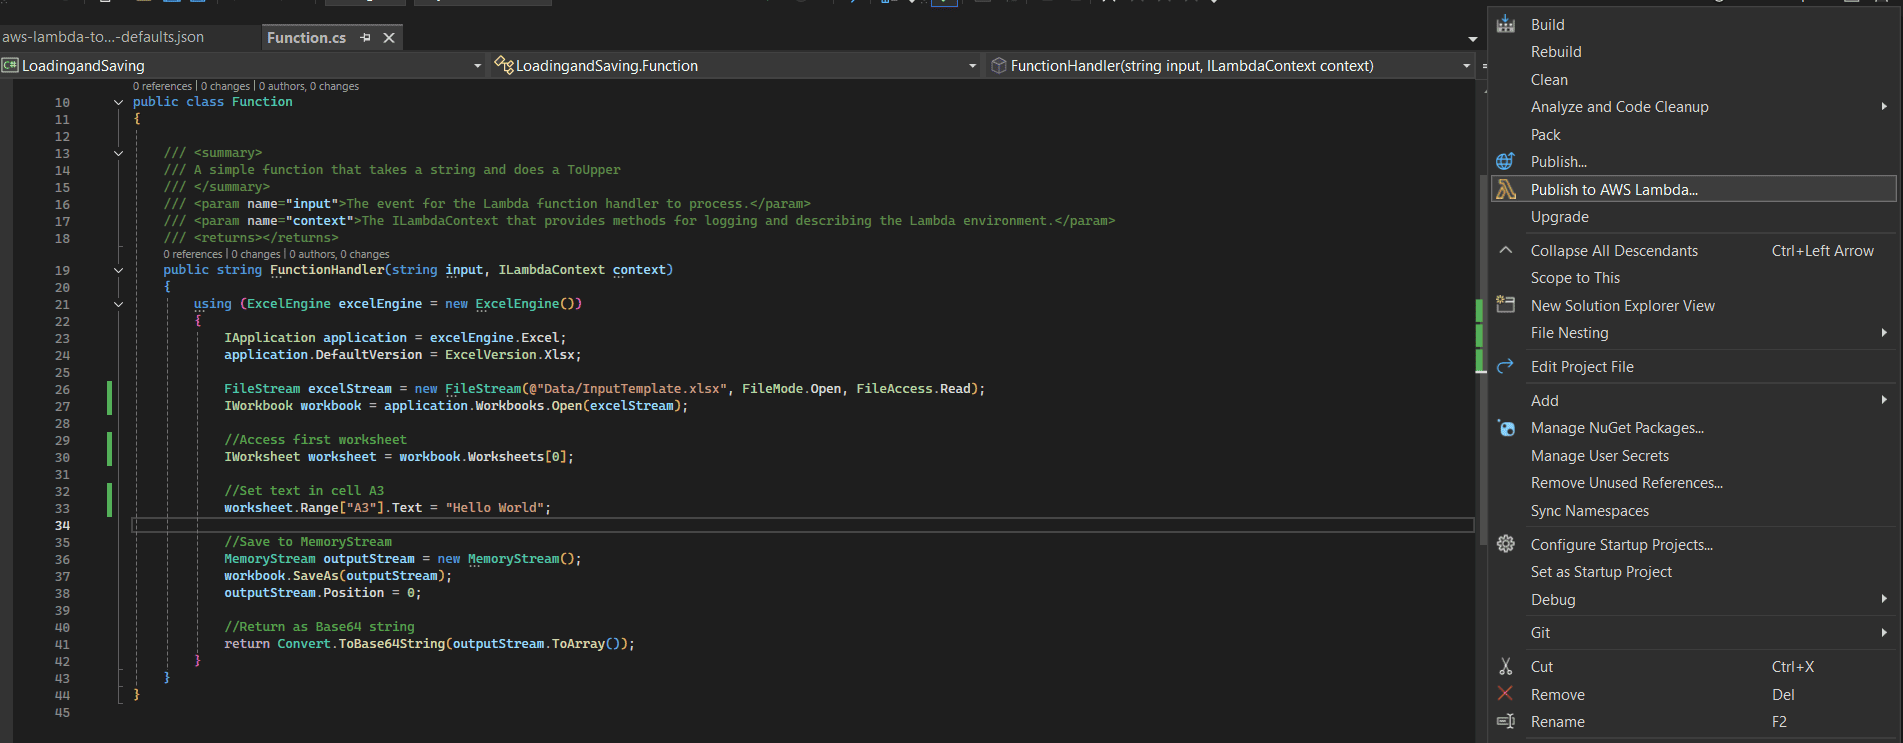
Step 9: Right-click the project and select Publish to AWS Lambda.
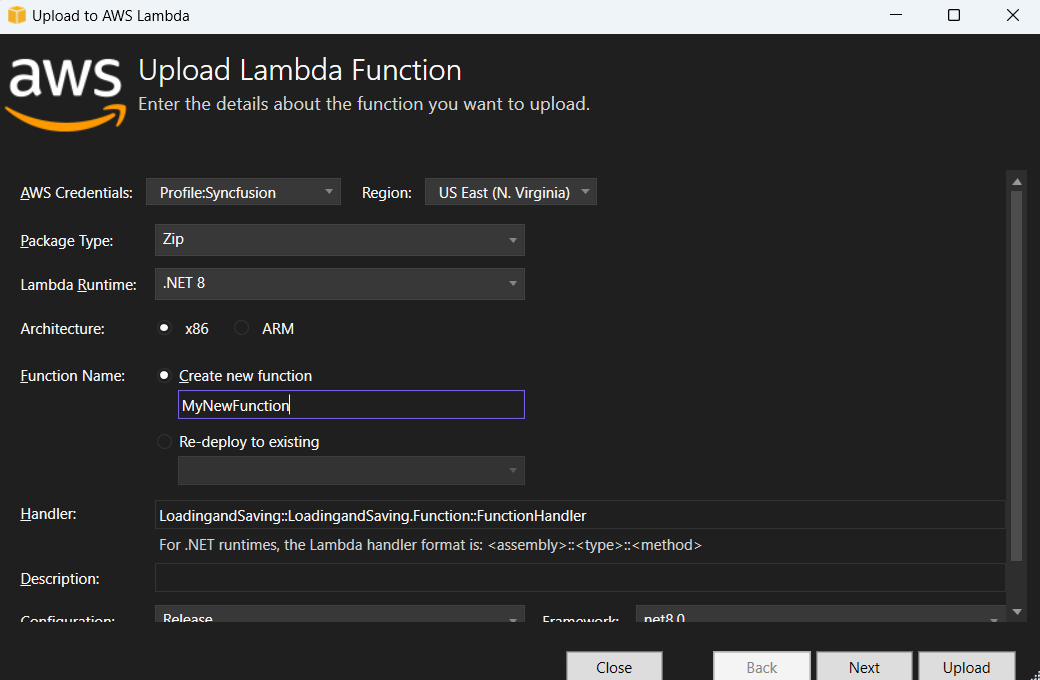
Step 10: In the Upload Lambda Function window, create a new AWS profile and enter a name for the Lambda function. Click Next.
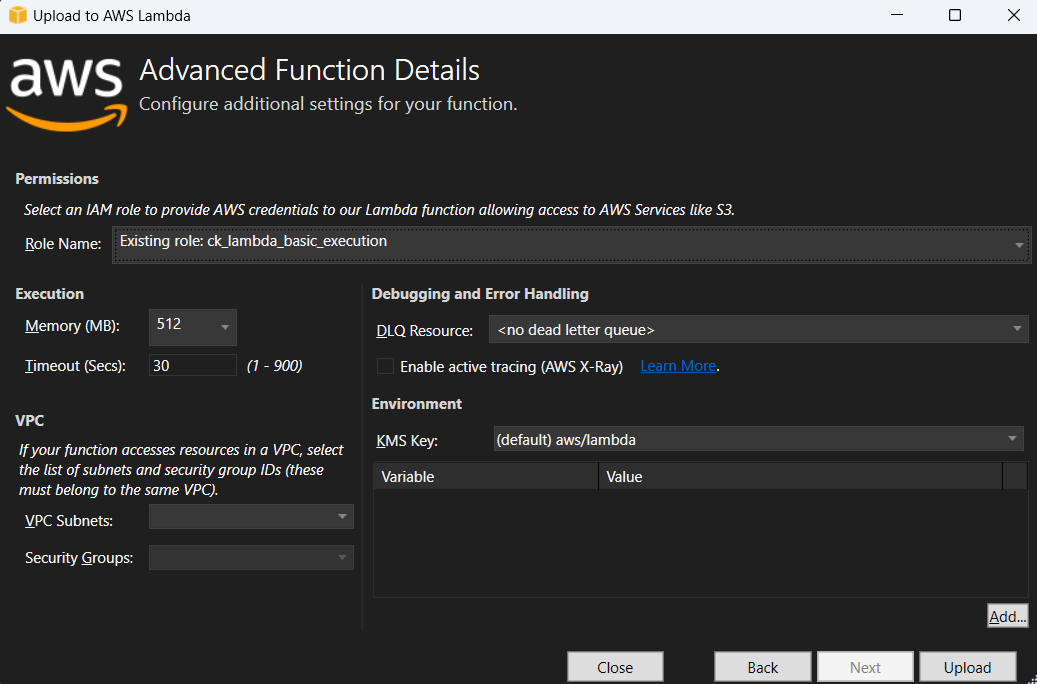
Step 11: In the Advanced Function Details window, select a Role Name that is backed by an AWS managed policy (for example, AWSLambdaBasicExecutionRole). Click Upload to deploy the application.
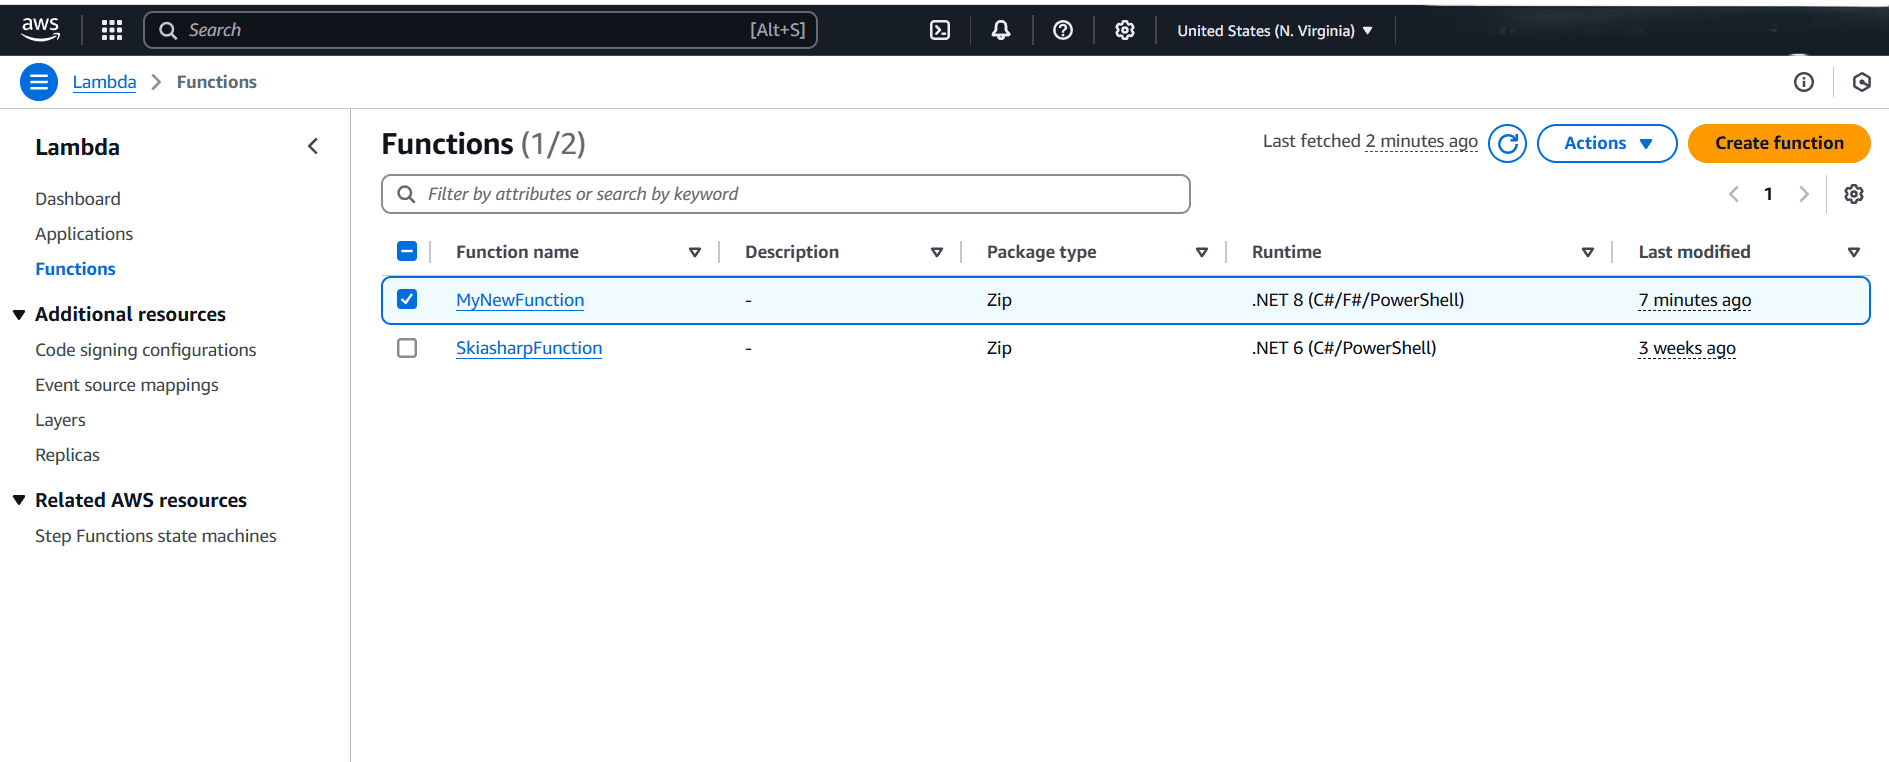
Step 12: After the application is deployed, you can see the published Lambda function in the AWS Lambda console.
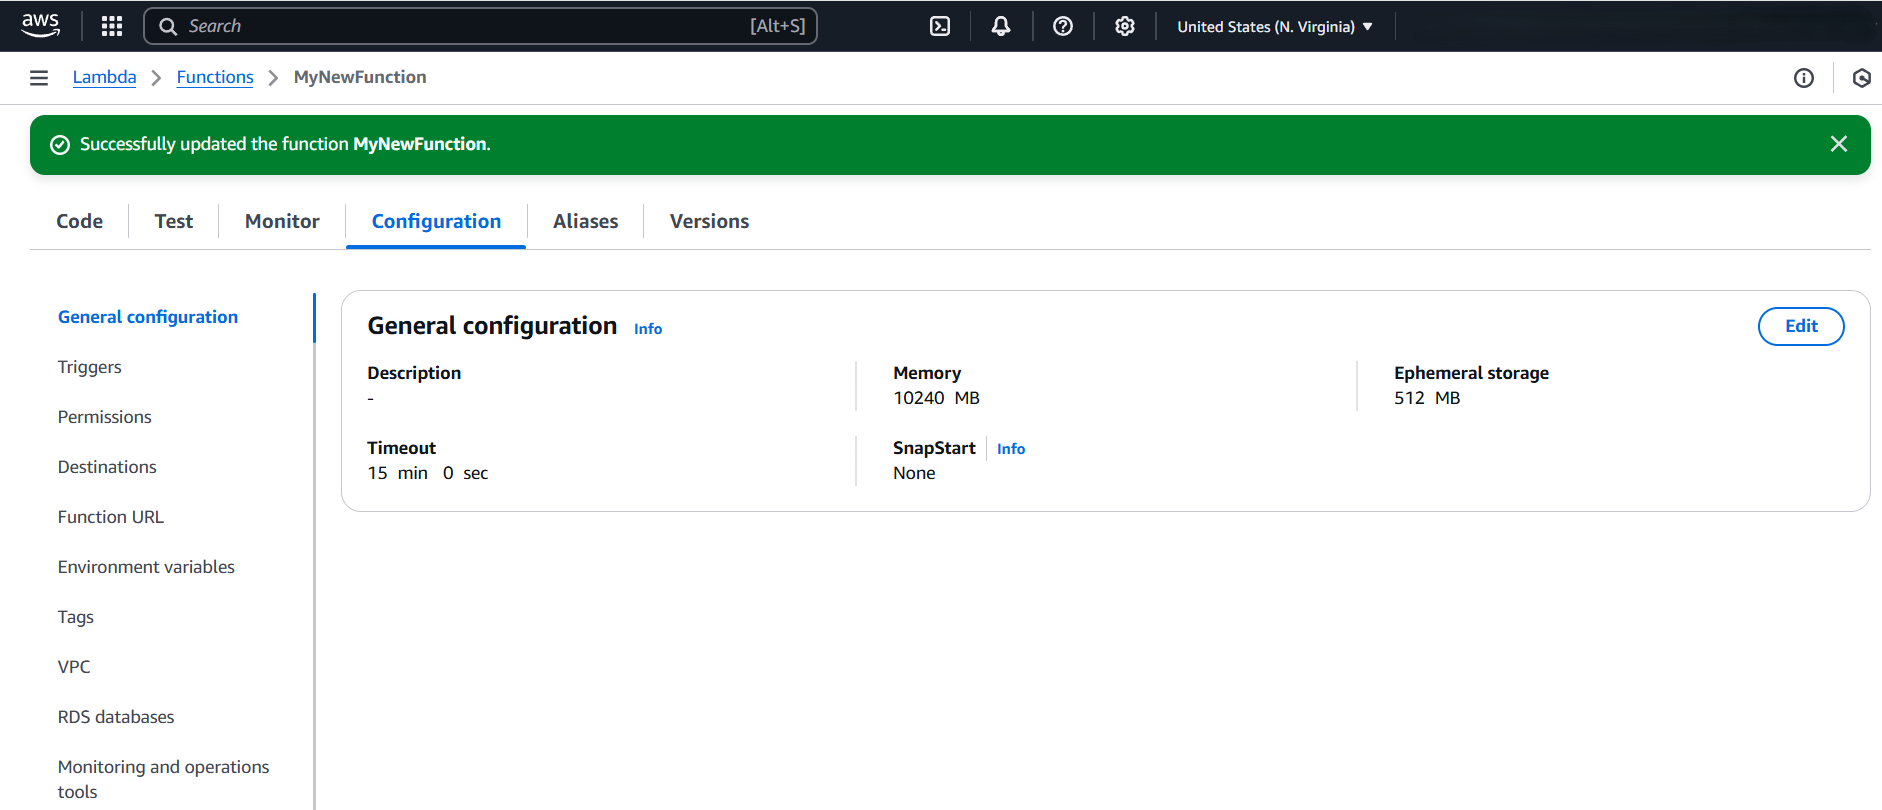
Step 13: Edit Memory size and Timeout as maximum in Basic settings of the AWS Lambda function.
Steps to post the request to AWS Lambda
The following console application invokes the published AWS Lambda function and writes the returned Excel file to disk.
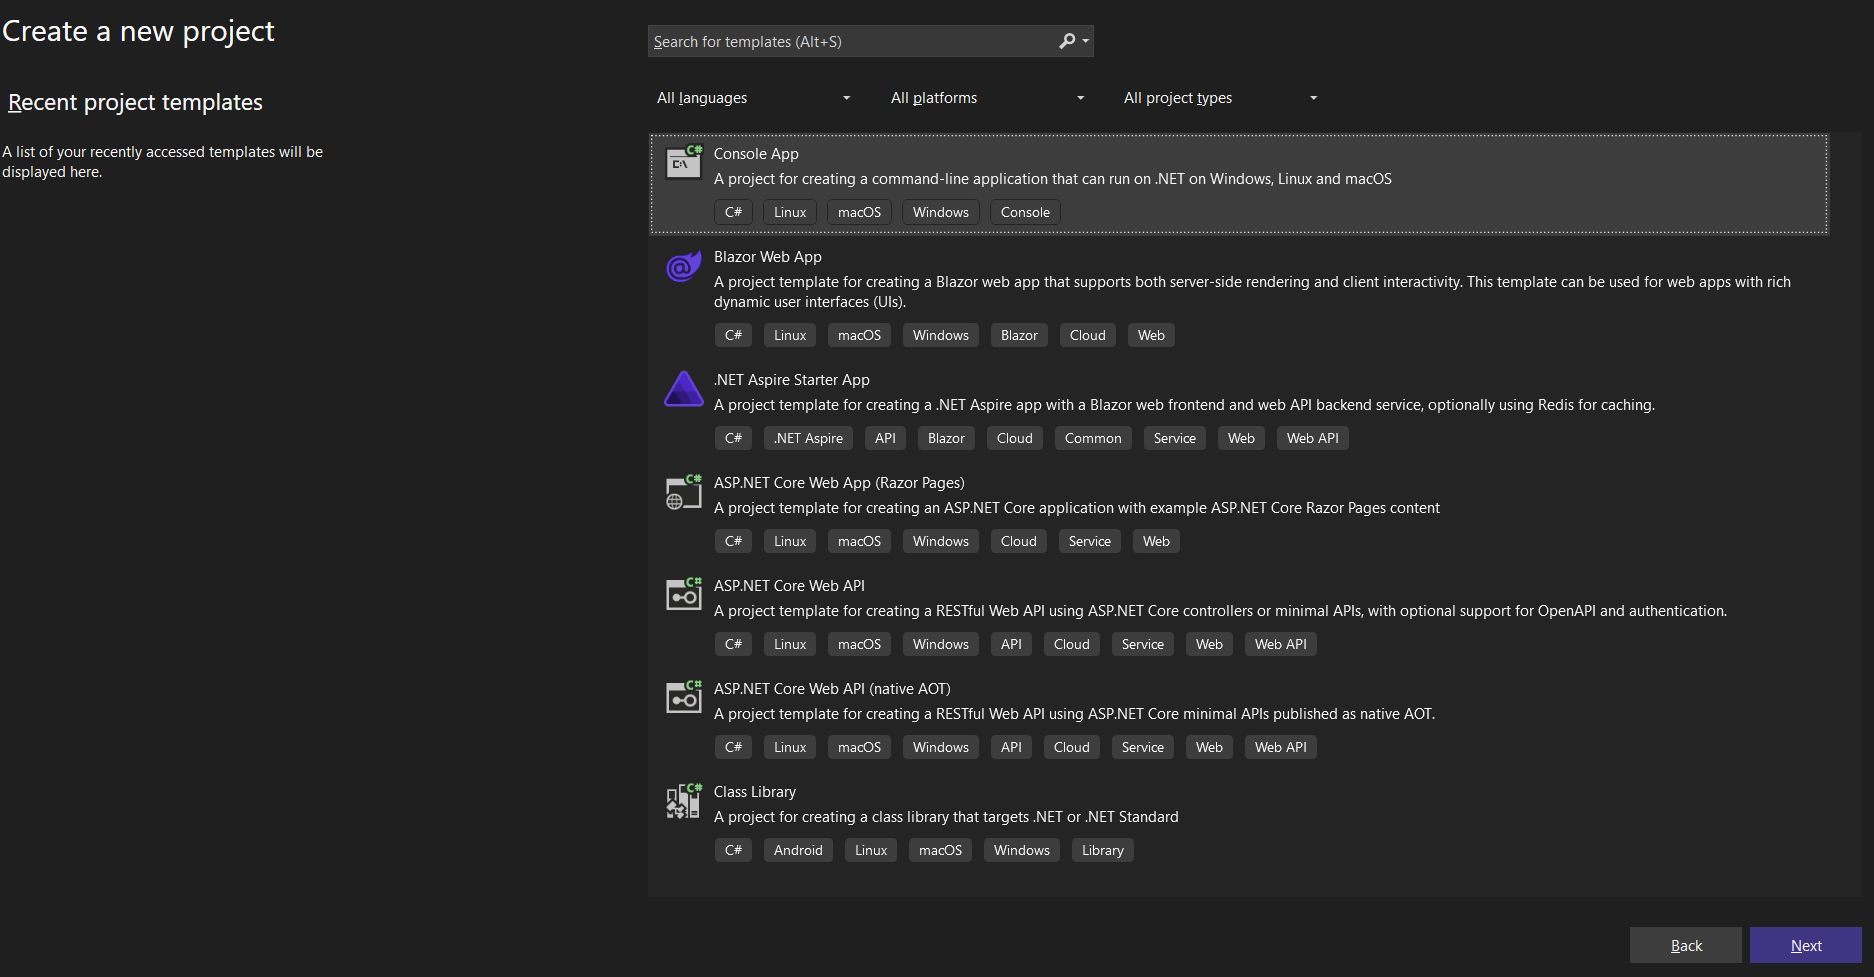
Step 1: Create a new console project in Visual Studio.
Step 2: Install the following NuGet packages in your application from NuGet.org:
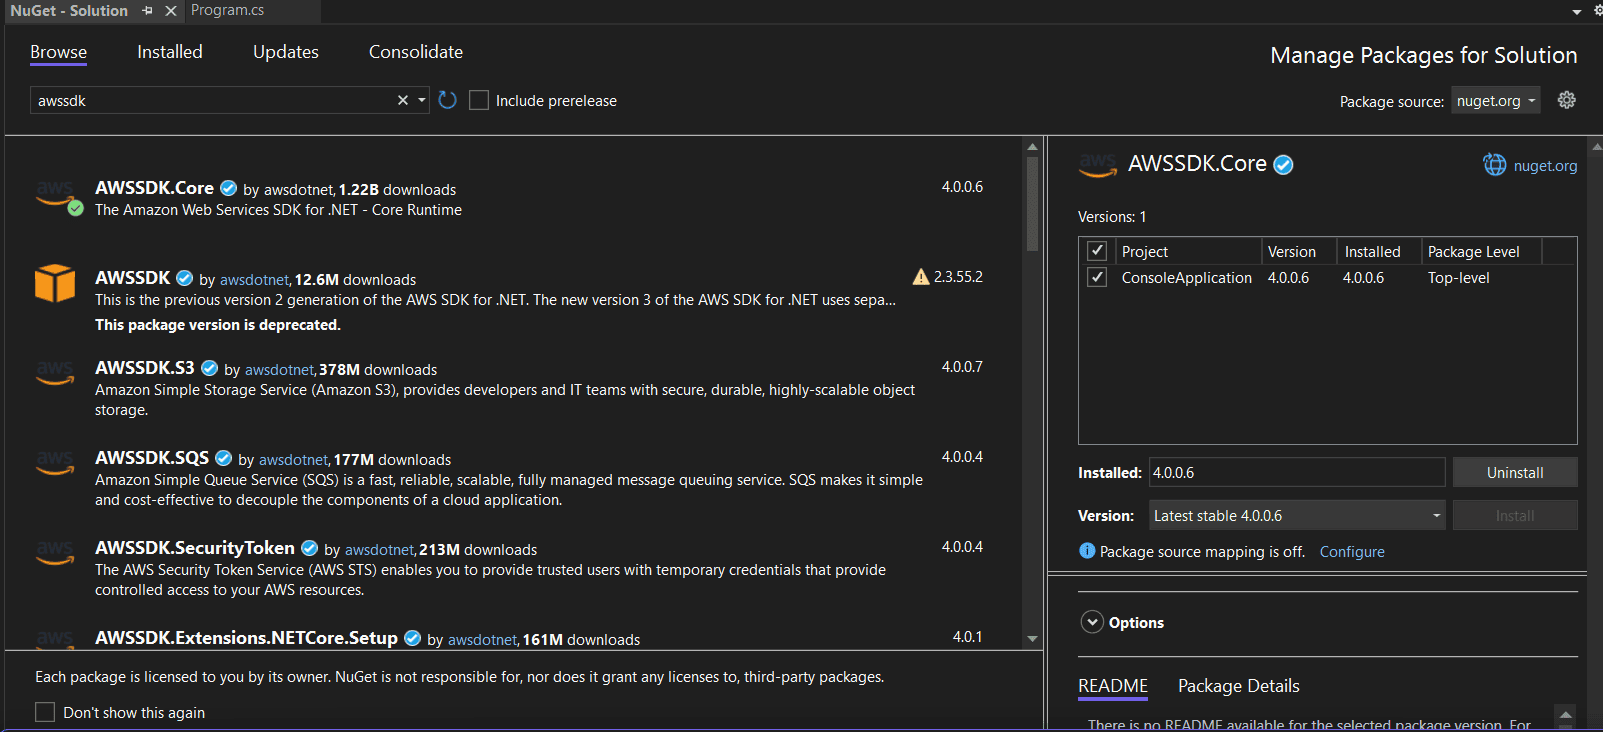
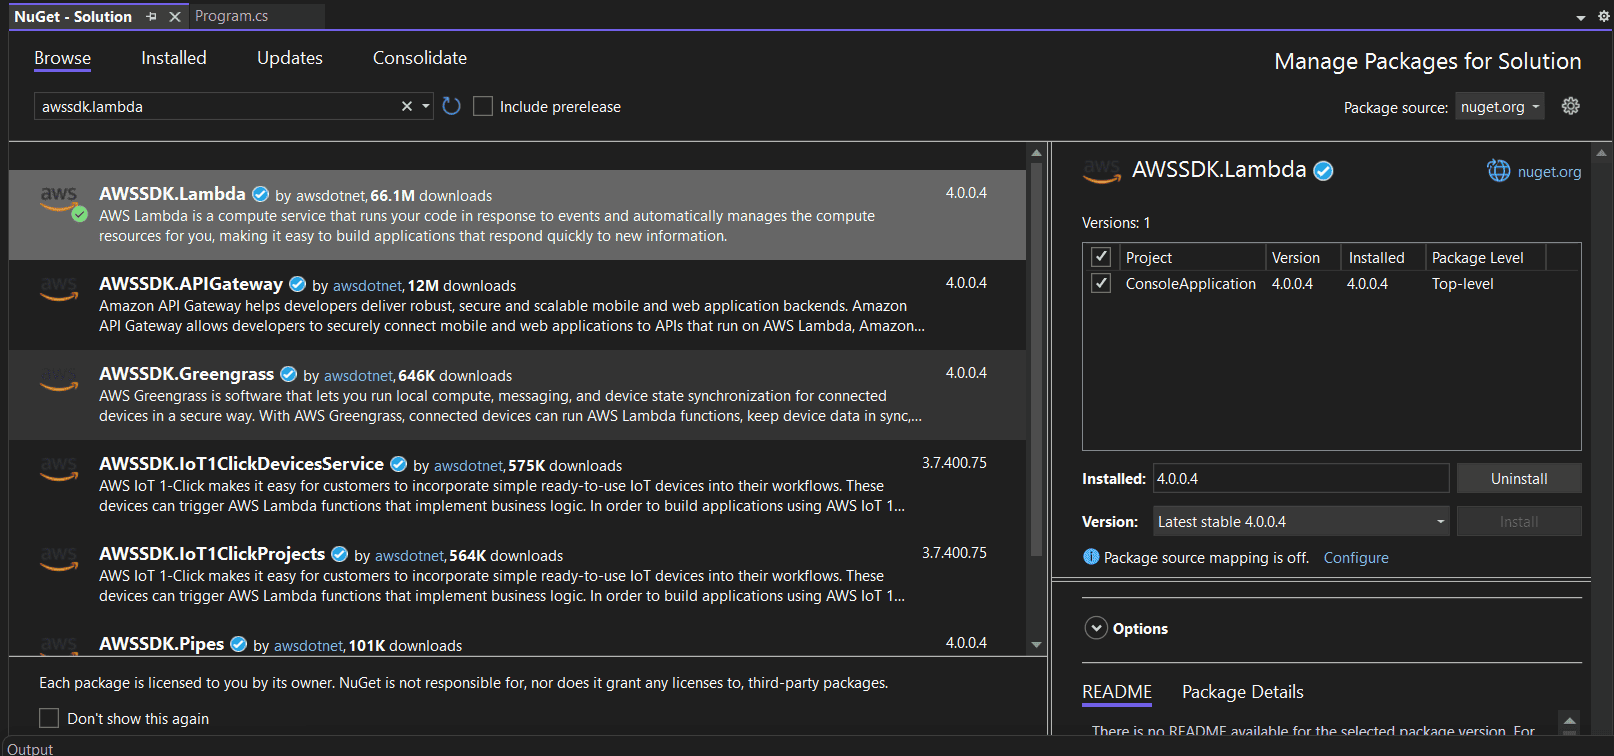
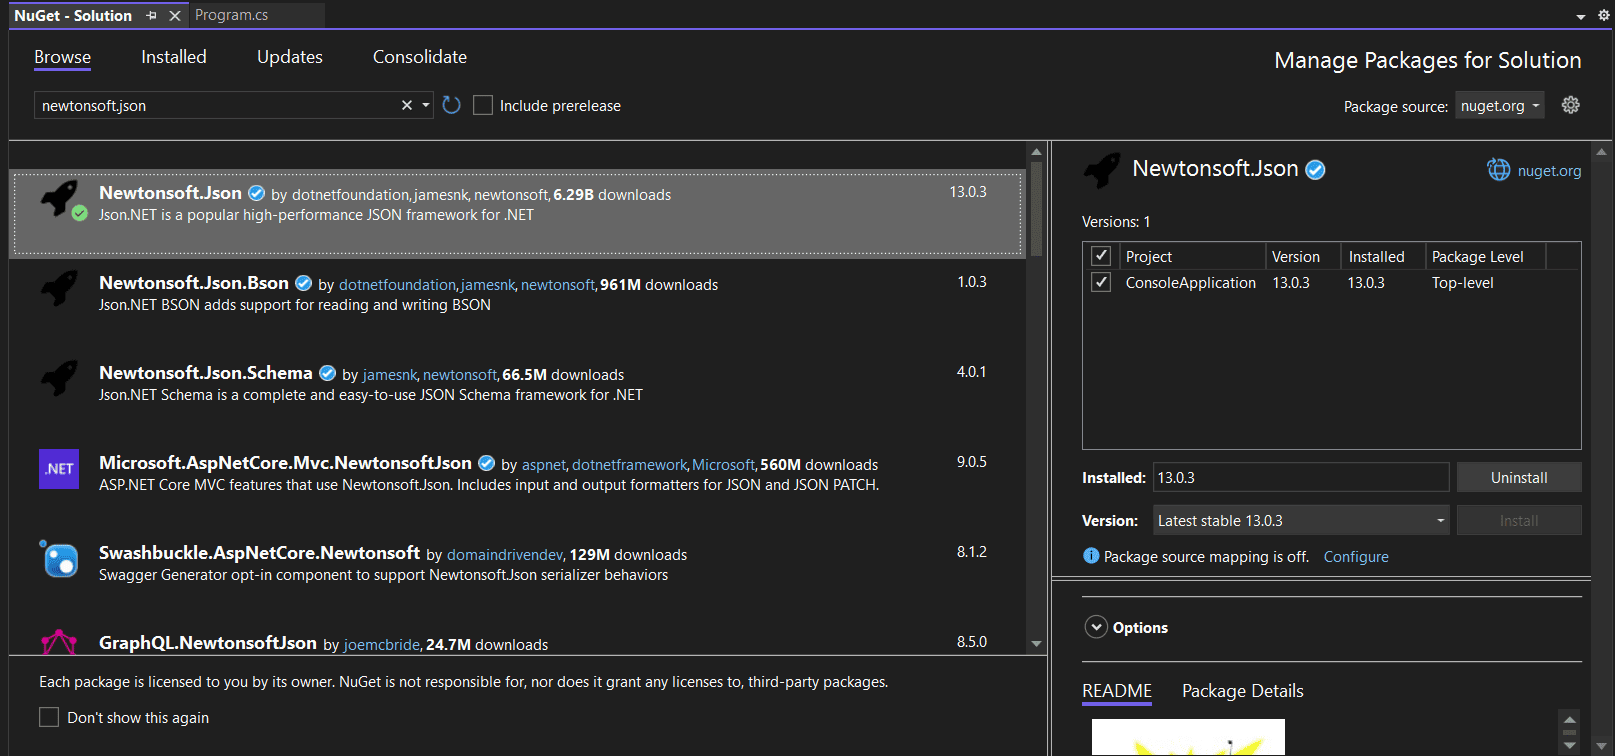
Step 3: Include the following namespaces in Program.cs.
using Amazon;
using Amazon.Lambda;
using Amazon.Lambda.Model;
using Newtonsoft.Json;
Step 4: Add the following code snippet in Program.cs to invoke the published AWS Lambda function using the function name and access keys.
//Create a new AmazonLambdaClient
AmazonLambdaClient client = new AmazonLambdaClient("awsaccessKeyID", "awsSecreteAccessKey", RegionEndpoint.USEast1);

//Create new InvokeRequest with published function name.
InvokeRequest invoke = new InvokeRequest
{
    FunctionName = "MyNewFunction",
    InvocationType = InvocationType.RequestResponse,
    Payload = "\"Test\""
};

// Get the InvokeResponse from client InvokeRequest.
InvokeResponse response = await client.InvokeAsync(invoke);

//Read the response stream
var stream = new StreamReader(response.Payload);
JsonReader reader = new JsonTextReader(stream);
var serilizer = new JsonSerializer();
var responseText = serilizer.Deserialize(reader);

//Convert Base64String into Excel document
byte[] bytes = Convert.FromBase64String(responseText.ToString());
FileStream fileStream = new FileStream("Sample.xlsx", FileMode.Create);
BinaryWriter writer = new BinaryWriter(fileStream);
writer.Write(bytes, 0, bytes.Length);
writer.Close();
var psi = new System.Diagnostics.ProcessStartInfo
{
    FileName = "Sample.xlsx",
    UseShellExecute = true
};
System.Diagnostics.Process.Start(psi);
By executing the program, you will get the Excel document as shown below.
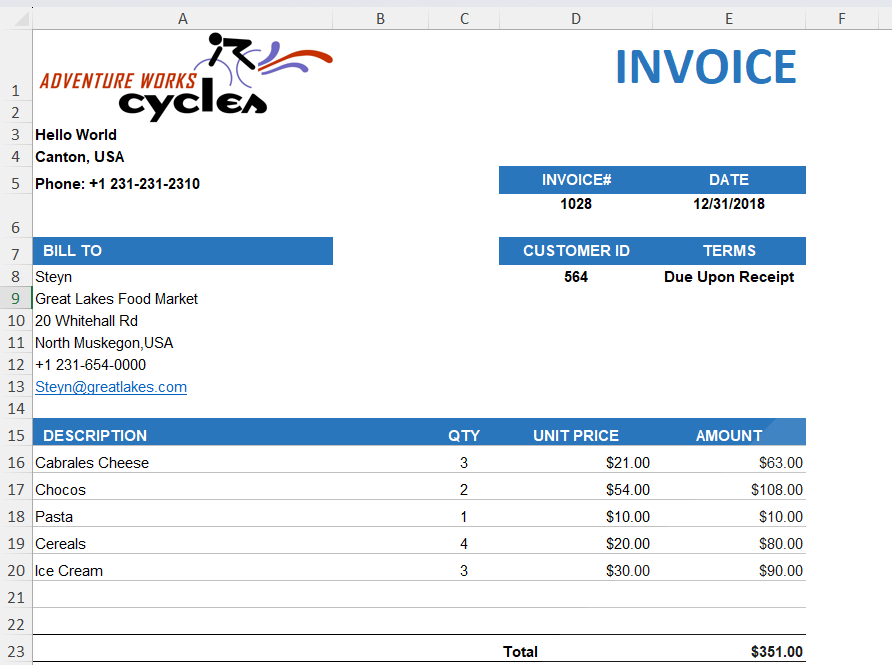
A complete working example of how to load and save an Excel file in AWS Lambda is present on this GitHub page, you can download the console application project here.
Click here to explore the rich set of Syncfusion® Excel library (XlsIO) features.
An online sample link to create an Excel document in ASP.NET Core.