Excel to PDF Conversion in AWS Elastic Beanstalk using Excel Library
14 Aug 20265 minutes to read
Syncfusion® XlsIO is a .NET Core Excel library used to create, read, edit and convert Excel documents programmatically without Microsoft Excel or interop dependencies. Using this library, you can convert a Excel document to PDF in AWS Elastic Beanstalk.
Steps to convert Excel document to PDF in AWS Elastic Beanstalk
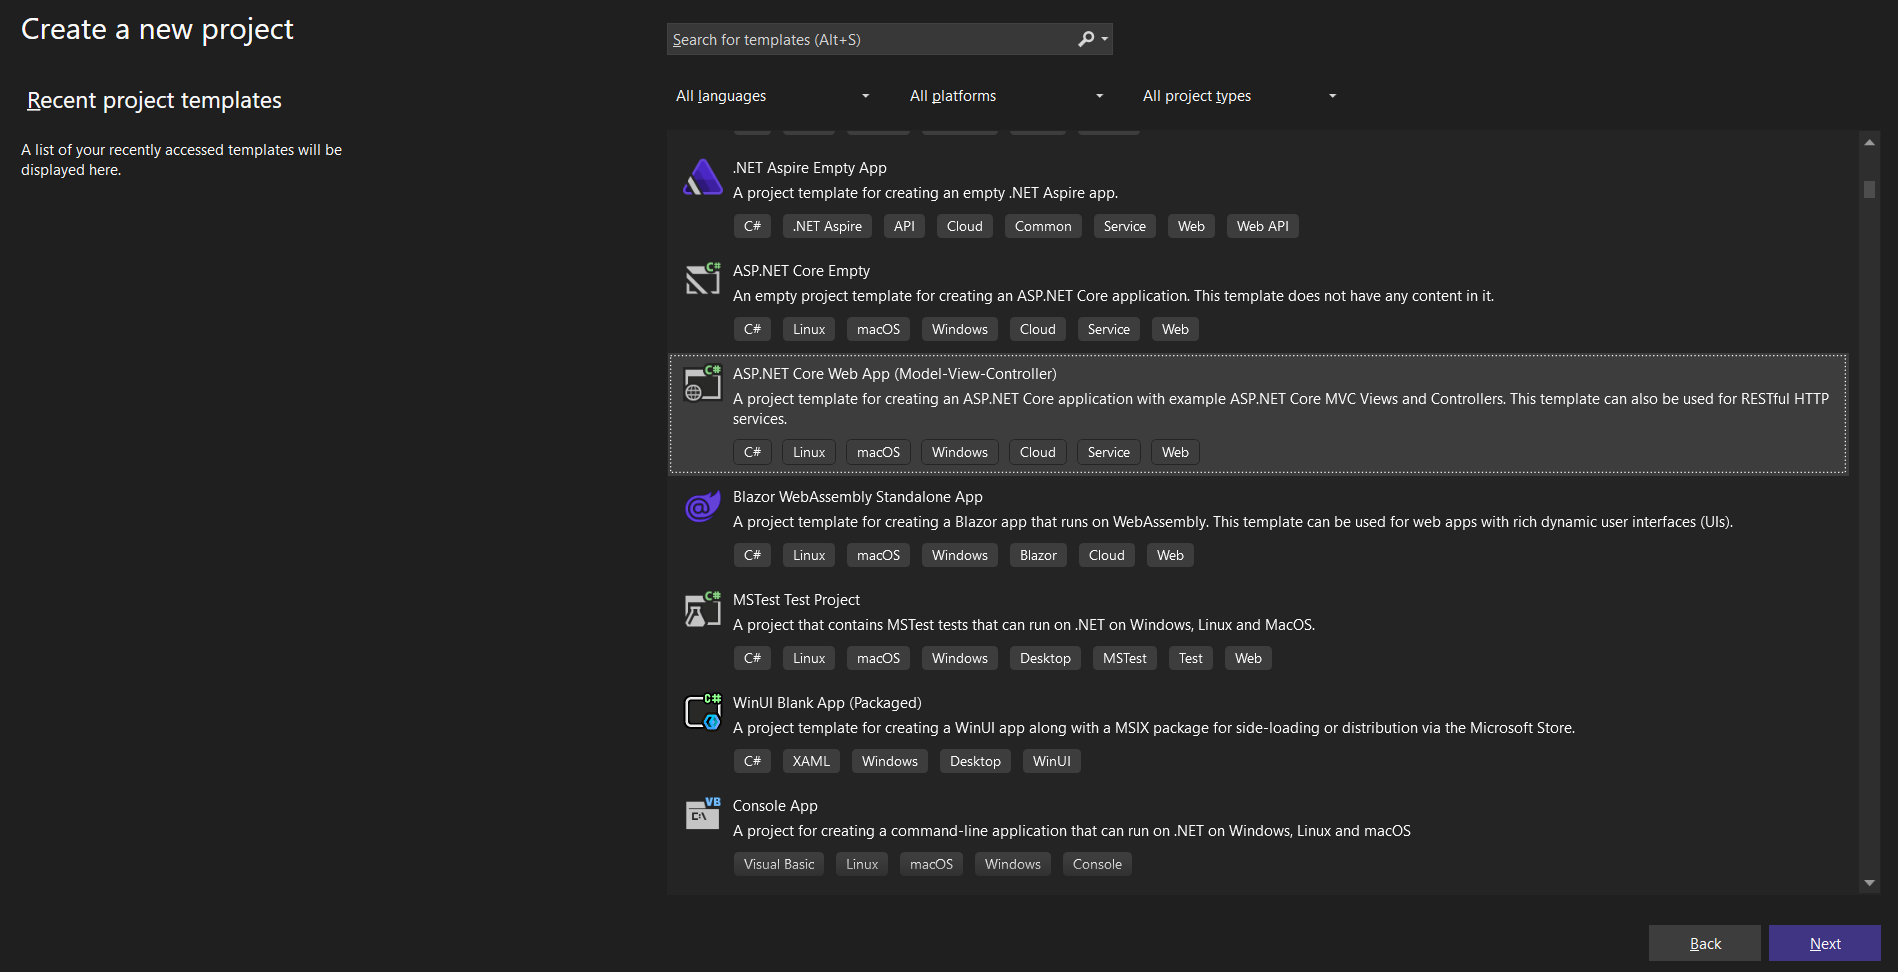
Step 1: Create a new ASP.NET Core Web application (Model-View-Controller) project.
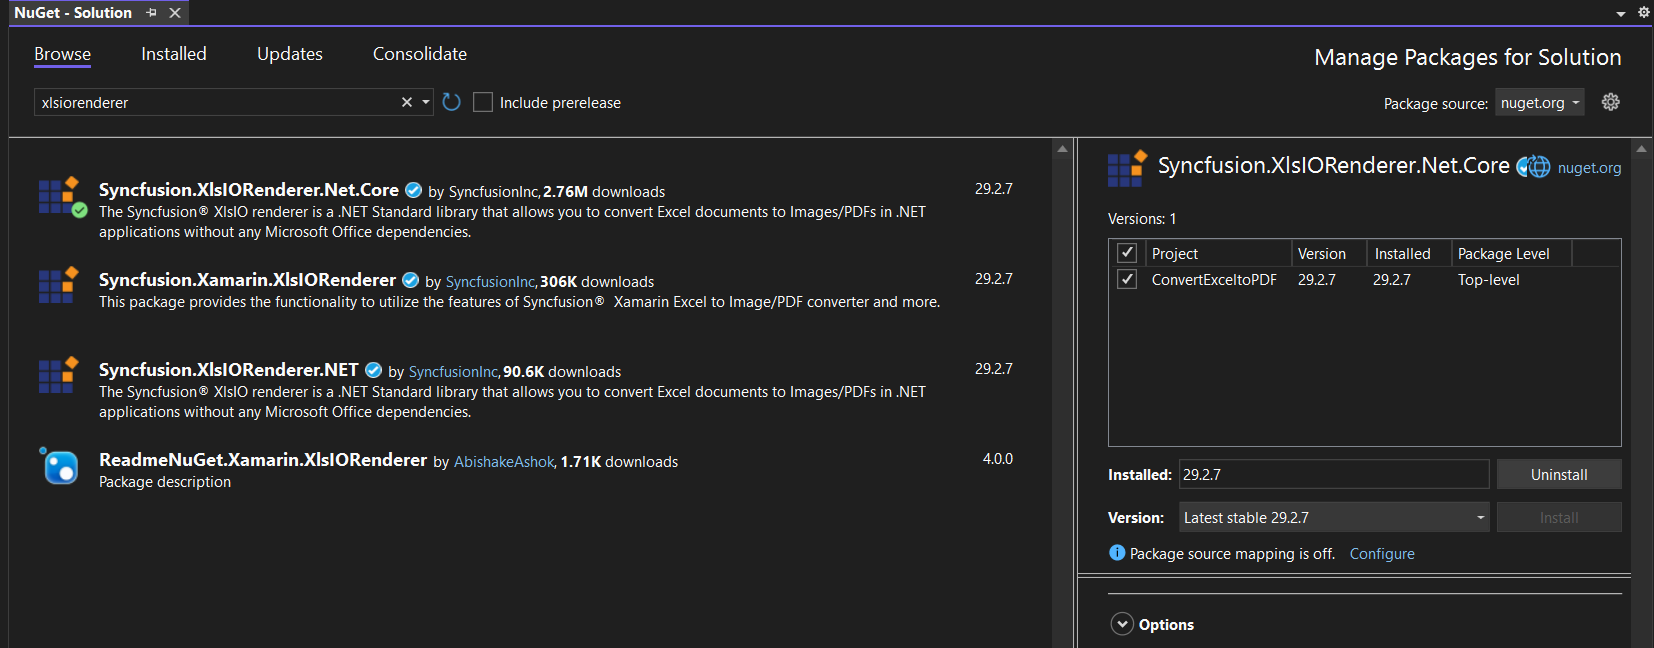
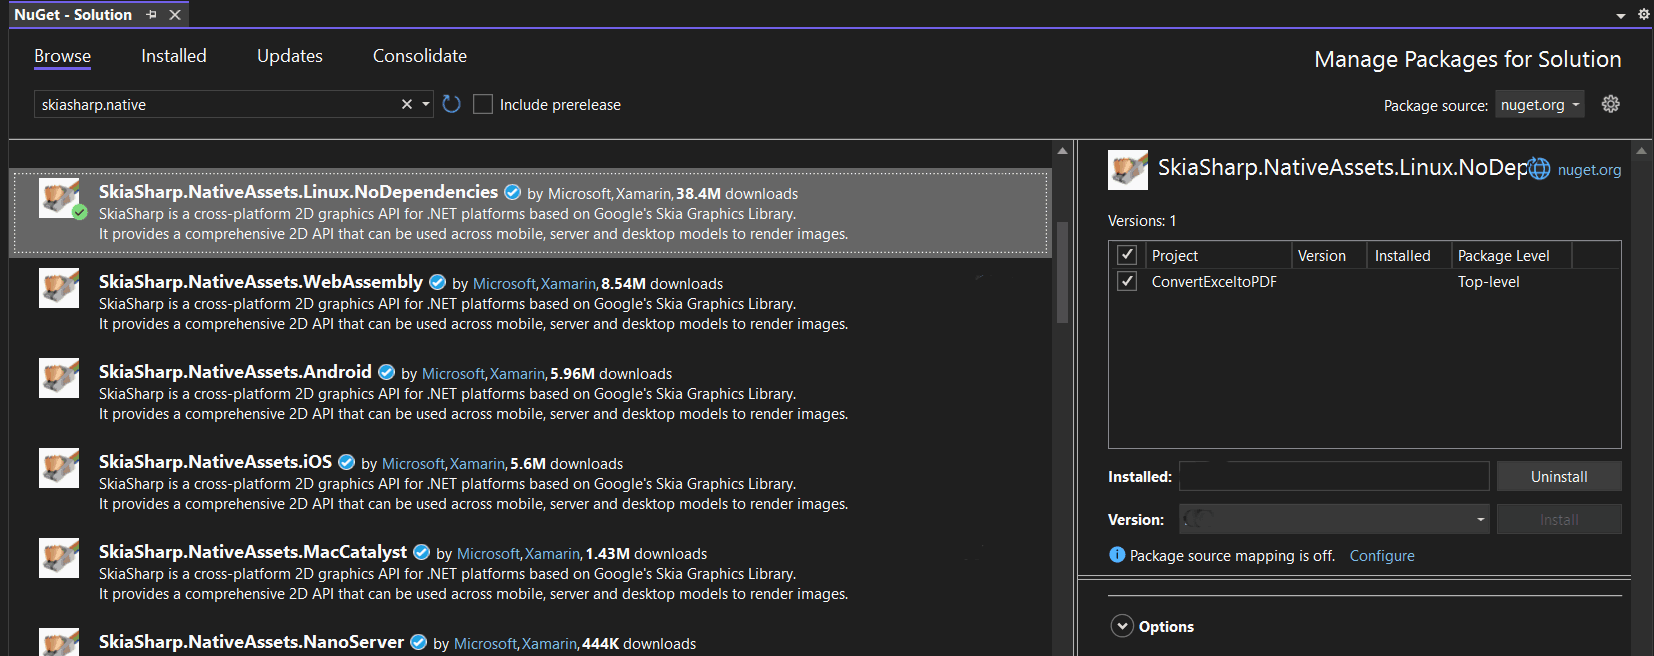
Step 2: Install the following Nuget packages in your application from Nuget.org.
Starting with v16.2.0.x, if you reference Syncfusion® assemblies from trial setup or from the NuGet feed, you also have to add “Syncfusion.Licensing” assembly reference and include a license key in your projects. Please refer to this link to know about registering Syncfusion® license key in your application to use our components.
Step 3: Include the following namespaces in the HomeController.cs file.
using Syncfusion.XlsIO;
using Syncfusion.XlsIORenderer;
using Syncfusion.Pdf;
using Syncfusion.XlsIO.Implementation;
Step 4: A default action method named Index will be present in HomeController.cs. Right click on Index method and select Go To View where you will be directed to its associated view page Index.cshtml.
Step 5: Add a new button in the Index.cshtml as shown below.
@{
    Html.BeginForm("ConvertExceltoPDF", "Home", FormMethod.Get);
    {
        <div>
            <input type="submit" value="Convert ExceltoPDF" style="width:150px;height:27px" />
        </div>
    }
    Html.EndForm();
}
Step 6: Include the below code snippet in the Homecontroller.cs file to convert a Excel document to Pdf and download it.
public IActionResult ConvertExceltoPDF()
{
    using (ExcelEngine excelEngine = new ExcelEngine())
    {
        IApplication application = excelEngine.Excel;
        application.DefaultVersion = ExcelVersion.Xlsx;

        //Initializes the SubstituteFont event to perform font substitution during Excel-to-PDF conversion
        application.SubstituteFont += new SubstituteFontEventHandler(SubstituteFont);

        FileStream excelStream = new FileStream(@"Data/InputTemplate.xlsx", FileMode.Open, FileAccess.Read);
        IWorkbook workbook = application.Workbooks.Open(excelStream);

        //Initialize XlsIO renderer.
        XlsIORenderer renderer = new XlsIORenderer();

        //Convert Excel document into PDF document
        PdfDocument pdfDocument = renderer.ConvertToPDF(workbook);

        //Create the MemoryStream to save the converted PDF.
        MemoryStream pdfStream = new MemoryStream();

        //Save the converted PDF document to MemoryStream.
        pdfDocument.Save(pdfStream);
        pdfStream.Position = 0;
        //Download PDF document in the browser
        return File(pdfStream, "application/pdf", "Sample.pdf");
    }
}

private static void SubstituteFont(object sender, SubstituteFontEventArgs args)
{
    string filePath = string.Empty;
    FileStream fileStream = null;

    if (args.OriginalFontName == "Calibri")
    {
        filePath = Path.GetFullPath(@"Data/calibri.ttf");
        fileStream = new FileStream(filePath, FileMode.Open, FileAccess.Read);
        args.AlternateFontStream = fileStream;
    }
}
Steps to publish as AWS Elastic Beanstalk
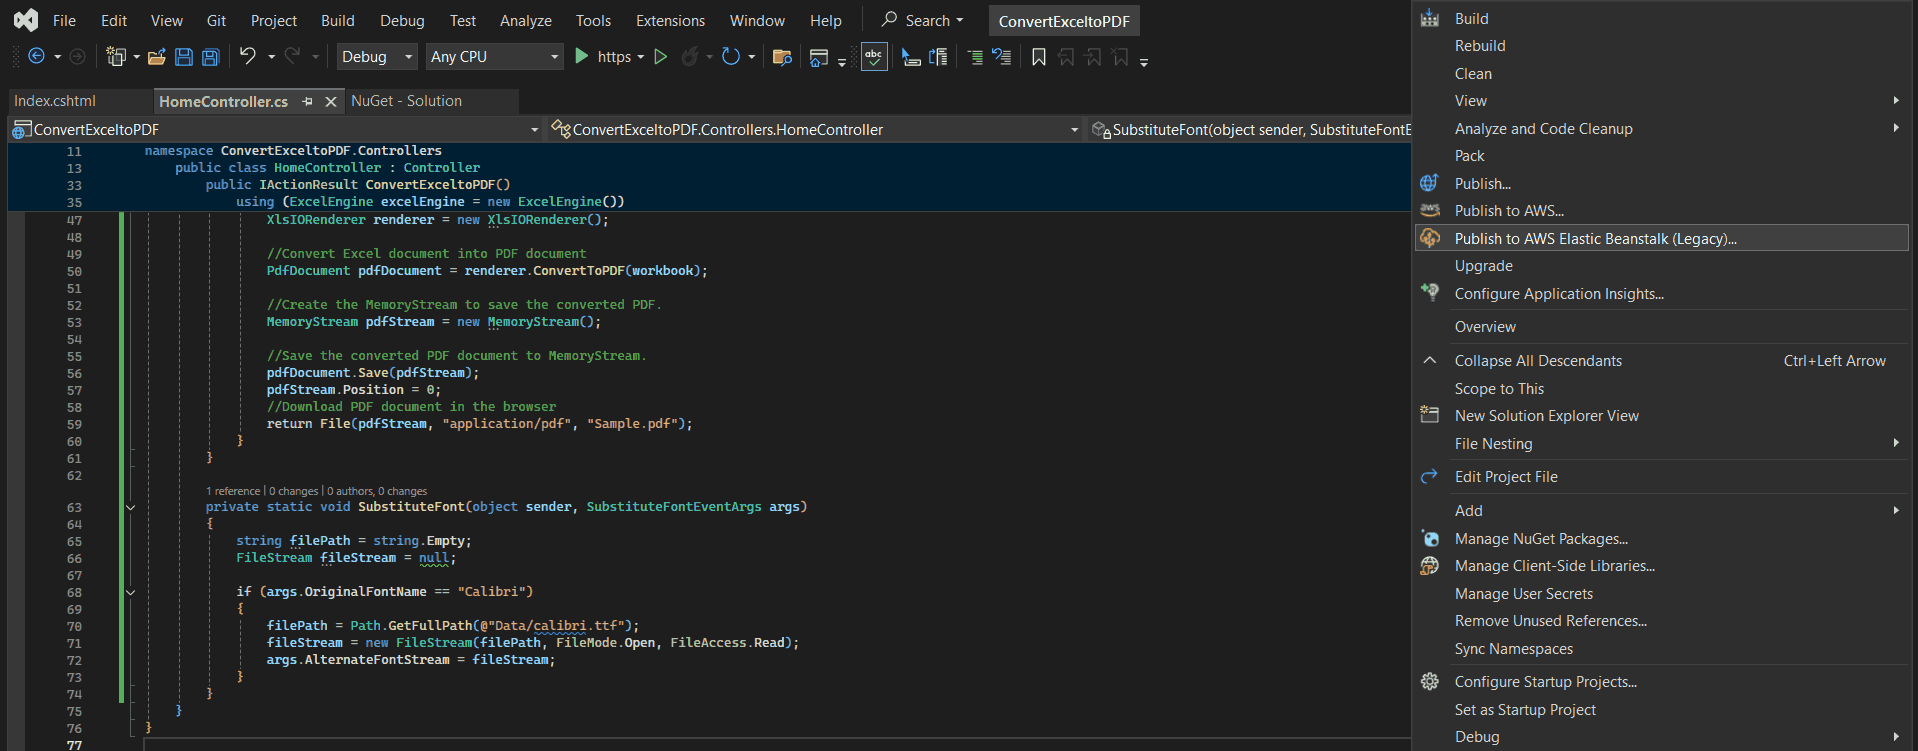
Step 1: Right-click the project and select Publish to AWS Elastic Beanstalk (Legacy) option.
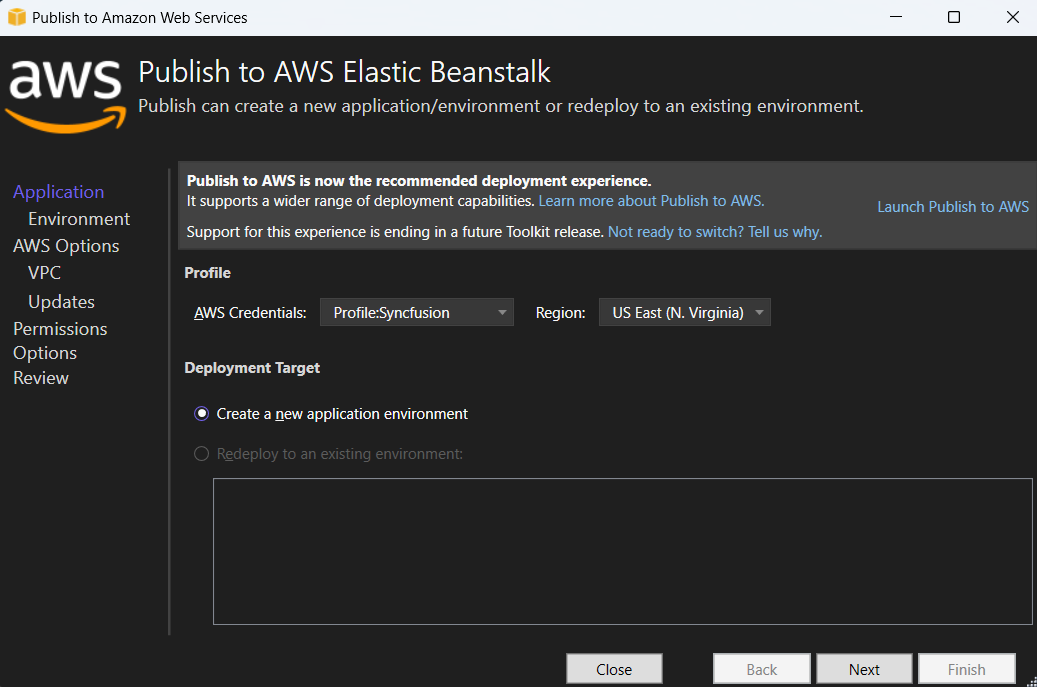
Step 2: Select the Deployment Target as Create a new application environment and click Next button.
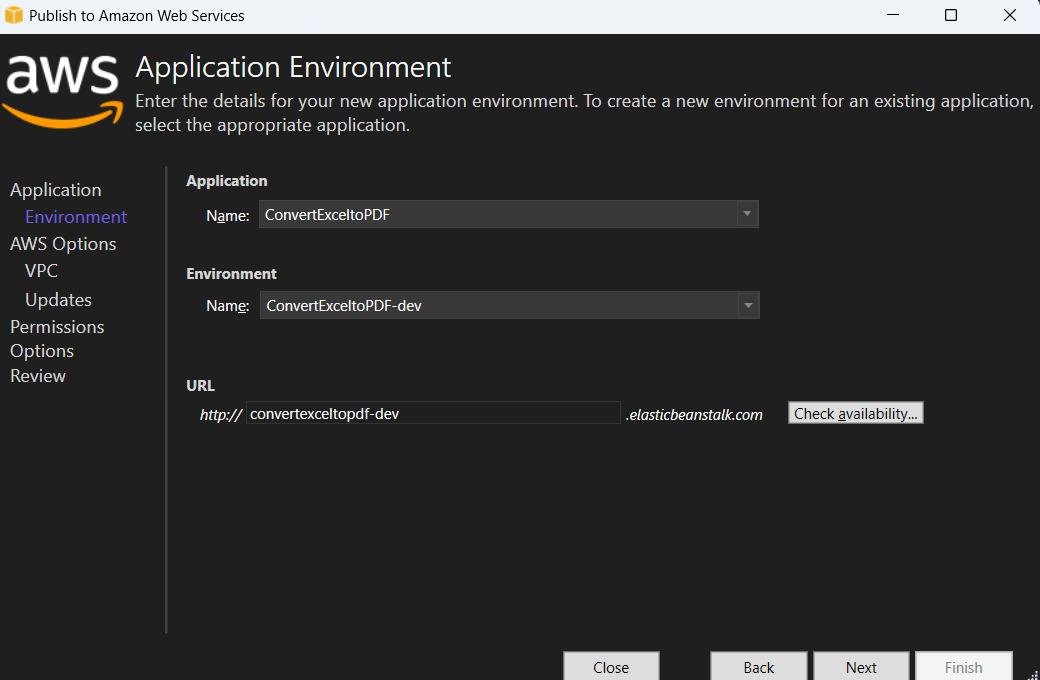
Step 3: Choose the Environment Name in the dropdown list and the URL will be automatically assign and check the URL is available, if available click next otherwise change the URL.
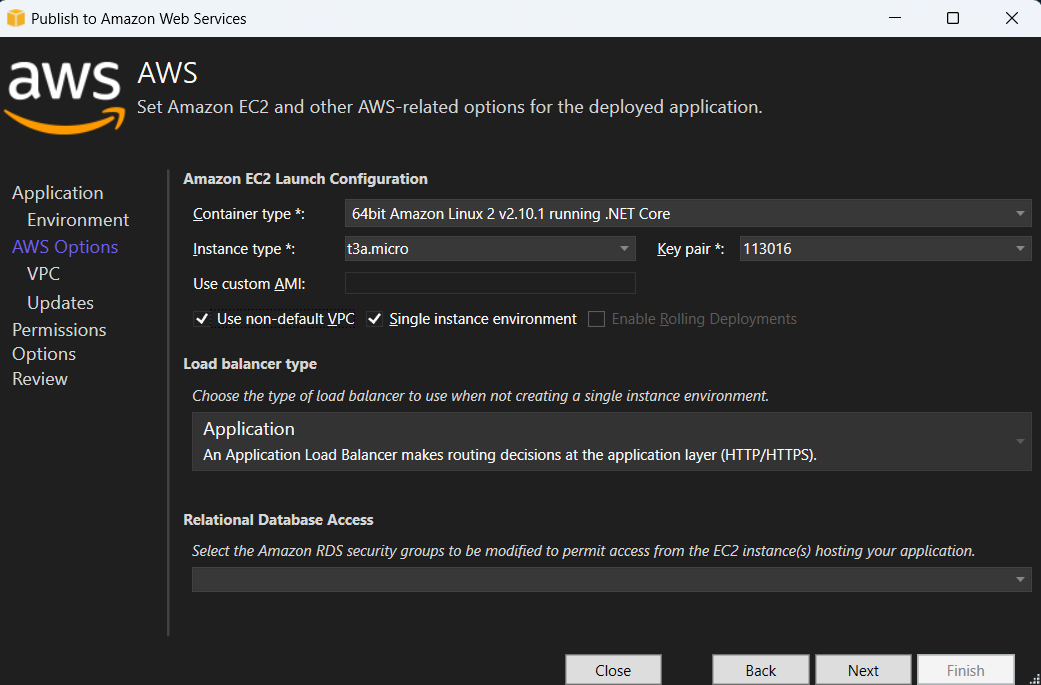
Step 4: Select the instance type in t3a.micro from the dropdown list and click next.
Step 5: Click the Next button to proceed further.
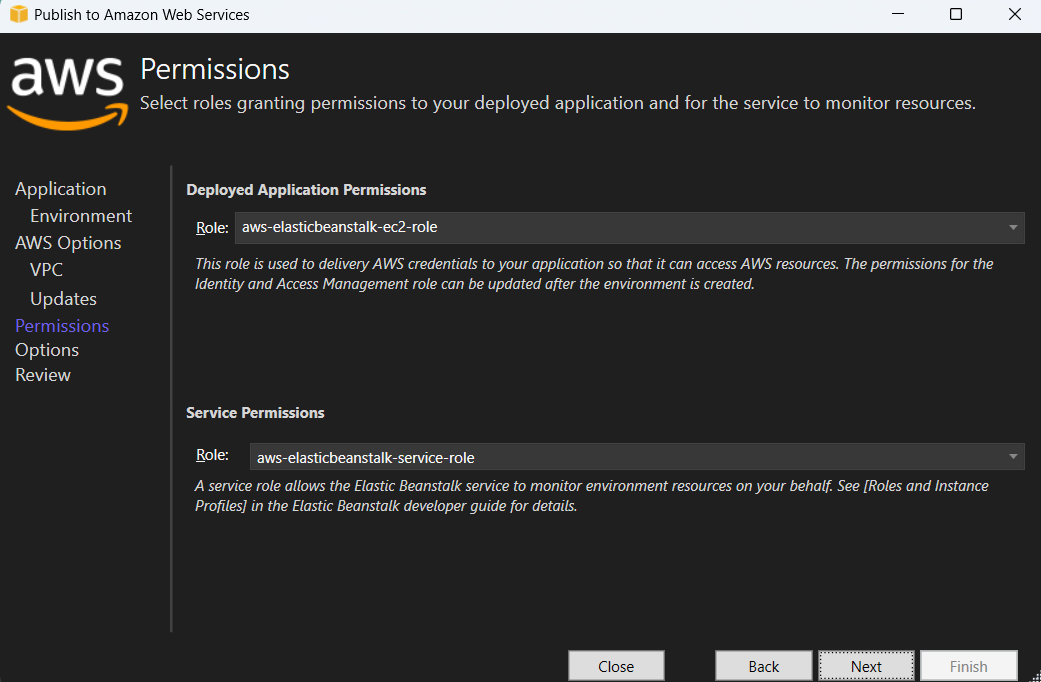
Step 6: Click the Next button.
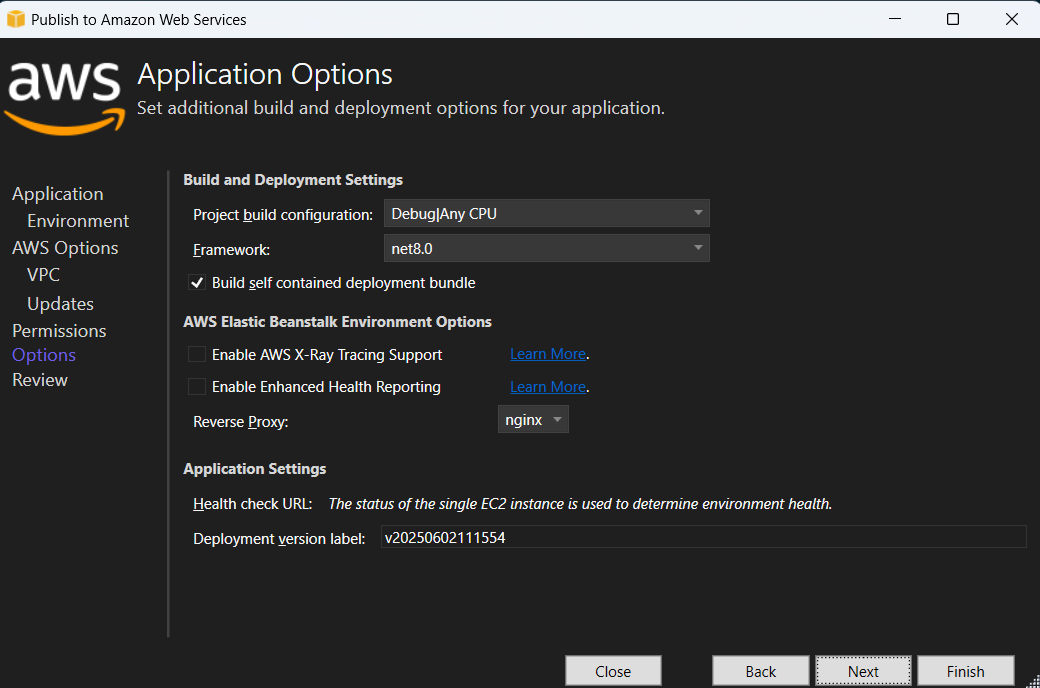
Step 7: Click the Deploy button to deploy the sample on AWS Elastic Beanstalk.
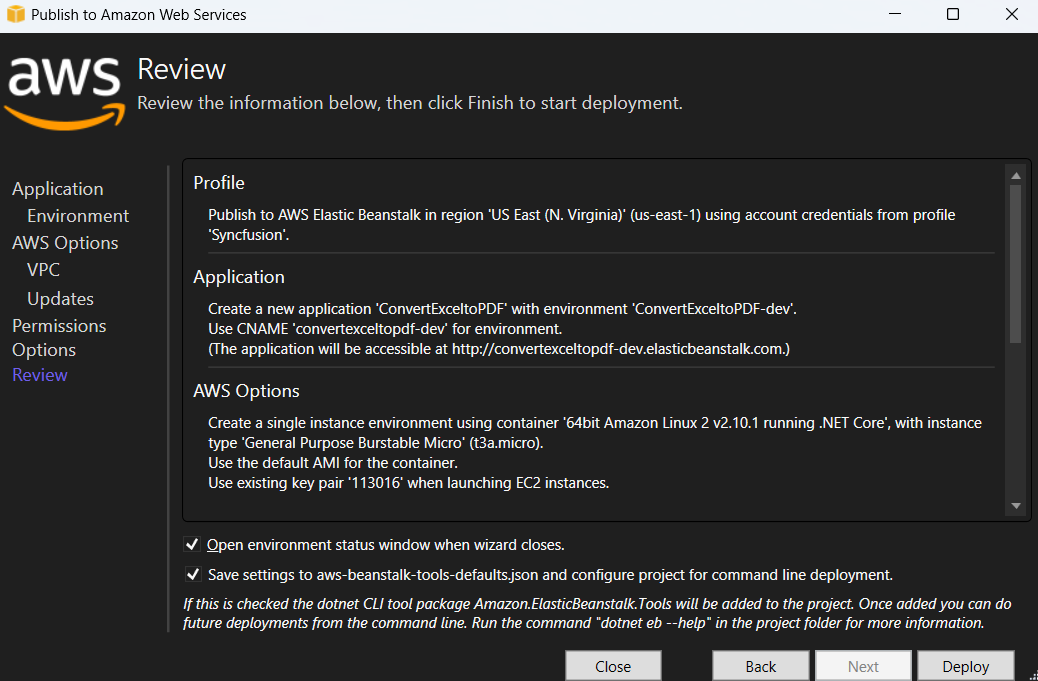
Step 8: After changing the status from Updating to Environment is healthy, click the URL.
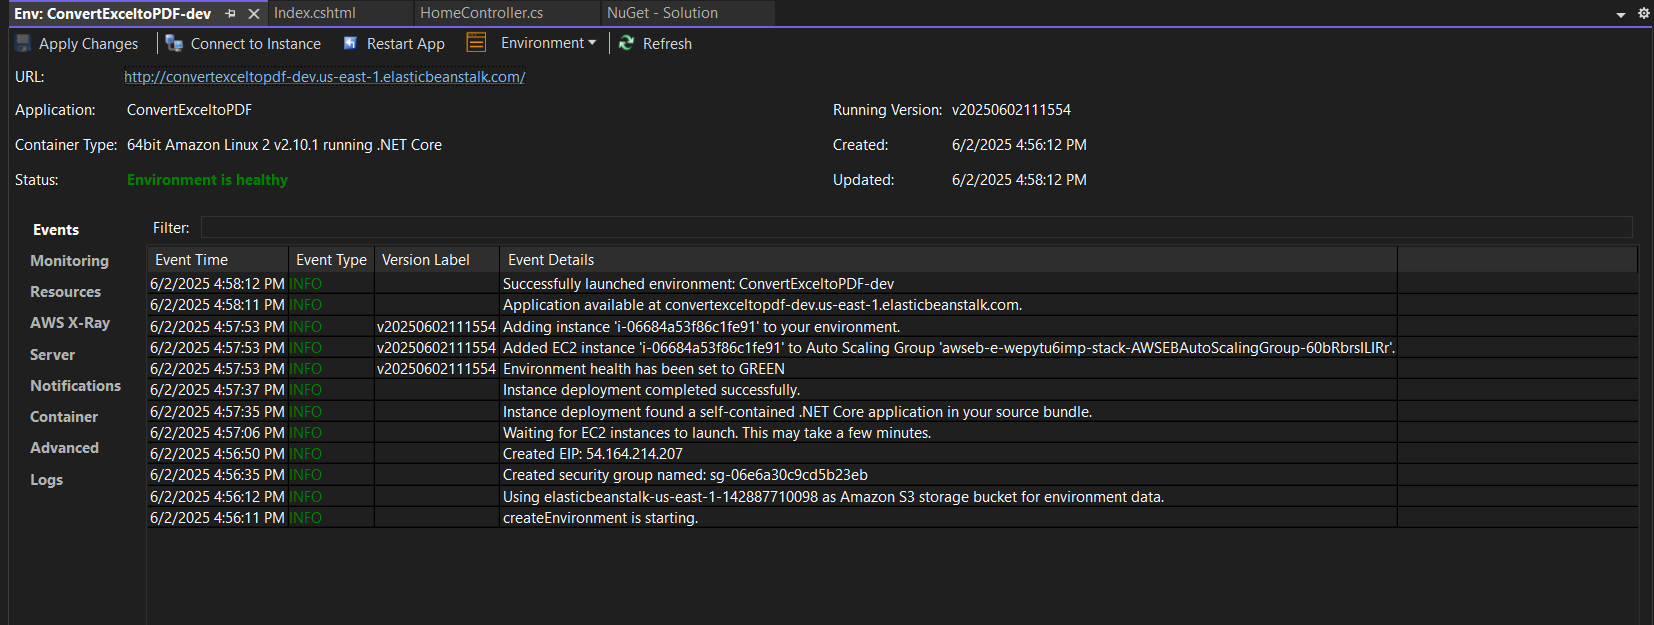
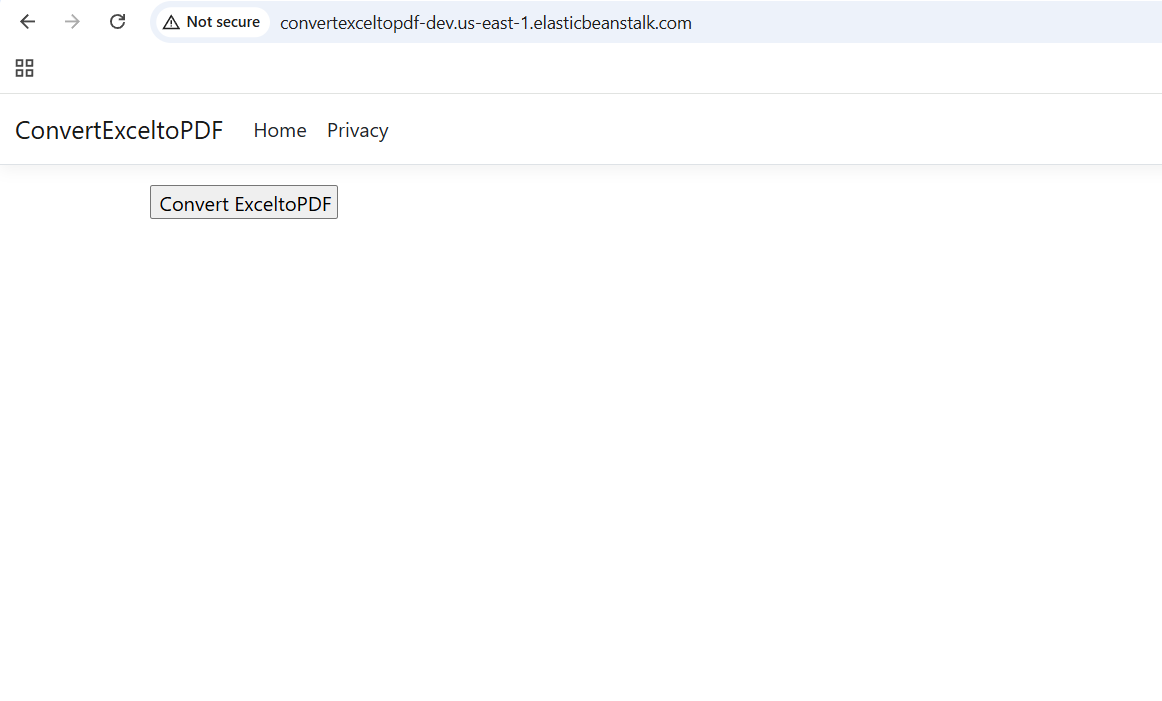
Step 9: After opening the provided URL, click Convert ExceltoPDF button to download the PDF document.
You can download a complete working sample from this GitHub page.
By executing the program, you will get the PDF document as follows.
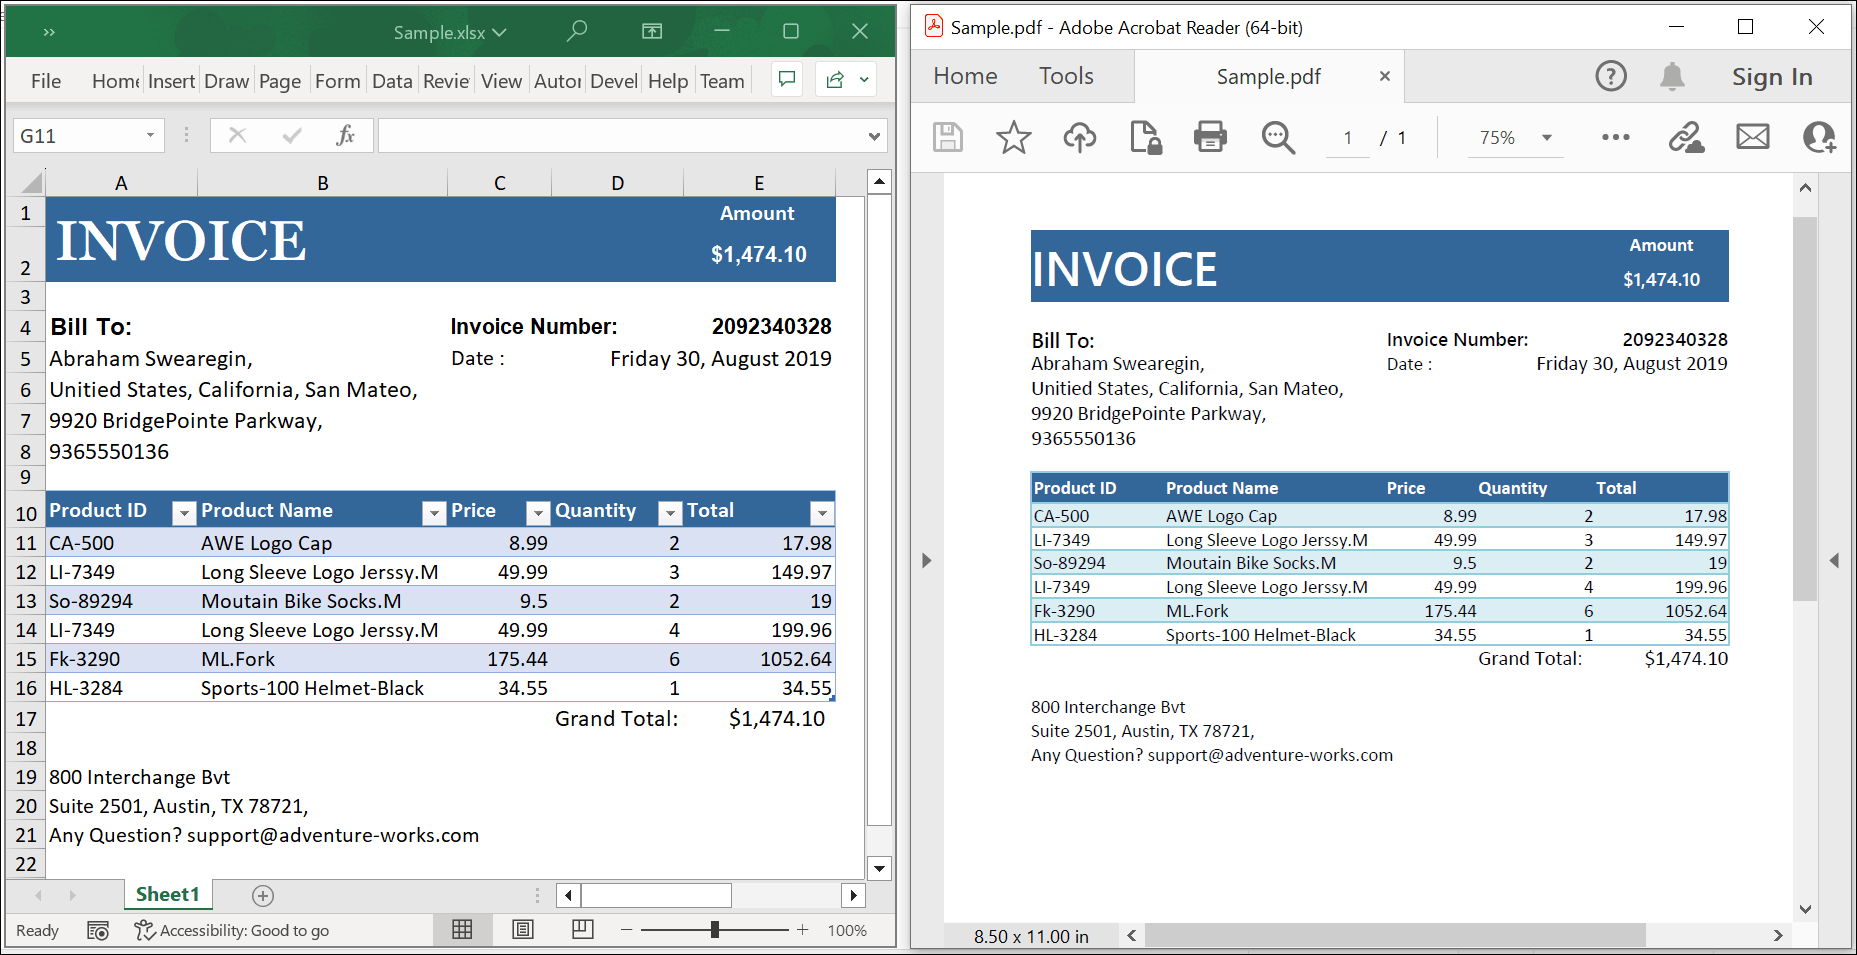
Click here to explore the rich set of Syncfusion® Excel library (XlsIO) features.
An online sample link to convert an Excel document to PDF in ASP.NET Core.