Configure Trusted Domain SSL in Data Integration Platform
To configure trusted domain SSL in Data Integration, get a PFX file and its password from certificate authority. Follow the below steps
- Convert PFX file to Java KeyStore
- Export certificate and create TrustStore
- Configure SSL
- Configure User Management Server
Convert PFX file to Java KeyStore
-
Make sure JAVA_HOME set and Java bin set in Environmental PATH. You can find Java which is shipped with Data Integration build in the following location
C:\Syncfusion\DataIntegration\<version>\Java\jdk_x64
-
Execute the below java command to find the alias name of PFX file
keytool -v -list -storetype pkcs12 -keystore <pfx file path> -
Use the below java command to convert the PFX file to Java keystore file.
keytool -importkeystore -srckeystore <pfx file path> -srcstoretype pkcs12 -srcalias <cert name from above result> -destkeystore <new jks file path> -deststoretype jks -deststorepass <new jks p/w> -destkeypass <new jks p/w> -destalias <same as cert name>Example
keytool -importkeystore -srckeystore c:\cert\certificate.pfx -srcstoretype pkcs12 -srcalias *.example.com -destkeystore c:\cert\keystore.jks -deststoretype jks -deststorepass findit123 -destkeypass findit123 -destalias *.example.com -
After above step, it will prompt for source KeyStore password.
-
Once entered password, KeyStore file will get generated.
Export certificate and create TrustStore
-
Export a certificate from generated keyStore file. Example command provided below
keytool -export -alias *.example.com-keystore c:\cert\keystore.jks -rfc -file c:\cert\certificate.cer -storepass findit123 -
Import the generated certificate to create a TrustStore file
keytool -import -alias *.example.com-file c:\cert\certificate.cer -keystore c:\cert\truststore.jks -storepass findit123
Configure SSL
-
After generating the keystore and truststore file from above steps. Copy KeyStore and TrustStore files into NiFi\conf directory
C:\Syncfusion\DataIntegration\<version>\SDK\NIFI\conf
-
Modify nifi.properties file to configure KeyStore and TrustStore. Set below properties properly.
nifi.security.keystore=./conf/keystore.jks nifi.security.keystoreType=jks nifi.security.keystorePasswd=keystorepassword nifi.security.keyPasswd=keystorekeypassword nifi.security.truststore=./conf/truststore.jks nifi.security.truststoreType=jks nifi.security.truststorePasswd=truststorepassword -
Set port number in nifi.properties file for a property nifi.web.https.port to 443 (Default port used by secure https is 443)
-
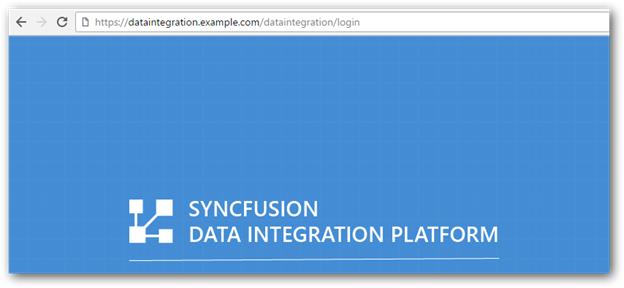
Restart Data Integration service. Now you can check Data Integration service running with Domain SSL certificate.
Configure User Management Server
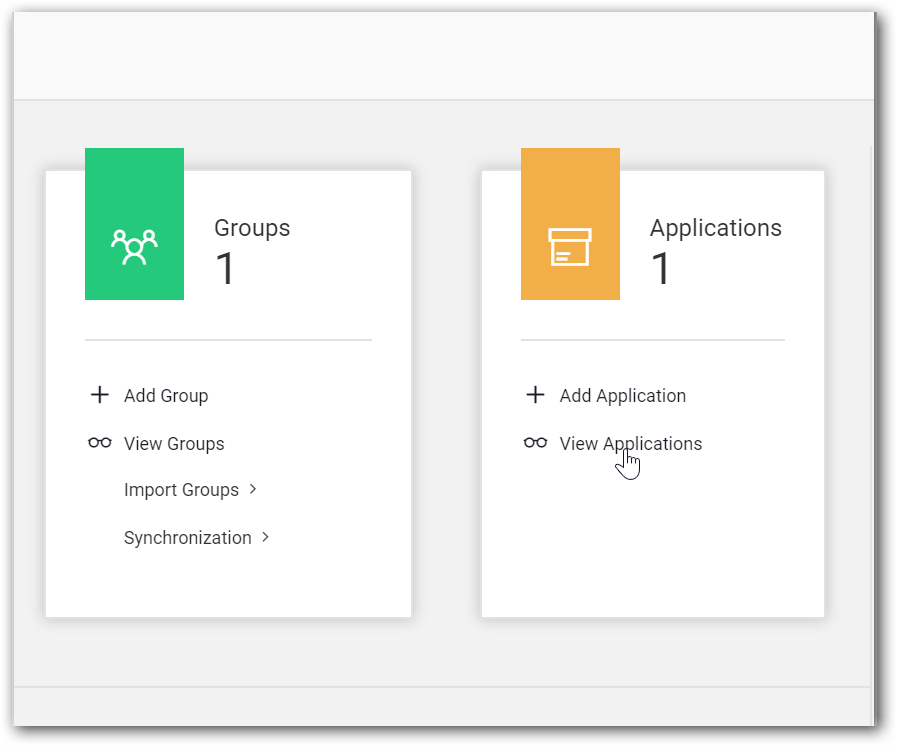
- In User Management Server home page, click view Applications.
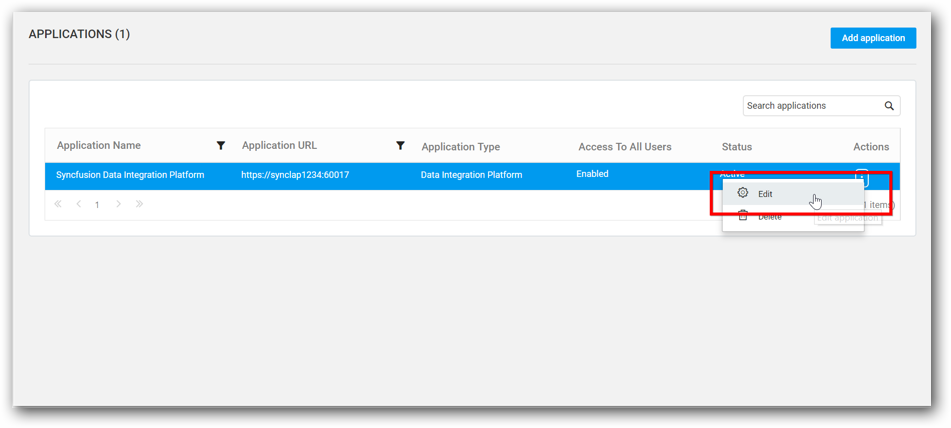
- In application page, click Edit option for the added Data Integration application.
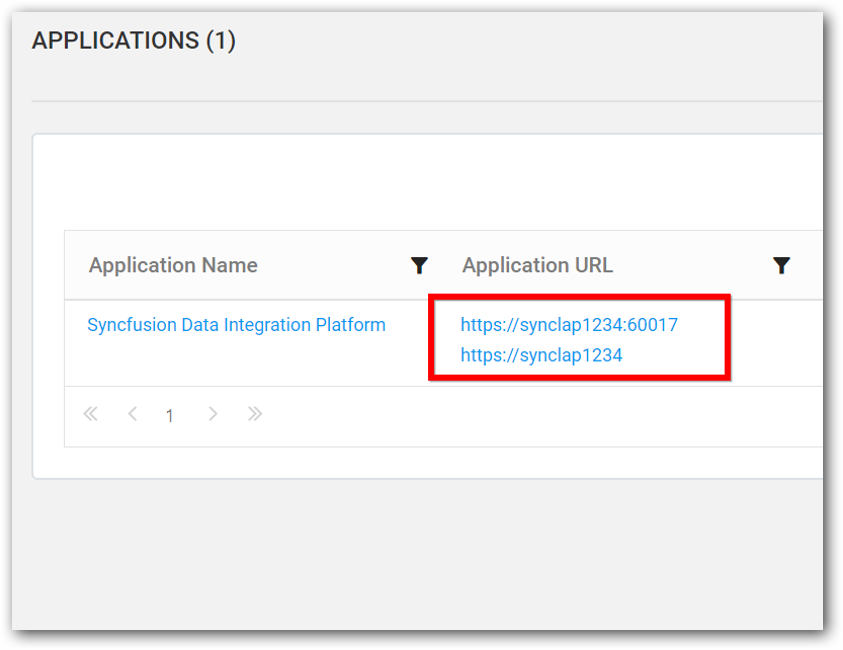
- Add the changed URL using Add Url option and click Update.
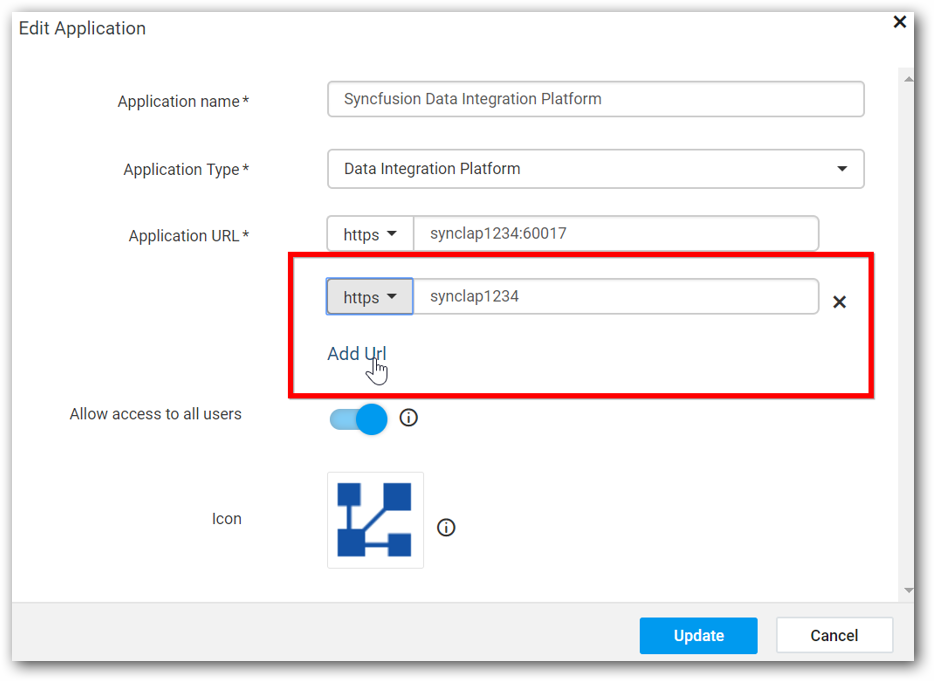
- Now, URL will be added in application details and it will be accessible.