How to create a custom processor in Data Integration Platform
Data Integration Platform provided support to create a custom processor to meet custom or user specific requirements. This document will explain the steps involved in developing a custom processor and deploy them into the Data Integration Platform.
Follow below steps to create a custom processor.
Steps Involved
Perquisite
- Maven 3.3.x or later
- Java-8 or later
Project Creation
To keep the example as simple, we are going to create a processor to perform addition of 2 numbers and returns the value into the flow file.
Step 1: Choose / Create a working directory
Create a directory (folder) where you want to create a custom processor project say for example:
E:\CustomProcessor
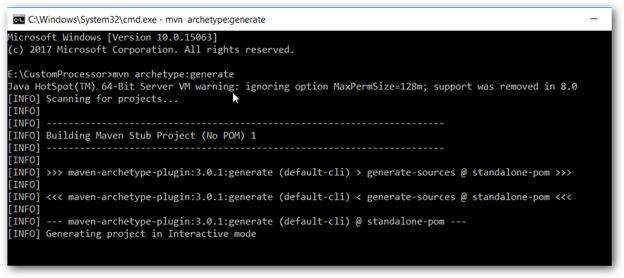
Step 2: Generate Maven Archetype
Run the following command in command prompt on the created directory
Command
mvn archetype:generate
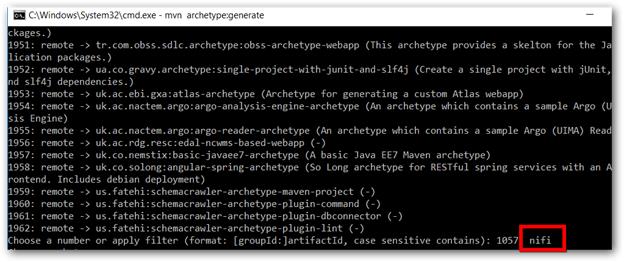
Step 3: Input Parameters
You will be asked for more parameters while generating archetype,
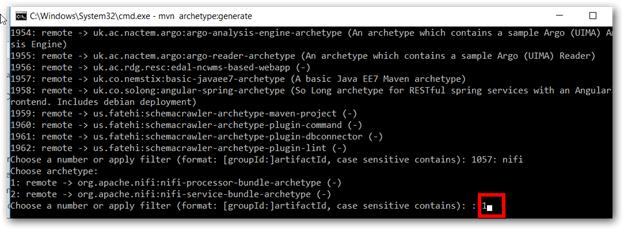
Search for org.apache.nifi:nifi-processor-bundle-archetype project and note its archetype-number and type on the filter mentioned as follows.
Choose a number or apply filter (format: [groupId:]artifactId, case sensitive contains): 1057: nifi
Step 4: Choosing Archetype
Choose archetype to create customer processor
Choose a number or apply filter (format: [groupId:]artifactId, case sensitive contains): : 1
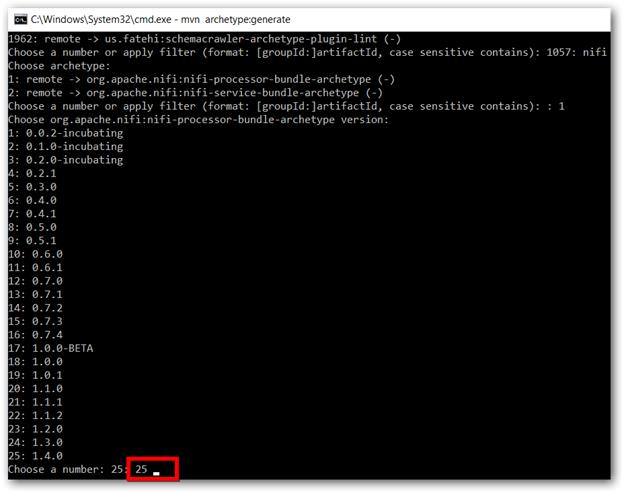
Step 5: Version Selection
- Select the version.
- For Data Integration Platform 2.3.0.x, choose version 1.3.0
- For Data Integration Platform 2.4.0.x, choose version 1.4.0
Choose a number: 25: 25
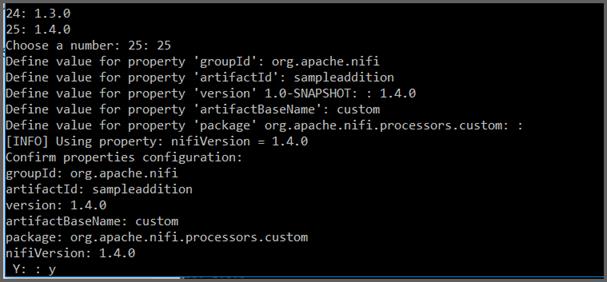
Step 6: Group ID, Artifact ID and Artifact Base Name
Enter the groupId, artifactId, version and artifactBaseName.
Define value for property ‘groupId’: org.apache.nifi
Define value for property ‘ artifactId’: sampleaddition
Define value for property ‘version’ 1.0-SNAPSHOT: : 1.4.0
Define value for property ‘artifactBaseName’: custom
Define value for property ‘package’ org.apache.nifi.processors.custom: : Optional, Enter package name if required else leave it as empty
Step 7: Open Project in IDE
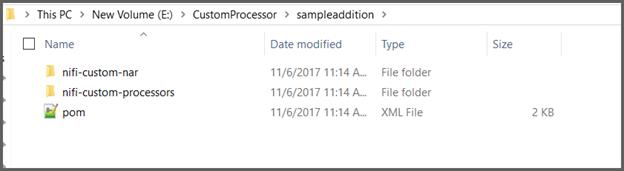
Now you can find the project files under
E:\CustomProcessor\sampleaddition
Open the project in NetBeans or Eclipse. Below screenshot taken from NetBeans
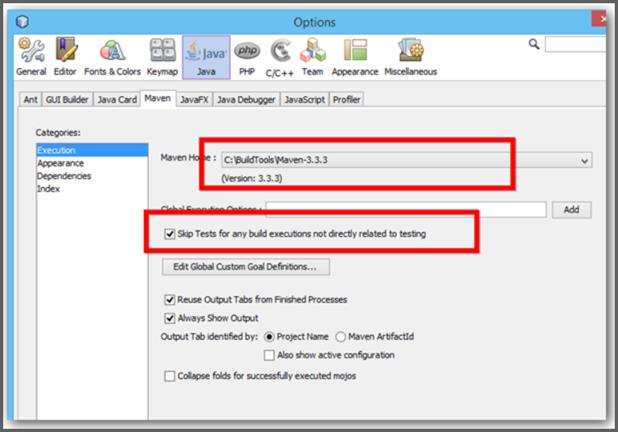
Step 8: IDE Maven Settings
Change Maven Home in NetBeans appropriately to your installed Maven location,
- Open tools->options->Java->Maven
- Choose Maven home
- Choose “Skip Tests”
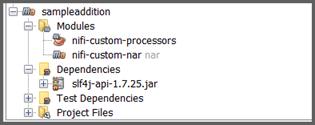
Step 10: Modules
You can see two modules in that,
- nifi-custom-processors
- nifi-custom-nar
Open the nifi-custom-processors project
Implementation
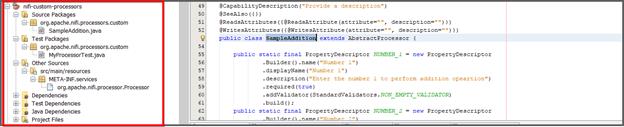
Project File MyProcessor.java
You can find MyProcessor.java, change the name as per your requirement say SampleAddition.javaand implement the code to perform required operation.
-
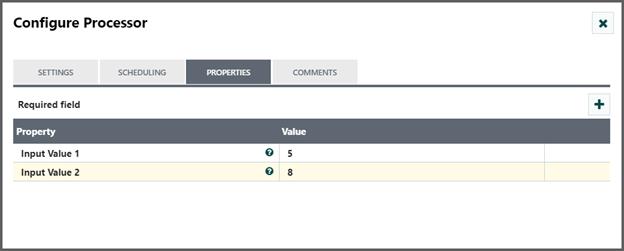
Under the class initialize the property field which appears properties tab of the custom processor using PropertyDescriptor as data type.
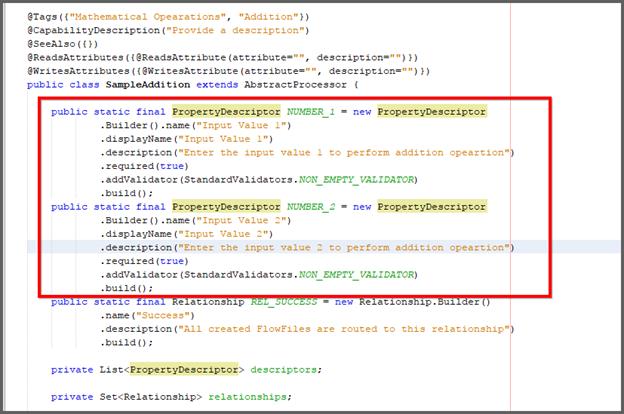
   public static final PropertyDescriptor NUMBER_1 = new PropertyDescriptor
          .Builder().name("Input Value 1")
          .displayName("Input Value 1")
          .description("Enter the input value 1 to perform addition operation")
          .required(true)
          .addValidator(StandardValidators.NON_EMPTY_VALIDATOR)
          .build();
  public static final PropertyDescriptor NUMBER_2 = new PropertyDescriptor
          .Builder().name("Input Value 2")
          .displayName("Input Value 2")
          .description("Enter the input value 2 to perform addition operation")
          .required(true)
          .addValidator(StandardValidators.NON_EMPTY_VALIDATOR)
          .build();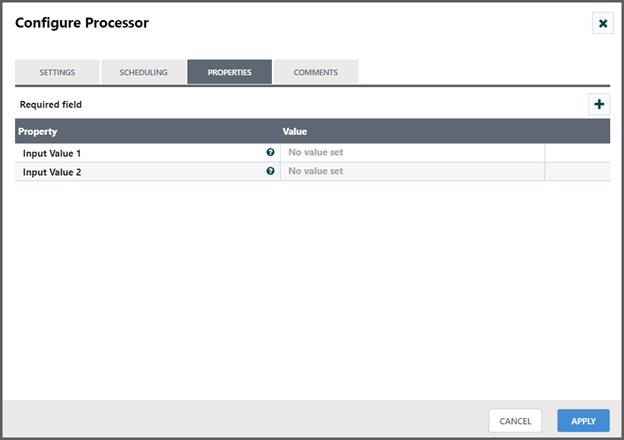
-
Set the relationship for the processor using Relationship as data type which appears settings tab of the processor.
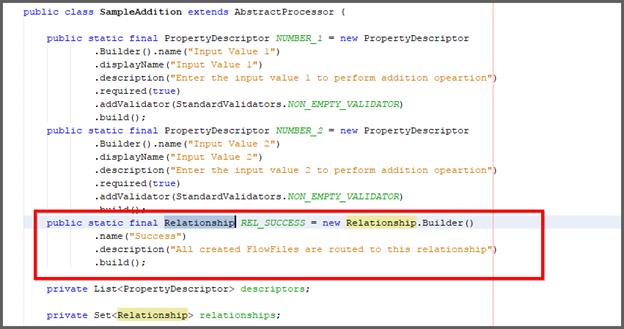
  public static final Relationship REL_SUCCESS = new Relationship.Builder()
              .name("Success")
              .description("All created FlowFiles are routed to this relationship")
              .build();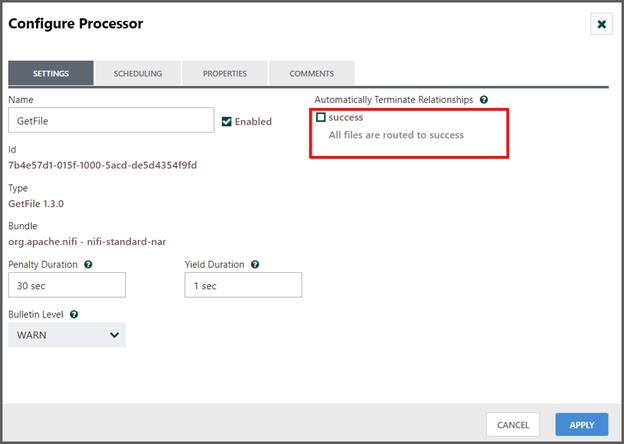
-
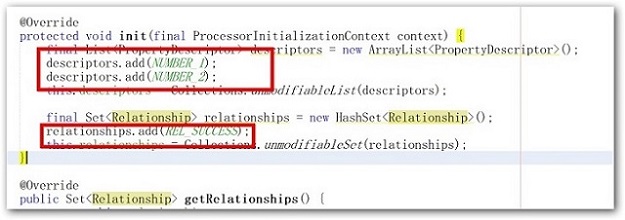
Add all the Processor description and relationship on the Init() function.
-
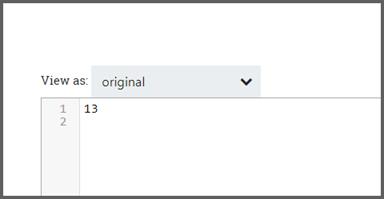
Under onTrigger function get the input value and write the codes to accomplish the requirement. Write the result into the flowfile and transfer it into the success relationship.
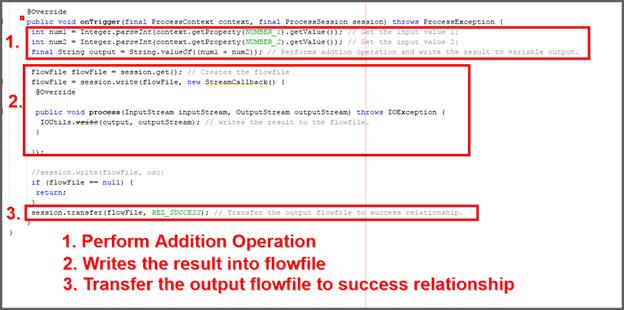
  @Override
  public void onTrigger(final ProcessContext context, final ProcessSession session) throws ProcessException {
  int num1 = Integer.parseInt(context.getProperty(NUMBER_1).getValue()); // Get the input value 1;
  int num2 = Integer.parseInt(context.getProperty(NUMBER_2).getValue()); // Get the input value 2;
  final String output = String.valueOf((num1 + num2)); // Performs addition operation and write the result to variable output.
  FlowFile flowFile = session.get(); // Creates the flowfile
  flowFile = session.write(flowFile, new StreamCallback() {
  @Override
  public void process(InputStream inputStream, OutputStream outputStream) throws IOException {
  IOUtils.write(output, outputStream); // writes the result to the flowfile.
  }
  });
  //session.write(flowFile, osc)
  if (flowFile == null) {
  return;
  }
  session.transfer(flowFile, REL_SUCCESS); // Transfer the output flowfile to success relationship.
  }
-
Add the following maven dependency for the IOUtils.write() function in the following pom.xml (E:\CustomProcessor\nifi-custom-processors)

      <dependency>
          <groupId>commons-io</groupId>
          <artifactId>commons-io</artifactId>
          <version>2.6</version>
      </dependency>
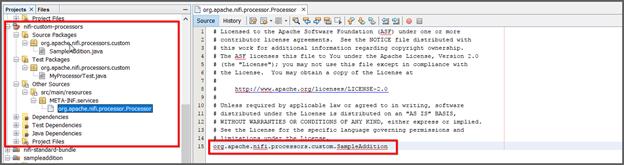
Resource file changes
Also, change the Java class name under nifi-custom-processors/Other Sources/src/main/resources/META-INF.services/org.apache.nifi.processor.Processor
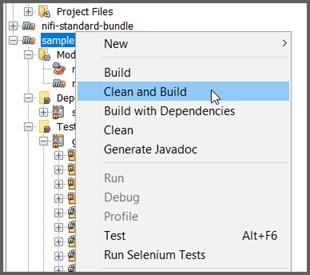
Packaging
Now clean and build the maven project to generate the required jar and nar file
Once you build successfully, you can find the nar file under
E:\CustomProcessor\sampleaddition\nifi-custom-nar\target\nifi-custom-nar-1.4.0.nar
Deployment
Copy the nar file into “C:\Syncfusion\DataIntegration\<version>\SDK\NIFI\lib” and restart the Data Integration service using Data Integration Service Manager.
Workflow Creation
-
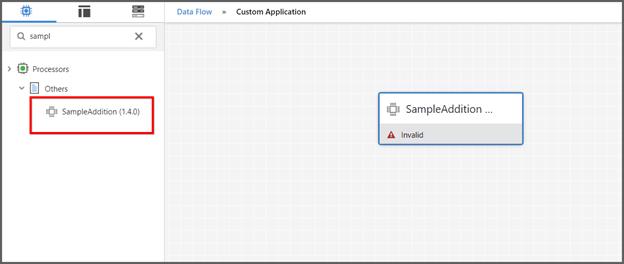
After restart the Data Integration Platform, you can find the custom processor listed under Others category of component toolbar. Drag and drop the custom processor SampleAddition into the canvas and configure the processor.
-
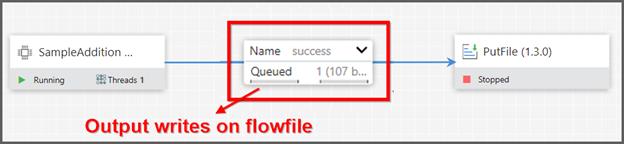
After configuring the processor, start the processor. The addition operation gets performed and the output writes into flowfile.